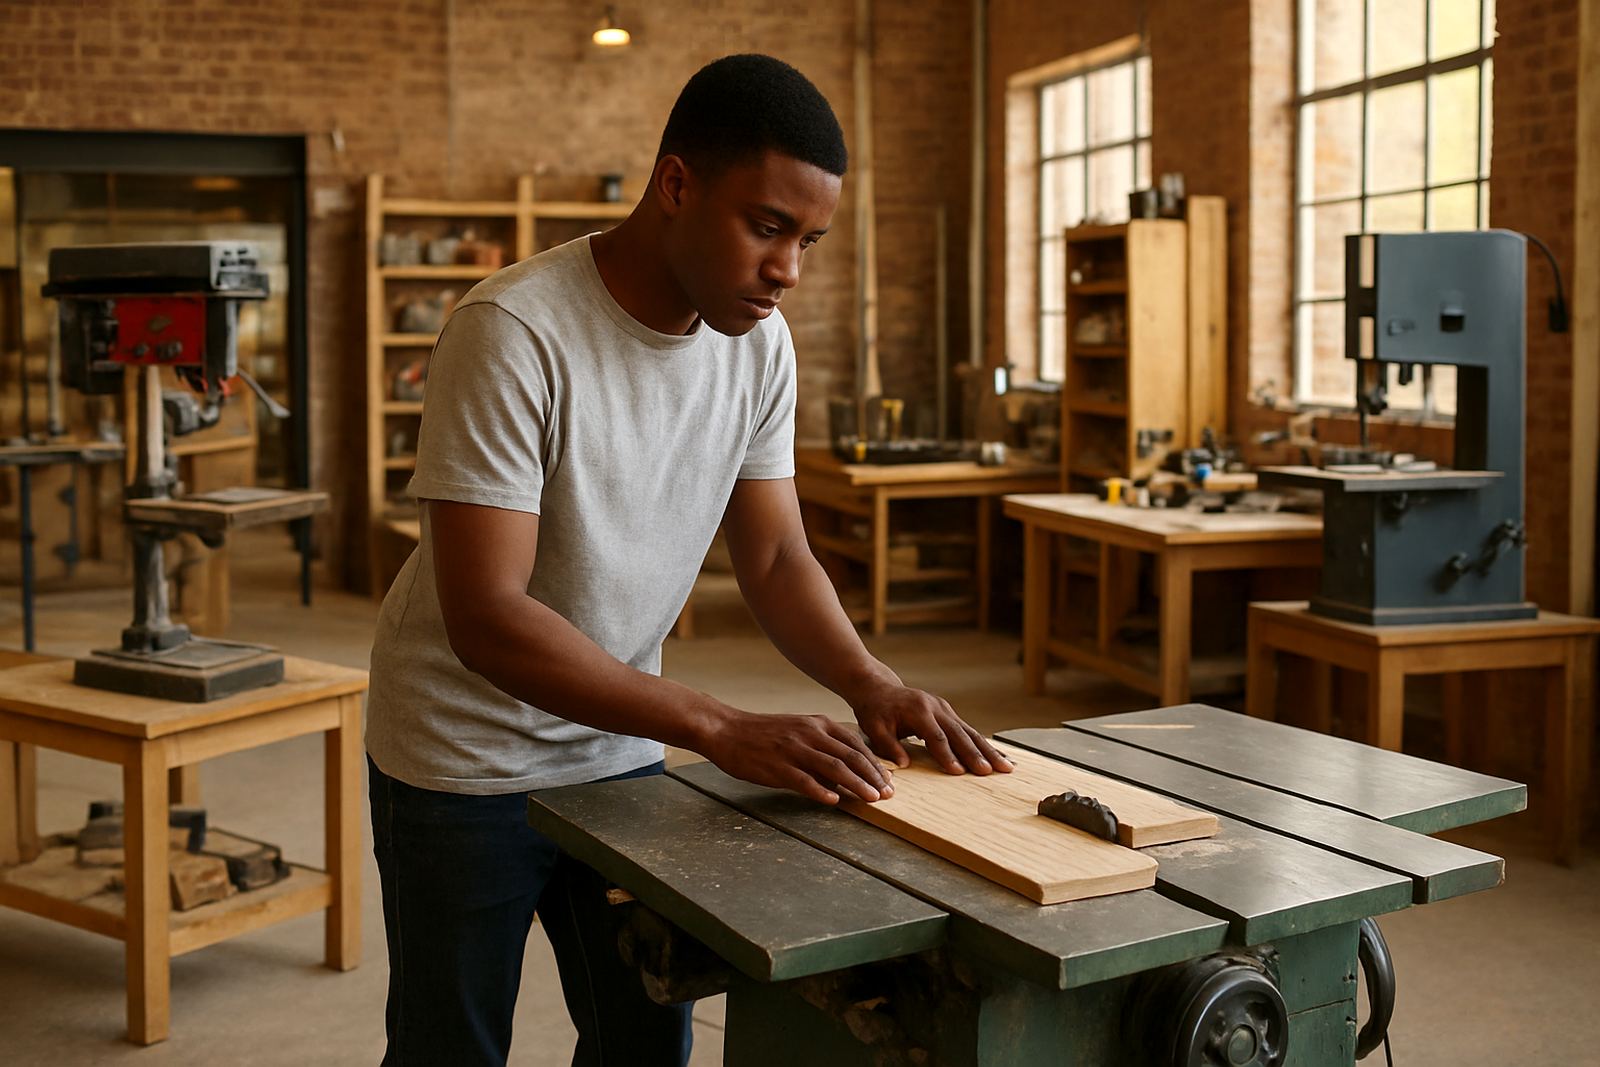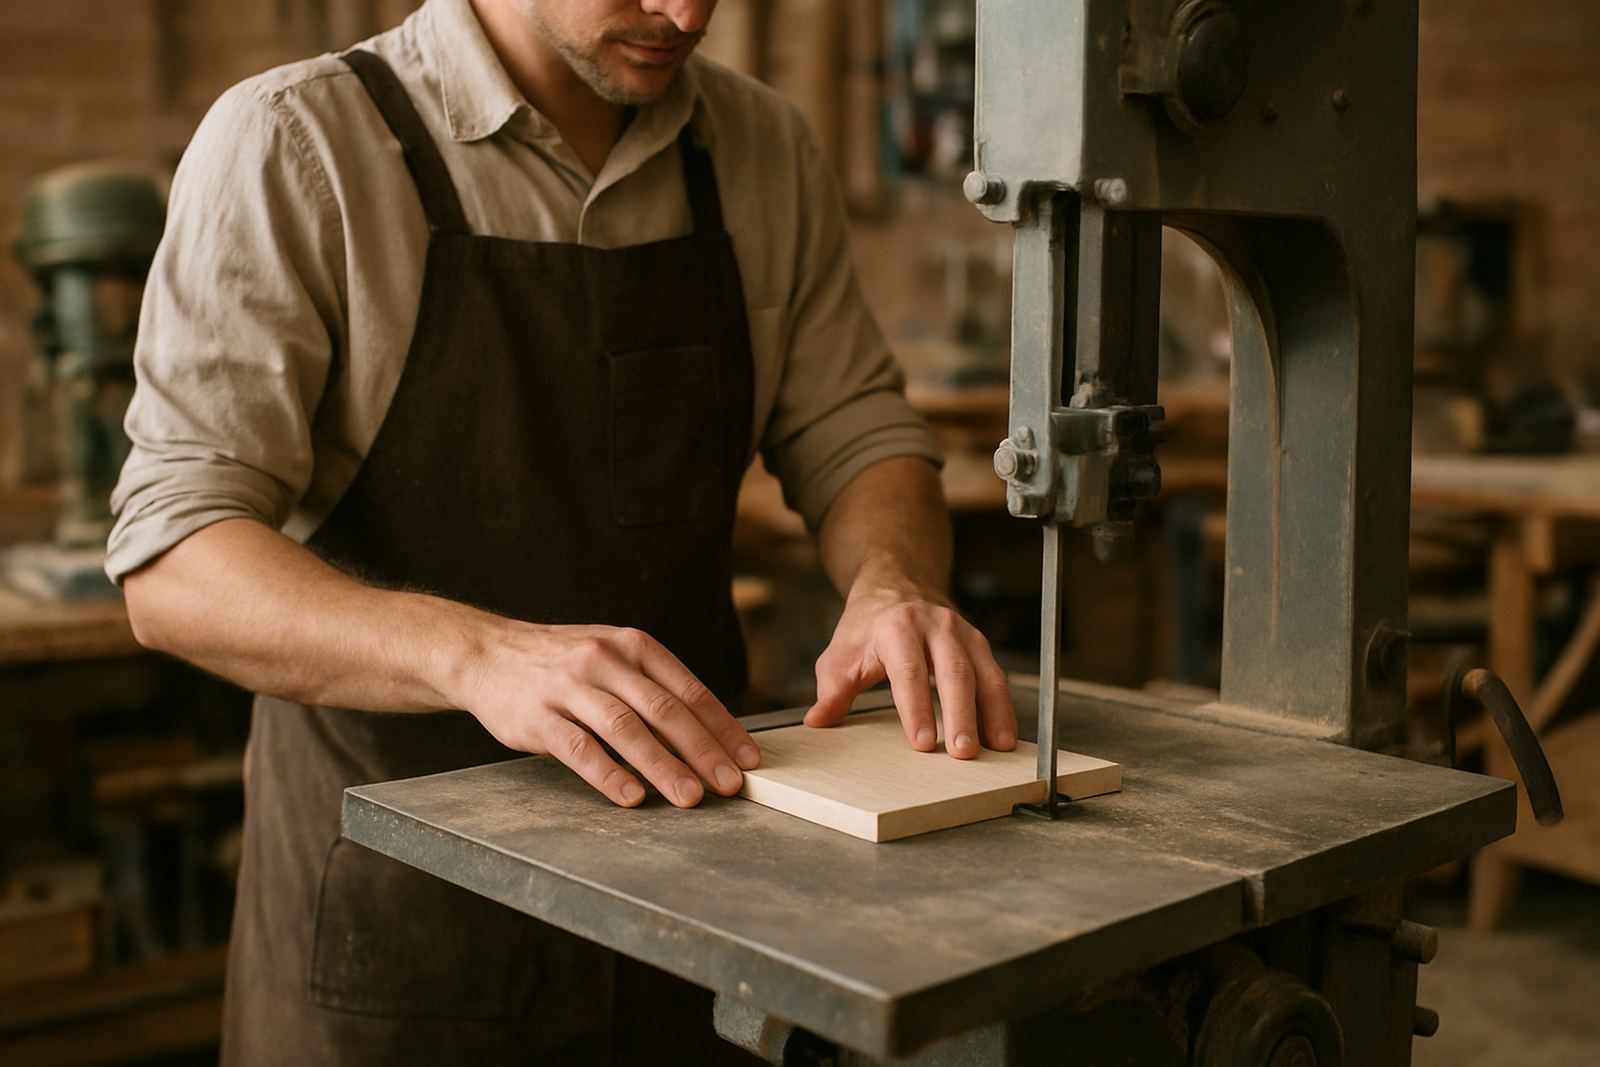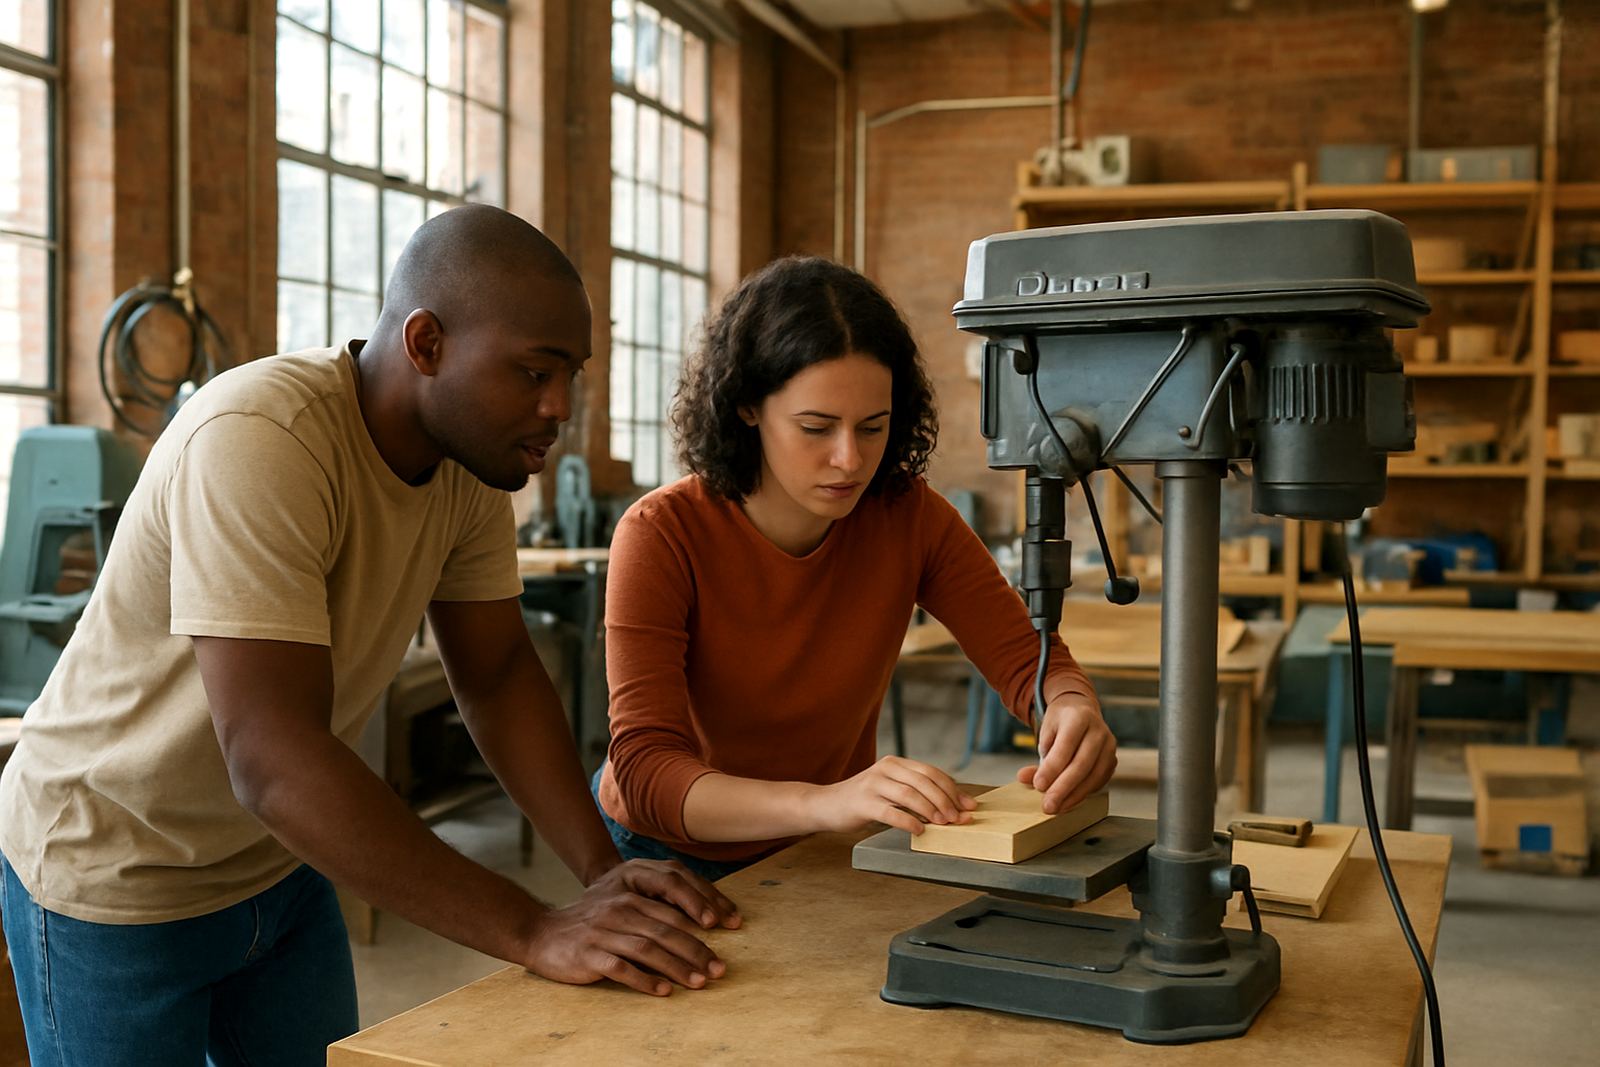
Start With What You Want To Build First
The best starter kit is the one that fits your first few projects, not the one with the most items. If you want to build small furniture, repair items, make classroom models, or start basic fabrication work, the tools and consumables will be different. A good first step is to name the three jobs you want to do most often, then work backwards from there.
In Johannesburg, we often see new makers buy too much at once and still miss the essentials. A leaner kit gives you a cleaner start, lower upfront costs, and less clutter in a shared room or garage. If your space is in Braamfontein, Soweto, Durban or Cape Town, think about where the kit will be stored, how often it will be moved, and whether it must cope with humidity, dust or load-shedding.
- List your top 3 project types.
- Decide if the kit is for one person or a small team.
- Check if you need portable tools or fixed setup items.
- Note the materials you will use most, such as wood, plastic, wire or light sheet metal.
Match The Kit To Your Budget And Skill Level
Starter kits should help you begin well without overspending. A tighter budget does not mean a weak setup, it means choosing the right order. Basic hand tools, marking tools, clamps, measuring items and safety gear should come before specialist equipment you may only use later. If you are still learning, a kit that focuses on accurate measuring, safe cutting and clean finishing will serve you better than one packed with niche items.
For schools, clubs and small teams, it helps to think in phases. The first phase covers immediate use, the second phase adds speed, and the third phase adds specialist capability. That way you can grow the kit as confidence improves and you do not end up with gear that sits on a shelf. It also makes budgeting simpler when you need to plan for consumables every month or two.
- Begin with essentials, then add specialist items later.
- Set aside part of the budget for consumables and replacements.
- Choose tools that suit your current skill, not only future plans.
- Build in a small buffer for safety gear and storage containers.
Check The Space Before You Buy
Your kit should fit the room, the power supply and the movement around the workspace. If you are using a small room in Braamfontein, a school lab in Pretoria East, or a shared makerspace in Midrand, measuring the available surface area matters. A compact kit can still be effective if you plan the layout properly and leave enough room for safe movement and material handling.
In places with strong summer humidity, such as Durban and parts of Gqeberha, storage matters just as much as the tool list. Keep metal items dry, store adhesives out of heat, and use sealed boxes for smaller parts. In areas where power cuts are common, it is worth choosing tools and lights that still allow basic work to continue. Even a simple battery lamp can save a session from being cut short.
- Measure the room before ordering anything bulky.
- Check access to plugs, lighting and ventilation.
- Plan secure storage for sharp items and small parts.
- Allow space for one person to move without bumping into stations.
What A Practical Starter Kit Usually Includes
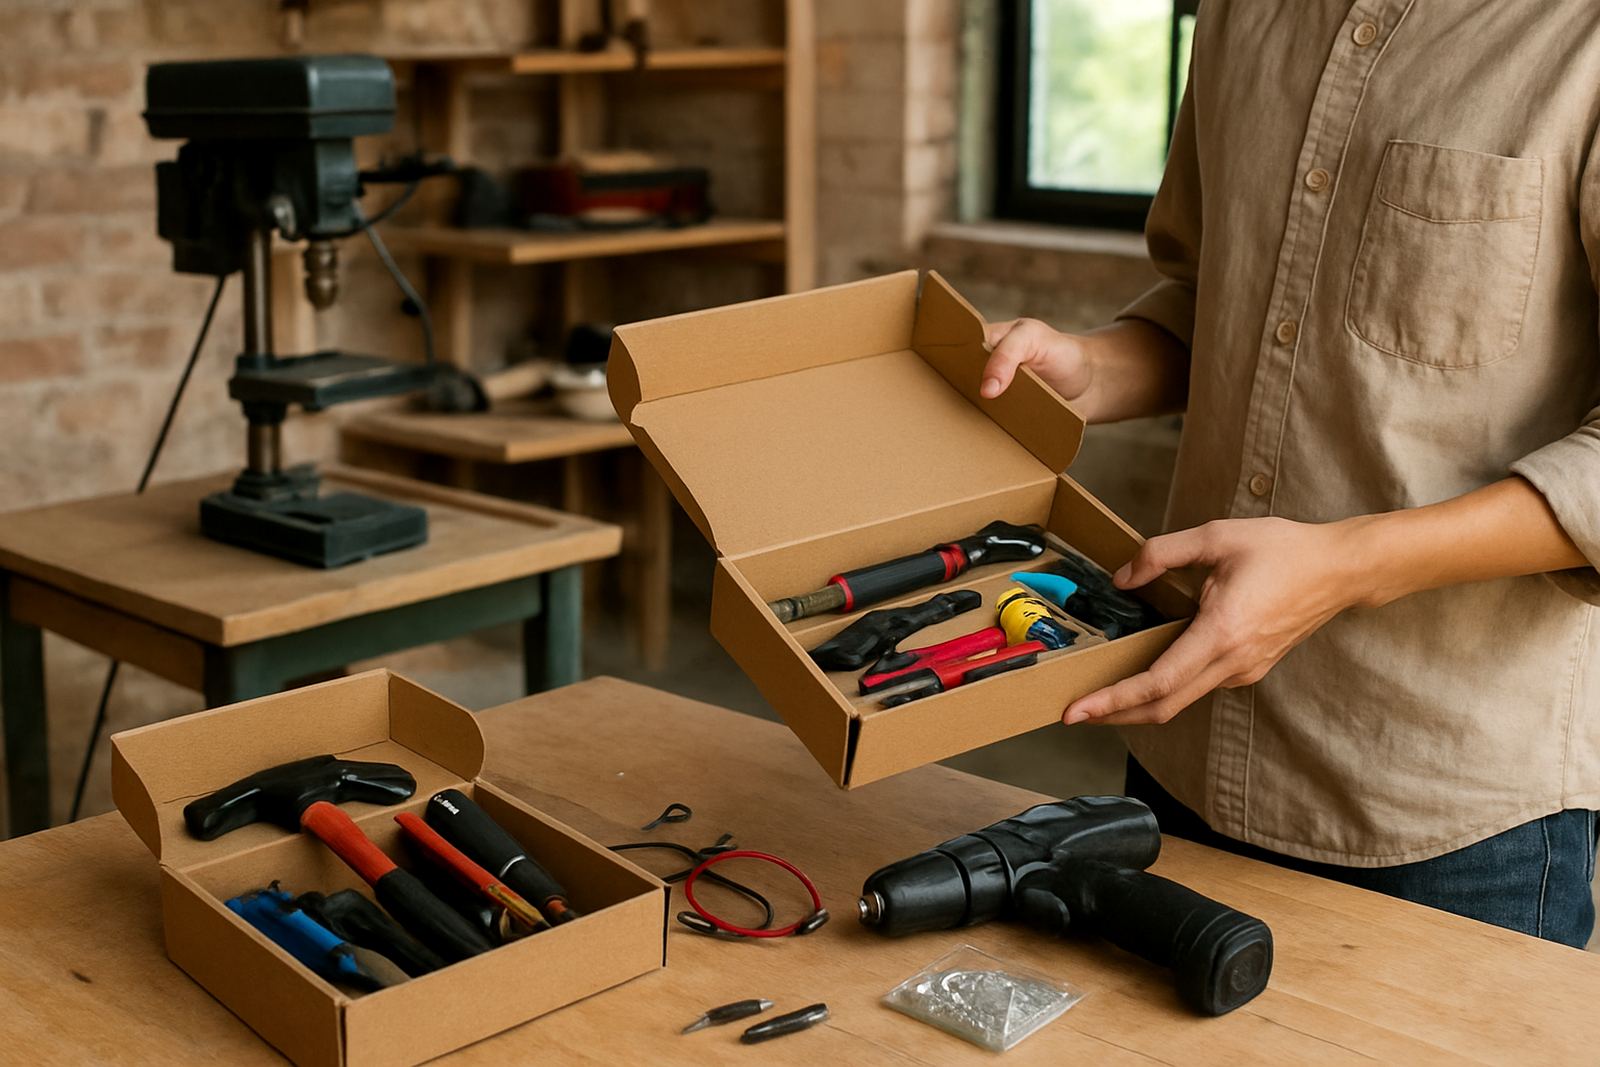
Different kits serve different goals, but most good starter kits share a few common parts. These are the items that help you measure, cut, fasten, assemble and store materials properly. A balanced kit should support safe learning and repeat use, not just one-off projects. If you are setting up for a group, choose items that are easy to understand and simple to share.
We usually recommend checking whether the kit includes clear instructions, replacement consumables, and storage that keeps parts together. Small things matter here because missing one item can stop the whole job. A tidy kit also makes onboarding easier for new members, volunteers and learners who are joining the space for the first time.
- Measuring and marking tools.
- Cutting and shaping tools for the chosen materials.
- Fasteners, adhesives and basic fixings.
- Safety glasses, gloves or other protective items where needed.
- Boxes, bags or trays for parts and offcuts.
Think Ahead About Safety And Maintenance
Safety is not a side issue. It should shape the kit from the start, especially if learners, volunteers or younger users will be involved. Keep clear rules for sharp tools, hot items and storage of chemicals or liquids. For shared spaces, safety signage and simple checklists go a long way in preventing avoidable problems.
Maintenance is also part of the purchase decision. If a tool needs frequent calibration, cleaning or blade changes, make sure you can support that properly. A kit that is easy to maintain will last longer and give better results over time. It also reduces downtime when a workshop is busy or when a project has to be completed before a school term ends.
- Include basic PPE from the start.
- Keep a simple cleaning and inspection routine.
- Store sharp or fragile items in clearly marked containers.
- Set a calendar for monthly checks if the kit is used often.
How We Help You Choose The Right Kit
If you are unsure what to order, start with a short needs review. We look at the type of making you want to support, the number of users, the space available, and the budget you have to work with. From there, we can suggest a starter kit that suits a home workspace, school room, training venue or shared maker area. This makes it easier to avoid overbuying and helps you focus on the first useful build.
We also help clients across Johannesburg, Sandton, Soweto, Pretoria East, Durban, Cape Town and Gqeberha think through storage, signage, onboarding and consumables planning. If your kit is for a new group, we can help you plan what should be included now and what can be added later. That way the setup stays practical, tidy and ready for real use.
- Tell us what you want to make first.
- Share your budget range and available space.
- Let us know who will use the kit and how often.
- Use the enquiry form on our contact page to start the process.