




Choose the Right Guide for Your Project Stage
Start here if you are not sure which guide fits your needs. Some guides are aimed at first-time makers choosing starter tools, while others help schools, studios and community groups plan a safer and better organised workspace. If you already know your gap, use the guide that matches it. If not, begin with the overview and work through the next steps in order.
The guide list below is arranged for quick scanning, but the actual cards are added separately. That way you can compare training, tools and space setup without wading through extra detail. For most teams, the right starting point is the guide that saves the most time in setup or reduces waste on materials and rework.
Starter Kits That Match Local Conditions
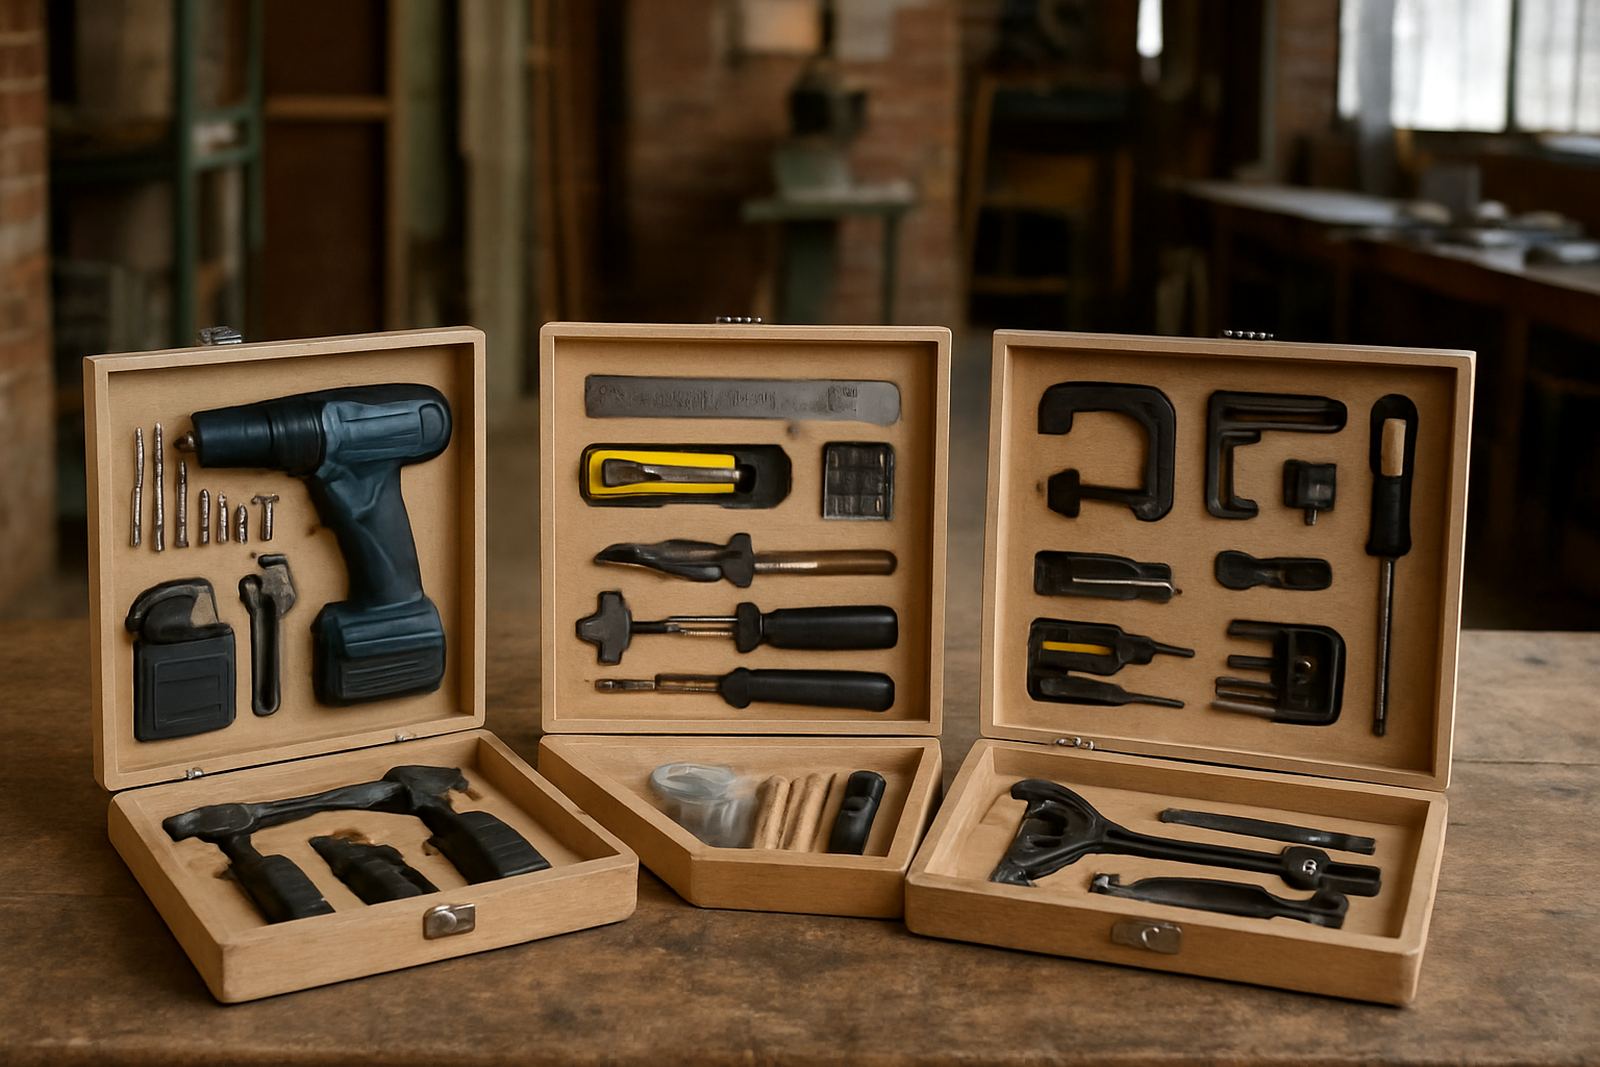
Our starter kit guides focus on what works in South African workshops, not just what looks good on a shelf. That means thinking about load-shedding, dust, coastal humidity, locked storage and the space you actually have. A kit for a small Braamfontein studio will not look the same as one for a school lab in Gqeberha or a makerspace in Midrand.
Use these guides when you need to compare contents, storage needs and likely upkeep costs. They help with:
- Basic hand tools and entry-level power tools
- Consumables planning for glue, fasteners, blades and sanding items
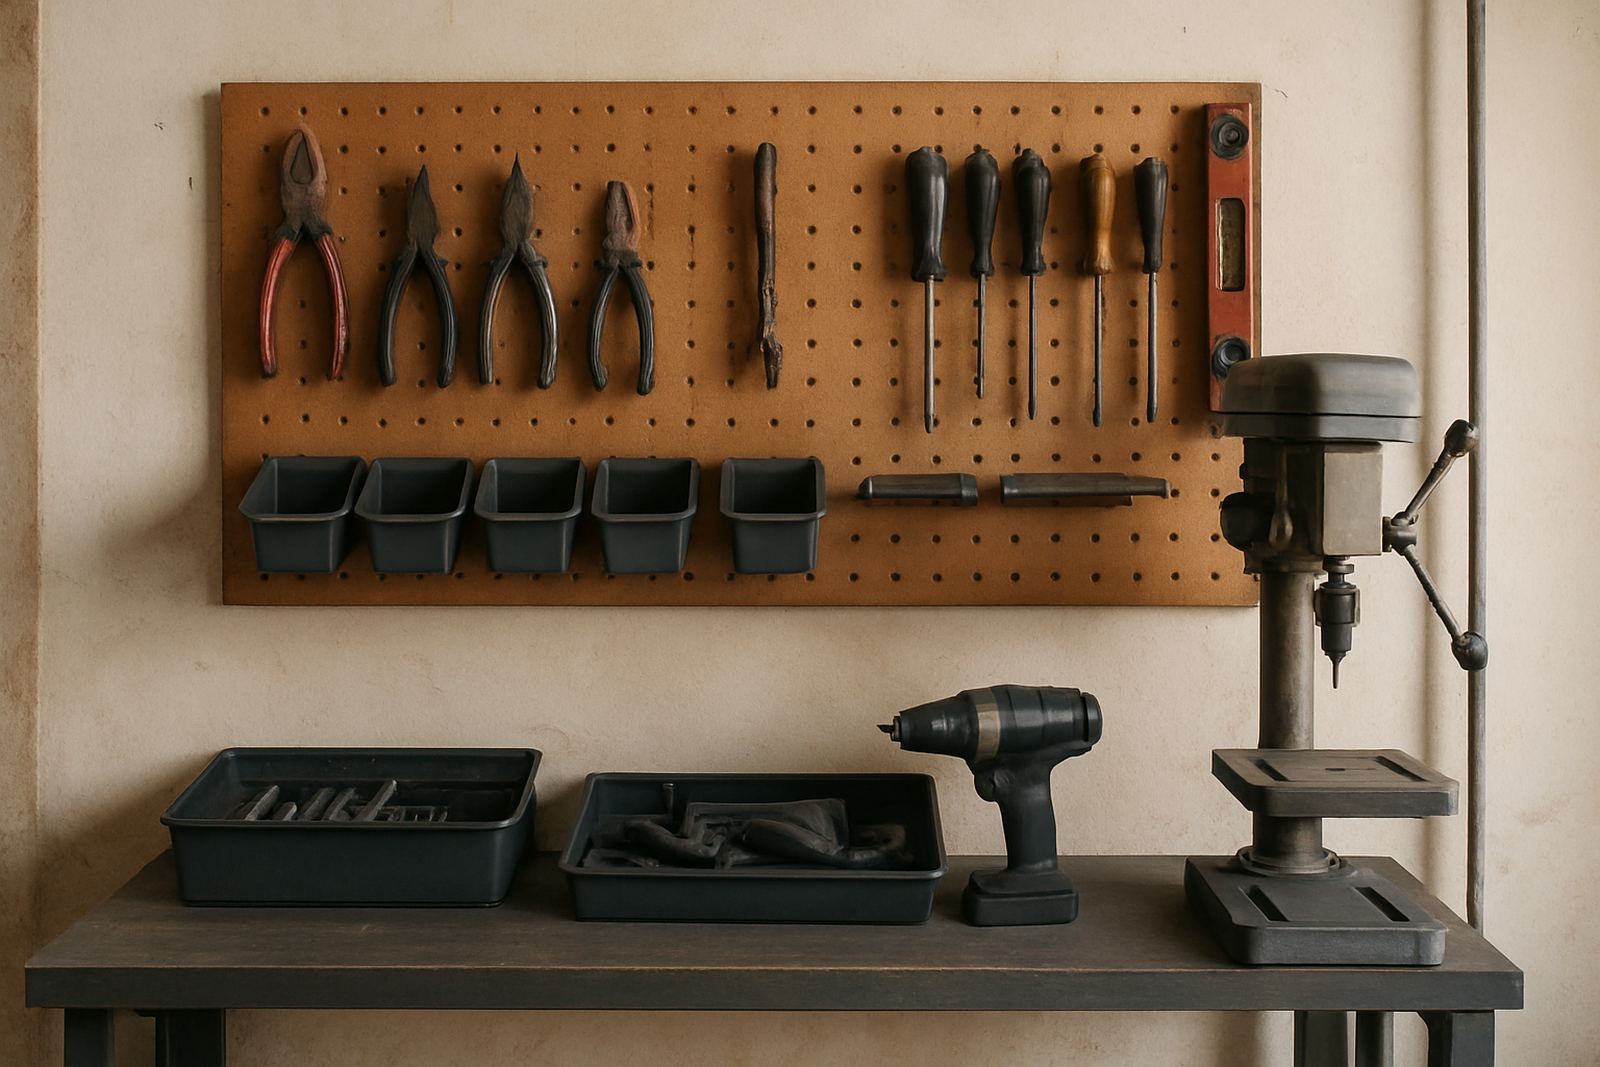
- Storage solutions for shared tools and small parts
- Safety signage setup for shared work areas
We also flag where a kit needs extra batteries, surge protection or a backup workflow if the power goes off mid-session.
Workshop Layout Guides for Small and Shared Spaces
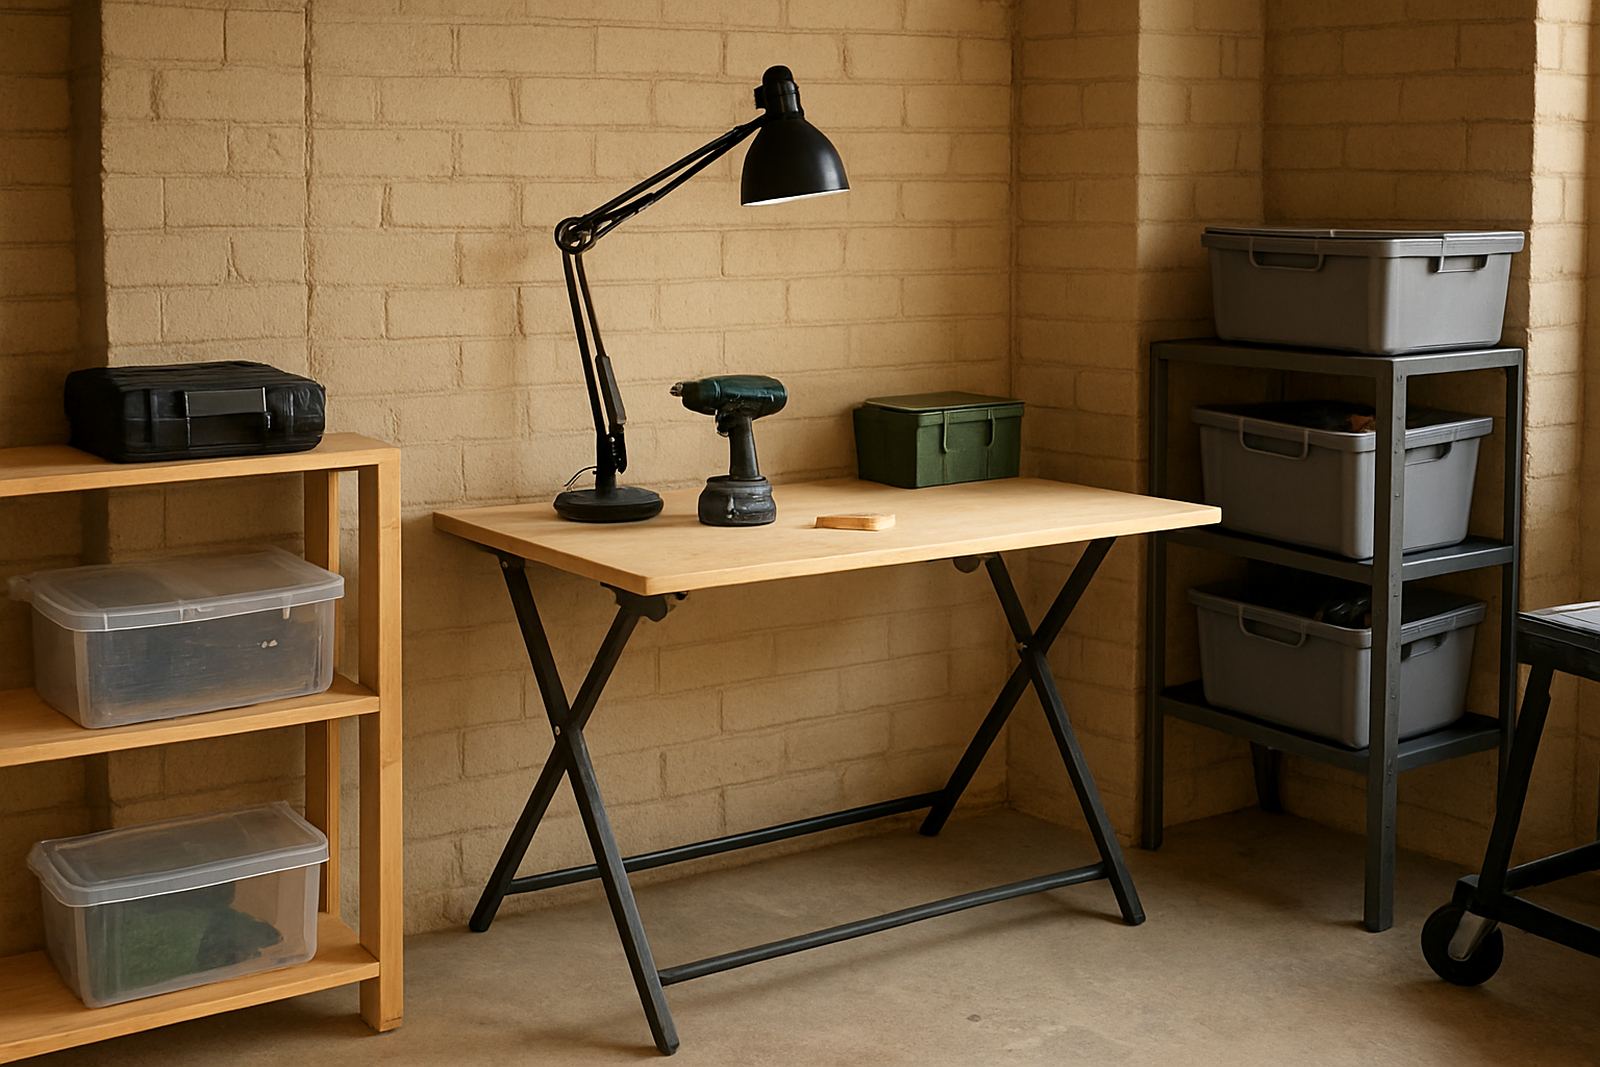
If you are planning a tool zone or refreshing an existing room, these guides help you think through movement, storage and supervision. Good layout reduces bottlenecks, keeps noisy work away from quiet tasks, and makes it easier for members to return tools where they belong. In shared venues, that matters a lot because one messy area slows down everyone.
Look for guidance on bench spacing, machine clearance, ventilation and safe walkways. For spaces in Sandton or Pretoria East, the priorities may be different from a township lab or a school hall. One needs clean zoning and polished member flow, another may need lockable storage and quick pack-down after use. The guide should match the real conditions on site, not an ideal room plan.
Training Guides for New Makers and Group Leaders
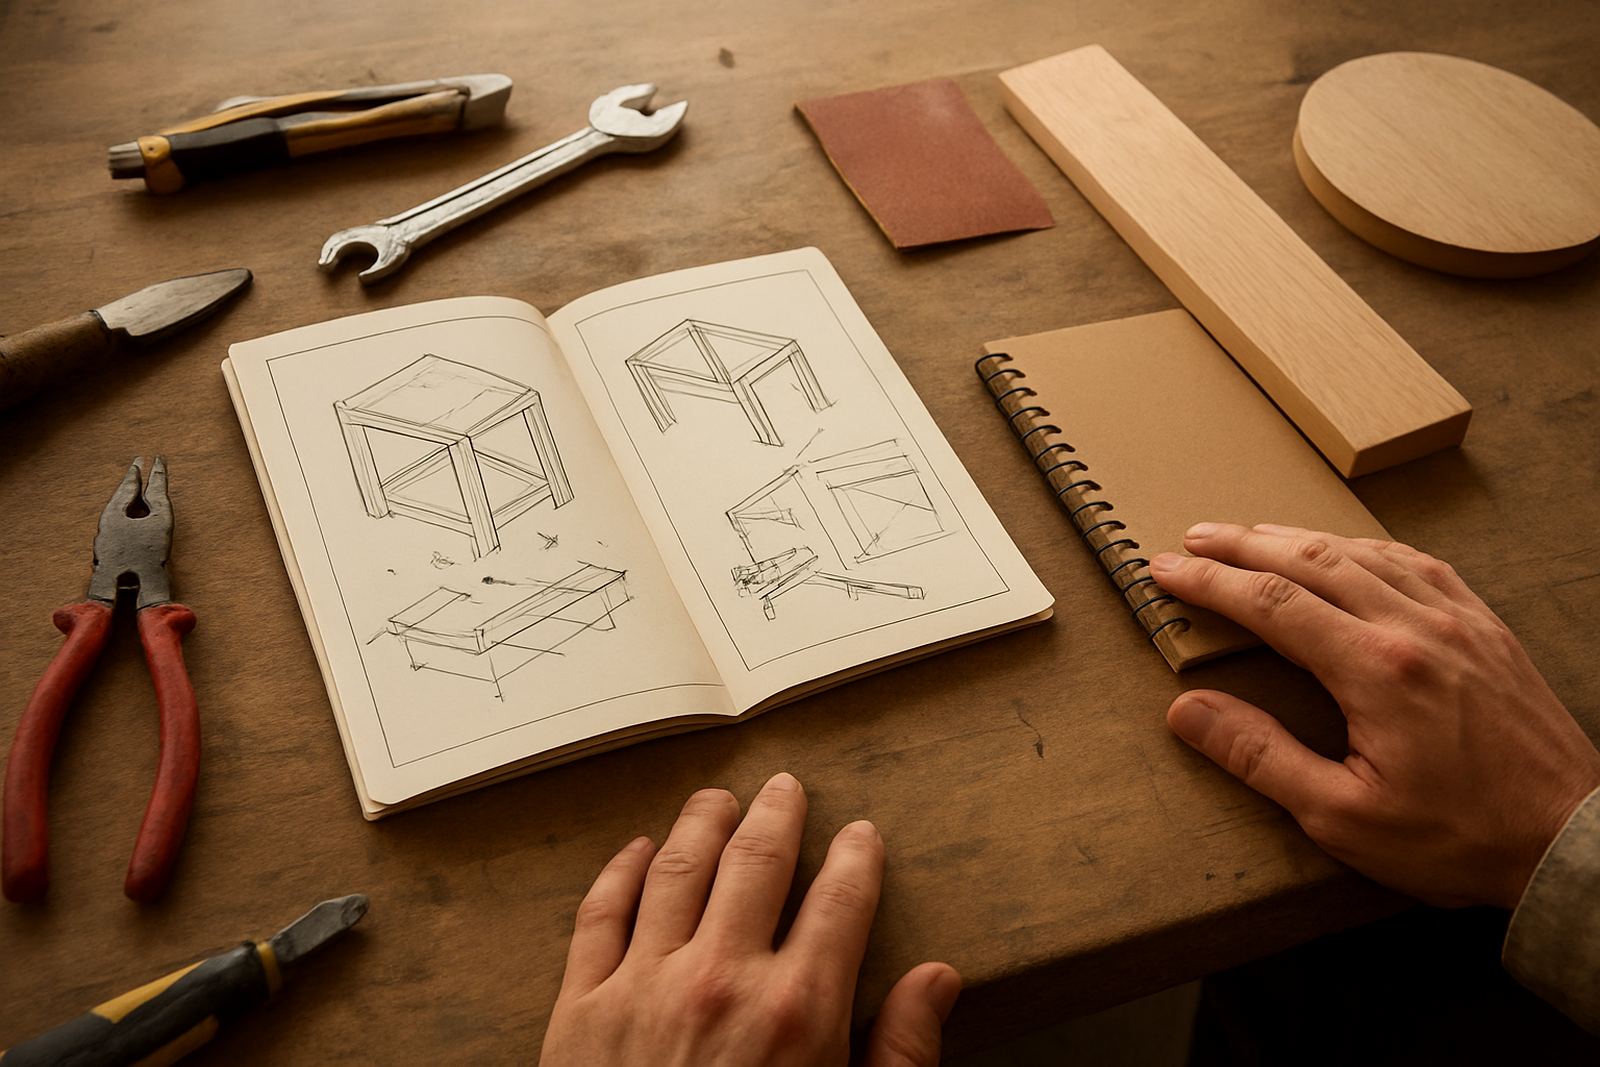
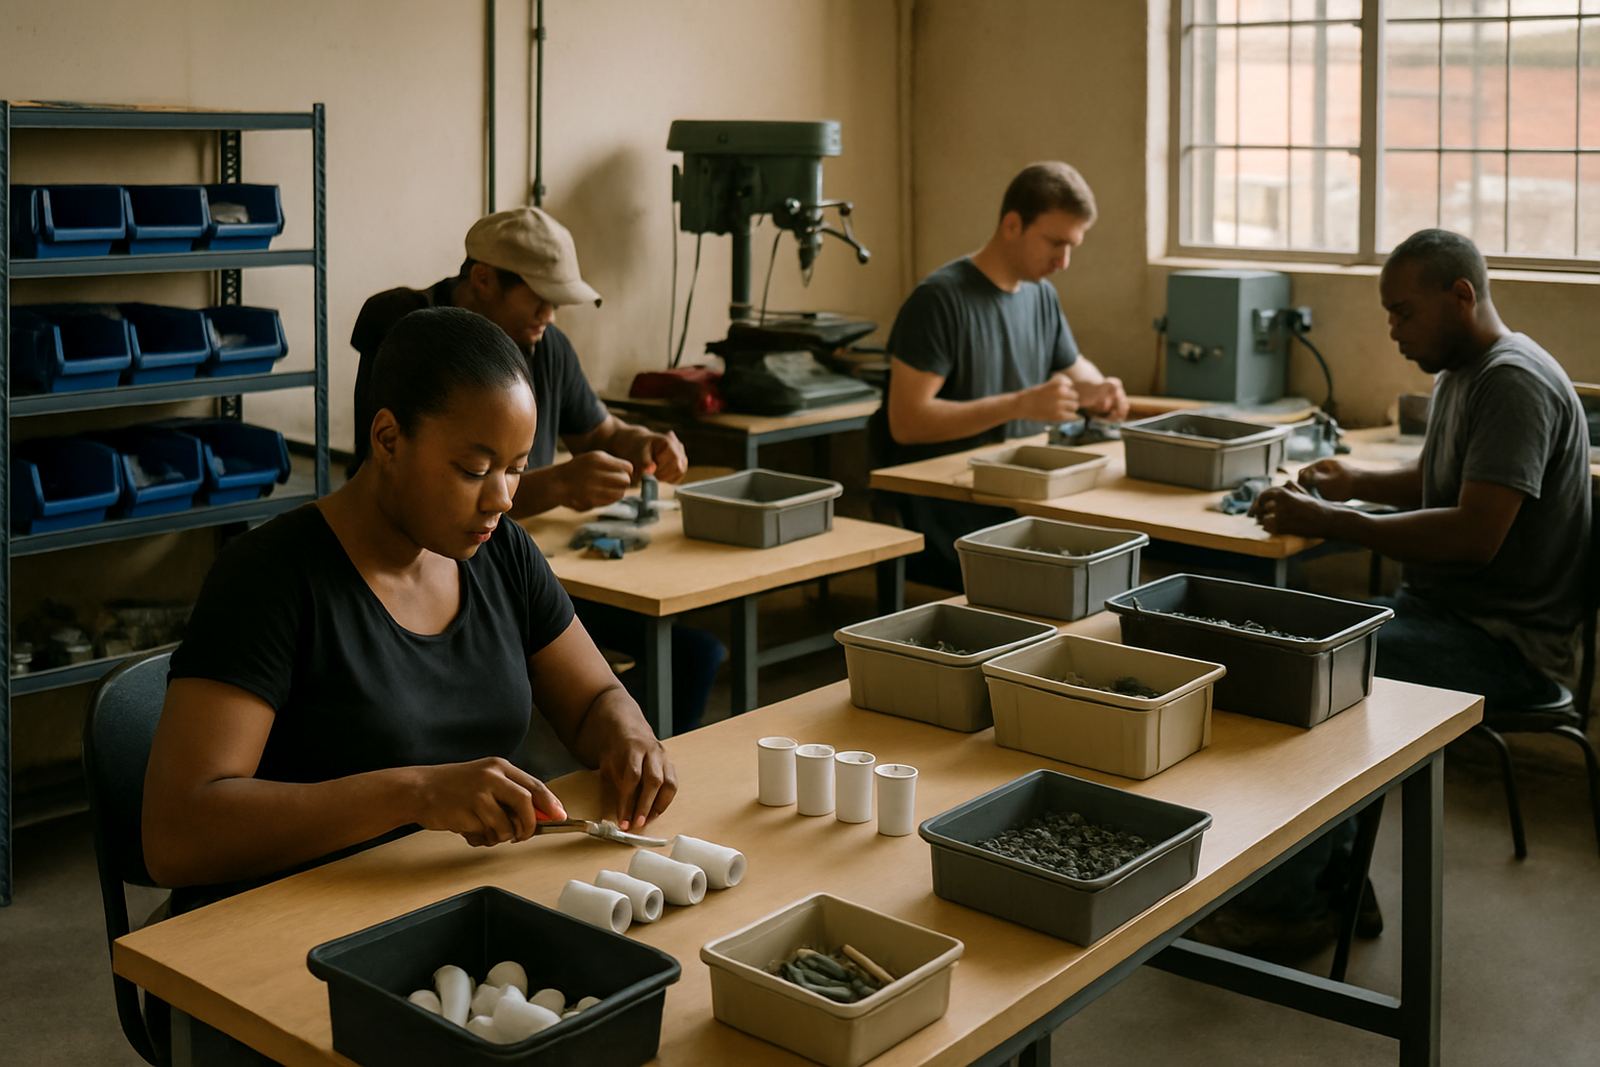
These guides are useful when you are trying to build confidence before buying more tools. They cover the skills people usually need first: safe tool handling, workshop habits, basic maintenance and how to run a session without confusion. If you lead a team, they also help you decide which parts of training can be done onsite and which should happen at a partner venue.
Training guides are especially handy for schools, youth programmes and startup teams that want to avoid expensive mistakes. Common topics include:
- Member onboarding and first-day orientation
- Facilitator support for group sessions
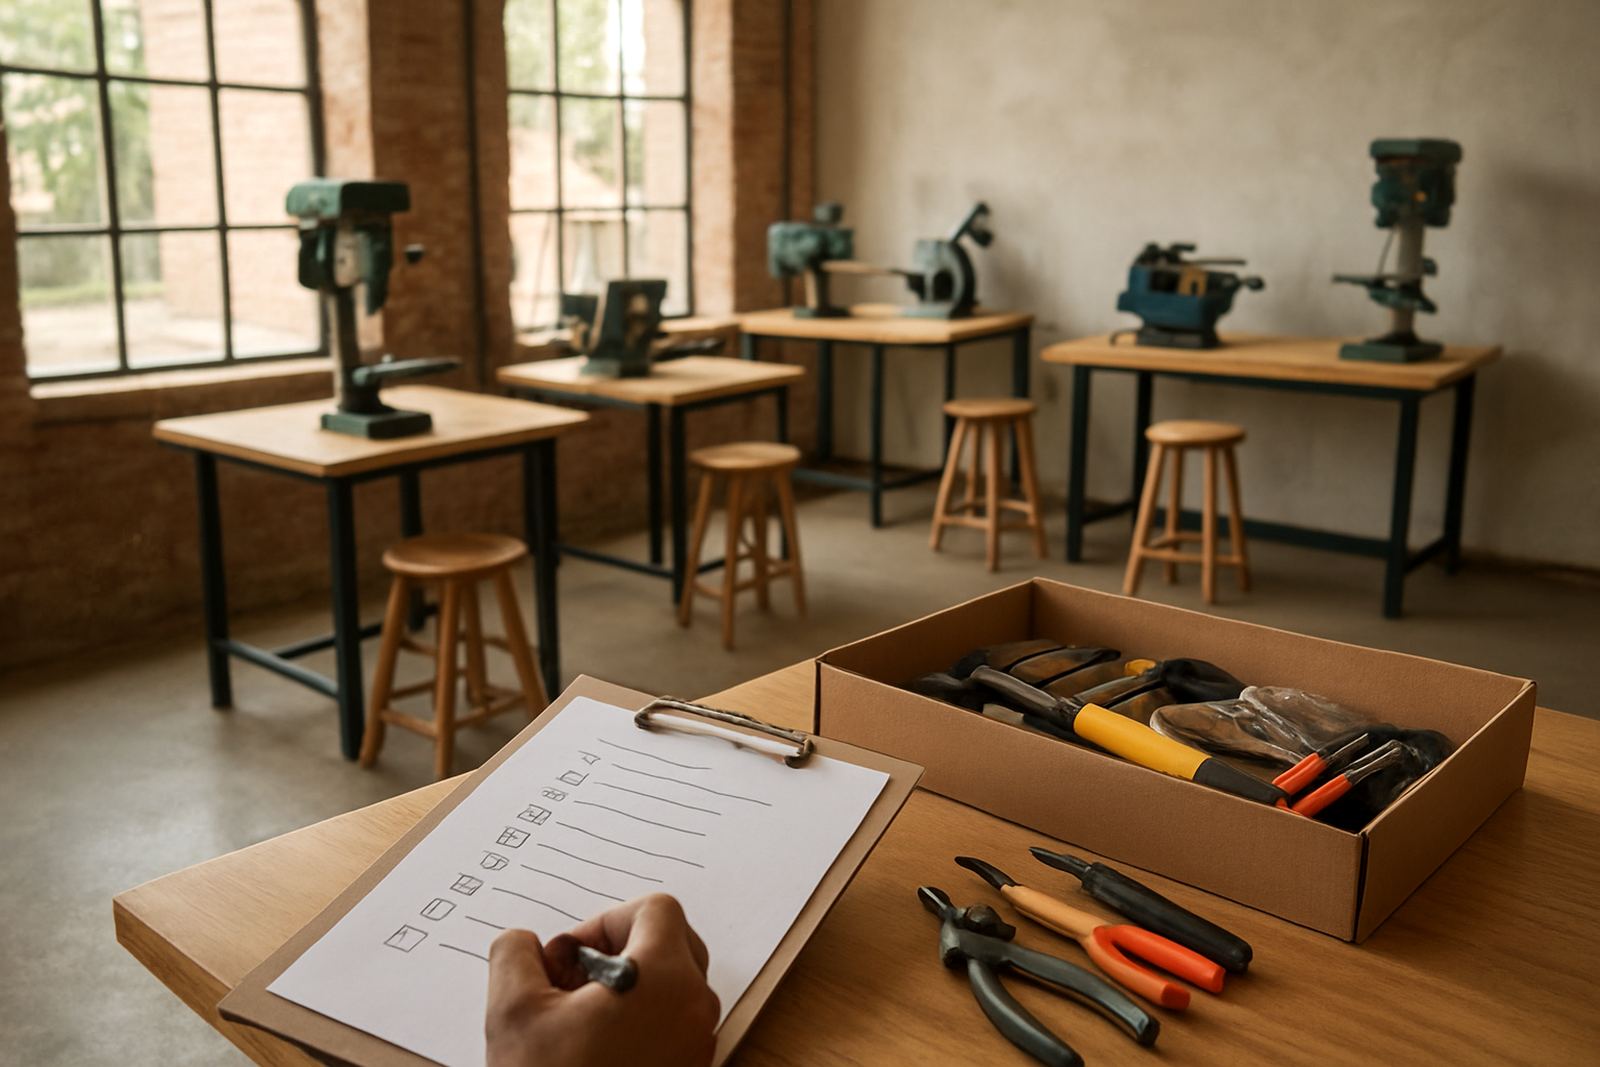
- Maintenance checks for commonly used tools
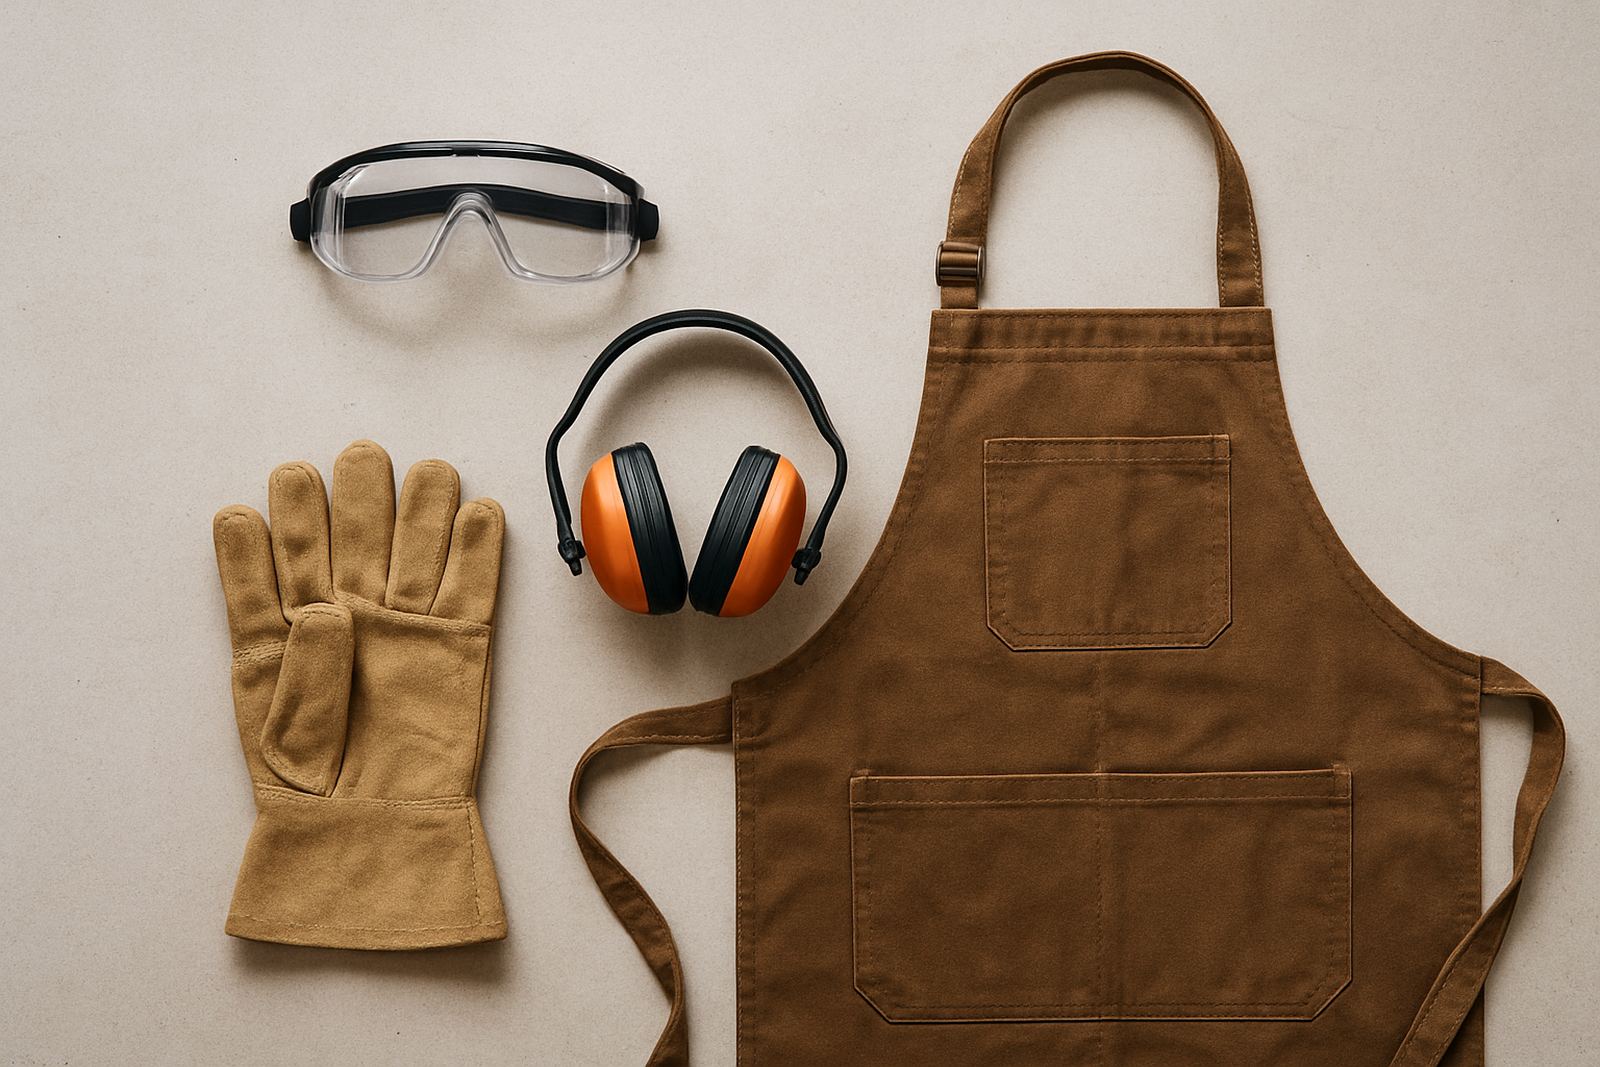
- Simple safety routines for shared workshops
When people know the workflow, the room stays calmer and tools last longer, even during busy weeks.
Maker Space Setup Advice for Schools and Community Groups
If you are refreshing a school lab or setting up a community maker room, these guides focus on the practical side of getting going. You will find advice on storage, signage, cleaning routines and how to keep supplies visible enough to track but secure enough to last. They are written with municipal and school rules in mind, so you can plan around real sign-off processes and not just wishful thinking.
There is also guidance for event maker stations and temporary setups where equipment must be packed away at the end of the day. That is useful for libraries, pop-up workshops and community centres that share rooms with other users. A good guide here will save time during setup and cut down on missing items after each session.
How to Use the Hub Before You Enquire
Before you send an enquiry, use the hub to narrow down your needs. That helps us point you toward the most suitable guide, training option or makerspace partner. It also means your brief is stronger from the start, which saves time if you are asking about a new layout, a starter kit or support for a training group.
To choose well, ask yourself:
- Do I need tools, training, or both?
- Is this for one room, a shared venue, or a network of sites?
- Will the space need storage, signage or safety checks first?
- Do we need a fast start, or a full workshop plan over time?
Once you have that answer, the right guide becomes much easier to spot. And if you are still unsure, start with the guide that covers your biggest risk, not the most exciting part.
What Makes a Useful Build Guide
A useful guide should be clear, local and realistic. It should tell you what to do first, what can wait and what costs are likely to come up along the way. It should also reflect the way South African makers actually work, including shared spaces, transport between venues and power interruptions that affect timing and tool choice.
That is the standard we use across the hub. Whether you are based in Braamfontein or working with partner venues nationwide, the aim is the same: less guesswork, better planning, and a workshop that supports the work instead of slowing it down. If a guide does not help you make a decision, it has not done its job.