1. Start With A Run Sheet, Not A Guess
Before you switch on a machine or open a crate of stock, write down exactly what the batch must achieve. A short run of 20, 50 or 100 units can go off track fast if the target, materials, tolerances and finishing steps are not clear. In a Johannesburg workshop, that clarity matters even more when power cuts, shared equipment and staff shifts interrupt the day.
Use one run sheet per job and keep it simple enough for the whole team to follow. Include the product name, quantity, material type, finish, pack size, and who signs off each stage. If the batch is going to a school in Soweto, a market in Pretoria East or a showroom in Sandton, note the delivery requirement too.
- Product name and batch number
- Target quantity and acceptable wastage
- Material size, thickness or grade
- Tool list and setup time
- Inspection points and sign-off person
2. Check Materials Before You Book Machine Time
Short runs suffer when materials are incomplete or mixed from different suppliers. Check everything before the day starts, including board sizes, fasteners, adhesives, labels and packaging. In coastal areas like Durban and Gqeberha, moisture can affect timber, card and some finishes, so store stock off the floor and away from open doors.
It helps to stage materials in the same order they will be used. If a run needs 12 mm board, 6 mm fixings and a final seal coat, place them together in one marked zone. This reduces mistakes when the workshop is busy or when a facilitator is covering more than one group.
- Count all stock against the run sheet
- Check for dents, warping, cracks or rust
- Separate usable stock from rejects
- Pre-cut or pre-label where possible
- Set aside spares for breakage and test pieces
Do not assume a full shelf means a full batch. A half-used packet of fittings can slow a run more than missing timber, because the team only notices once assembly has started.
3. Set The Tool Zone For Fewer Stops
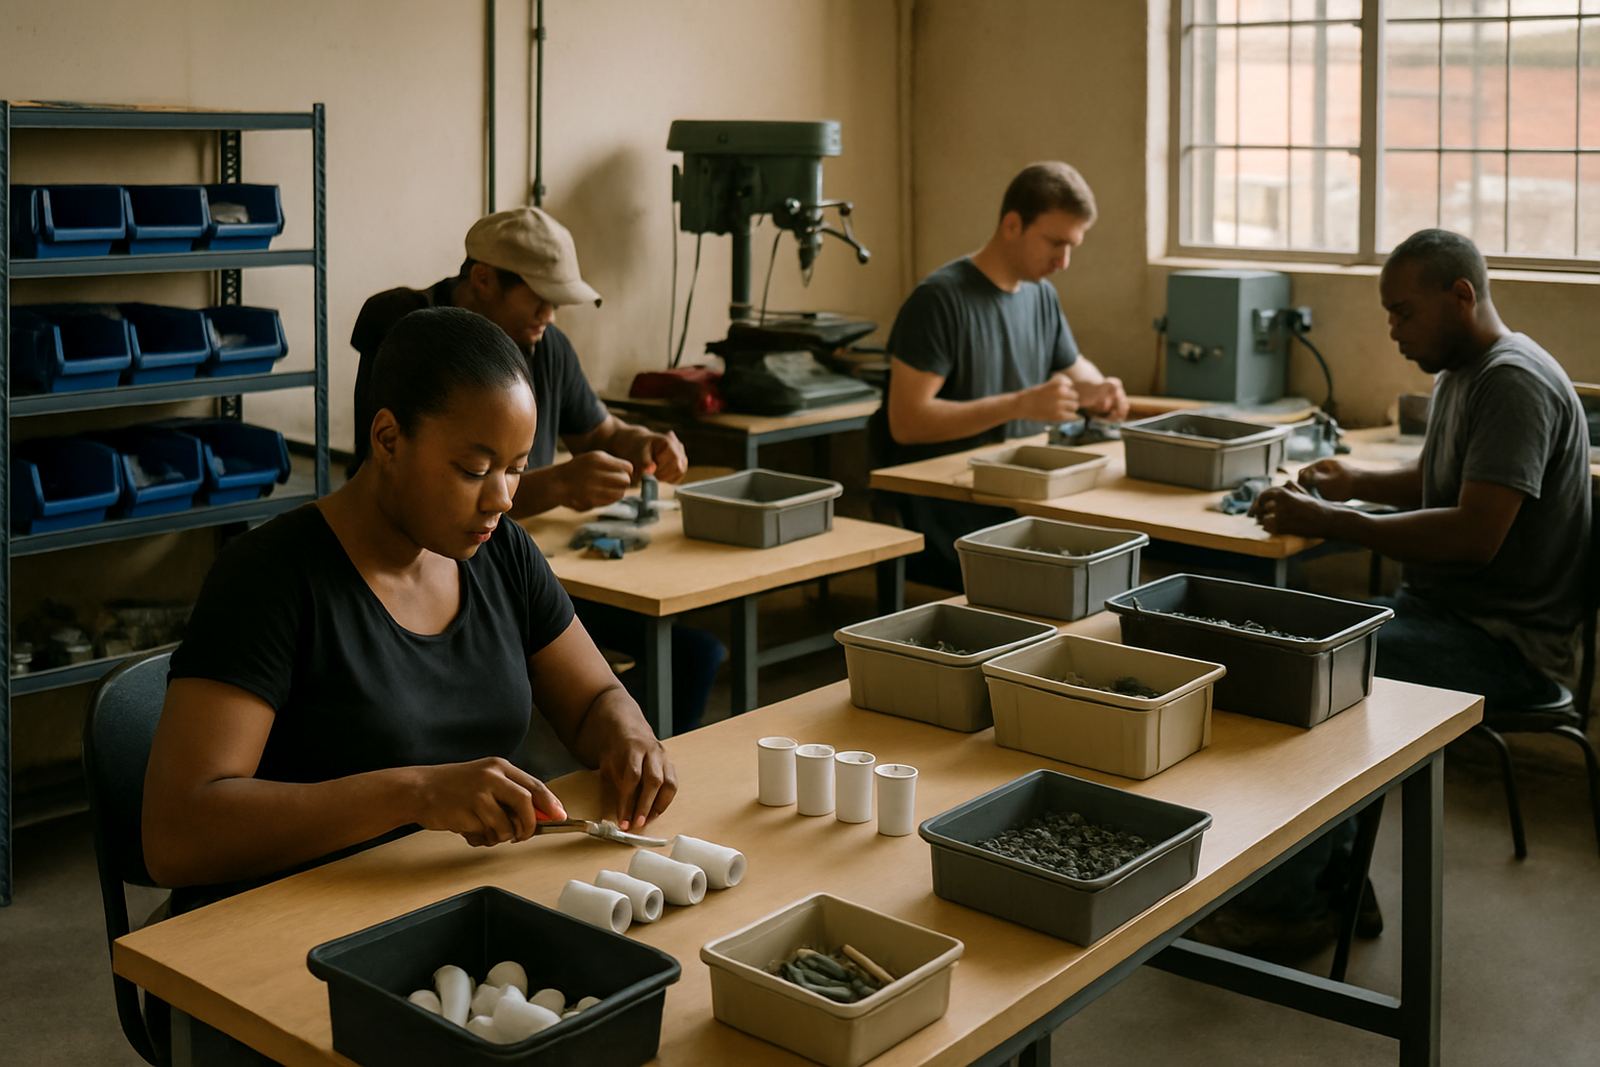
Plan the workstation so the team does not keep walking back and forth. For a small batch, the best layout is usually a straight flow from prep to assembly, then to finishing and packing. Tool zone layouts should keep sharp tools, measuring kit and consumables within easy reach, while still allowing safe movement around the bench.
Keep cords, offcuts and containers out of the main path. During load-shedding, make sure battery tools are charged and that any backup lighting covers the whole bench, not just the centre of the room. If the run depends on one machine, schedule a fallback step in case that machine goes off line.
- Mark input, work and finished zones clearly
- Keep measuring tools in one fixed place
- Store consumables in labelled tubs
- Check dust extraction and ventilation
- Leave space for packing and count-off
A tidy tool zone is not about looks, it is about time. When a team can find the right clamp, bit or marker in seconds, short runs become easier to repeat and easier to cost.
4. Build A Simple Production Sequence
Once materials and layout are ready, map the work in the same order every time. A short batch needs a repeatable sequence, even if the product itself is simple. Start with cutting or prep, move to assembly, then checking, finishing and packing. If there are two or more operators, assign each person a fixed part of the flow so work does not pile up at one point.
For maker spaces and startup workshops, the most common mistake is trying to finish one unit completely before starting the next. That can feel neat, but it often slows the group down. A better method is to batch each stage, for example cut all parts first, then drill all holes, then assemble all units, then do final checks.
Use this short check before the run starts:
- Are drawings or samples on hand?
- Are tools set to the correct measurement?
- Does everyone know the next step?
- Is there enough packing material for the full batch?
- Who handles rework if a unit fails inspection?
If you are running the batch for a school lab refresh or an event maker station, keep the sequence visible on a board or printed sheet. That helps new participants stay aligned without slowing the group.
5. Control Quality On The Line, Not At The End
Waiting until the end of the batch to check quality usually means redoing more than you expected. Instead, check the first item, then every few units after that. If a hole is off by 2 mm or a label is misaligned on unit three, you can correct the setup before the whole run shifts out of tolerance.
Set up a simple quality routine that suits the product. For made-up parts, that may mean measuring length, width and angle. For assembled kits, it may mean checking fastener count, part fit and packaging completeness. Keep a reject tray or hold area so defective units are not mixed with good stock.
- Inspect the first unit before continuing
- Check every 5th or 10th unit depending on risk
- Record faults with the cause
- Separate rework from scrap
- Sign off the batch only after final count
When short runs are repeated often, fault notes become valuable. They show whether the issue is a supplier problem, a tool setting, or a training gap. That makes the next batch cheaper to produce and easier to defend when a client asks why one run differed from the last.
6. Pack, Store And Hand Over Without Confusion
Packing is part of the batch, not an afterthought. Short runs are often used for launches, workshops, school orders or small retail supply, so the packing must match the use. Count units again, add labels, and make sure every box reflects the same standard. If the batch is going out to multiple areas like Midrand, Braamfontein or Cape Town, split it clearly before dispatch.
For storage, keep finished goods in dry, marked areas with the batch number and date. This matters in humid towns as well as in open workshop spaces where dust and foot traffic can damage packed goods. If the product includes electronics, components or coated parts, use sealed containers and avoid stacking heavy loads on top.
- Count finished units against the order
- Check labels, inserts and instructions
- Mark boxes by batch and destination
- Store rework separately from finished stock
- Record any shortage or overrun
Good handover notes save time later. When a client returns for a repeat order, the old batch sheet should tell you what worked, what failed and what needs changing before the next run starts.
7. Review The Batch While It Is Still Fresh
The last step is the one many teams skip. A batch review should happen while the team still remembers the setup, not a week later. Ask what slowed the work down, which part caused the most rework, and whether the plan matched the actual time on the floor. Even a ten-minute debrief can improve the next run.
Write down three things: what went well, what caused delays, and what needs to change next time. If the batch was for a training group, note whether the learners needed more support with measuring, cutting, assembly or packing. If the batch was for a client order, note any supplier or scheduling issue that affected delivery.
Over time, this review turns short runs into a steady system instead of a set of one-off jobs. That is what keeps a small workshop reliable when demand rises and the calendar gets crowded.