1. Choose the right corner before you buy anything
Start by measuring the space you have, even if it is only 1.5 m by 2 m beside a wall or under a stair landing. In Johannesburg flats, Soweto family homes and rooms in Pretoria East, the best spot is usually somewhere with natural light, a nearby plug point and enough airflow to keep dust and fumes moving out. Avoid narrow passages and shared areas where tools can be knocked over or children can reach them.
Think about what you will actually do there. Light assembly, hand tools, small repairs and packing work need different layouts from soldering, cutting or painting. If you work with noisy tools, choose a corner that will not upset neighbours or the rest of the household. A home workspace should fit your routine, not force you to rearrange the whole house every time you start a job.
- Measure wall length, ceiling height and door swing.
- Check for damp, direct sun and poor ventilation.
- Confirm where plugs, lights and internet are already available.
- Leave at least 800 mm of clear standing space where possible.
2. Map the layout around work, storage and movement
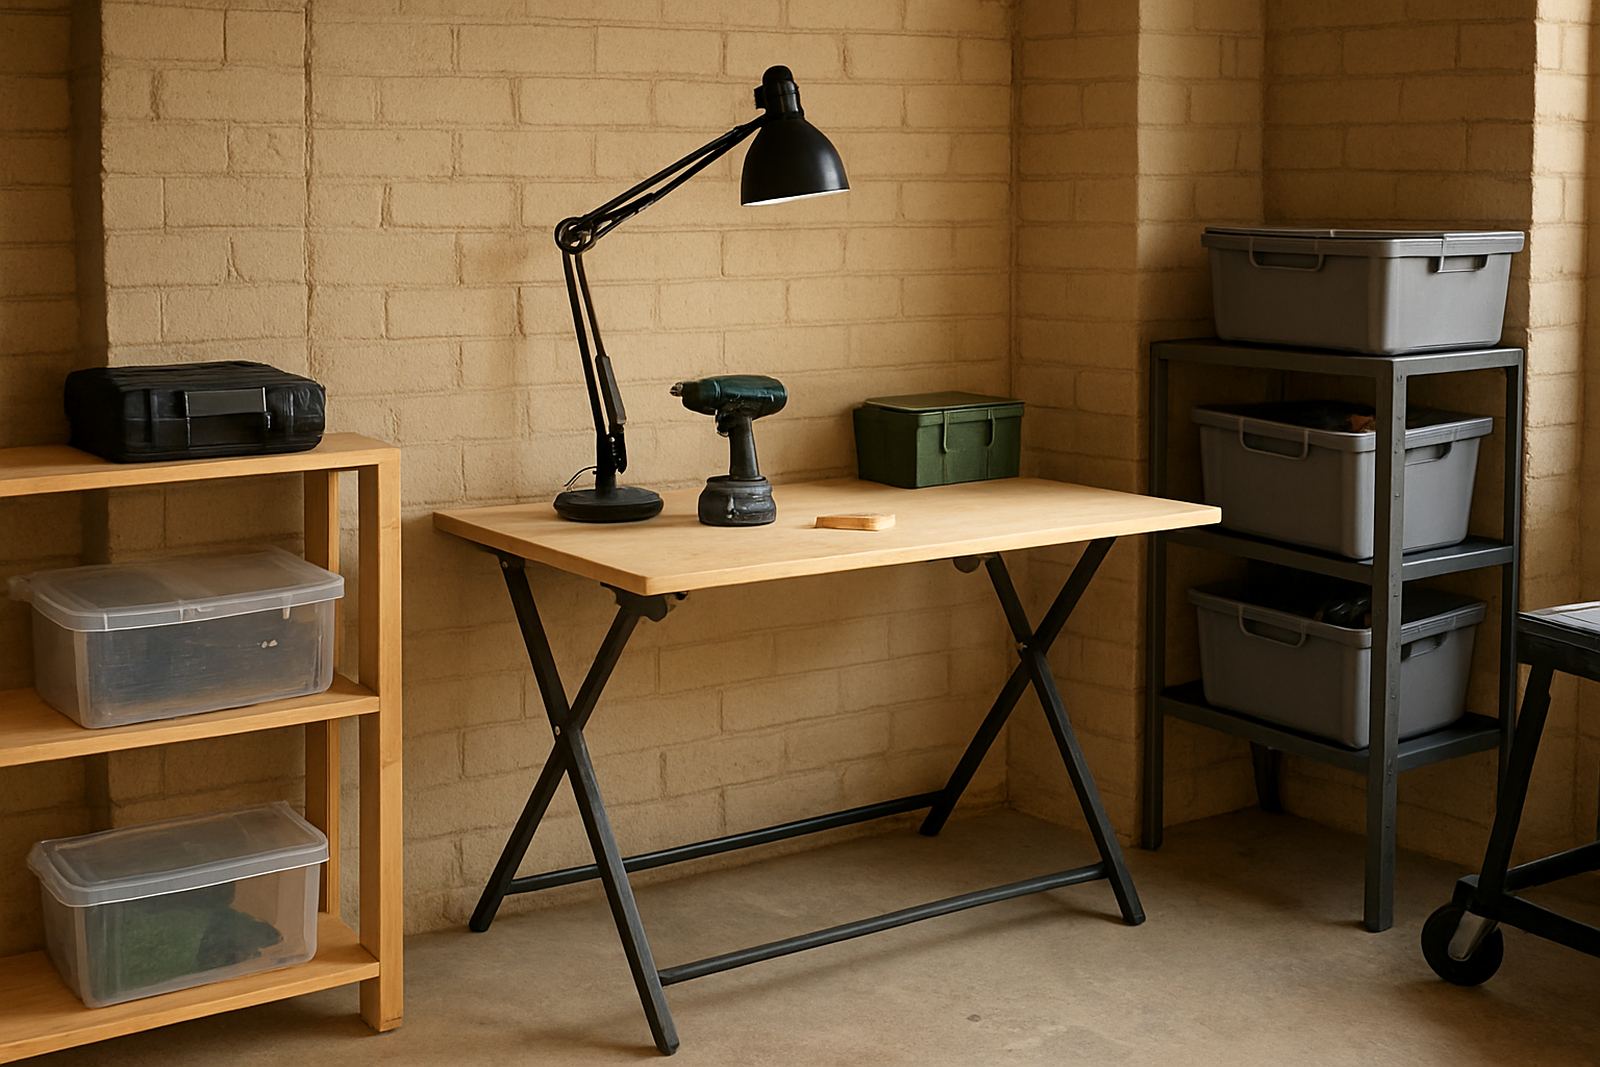
Once you know the footprint, divide it into three zones: active work, storage and packing or cleanup. For a tight room in Braamfontein or Midrand, a folding table or wall mounted bench can give you a proper work surface without blocking the room. Keep the main bench at a comfortable height, usually around 900 mm for standing work, and use a smaller shelf or trolley for items you use often.
Put the heaviest items low down so they do not tip over. Store fasteners, hand tools and consumables at arm height, and keep materials you use less often higher up. If you share the space with household storage, label everything clearly so there is no confusion when someone else reaches for a box. A tidy layout saves time and prevents mix ups.
- Keep tools you use every day within one step of the bench.
- Use clear containers for screws, cable ties and small parts.
- Separate clean storage from dusty work areas.
- Leave one surface free for checking, measuring or packing jobs.
3. Build a starter kit that matches your first projects
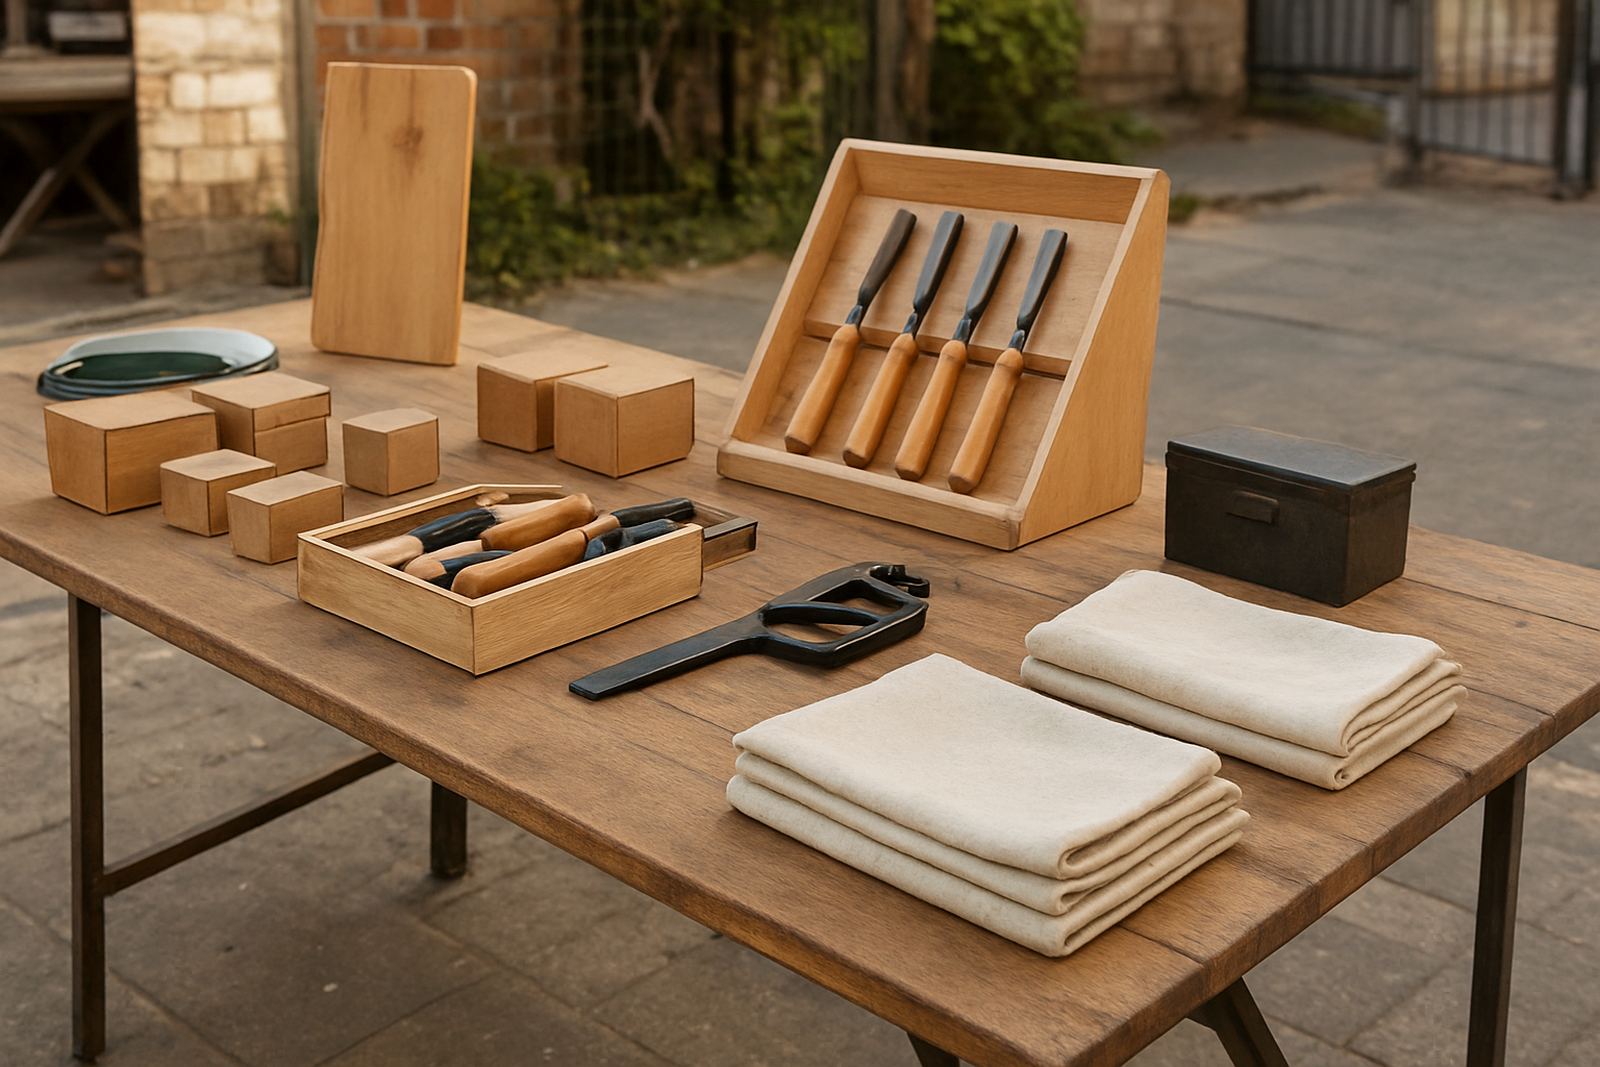
Do not buy every tool at once. Build your starter kit from the work you plan to do in the first month. For many home makers, that means a tape measure, square, utility knife, screwdrivers, pliers, clamps, marker pens and a small drill with bits. If you will be assembling displays, school items or simple furniture, add a mallet, spirit level and a set of hex keys. For craft or light electronics work, include a mat, cutter, tweezers and a soldering station if the job calls for it.
In coastal areas like Durban or Gqeberha, choose containers that close properly because humidity can rust tools quickly. In hotter rooms, avoid leaving glue, tape and plastics near a sunny window. Keep consumables in quantities that make sense for your budget, not just what looks neat on the shelf. A starter kit should help you finish jobs, not just fill a cupboard. If you are unsure what to buy first, list your top five tasks and match each one to the tools it needs.
- Hand tools for measuring, cutting and fastening.
- One powered tool only if you will use it often.
- Consumables such as tape, screws, glue and sanding sheets.
- Storage tubs, labels and a lockable box for sharp items.
4. Make power, lighting and load-shedding work for you
Good lighting matters more than most people think. A bright task light aimed at the bench reduces mistakes and eye strain, especially in winter when afternoons get dark early. Try to use a mix of overhead light and focused light on the work area. If your room only has one ceiling fitting, add a clamp lamp or an adjustable lamp near the bench so the shadow falls away from your hands.
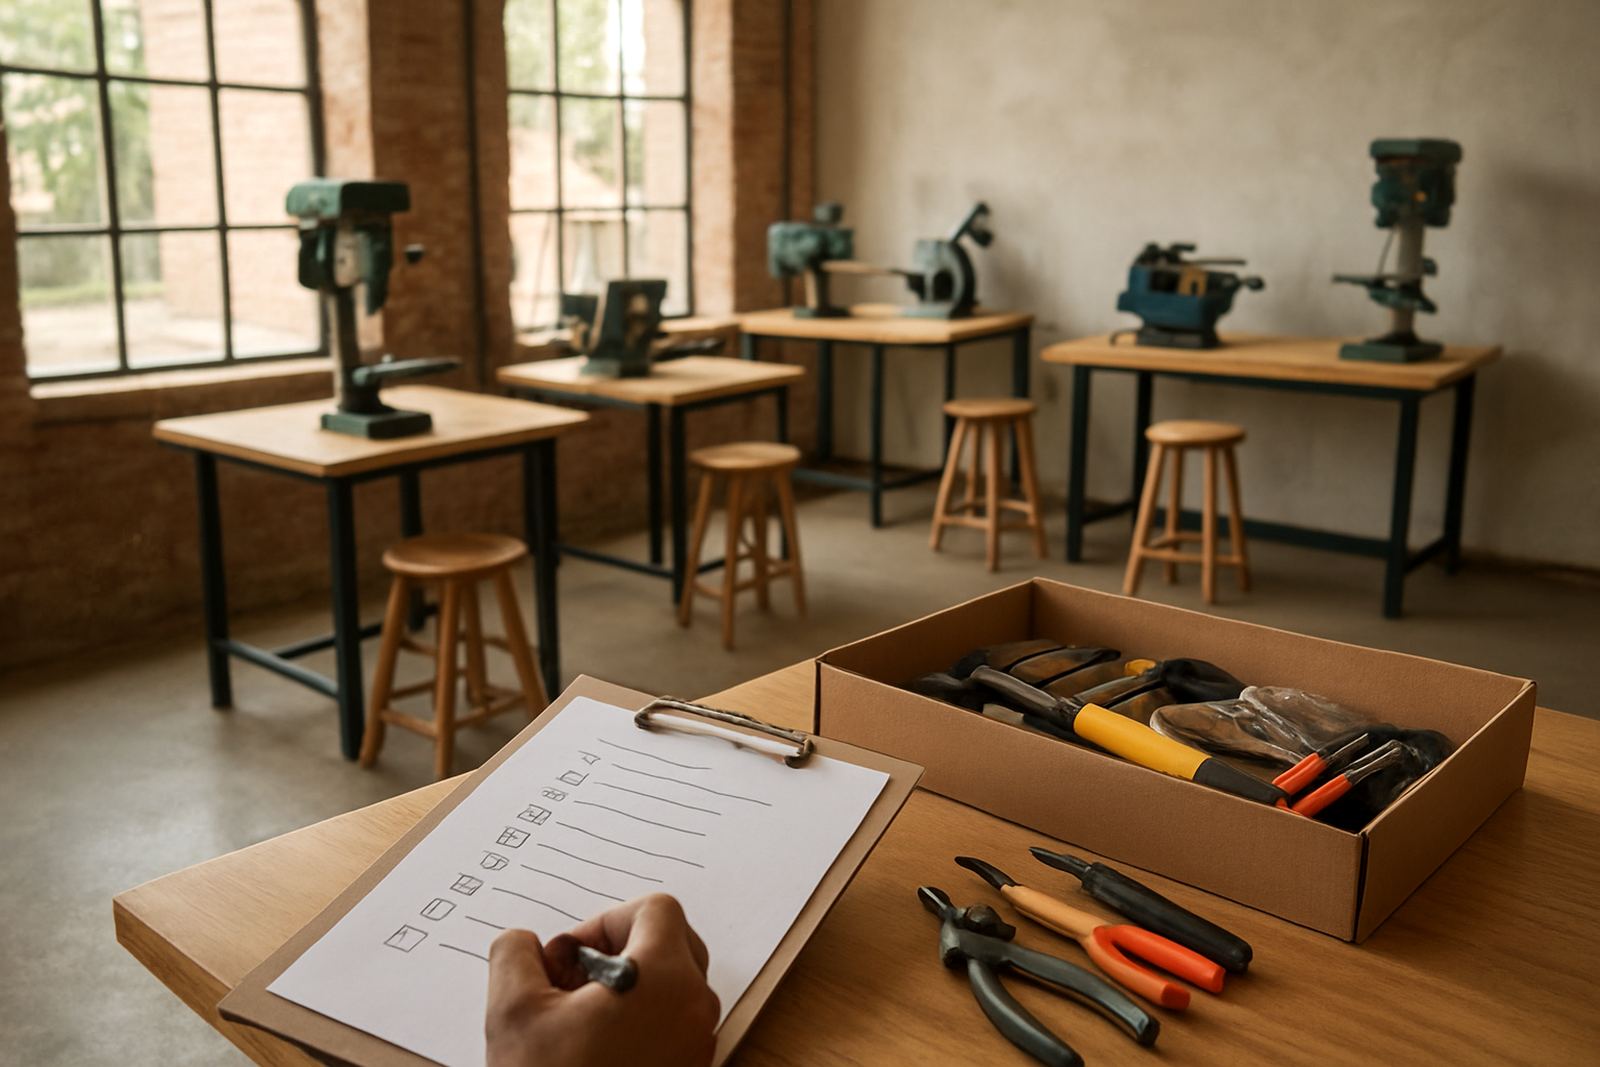
South African power cuts mean you need a plan before the lights go out. Keep chargers topped up, use battery lamps where needed and avoid overloading one wall socket with several high draw tools. If you run a drill, glue gun or charger from an extension lead, make sure the lead is in good condition and not under carpets. Put a simple power checklist near the door so you can switch off tools before you leave. That small habit prevents damage and saves money.
- Test your lights at night before a busy work session.
- Keep a charged backup lamp in the room.
- Use surge protection for sensitive equipment where possible.
- Never trail cables across walkways or door thresholds.
5. Keep the space safe, clean and compliant
Safety in a home workspace is not complicated, but it does need discipline. Keep sharp tools covered, store blades separately and do not leave cords where someone can trip. If you work with dust, paint or fumes, open windows on opposite sides of the room and use a fan to move air out. In some body corporate or rental settings you may also need to respect noise, smoke and storage limits, so check the rules before you bring in bigger equipment.
Clean as you go. A five minute sweep at the end of each session stops dust building up on tools and makes the next session faster. Keep a small fire extinguisher or fire blanket nearby if you use heat or electrical tools often, and know where the nearest exit is. Make a habit of checking cords, plugs and tool casings every few weeks. A cracked cable or loose fitting is cheaper to fix early than after a failure.
- Store chemicals and adhesives away from heat sources.
- Keep a first aid kit and plasters within reach.
- Use labelled bins for waste, scrap and recyclables.
- Check that smoke, dust and noise do not upset neighbours.
6. Set up your weekly routine so the room stays usable
A small workspace only works if it stays ready for the next job. Create a simple weekly routine: clear the bench, restock consumables, check tools and return everything to its place. If you share the room with a garage, laundry or guest space, use covered storage so items are protected from dust and moisture. A locked cupboard is useful in family homes where several people may pass through the area.
If your work grows, review the layout every month. You may need more shelving, a better chair, stronger storage or a different surface height as projects become more serious. For makers in Sandton, Cape Town or Soweto who want extra support, a makerspace day can help when you need heavier tools, training or a larger table for one-off jobs. The aim is to keep your home space practical, not crowded. Small improvements done on time are better than a full clean up after the room has become unworkable.
- Reset the room at the end of each week.
- Replace blunt blades, weak batteries and missing fasteners.
- Review what you used most and move it closer to hand.
- Remove items you have not touched in three months.