Start With a Clean, Honest Setup
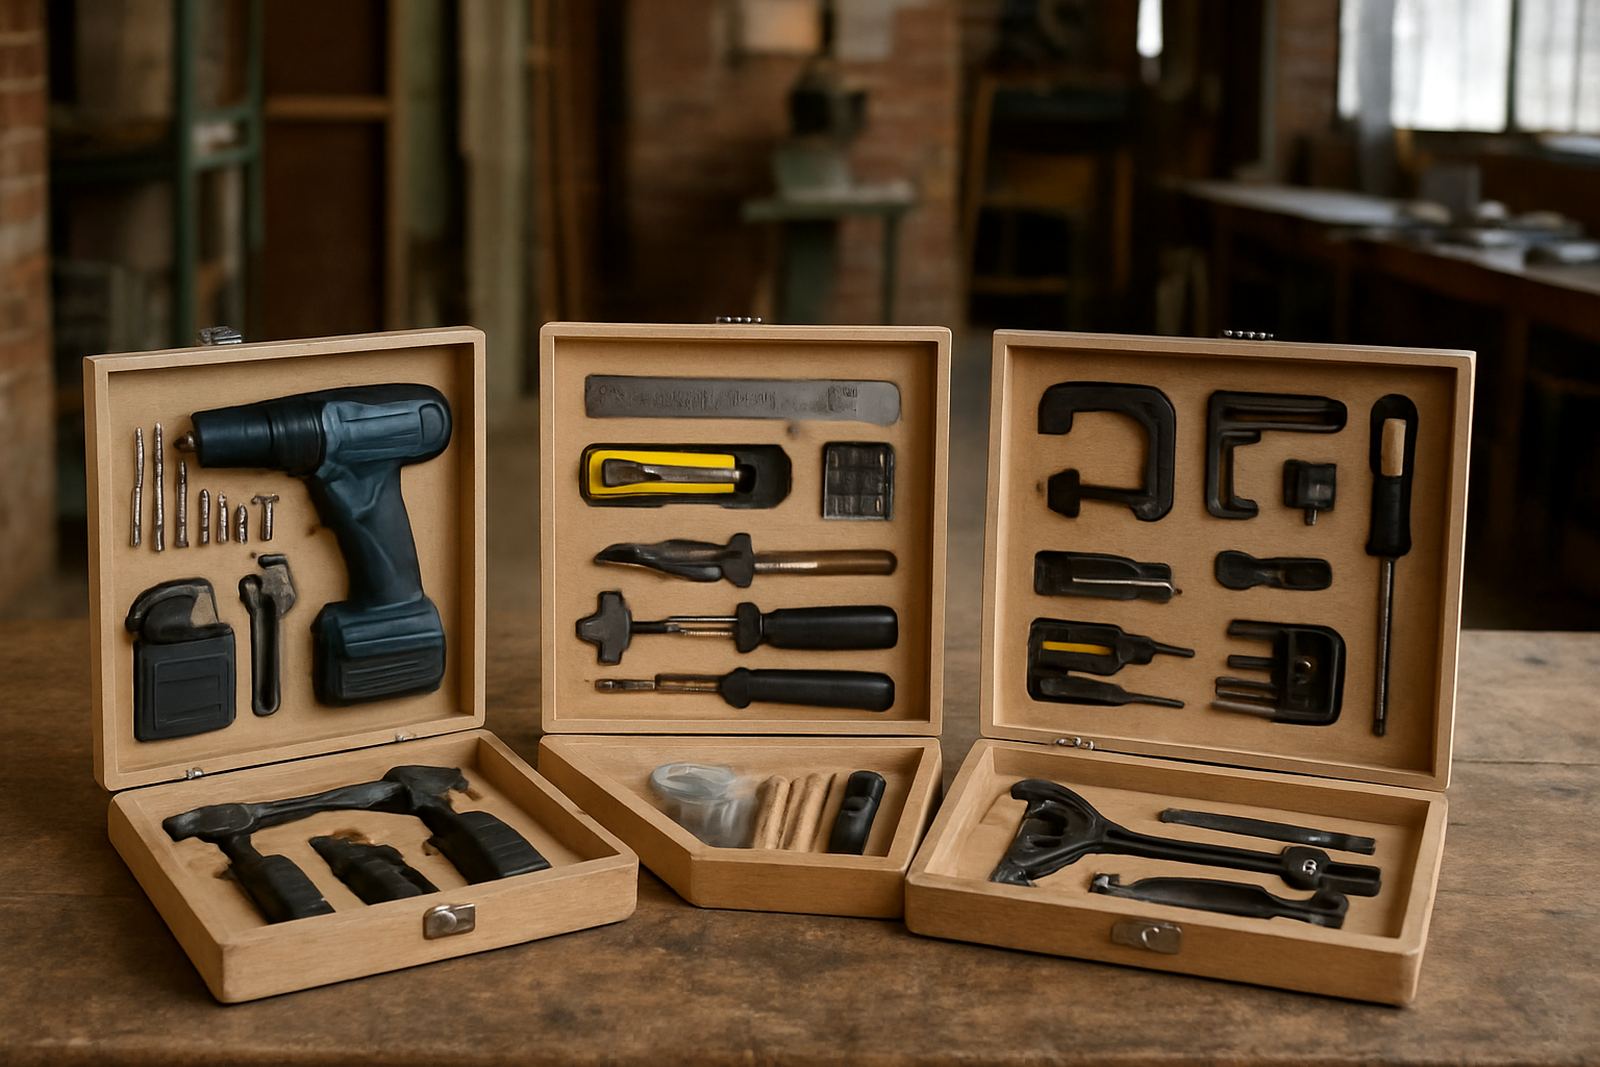
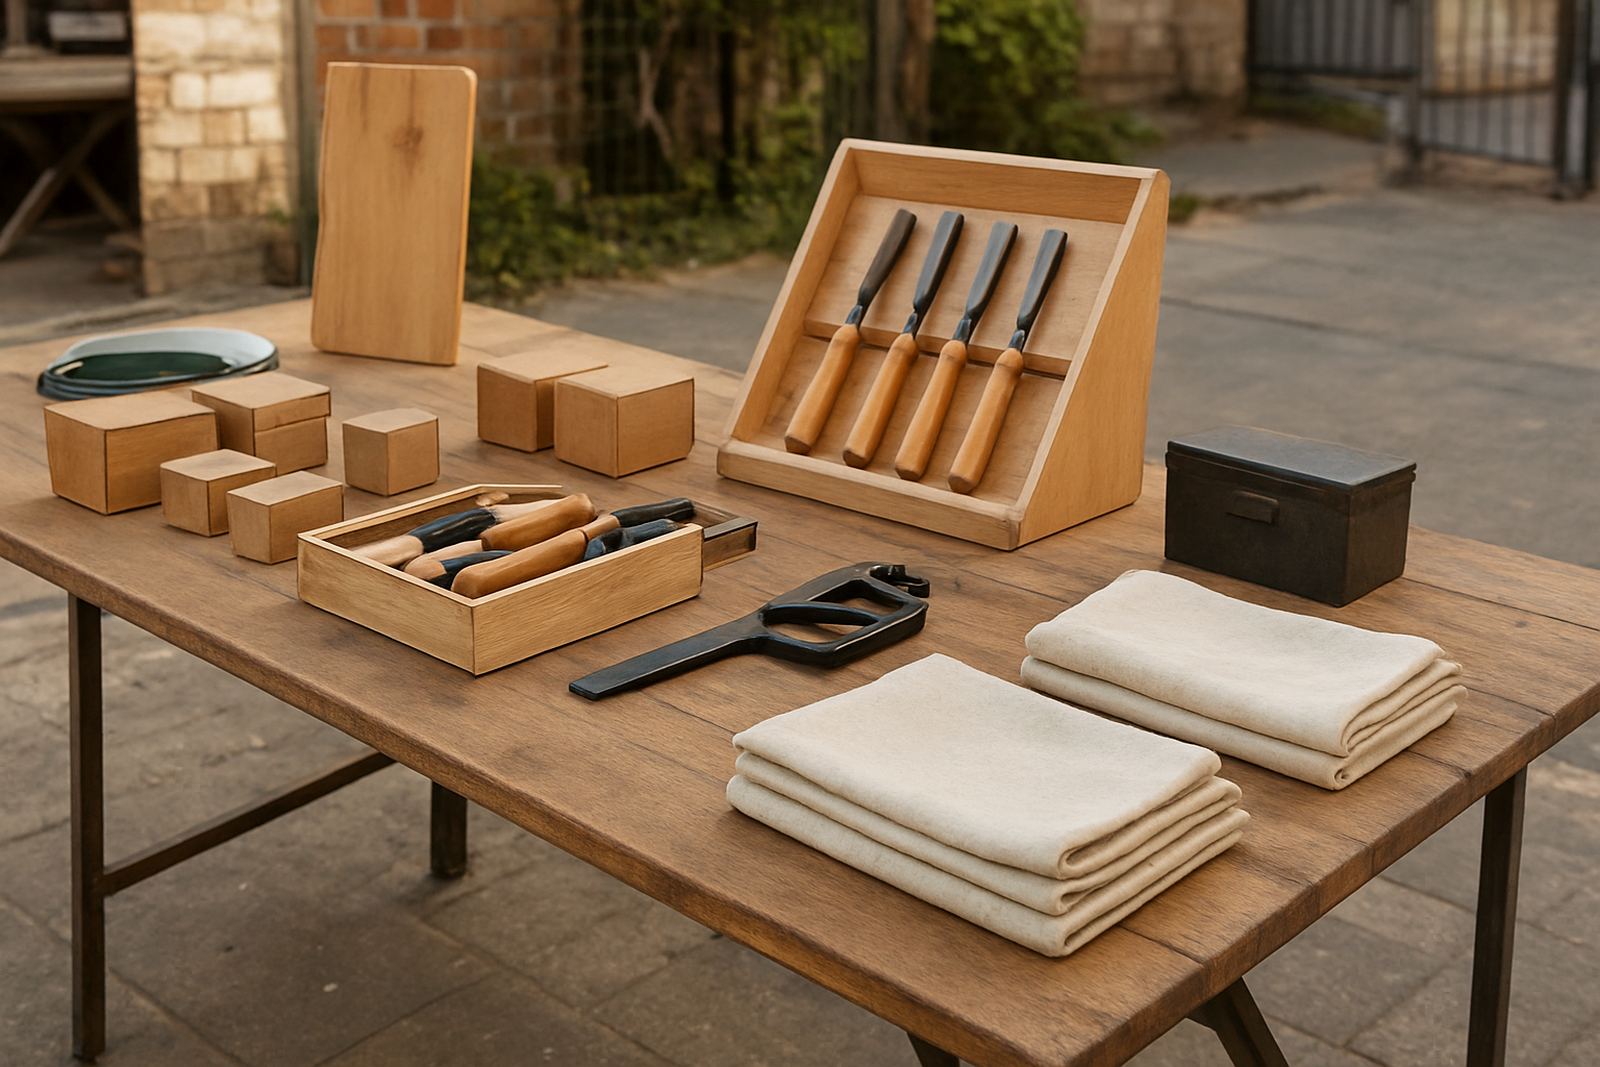
Before you pick up a camera, clear the space around the build. Move offcuts, loose wire, tape rolls and tool bags out of frame so the project reads clearly. In a Braamfontein workshop or a shared venue in Soweto, a tidy corner near a wall often works better than a busy bench. If the floor is rough or marked, lay down a clean board, sheet of plywood or plain cloth so the background does not distract from the item.
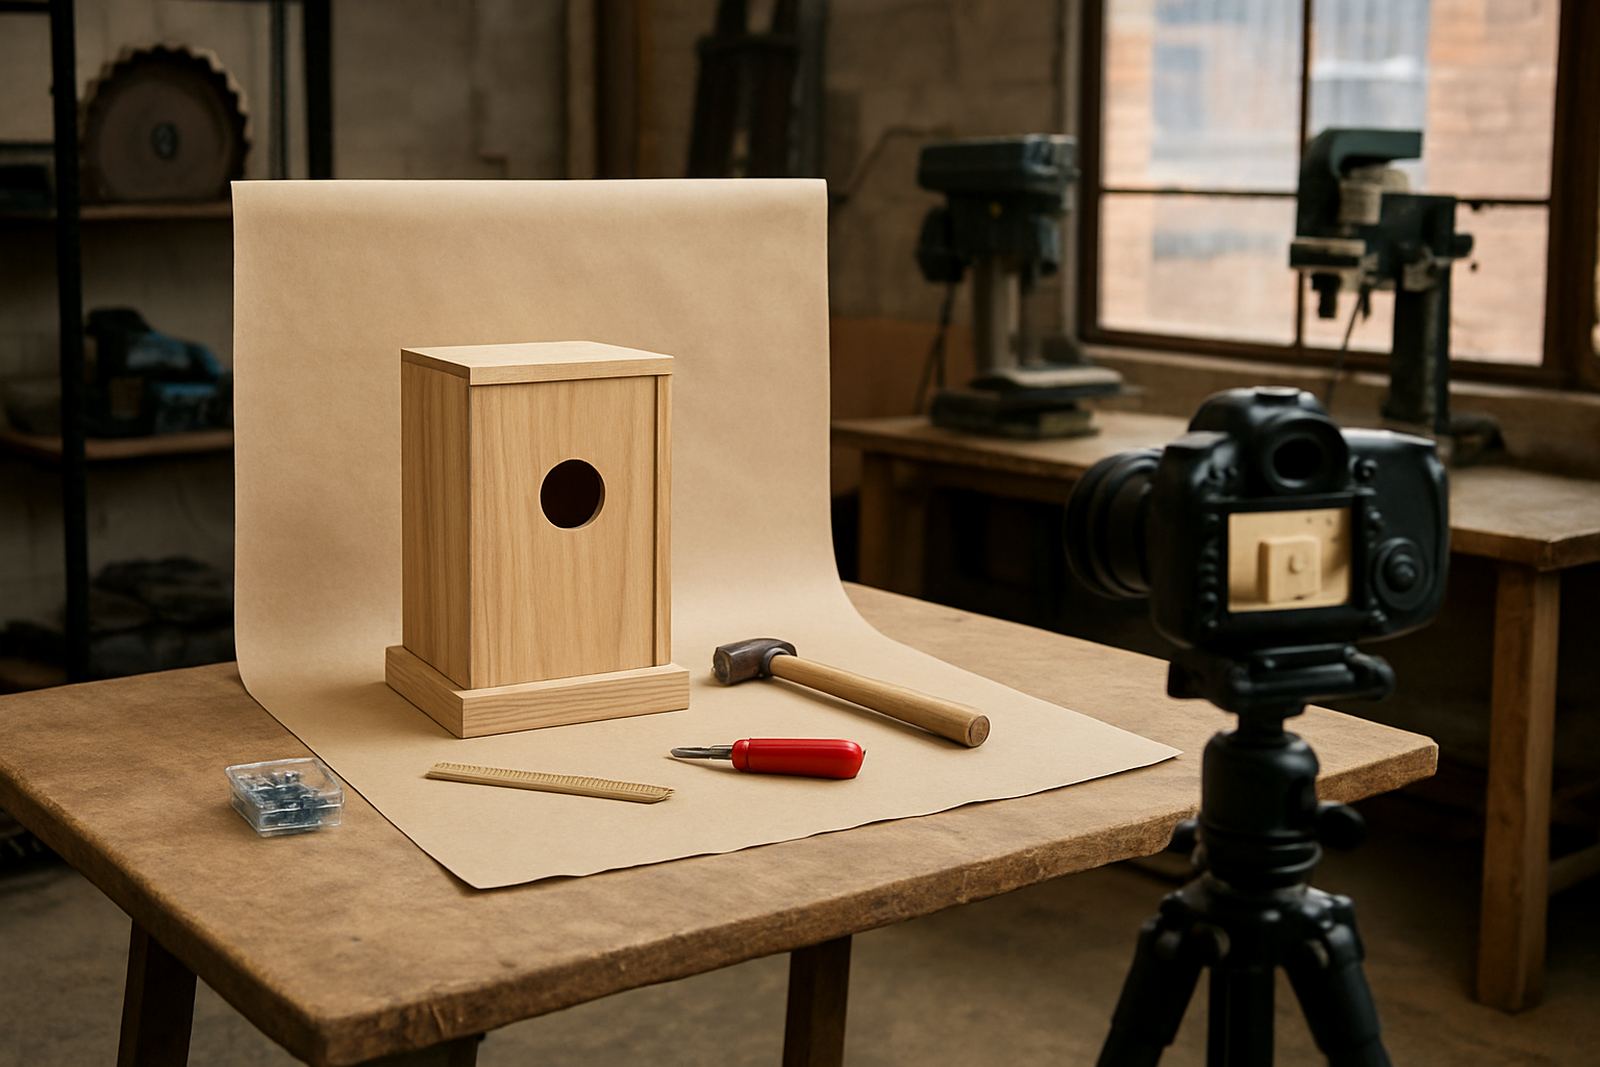
Check what the viewer needs to understand. For a tool, show the body, handle, switches and any moving parts. For a prototype, include the full unit and one closer view of the key detail. If the item is meant for sale, people also want size context, so place a ruler, tape measure or hand in one image. Clean the build first too. Dust, glue marks and finger prints show up more than most makers expect, especially in strong morning light.
- Wipe the surface and remove loose debris.
- Choose a plain wall, sheet, board or neutral floor.
- Keep one or two context items only, not the whole bench.
- Set out the project before you start shooting.
Use Light That Flatters the Work
Natural light is usually the easiest option. Shoot near a window or in open shade outside, then turn off harsh overhead tubes if they create patchy colour. In coastal humidity, especially in Durban or Gqeberha, windows can fog up and make the room seem dull so give yourself time for the light to settle. In Johannesburg winter, late morning light is often cleaner than early grey light. If the sun is very direct, bounce it off a white board or use a plain curtain to soften shadows.
If you must shoot after load-shedding or in a dim venue, use a steady light source from two sides rather than a single bright lamp. The goal is even light across the object, not a dramatic effect. Avoid mixed colour temperatures where one side is blue and the other looks yellow. That kind of mismatch makes painted surfaces, timber and fabric look wrong on screen.
- Prefer open shade or a bright window with indirect light.
- Turn off mixed lighting if it changes the colour.
- Use two light sources if the room is dark.
- Keep the object still while you shoot.
Frame the Build So It Tells the Story
Good framing means the photo explains what the build is and why it matters. Take at least three angles: one full view, one three-quarter view and one close detail. For a maker kit, show the finished item and the parts that went into it. For a workshop station, include the layout from the entrance side so the arrangement makes sense to a new user. If you are taking photos for a funding application, capture any safety signage, labelled storage and the cleared working area as part of the story.
Keep lines straight. A tilted camera can make shelving, jigs and machines look untidy even when the space is in good order. Stand square to the item where you can and step back instead of shooting too close. If you crop tightly, leave a little breathing room around the build so you can later trim for a square post, a website banner or a portrait layout without losing key details.
- Take one full shot, one angled shot and one close-up.
- Keep vertical lines upright where possible.
- Leave space around the item for later cropping.
- Show the parts that prove how the build works.
Set Up a Simple Shot List Before You Begin
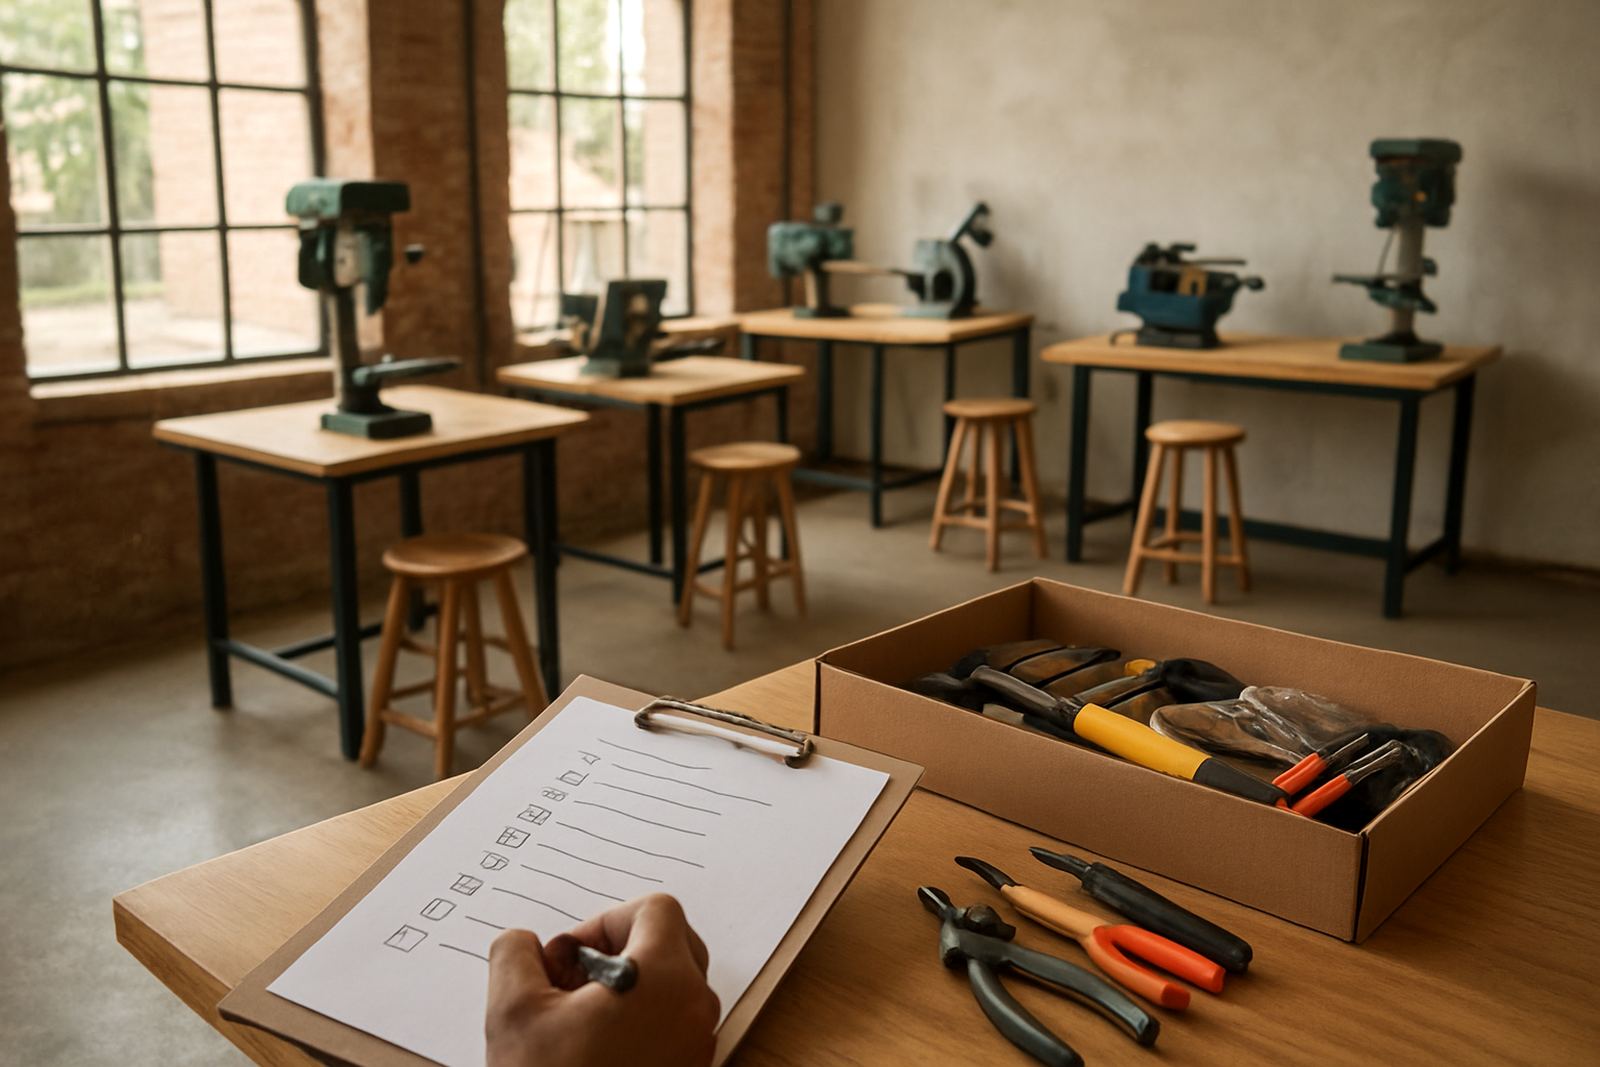
A short shot list saves time when the project is already packed for transport or the venue is shared with other makers. It also helps when your team is rotating through a space in Midrand or Pretoria East and you only have a small window between sessions. Write down the images you need before you start. That way you do not forget the detail shot, the branding shot or the image that shows scale.
Use the same order each time so your team can repeat it on future projects. The list below works for most builds, whether you are photographing a repaired machine, a school lab refresh or a starter kit sample. Keep your notes on a phone or printed card and tick them off one by one.
- Front view of the full build.
- Angled view that shows depth and shape.
- Detail of the main join, mechanism or finish.
- Scale shot with ruler, hand or known object.
- Use shot in context, such as a table, wall or bench.
- Any safety feature, label or storage detail.
Shoot for Portfolios, Sales Pages and Applications
Different uses need slightly different photo choices. A portfolio image should show craft and care. A sales page image should show the product clearly with little clutter. An application image should prove the work is real, organised and safe to use. If you are submitting to a school, funder or event organiser, include one photo of the finished project and one photo that shows process or setup, because decision makers often want evidence, not just a nice picture.
Think about the people who will view the photo on a small screen. Busy backgrounds, dark corners and tiny details get lost quickly. For that reason, keep your main subject large in the frame and avoid placing it too close to edges. If text appears on a label or sign, make sure it is readable. For shared workspaces, do a quick check that no learner names, private paperwork or personal items are visible.
- Portfolio: show quality, finish and workmanship.
- Sales page: show the item cleanly and clearly.
- Application: include proof of use, setup and safety.
- Shared venue: remove private papers and personal items.
Finish With Basic Editing and File Checks
Once the photos are taken, do only the edits that improve clarity. Crop out distractions, straighten the frame and adjust brightness if the image is too dark. Keep colour true to life so timber, metal and paint still look like the real object. Avoid over-sharpening or heavy filters. If the photo starts to look fake, it is doing too much work. A clear image with honest colour is usually better than a flashy one.
Before you send or upload anything, check the file name and size. Use names that describe the build, date and angle, such as workshop-stool-front or kit-prototype-detail. This makes it easier to sort work from different venues and teams. Save one full-size file for future use and one smaller file for quick sharing. If you photograph often, keep a simple folder system by project and month so you can find older work without hunting through hundreds of images.
- Crop, straighten and clean up the frame.
- Keep colour accurate and avoid heavy effects.
- Save a full-size copy and a smaller share file.
- Name files clearly so they are easy to find later.