Choose One Build That Fits the Time You Have
Keep the first class simple. A 90 minute session should produce one finished item or a clear working prototype, not three different projects. For schools in Soweto, community centres in Pretoria East, or a weekend class in Braamfontein, pick a build that suits the age group and the tools on hand.
Good starter classes include a storage caddy, a phone stand, a basic circuit demo, a fabric pouch, or a small planter box. If the group is mixed ability, choose one core task and one optional extension so faster learners stay busy. That keeps the room calm and makes it easier to supervise everyone properly.
Set the Timing Before Anyone Arrives
Work backwards from the finish time. Allow 10 to 15 minutes for sign in, a safety talk, and setting out materials. The main build should take 45 to 60 minutes, with the final 15 minutes for testing, cleaning, and packing away. Leave a small buffer because glue, paint, or drying time always takes longer than expected.
- Arrival and sign in: 10 to 15 minutes
- Safety briefing and tool demo: 10 minutes
- Main build time: 45 to 60 minutes
- Testing and show-and-tell: 10 to 15 minutes
- Clean-up and stock count: 10 minutes
If your class runs over lunch or after school, tell people up front what time they will finish. In Johannesburg traffic, late arrivals happen and so do power cuts, so build in a little slack rather than packing the session too tight.
Lay Out the Space So Movement Stays Easy
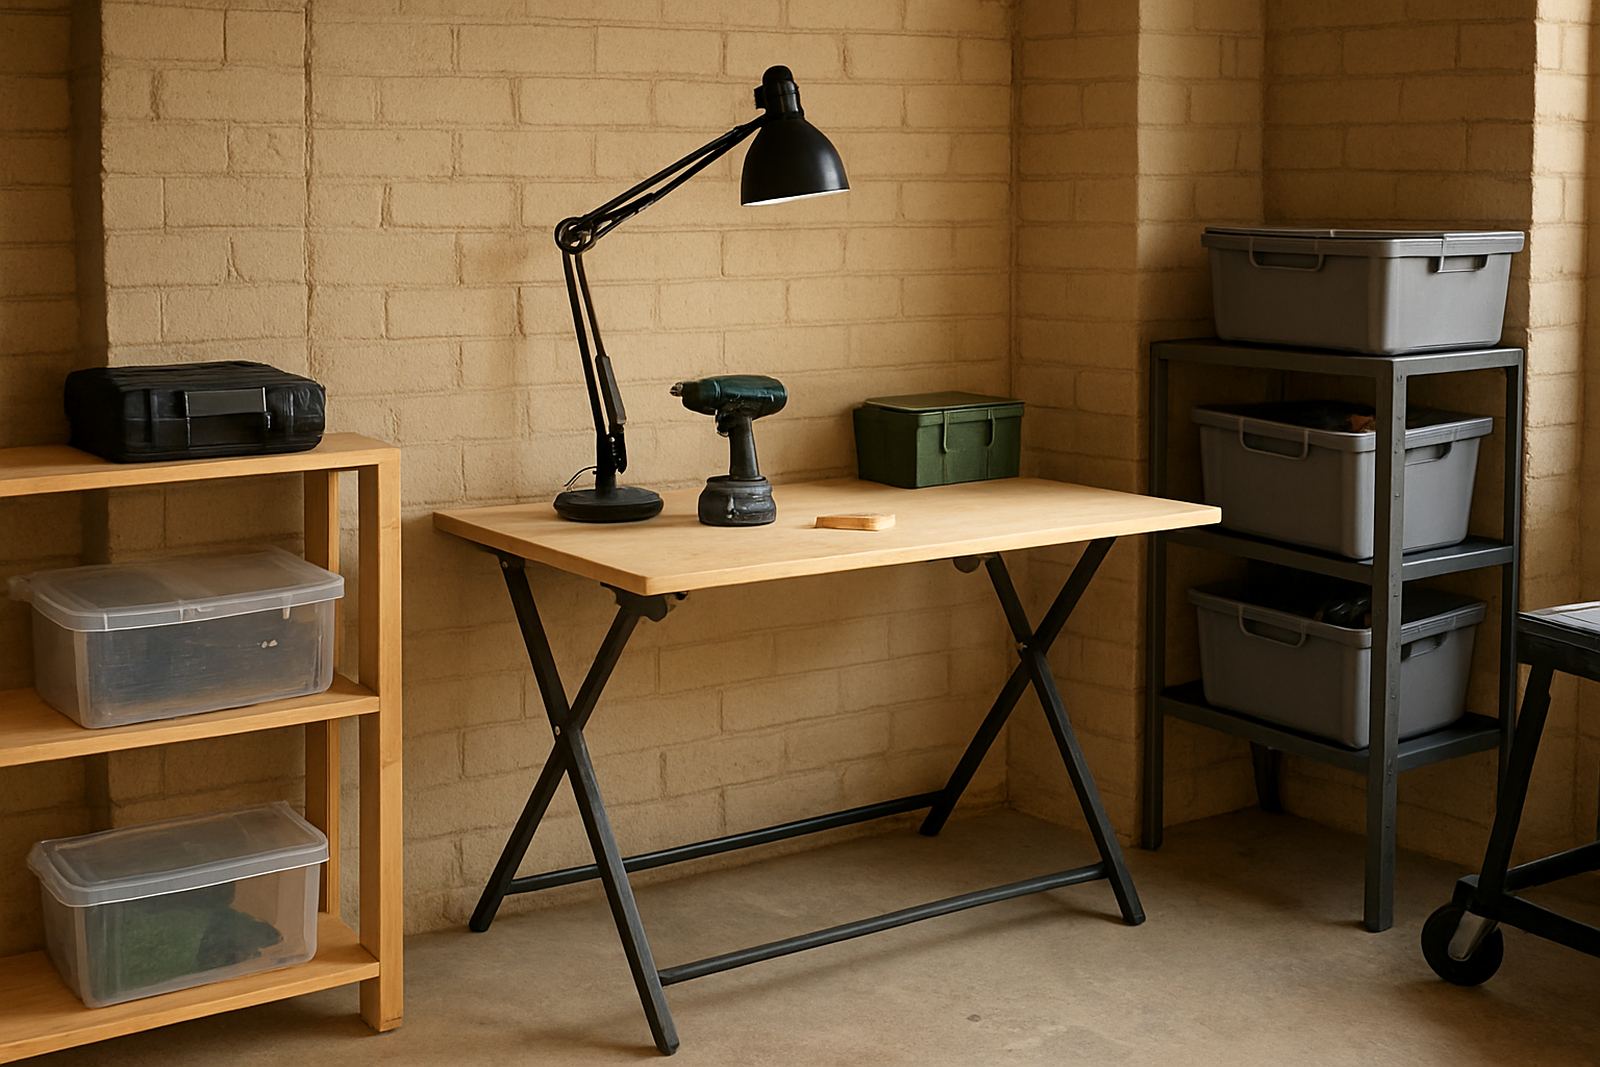
Before the class starts, decide where learners enter, where tools sit, and where finished items will dry or cool. Keep cutting, heating, and soldering work away from walkways. A clear layout also helps when you run classes in shared venues, church halls, or partner makerspaces with limited floor space.
Use separate zones for prep, making, and cleanup. Put a water point and first aid kit where staff can reach them fast. If your class uses electricity, check plug points early and keep an eye on load-shedding schedules. In coastal venues like Durban or Gqeberha, store paper, timber, and fabric off the floor because humidity can affect materials overnight.
- One table for tools only
- One table for materials and consumables
- One clear area for finished work
- Clear path to exits, sinks, and power points
- Visible safety signage at eye level
Prepare Materials, Quantities, and Backup Stock
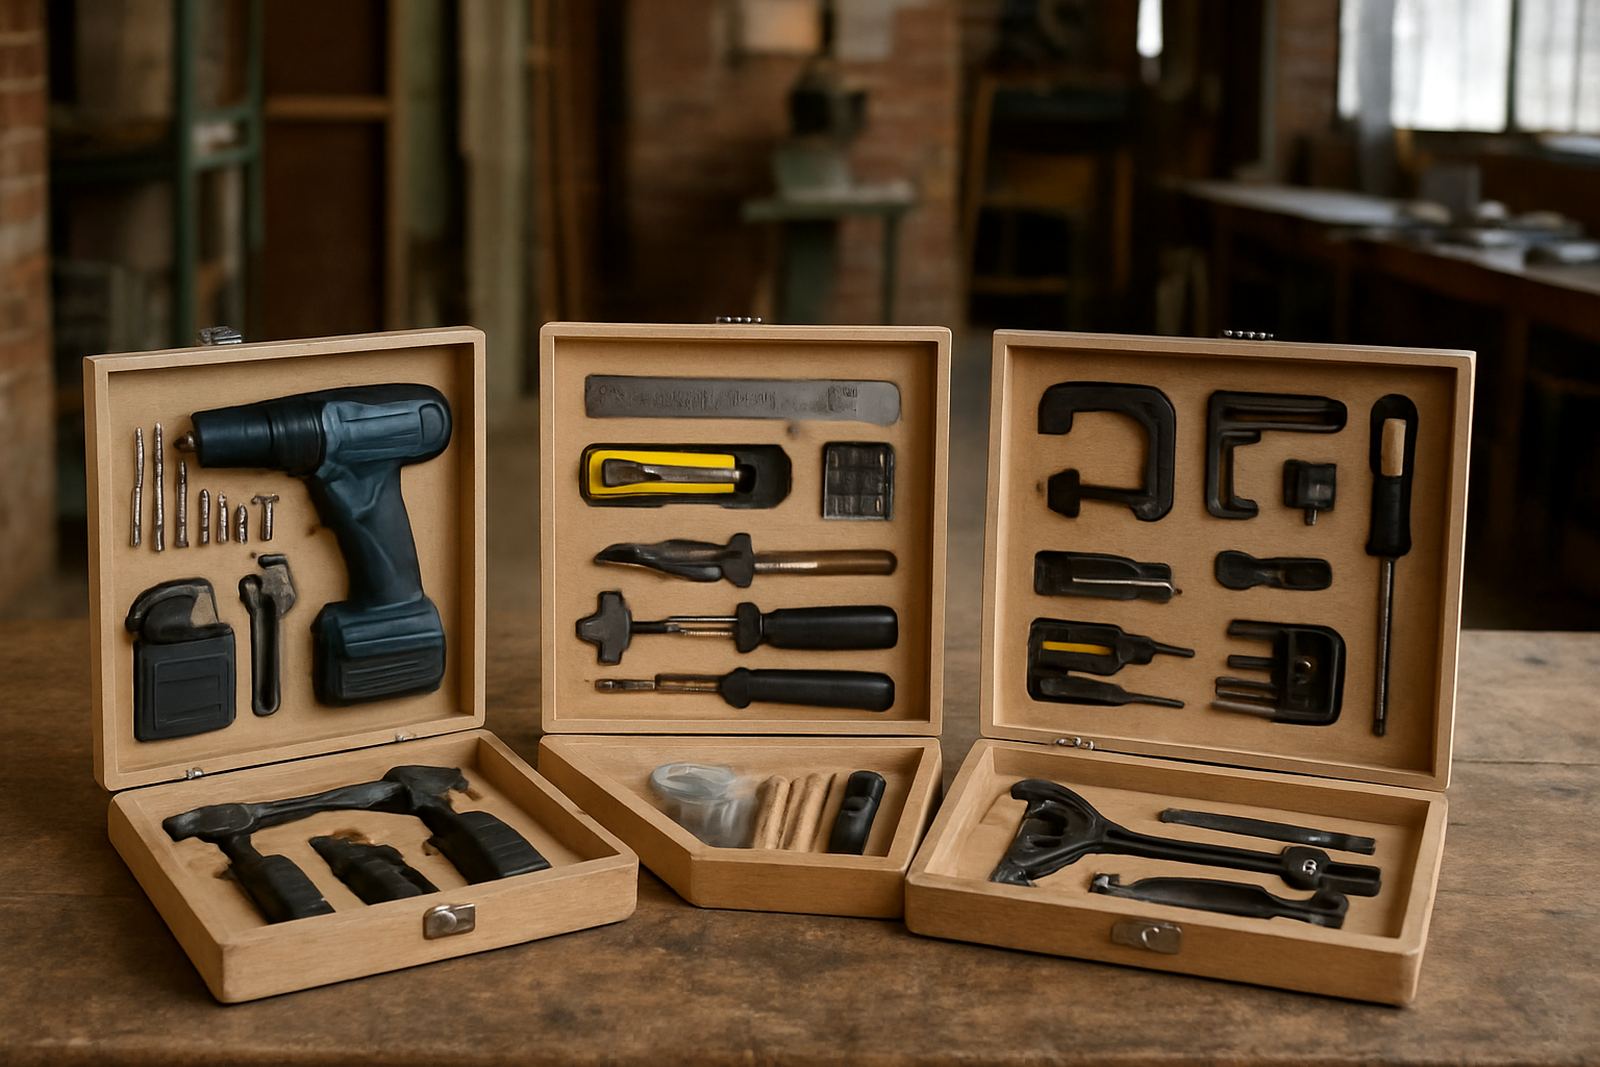
Count every item before the class begins. For a group of 12, pack 12 sets of parts plus 2 spares. That extra stock saves the session when a piece breaks, a battery goes missing, or a learner makes a mistake and needs a replacement.
Use simple labels on each bundle so learners can work at the same pace. Keep consumables in sealed tubs or zip bags and write the contents on the outside. If the project uses blades, glue guns, drills, or small electronic parts, keep them in the facilitator area until needed. That reduces waste and helps you keep the room tidy, which is a lot easier than sorting a mess at the end.
- Pre-cut parts for each learner
- 2 spare kits per 10 participants
- Markers, tape, glue, and wipes
- Charging cables or batteries if needed
- Rubbish bags and a small sweep-up kit
Assign Supervision and Support Roles Clearly
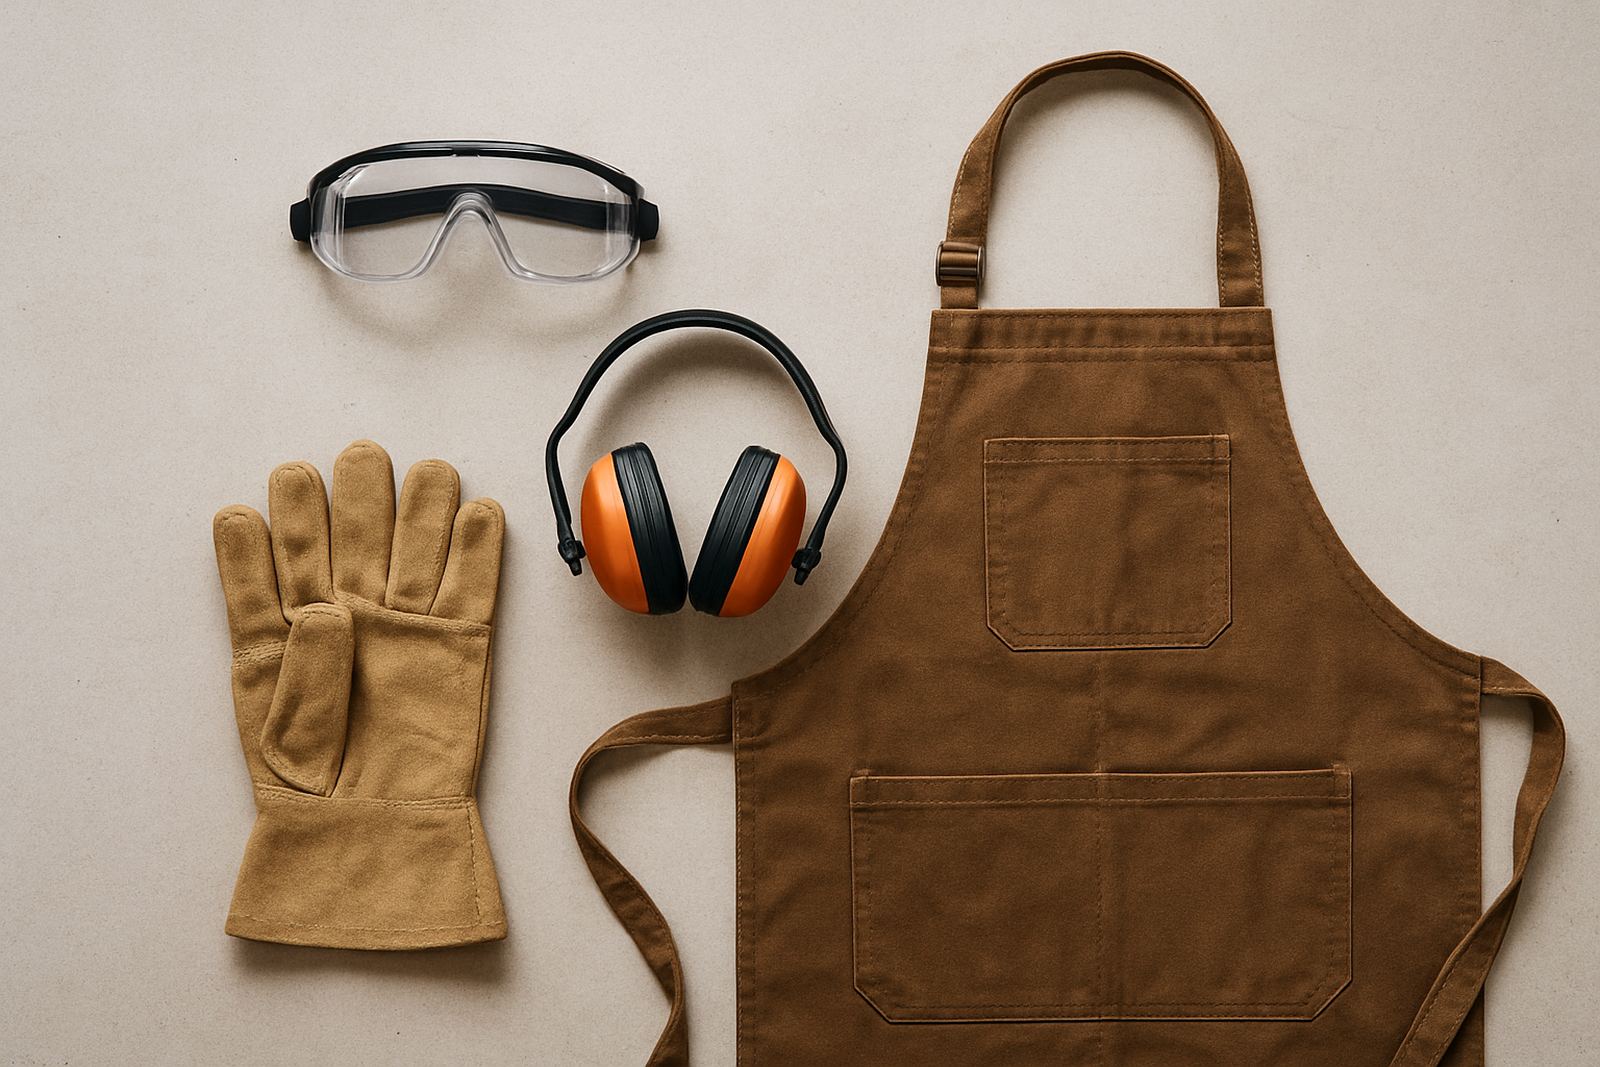
Do not let one person carry the whole session. For a small group, one facilitator and one assistant may be enough. For larger sessions, add a runner for stock and a person to watch safety points. If learners are under 16, keep the supervision ratio tighter and make sure every sharp or hot tool is controlled by an adult or trained helper.
Say who does what before the group arrives. One person leads the demo, one checks tools, one helps slower learners, and one manages the clock. If there is a school teacher or youth leader present, give them a role too. That way no one stands around waiting to be told what to do, and the class keeps moving without confusion.
Finish With Testing, Cleanup, and Next Steps
The last 15 minutes matter. Ask learners to test their item, label it, and explain what they made. A short review helps them remember the steps and gives you a quick way to spot anything that needs repair or a second pass.
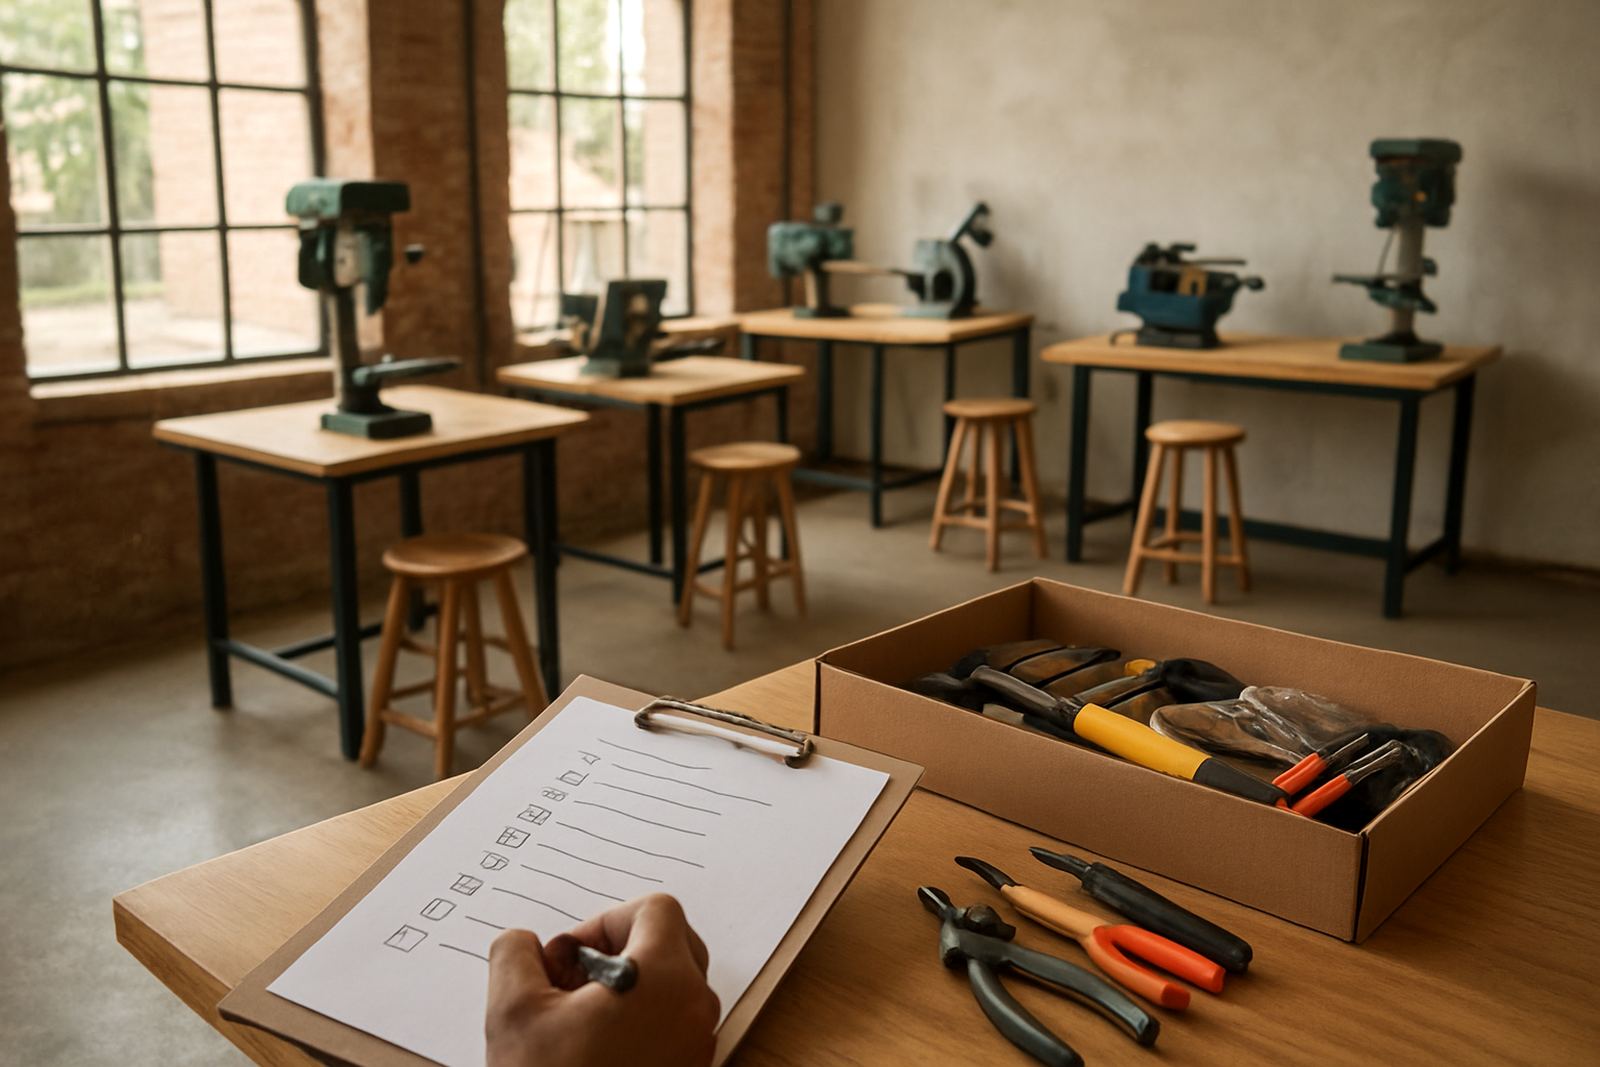
End with a tidy pack-down list. Check tools, count leftover consumables, wipe surfaces, and store anything reusable in clearly marked tubs. If the class is part of a programme, note what worked, what ran slow, and what needs more support next time. A simple review sheet makes the next session smoother and avoids repeating small mistakes.
- Test each finished item
- Collect feedback from learners
- Count stock and return tools
- Record damage or missing parts
- Note timing for future classes