Start With One Clear Outcome
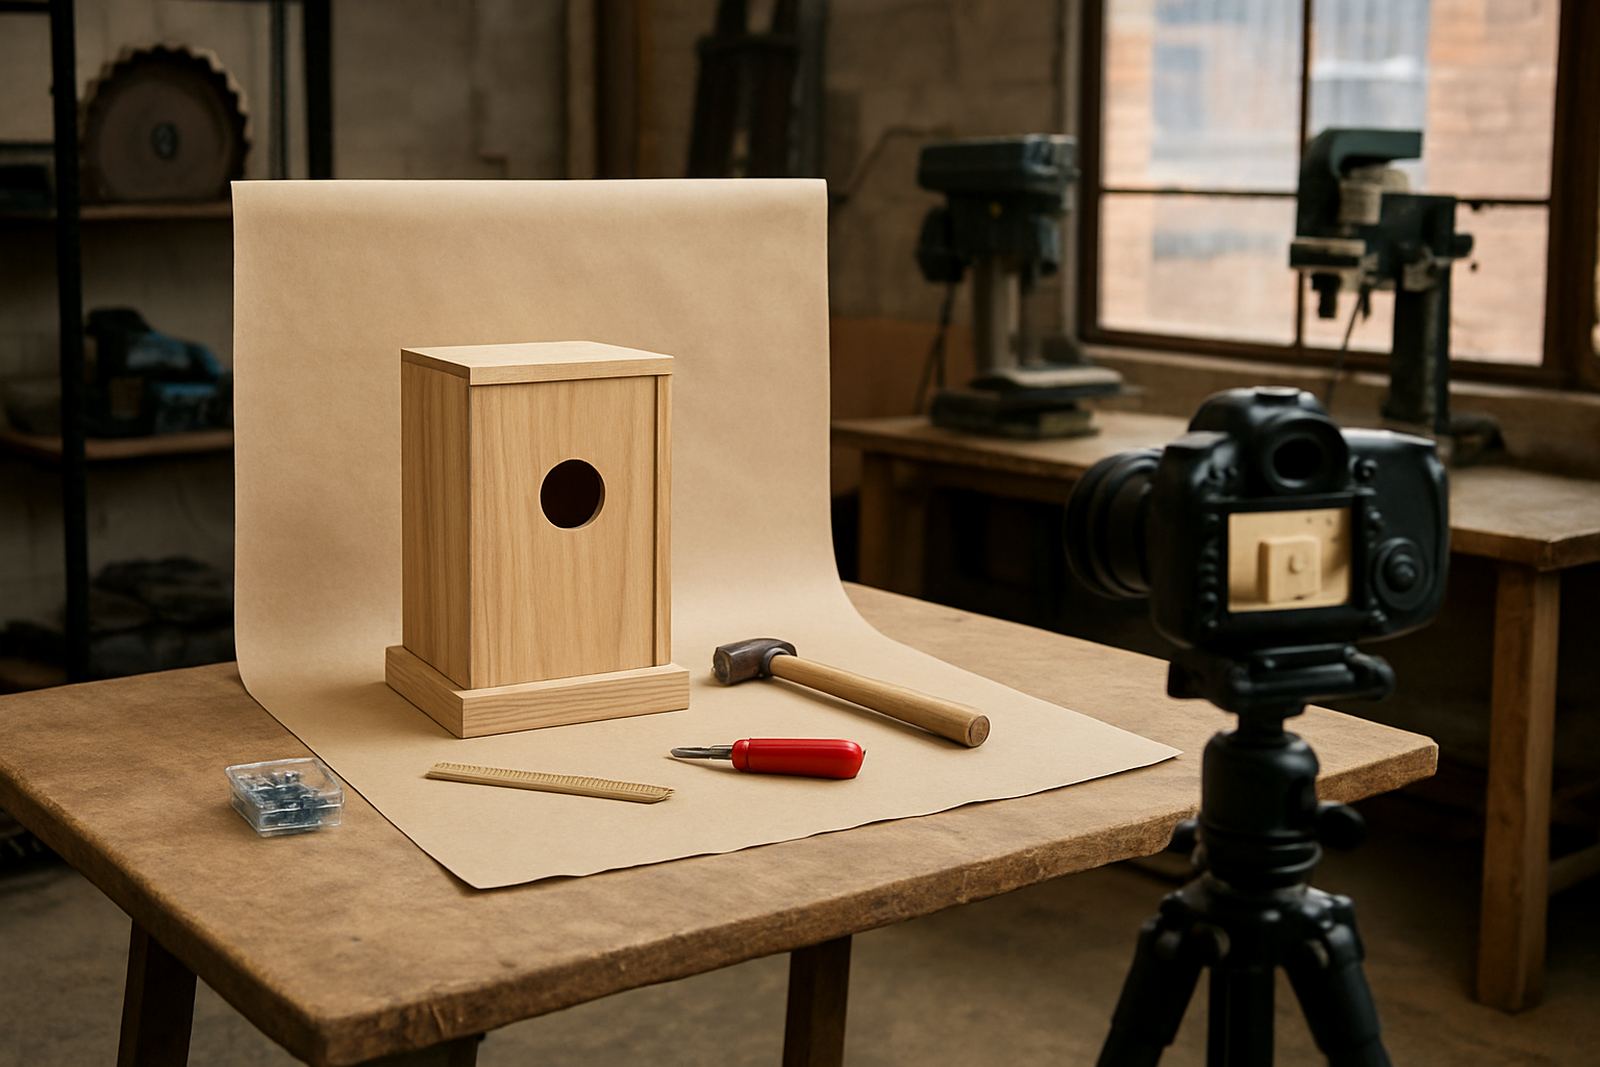
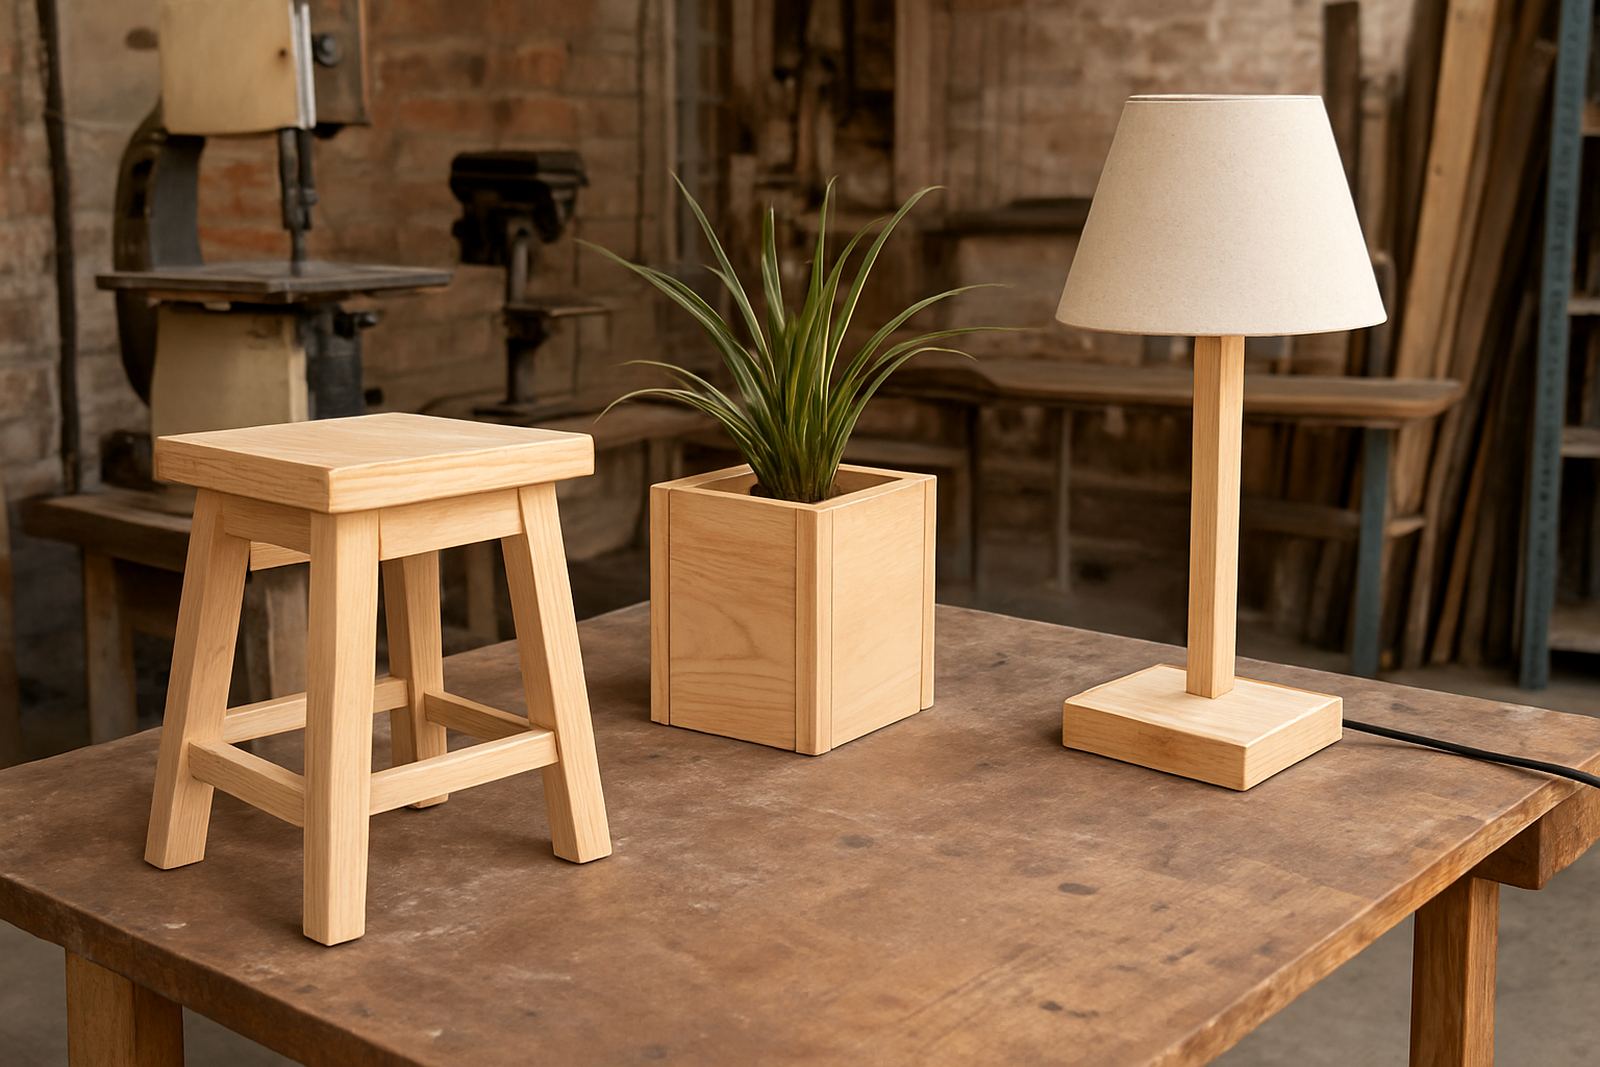
The best first project has one job, one location, and one set of materials. A simple storage crate, small workbench stool, planter box, breadboard circuit, or hand tool holder is easier to plan than a project with moving parts, motors, or a long cut list.
In Braamfontein, Sandton, Midrand and Pretoria East, we often see first-timers try to do too much in a single build. Keep it practical. If you can explain the finished item in one sentence and sketch it on one page, you are on the right track.
- Choose a project you can use at home, school, or in a shared workshop.
- Keep the material list short, ideally under 10 items.
- Prefer straight cuts, simple joins, and hand tools over complex machinery.
- Aim for a build that can be completed in 6 to 12 hours, not a month of weekends.
Match The Project To Your Skill Level
Pick something that teaches one new skill and uses one or two familiar ones. If you have never used a drill, choose a build that only needs measuring, marking, drilling, and fixing parts together. If you already know basic wood work, move up to sanding, squaring corners, or fitting hinges.
Good first projects should leave you with a sense of progress, not a pile of offcuts and frustration. For younger makers, school groups, or teams starting a maker club, a shared build with repeatable steps works better than a one-off challenge. It also helps with member onboarding and facilitator support because everyone can follow the same process.
- Beginner level: organisers, simple stands, hooks, shelves, seed trays, cable holders.
- Intermediate level: small boxes with lids, wall mounted storage, jigs, tool trays, lamp frames.
- Avoid for now: welded frames, precision cabinetry, high voltage electronics, large outdoor structures.
Check The Space Before You Choose The Build
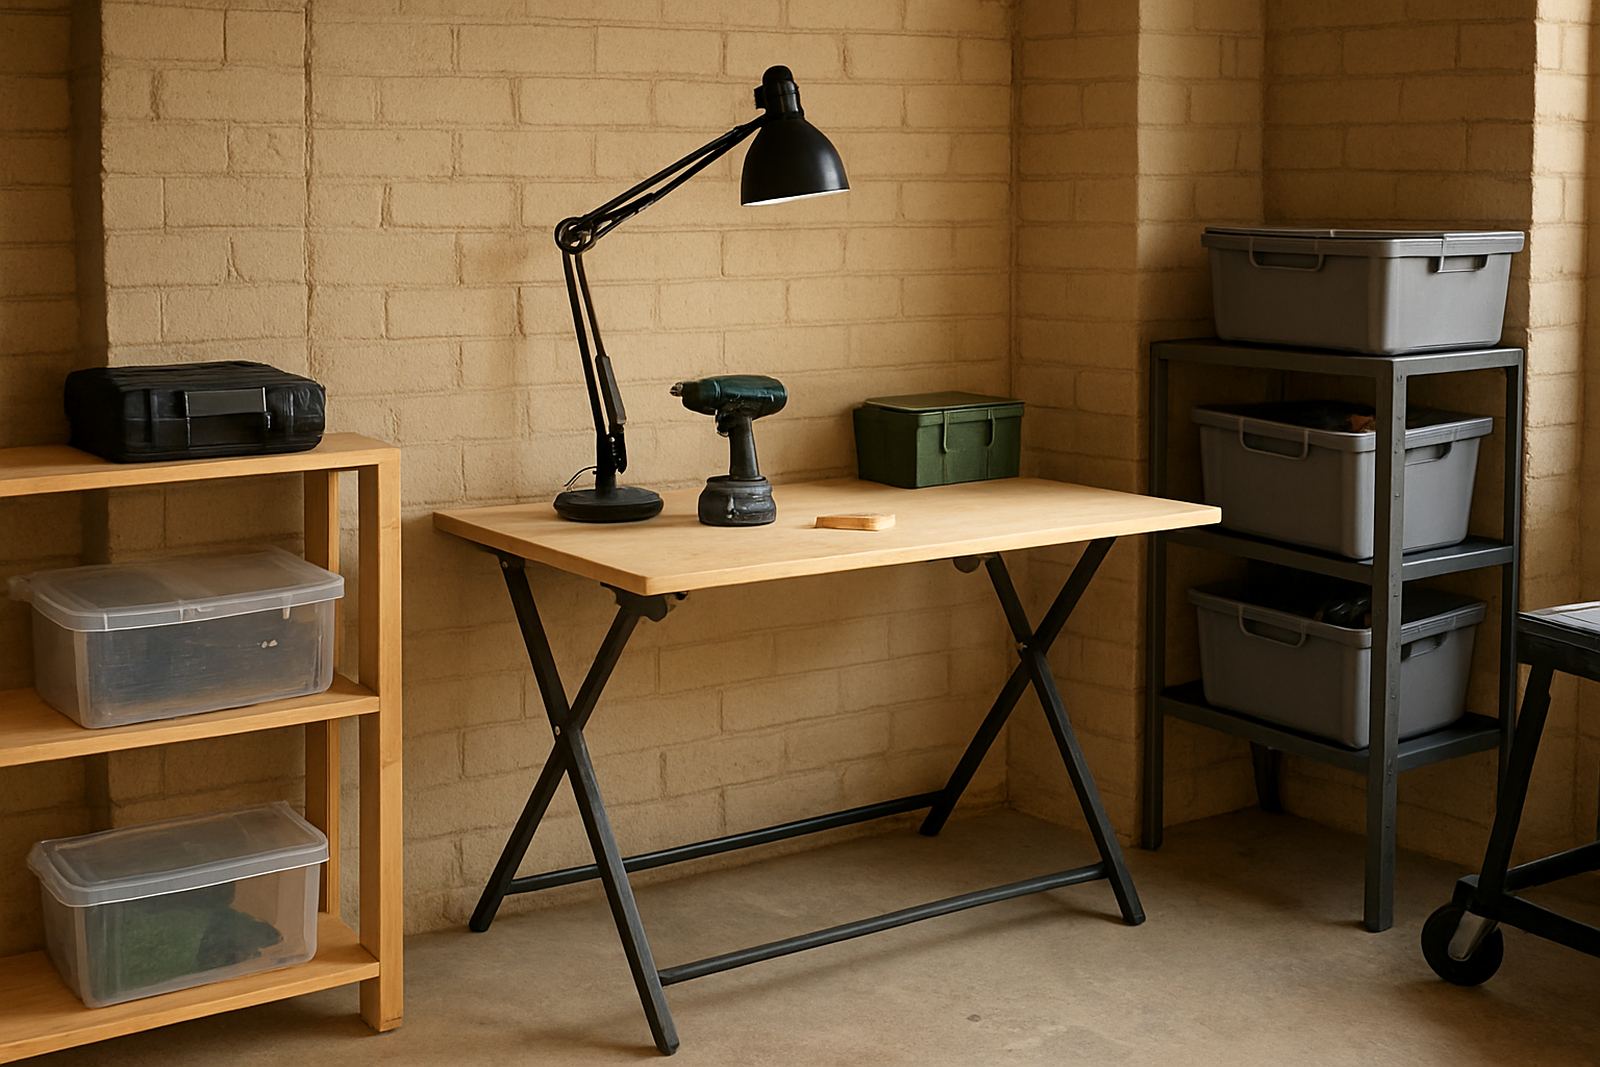
A project can look simple on paper and still fail if the space is not ready. Measure the table area, floor space, storage, and power access before you buy materials. In many Johannesburg workshops, load shedding means you may need a plan for battery tools, charged lights, and a clean-up routine if power cuts mid-build.
If you are working near the coast in Durban or Gqeberha, allow for moisture and rust resistance. Use treated timber, sealed fasteners, or plastic storage where needed. In Cape Town, wind and dust can affect outdoor workstations, so keep light parts weighed down and stored properly.
- Check bench space: at least 1.2 m by 0.6 m for a small build.
- Confirm power points and extension access before cutting anything.
- Make sure there is safe storage for sharp tools and consumables.
- Ask about municipal or venue rules for noise, sanding, paint, and waste.
Build A Starter Kit Around The Project
Once the first project is chosen, list only the tools and materials needed for that build. This keeps spending under control and helps you avoid buying items that sit unused. A starter kit should cover measuring, marking, assembly, safety, and finish work, nothing more.
At SA Makers, we treat starter kits as a way to get going quickly without wasting money. For a small wooden project, for example, a kit might include a tape measure, square, pencil, hand saw, drill bits, screws, sandpaper, clamps, and safety glasses. For a basic electronics project, you would need a low voltage power source, connectors, wire, a switch, and labelled components.
- List the exact quantity of each item before shopping.
- Separate must-have tools from nice-to-have extras.
- Choose consumables that are easy to replace locally.
- Keep a small allowance for mistakes, because first builds always need an extra screw or two.
Use A Simple Build Plan
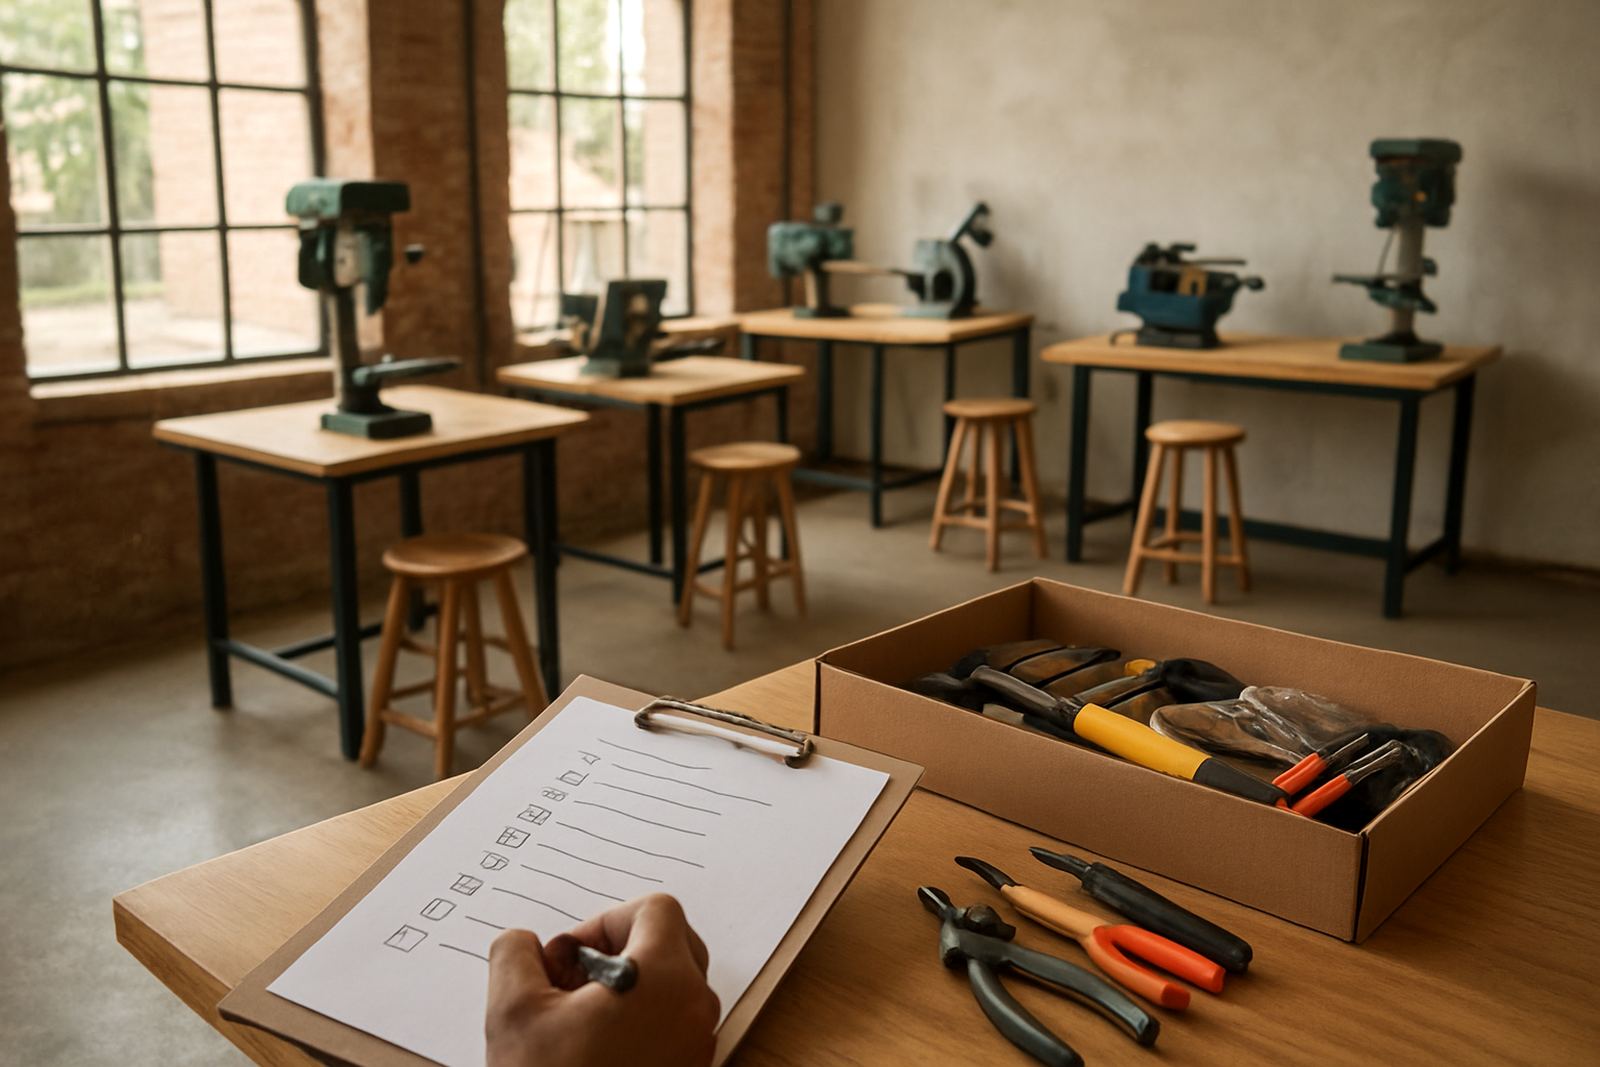
A clear plan reduces stress and makes it easier to ask for help. Write the steps in order before you start, then tick them off as you go. Keep the plan short enough to fit on one page or a note card stuck to the wall.
For most first projects, the order is: measure, mark, cut, dry fit, fix, sand, finish, test. If a step is unclear, stop and resolve it before moving on. That small pause can save a lot of wasted material and time, especially when working in a shared makerspace with limited slots.
- Measure the final size and mark all parts.
- Cut the main pieces and check the fit.
- Assemble without glue or screws first.
- Make adjustments, then fasten securely.
- Sand sharp edges and clean the work area.
- Test the item in real use and note any changes.
Know When To Ask For Help
First projects go better when someone experienced can spot problems early. Use a makerspace network, training session, or facilitator review if you are unsure about measurements, tool use, or safety. A quick check can prevent wasted material and reduce risk for everyone in the room.
In Soweto, Midrand, Pretoria East, Durban, Cape Town and Gqeberha, many makers prefer a guided first build before going solo. That is sensible. A short session on tool handling, storage, and setup can save hours later and help with maintenance checks, school lab refresh work, or event maker stations.
When in doubt, choose the version of the project that is smaller, lighter, and easier to store. You can always make the next one bigger once the first has taught you what you need to know. That approach keeps momentum going and makes the maker process feel manageable rather than overwhelming.