What this entry course covers
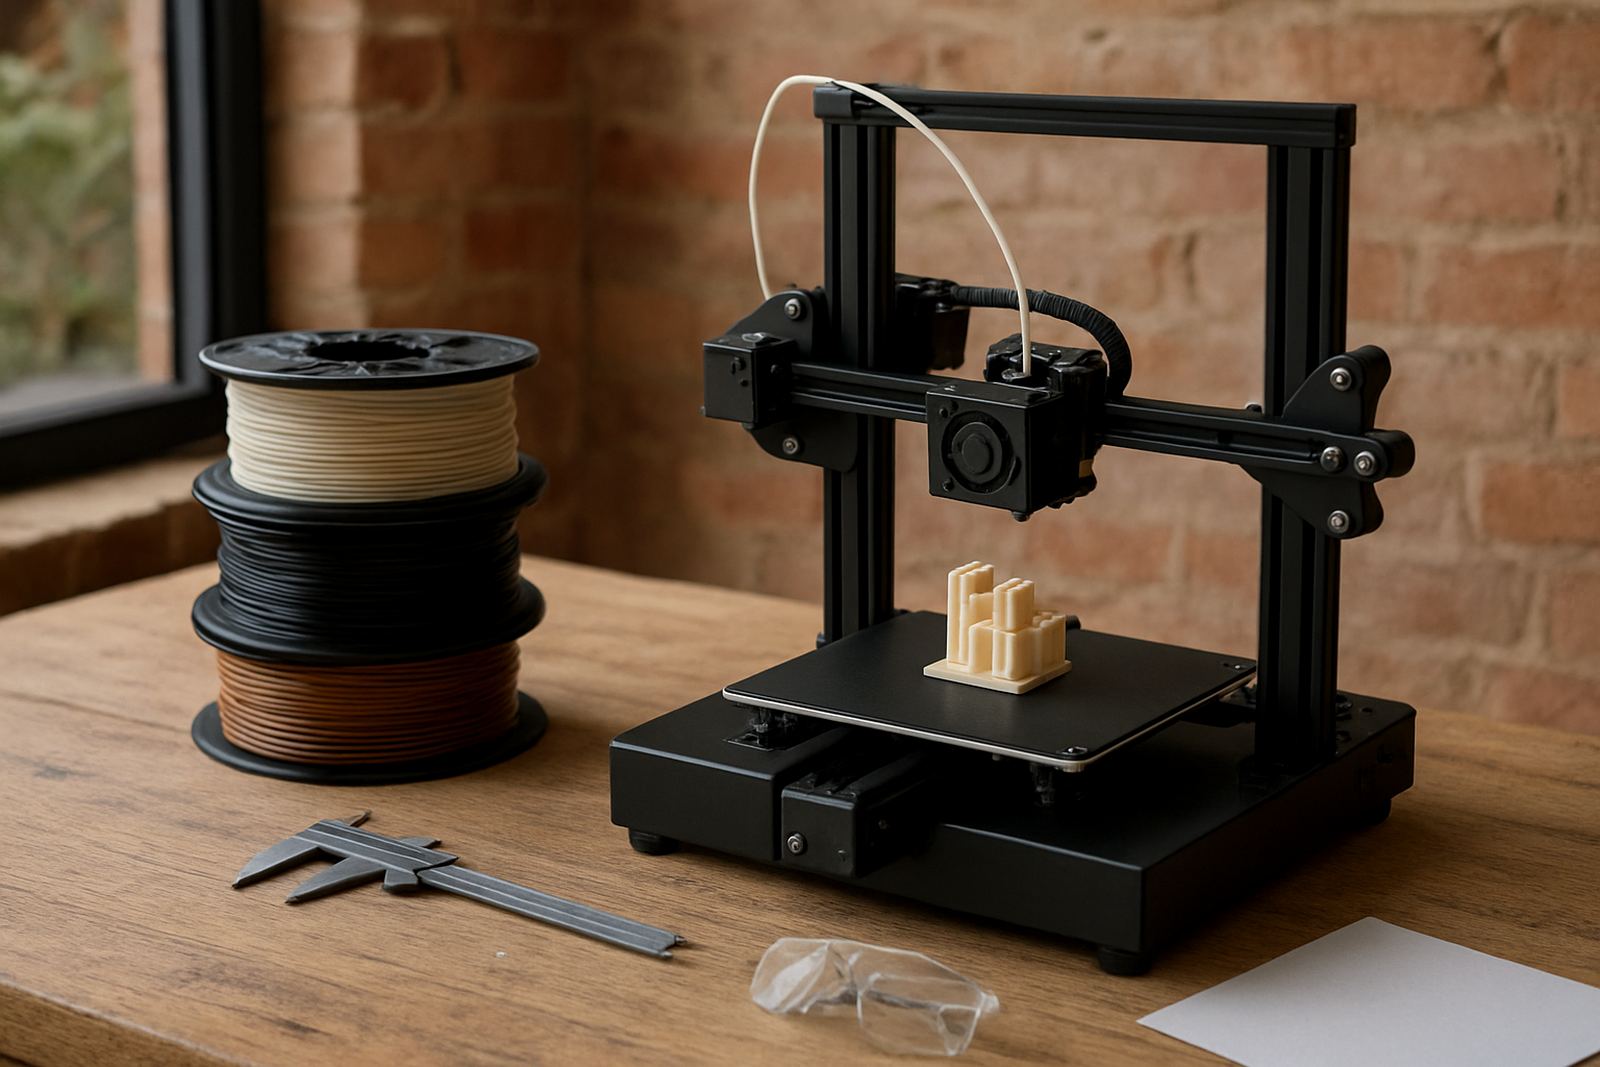
3D Printing Basics is a hands-on introduction for anyone who wants to turn a digital model into a clean, usable print. The course covers how a desktop printer works, how to load filament correctly, how to prepare a file in slicing software, and how to set up a first print with the right layer height, infill and support settings. We keep it practical, with enough detail for people who are starting from scratch but need results that hold up in a real workshop.
The course is useful for schools, community makerspaces, startup teams and small product builders in Johannesburg, Pretoria, Durban and other centres where a dependable first setup matters. You will also learn the common reasons prints fail, like poor bed levelling, damp filament or the wrong nozzle temperature, so you can avoid wasting material and time.
- How a fused filament printer operates
- Basic slicer settings for PLA and similar materials
- First layer checks, bed adhesion and cooling
- Simple troubleshooting for stringing, warping and under-extrusion
Course sizes, formats and who it suits
The course works well as a short introduction for individuals or as a small group session for a team of 4 to 12 people. For schools and training venues, we can set it up as a half-day class for a quick overview or a full-day session with extra time for setup and practice prints. If your group is planning a maker corner, learning lab or starter workshop, this course fits neatly alongside tool training and safety induction.
It suits absolute beginners, educators, youth groups and small businesses that want to test product ideas before investing in larger equipment. If you are based in Braamfontein, Sandton, Midrand, Soweto, Pretoria East, Durban, Cape Town or Gqeberha, the content can be adapted to the space and the available power supply. We also take into account workshop conditions such as dust, humidity near the coast and load-shedding planning for print schedules.
- Individual coaching or group training
- Half-day or full-day format
- Suitable for schools, makerspaces and startup teams
- Can be adjusted for basic or intermediate users
Equipment and power needs on site
For the practical session, you will need a desktop filament printer, slicing software on a laptop or workstation, a clean table, side cutters, a scraper and basic measuring tools. Most small printers run on standard 230V mains power and are best kept on a stable plug point with surge protection. In areas where load-shedding is a regular concern, it helps to plan prints for supported hours or use a backup power setup that can safely handle the printer, laptop and any heated bed needs.
There is no gas requirement for this course. However, the room should be well ventilated and away from direct sunlight, open windows with heavy dust, or wet areas where humidity can affect filament. In coastal towns, filament storage matters more than many people expect because moisture can lead to popping during extrusion and rough surface finish. A dry box or sealed storage tub is a simple fix and often worth more than buying extra spools.
Filament handling and safe workshop habits
Good print quality starts before the file is sliced. Filament should be stored sealed, labelled and kept off the floor. PLA is the easiest starting material for most beginners, while PETG can suit people who want a little more durability and heat resistance. More advanced materials need tighter temperature control and better drying, so we do not push those too early in the learning process.
Safe habits matter just as much as settings. Keep fingers away from the nozzle and bed during heating, avoid loose clothing near moving parts and never leave a printer unattended without checking the job plan first. If the workshop handles classes or public sessions, a clear signboard, a short safety briefing and a designated print area help reduce mistakes. For shared spaces, it also helps to keep a simple log of nozzle changes, bed cleaning and failed prints so the team can spot patterns quickly.
How the first print is set up
This course spends proper time on the first layer because that is where most beginners lose confidence. We show how to level the bed, set nozzle height, choose layer height and use a small test model to check adhesion and flow. You will also learn how to place a model on the build plate, where to add support, and how to balance speed against surface finish.
Typical starter settings are kept simple and repeatable. A 0.4 mm nozzle is common for entry work, with layer heights between 0.16 mm and 0.24 mm depending on the model. Print speed is usually kept modest while learning, because a slower first run makes problems easier to spot. If you are printing items for school projects, labels, brackets or simple prototypes, those settings are often enough to get a usable result without overcomplicating the process.
Care, servicing and what to check before you order
Before booking, check the printer model, the build volume and whether the equipment is already assembled or still needs setup. It also helps to know which filament types you plan to use, because not every machine handles every material in the same way. For venue planning, ask whether the room has enough table space, plug points and storage for spools, tools and finished parts.
After the course, basic care keeps the machine working well. Nozzles should be cleared when blocked, the build plate cleaned with the right surface cleaner and belts checked for tension. Fans and motion parts need dust removal, especially in busy workshops. If the printer is used often, a monthly inspection is sensible, and a more detailed service every few months helps prevent avoidable downtime.
- Confirm build volume in millimetres
- Check nozzle size and filament compatibility
- Ask about table space and plug point access
- Plan for storage, cleaning and spare parts
Why this suits South African maker spaces
In South African workshop settings, the best training is the kind that works with real constraints, not against them. That means planning for variable power, sharing equipment across classes and keeping consumables under control. This course is designed with those realities in mind, so teams can move from one test print to a repeatable process without unnecessary waste.
Whether you are setting up a school lab in Pretoria East, a community room in Soweto, a startup space in Braamfontein or a training venue in Cape Town, the goal stays the same: safe use, consistent settings and prints that finish properly. With the right basics in place, your team can start making useful parts instead of fighting with the machine all day.
Key facts
| Course level | Entry level |
|---|---|
| Typical format | Half-day or full-day |
| Group size | 1 to 12 learners |
| Printer type | Desktop fused filament printer |
| Common nozzle size | 0.4 mm |
| Power requirement | 230V mains with surge protection |