What the Laser Cutting Intro Covers
This starter product is for anyone setting up or joining a laser cutting space and needing clear, practical guidance before the first job. It covers safe operation, the right sheet materials, file preparation, focus checks and simple workflow habits that keep parts accurate and reduce wasted material.
The intro is useful for Braamfontein studios, school labs, shared workshops and small production spaces that work with acrylic, plywood, MDF and card. It also helps teams compare machine size, ventilation and power needs so the room layout and daily use make sense from day one.
- Safe start-up and shut-down routine
- Material selection for clean cuts and engraving
- File setup for vector cutting and layout control
- Basic maintenance and lens care between jobs
Sizes, Bed Options and Common Use Cases
Laser cutters are normally chosen by bed size, wattage and the kind of work you want to do. Smaller units are handy for sample runs, signage prototypes and classroom parts, while larger beds suit panels, jigs and batch cutting. If you are planning a shared space, the table size should match the average sheet size you can source locally, because offcuts and trimmed boards add cost quick.
For South African workshops, common sheet sizes are 1 220 x 2 440 mm for board stock and smaller pre-cut sheets for craft and teaching work. The intro helps you work backwards from the final part size, so you know whether a 600 x 400 mm bed, 900 x 600 mm bed or larger format machine is the better fit.
- Small beds for prototypes, tags and classroom exercises
- Mid-size beds for signage, packaging and maker kits
- Large beds for panels, repeat parts and batch work
- Good fit for schools, incubators and community workshops
Material Choices That Cut Cleanly
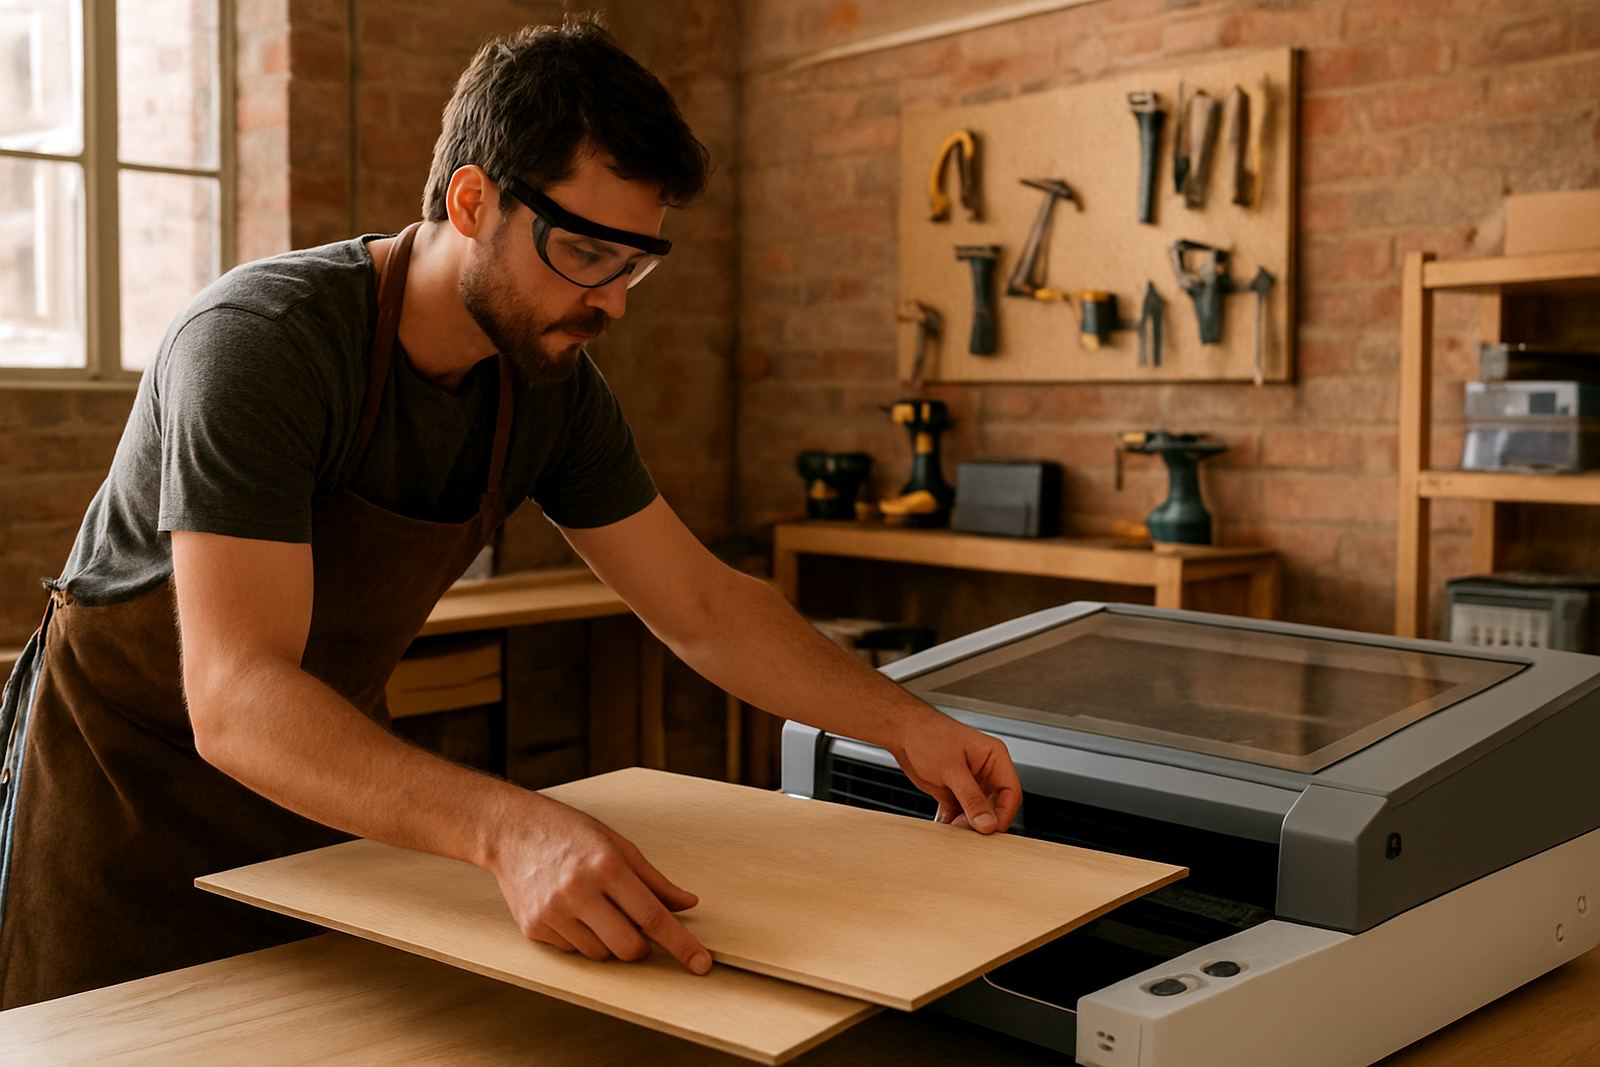
Not every sheet material behaves the same under a laser. Plywood, MDF, paperboard, acrylic and some textiles can work well, but thickness, glue content and surface finish all affect the edge quality. The right choice depends on the finish you want, the smell and smoke the material gives off, and how much post-processing you can handle afterwards.
For shared spaces, it is worth setting clear rules on approved materials. That keeps users safe, protects the optics and avoids unpleasant fumes. If you are in a coastal area like Durban or Gqeberha, store sheets dry and flat because humidity can curl thin board and cause uneven cuts.
- Acrylic for clean edges and display parts
- Plywood for models, fixtures and light-duty components
- MDF for prototypes and painted items, though it creates more dust
- Card and paperboard for packaging samples and training exercises
File Preparation and Machine Settings
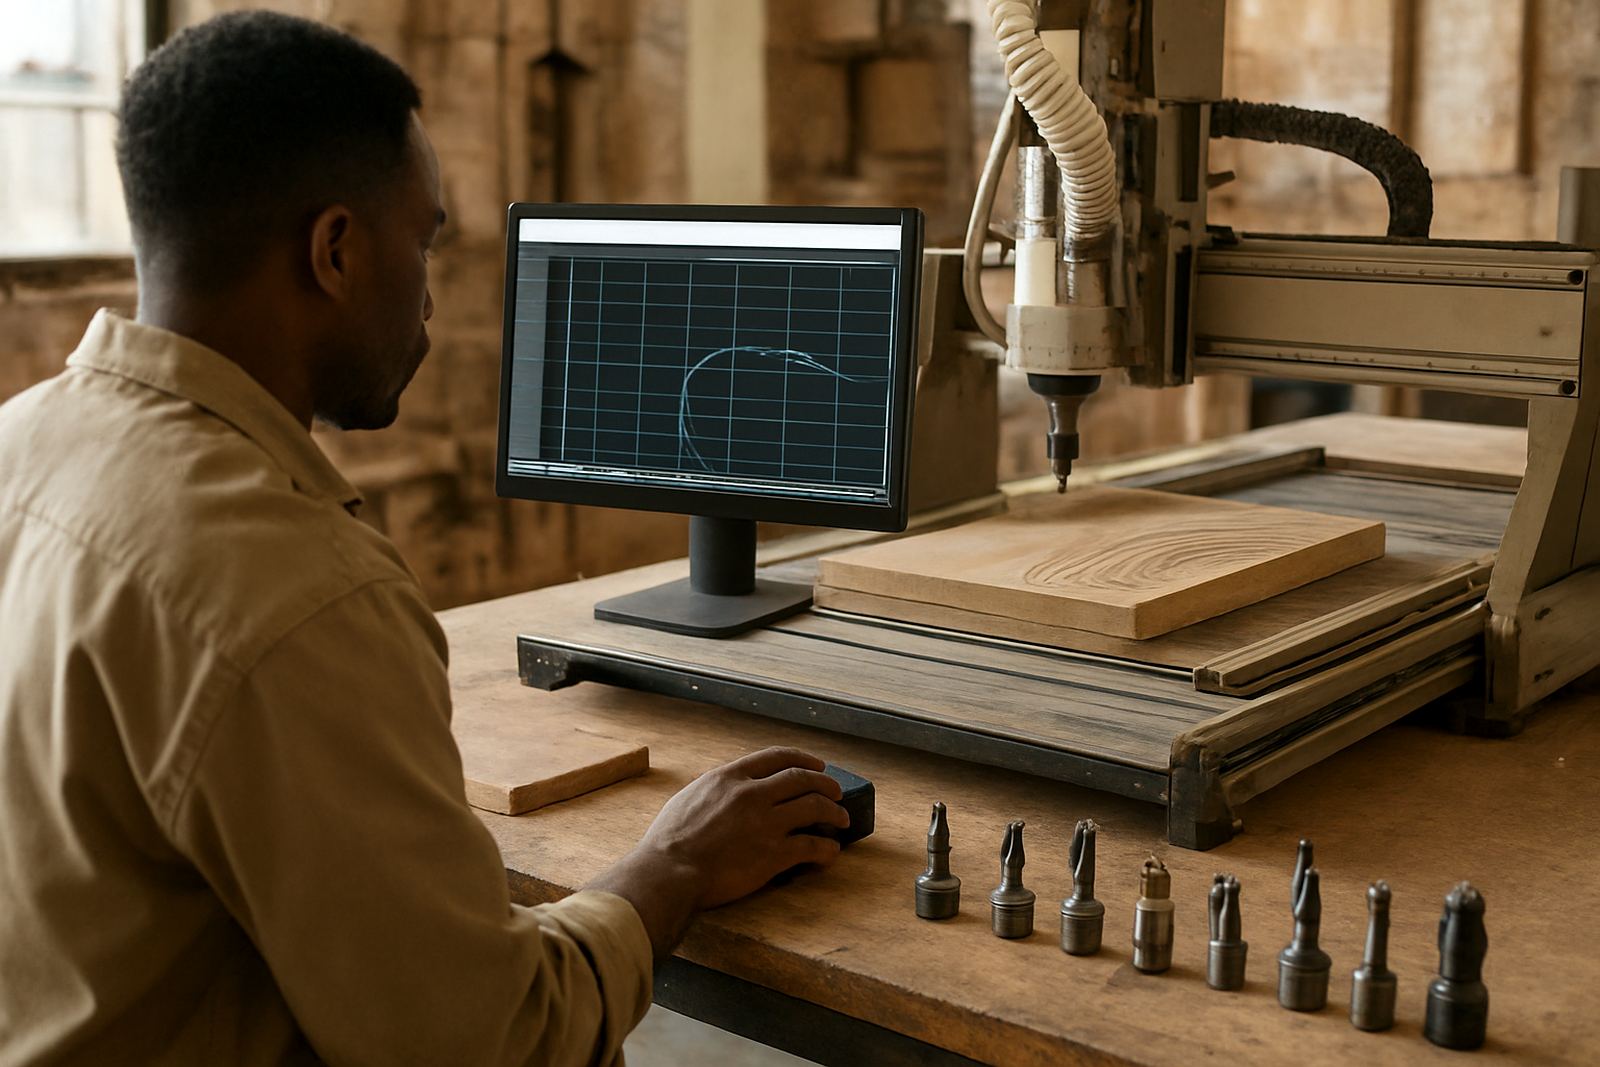
Good results start with a tidy file. Vector paths should be closed where needed, cut lines should be separated from engrave lines, and text should be converted before sending to the machine. In most cases, the operator will set the power, speed and number of passes according to thickness and material type, then run a small test before the full sheet is loaded.
This intro teaches the basic checks that save time and scrap. You learn how to place parts to reduce waste, keep enough spacing between cuts, and leave a clear border for clamps and bed movement. It also helps with common problems like double lines, tiny gaps and parts that shift during a run.
- Use vector paths for cut lines and clean shapes
- Keep engraving and cutting on separate layers
- Test on offcuts before committing to a full sheet
- Leave room for material expansion and machine clearance
Installation Needs, Ventilation and Power Planning
A laser cutter needs a proper home, not just a table near a plug point. The room should allow for stable airflow, extraction, safe operator movement and enough clearance around the machine. Because South African power can be uneven during load-shedding, many spaces also plan for backup supply, safe shut-down steps and a restart routine after outages.
Ventilation is not optional. The exhaust system must move smoke and fine particles out of the room, and the hose run should be as short and straight as possible. If you are setting up in a school, community centre or small business unit, check municipal safety requirements and building rules before installation. A neat set-up makes inspections easier and keeps users calmer when the machine is running.
- Stable bench or stand with enough working clearance
- Reliable extraction and outside venting where permitted
- Access to the correct electrical supply and protection
- Backup plan for outages and safe job recovery
Care, Servicing and What to Check When Ordering
Regular care keeps cut quality consistent and extends the life of the machine. Lenses, mirrors, rails and filters need scheduled checks, and the bed should be cleared of residue after every session. In busy spaces, a simple logbook helps track cleaning, consumable changes and any repeat faults before they become a bigger problem.
When ordering, check the full spec against the type of jobs you expect to run. Ask about bed size, laser wattage, compatible materials, exhaust needs, spare parts and whether the unit is suited to light teaching work or heavier workshop use. If several people will share the machine, also confirm training needs, access control and who signs off on maintenance. A rushed buy usually costs more later.
- Check bed size against your common sheet dimensions
- Confirm ventilation, extraction and electrical needs
- Ask about lens, mirror and tube servicing intervals
- Match the machine to the skill level of the users
Key facts
| Product type | Laser cutting intro and setup guidance |
|---|---|
| Best for | Workshops, schools, maker spaces and training venues |
| Typical bed sizes | 600 x 400 mm, 900 x 600 mm, larger formats by need |
| Common materials | Acrylic, plywood, MDF, card and paperboard |
| Power and utility needs | Stable power supply, extraction, ventilation and safe shut-down plan |
| Support areas | Braamfontein, Sandton, Midrand, Pretoria East, Soweto, Durban, Cape Town, Gqeberha |