What Furniture Build Foundations Covers
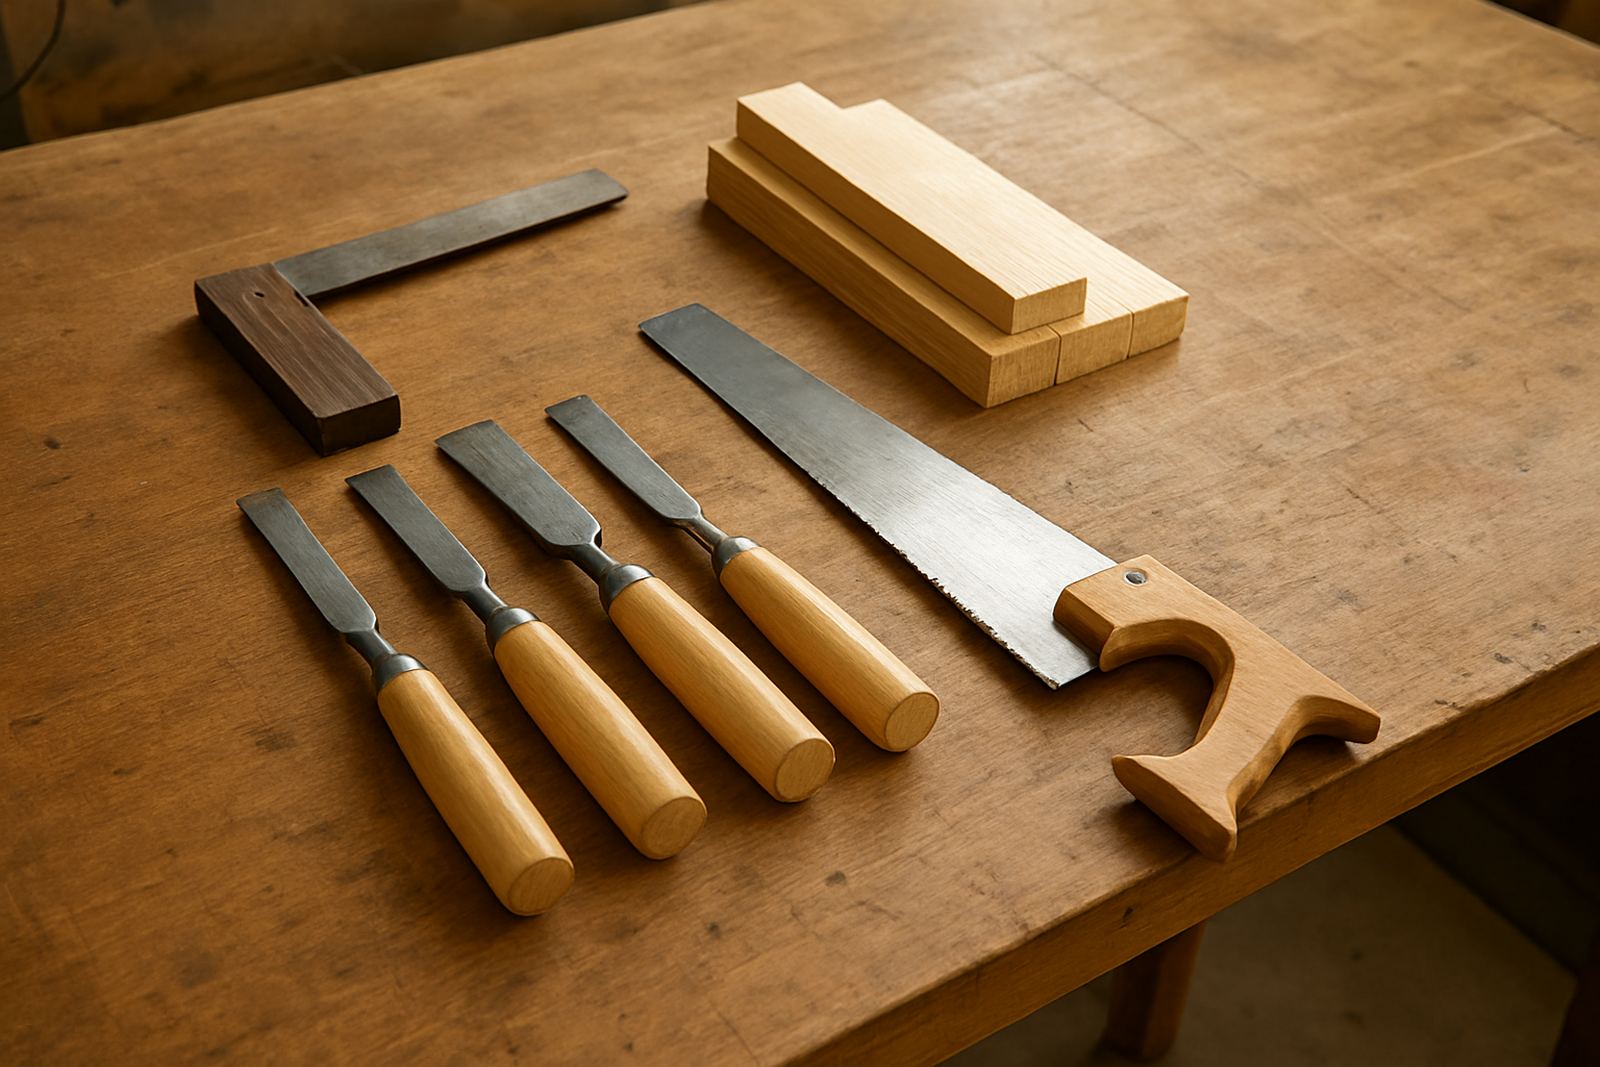
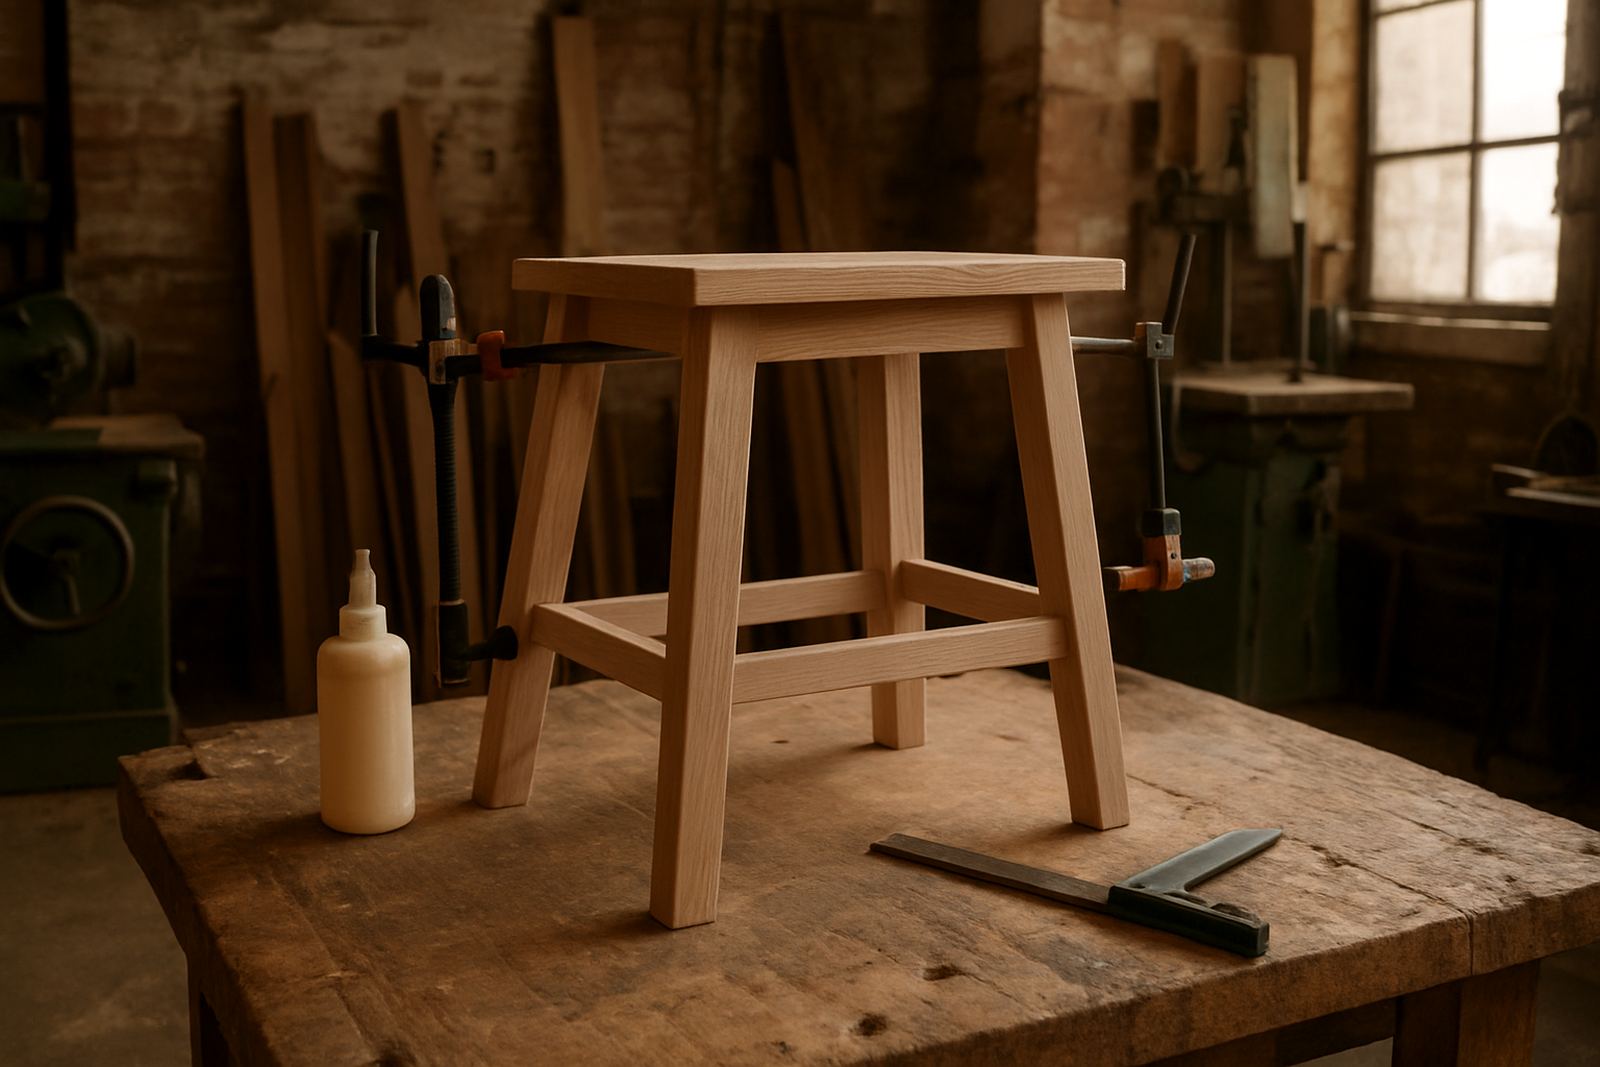
Furniture Build Foundations is a starter package for making simple timber furniture with proper workshop habits from day one. It is aimed at people who want to build items like stools, small tables, wall shelves, storage boxes, pot stands and light utility pieces while learning how to measure accurately, mark out jobs, choose fixings, and work in a planned sequence. The focus is on repeatable skills, not fancy extras, so it works well for beginners and mixed groups.
The approach suits workshops that need a clear teaching flow. A facilitator can use the setup for short sessions or a full day build, with enough structure to cover timber selection, cuts, assembly, sanding, and finishing. It also helps teams understand how to organise a work area so there is space for cutting, clamping, drilling and drying, which matters in busy Johannesburg spaces where every square metre counts.
- Basic timber furniture and joinery work
- Measuring, marking and cutting practice
- Workshop flow for small group training
- Suitable for school labs, maker spaces and community workshops
Typical Sizes, Materials and Build Options
The standard format is designed for compact furniture projects using common sheet material and timber lengths. For most groups, the setup handles items around 450 mm to 1200 mm wide, with workpieces up to 1800 mm long where the room allows. This gives enough range for stools, side tables, narrow shelving and frame based builds without needing a full production line. If you are planning larger pieces, the layout can be adjusted to allow longer cut zones and extra clamp space.
Material choice depends on the project and budget. Pine, plywood and MDF are the usual starting points, with hardwoods used when the class needs to cover denser material and more careful tool handling. The layout can also support pre-cut kits for first time makers, which reduces waste and keeps the session moving. In coastal areas like Durban or Gqeberha, storage should allow for dry airflow so timber does not pick up too much moisture before use.
- Workpiece range: 450 mm to 1800 mm lengths
- Common materials: pine, plywood, MDF and light hardwood
- Project types: stools, tables, shelves, storage units and frames
- Options for cut kits, full cut lists or facilitator-led builds
Where It Suits Best
This product suits makerspaces, schools, training rooms, youth programmes and start-up workshops that want a clean way to introduce furniture building. It is useful in Braamfontein and Sandton for compact urban setups, and in Midrand or Pretoria East where groups may have slightly more floor space for layout and timber storage. It also works for outreach sites, church halls and township venues where the aim is practical skills with limited equipment.
Because the content is built around planning as much as making, it fits places that need order in shared work areas. The same package can support a school lab refresh in Soweto, a training room in Cape Town, or a partner venue in Durban with different room sizes and tool mixes. It is a strong choice when the group wants to teach learners how to think through a job before the first cut is made.
- Best for beginner to intermediate groups
- Useful in schools, makerspaces and community halls
- Works in compact or medium workshop areas
- Good for formal training and short practical sessions
Installation, Power and Workshop Needs
Furniture Build Foundations does not need special plant, but it does need a sensible workshop plan. A flat workbench area, a clear cutting zone and safe storage for timber and offcuts make a real difference. Basic power needs will depend on the tools used, but most sessions run on standard mains supply for drills, sanders and saws. If your venue faces load-shedding, a backup plan for lighting and battery charging helps keep the class on track. Hand tools remain useful when power is limited.
There is no gas requirement for the product itself. If finishing products are used, keep the area well ventilated and follow the maker space rules for vapours and dust control. In wet weather or high humidity, especially along the coast, leave extra drying time between sanding and sealing. The setup should also include clear safety signage, dust control and a spot for measuring tools so people do not misplace them mid session.
- Standard mains power is enough for most sessions
- No gas connection required
- Allow for dust control, ventilation and drying space
- Backup lighting or battery tools help during load-shedding
Care, Servicing and Ongoing Use
Good care keeps the programme useful for a long time. Timber offcuts should be sorted and stored flat, while clamps, rulers and marking tools need a fixed home so they are ready for the next group. After each session, check for blunt blades, loose handles, damaged cords and missing fixings. A quick maintenance routine also reduces waste because learners are less likely to force tools or redo bad cuts. Small issues caught early save time and money later.
If the product is used regularly, schedule servicing around the workshop calendar rather than waiting for a problem. That can mean replacing consumables, cleaning saw dust from tool areas and checking that storage shelves are still secure. In busy training venues, the best results come when one person is responsible for the final sign off after each build day, so nothing gets left half sorted or mixed up.
- Store timber flat and dry
- Inspect tools, cords and clamps after each use
- Replace worn consumables before a training run
- Keep a simple servicing log for shared workshops
What To Check Before Ordering
Before placing an order, check the number of learners, the size of the room, and the type of furniture you want to make. A group of eight does not need the same setup as a class of twenty four, and the wrong layout can slow everything down. It also helps to confirm whether you need pre-cut timber, a full materials pack, or a teaching set that allows each person to measure and cut their own pieces. If the venue is in a mall or shared building, confirm access rules for deliveries and offloading.
Ask about tool mix, fixing type and storage space before the first session starts. If the venue is in a municipal or school setting, make sure the safety sign-off, fire exits and waste handling rules are sorted first. That step is often overlooked, but it matters when teams are working with sawdust, sharp tools and repeated class turnover. A good order is one that matches the room, the learners and the pace of the programme, not just the budget.
- Group size and intended project type
- Room measurements and storage space
- Preferred timber format and fixings
- Safety, access and waste handling requirements
Key facts
| Product type | Starter furniture build training package |
|---|---|
| Main use | Basic furniture making, joinery and workshop planning |
| Project size range | 450 mm to 1800 mm workpieces |
| Materials supported | Pine, plywood, MDF and light hardwood |
| Power requirement | Standard mains supply for small power tools, with battery backup useful during load-shedding |
| Gas requirement | None |