What this hand tool set is used for
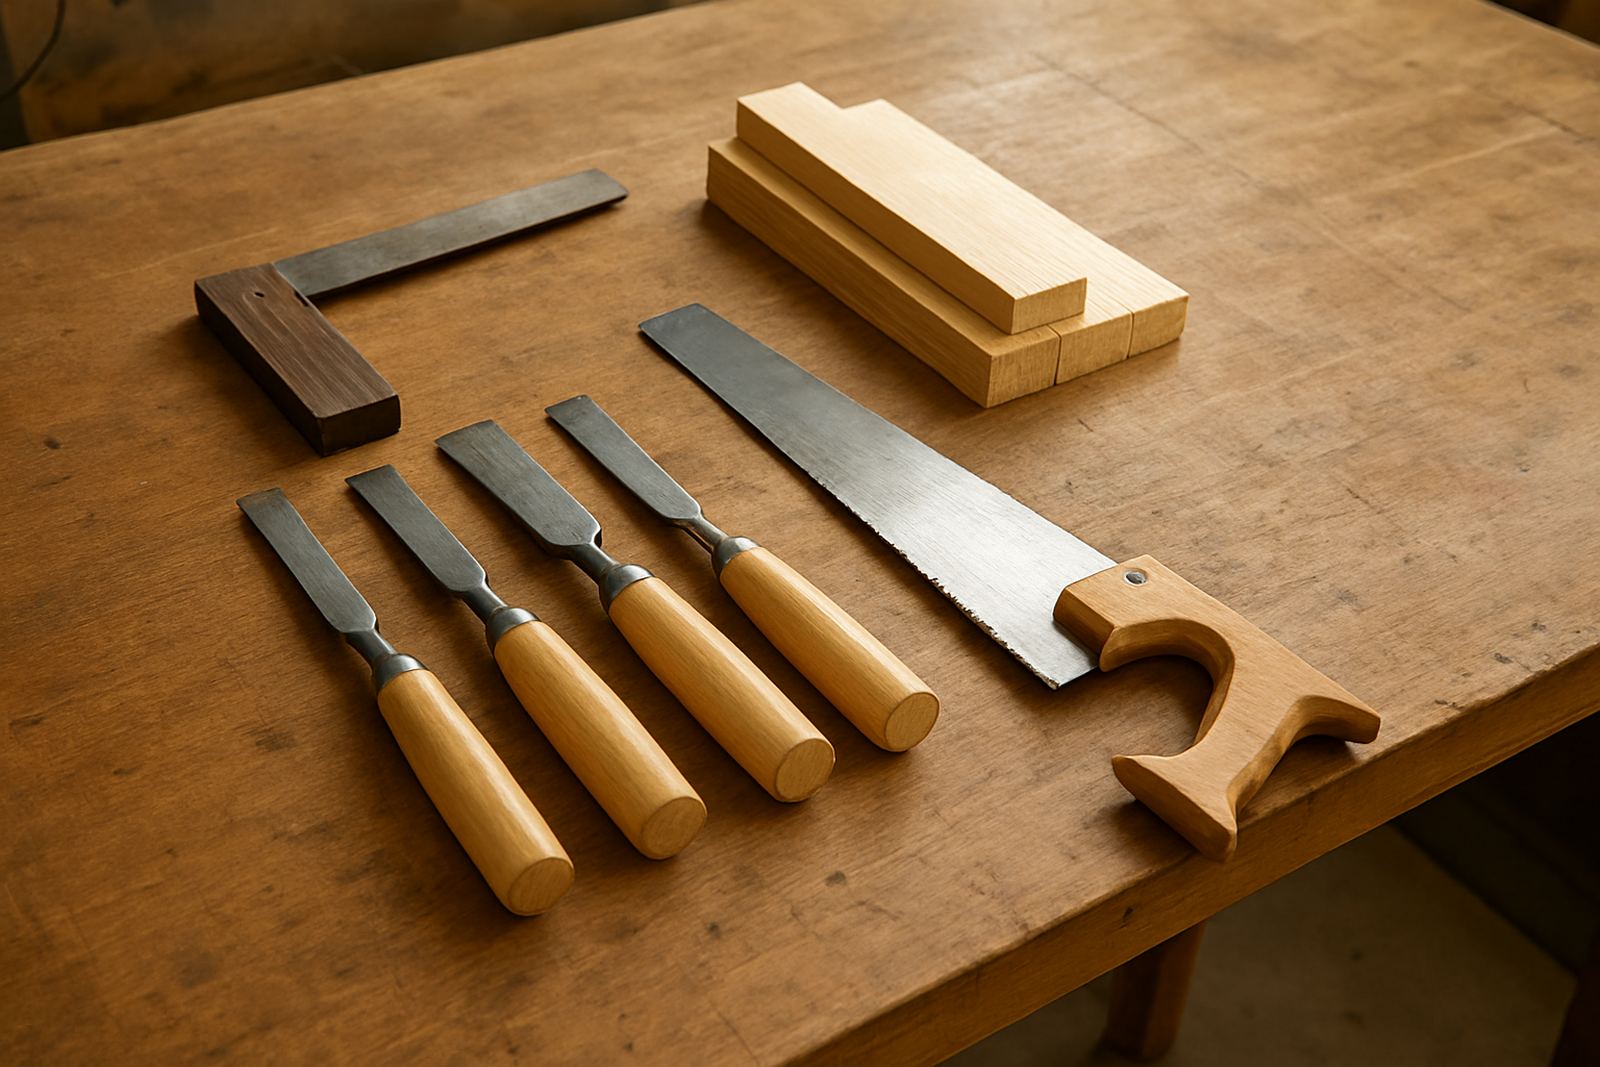
This woodworking hand tools range brings together the everyday items needed to start and finish timber work properly. It covers measuring, marking out, cutting, paring, clamping and assembly, so learners and makers can move from rough stock to a fitted joint without having to borrow specialised equipment for every step.
The set is practical for first time users and useful for experienced teams who want a dependable kit for demonstrations, repairs and small builds. In Braamfontein, Soweto or Pretoria East, these tools are often chosen where workshop power is limited, load-shedding interrupts machine use or quieter work is needed after hours. They are also a good fit for community spaces where multiple users share benches and storage, because each tool is easy to identify, issue and return.
- Measuring and marking for accurate layouts
- Cutting and trimming timber by hand
- Fitting joints and light assembly work
- Teaching core workshop skills step by step
Sizes and options for different workshop needs
Sizes are normally selected around the type of work being taught or produced. A starter kit for school learners may focus on smaller, easier to control tools, while a maker space or small production room may need full size versions with stronger handles and longer blades. Common options include steel rules, try squares, marking gauges, hand saws, chisels, block planes, bevel gauges, clamps and abrasive blocks.
For larger groups, split kits are often better than one large shared box. That makes it easier to issue one set per bench, or one set per learner pair during a training session. Where space is tight, compact rolls or wall mounted shadow boards help with storage and quick end-of-day checks. If your team works in Durban or Gqeberha, it is wise to choose coated steel and sealed timber handles that stand up better to coastal humidity, because tools left open to damp air can rust faster than expected.
- Starter sets for beginners and school labs
- Intermediate sets for maker training and repairs
- Workshop sets for group benches and shared use
- Portable kits for outreach events and pop-up stations
Where these tools suit best
These tools suit workshops that need flexibility, low noise and a clear learning path. They are a strong choice for makerspaces, technical classrooms, youth programmes, carpentry clubs, communal workshop hubs and startup spaces where the work changes from week to week. They also work well in places that need to manage municipal or venue restrictions on noise, dust and after-hours power use.
For Johannesburg and surrounding areas such as Sandton and Midrand, hand tools are especially practical when you need to keep activity going during outages or when machine bays are fully booked. They are also useful for event maker stations and training tables at schools, libraries and community halls, where a portable, self contained setup is easier to manage than a fixed workshop line.
- Makerspaces with mixed skill levels
- School labs and after-school clubs
- Startup rooms and prototype benches
- Community training venues and event stations
Installation, setup and power needs
Hand tools do not need gas or electrical installation, which makes them simple to introduce into almost any workspace. What matters is the bench setup, the storage plan and the safety routine. A sturdy flat bench, a vice, waste bins, a sharpening point and labelled storage are usually enough to get started. For new rooms, tool zone layouts help separate measuring, cutting, sharpening and assembly areas so people do not crowd the same surface.
If the kit will be used in a shared venue, plan the set out by task and not by tool type alone. Keep cutting tools in one marked tray, marking tools in another, and clamps or fixing gear near the assembly area. In busy spaces around Soweto, Cape Town or Durban, this saves time and cuts down on missing tools. It also helps facilitators do a quick count at the end of the session, which is useful when several groups use the same room in one day.
- No mains power required
- No gas connection required
- Best used with a stable bench and vice
- Works well with shadow boards or labelled trays
Care, sharpening and servicing over time
Good care keeps hand tools accurate and safe. Blades should be wiped clean after use, especially after working in humid conditions or on resinous timber. Light oil on steel parts helps reduce rust, while wooden handles should be checked for splinters, cracks or looseness. Chisels and planes need regular sharpening if you want clean cuts rather than torn edges, and saws should be inspected for straightness and missing teeth.
Service schedules are best kept simple: daily wipe-downs, weekly checks on cutting edges, and a monthly review of handles, fasteners and storage condition. In areas with coastal air, sealed cupboards or desiccant packs can make a big difference. For inland spaces, dust is often the bigger issue, so brushing off fines and keeping tools off the floor matters. If a tool starts to slip in the hand or does not cut cleanly, it should be removed from circulation until it has been repaired.
- Wipe clean after each session
- Oil metal parts lightly to slow rust
- Sharpen blades on a regular schedule
- Replace cracked handles or damaged edges promptly
What to check before ordering a kit
Before ordering, think about the age and number of users, the timber sizes you plan to work with and the level of supervision available. A training room for beginners may need more marking and measuring tools, while a repair bench may need more clamps, chisels and files. Check whether you want left and right handed options, how the tools will be stored, and whether you need extra consumables such as sandpaper, pencil leads, marking knives or blade guards.
It is also worth confirming the bench space, storage height and safety signage that will go with the kit. If the tools are for a school or public venue, make sure the ordering list matches your venue rules and supervision limits. For organisations in Johannesburg, Pretoria East or Cape Town, a maker audit can help you confirm what is already on hand, what needs replacing and what should be issued as part of a new startup space kit. That way, you order once and avoid duplicates.
- Number of users and skill level
- Bench space and storage available
- Timber sizes and job type
- Need for consumables, signage and spare parts
Key facts
| Tool types | Steel rule, try square, marking gauge, hand saw, chisels, block plane, bevel gauge, clamps and abrasive blocks |
|---|---|
| Typical sizes | 150 mm to 600 mm measuring tools, 250 mm to 450 mm saws, 6 mm to 25 mm chisels |
| Material options | Carbon steel, stainless steel, hardwood handles and mixed polymer grip options |
| Power requirements | None, manual use only |
| Recommended users | Schools, maker spaces, training venues, repair benches and startup workshops |
| Care interval | Clean after use, sharpen weekly in active use and inspect monthly |