What Resin Casting Covers for Small Parts
Resin casting is used for making small parts from a liquid mix that sets inside a mould. It suits key tags, badges, knobs, decorative pieces, prototype covers and sample components where a smooth finish and repeatable size matter. For South African makers, it is a handy way to produce short runs without needing a full factory setup.
The process is simple enough for a training room, but it still needs care. Mould prep, release agents, mixing ratios and curing time all affect the final part. If the ratios are off, the cast can stay soft, trap bubbles or cure with a brittle edge. That means the person doing the job needs clear steps and a clean work surface, especially when the room is busy.
Starter Kit Sizes and Common Options
Starter kits are usually chosen by batch size and the kind of part you want to make. Small kits suit individual learners and low-volume testing, while larger bench kits are better for a maker space or school lab that runs frequent sessions. A good setup should allow a few trial pours before you move to production.
- Small kit: 500 ml to 1 litre total casting capacity for test parts and short runs
- Medium kit: 2 to 5 litres for class groups, clubs and shared workbenches
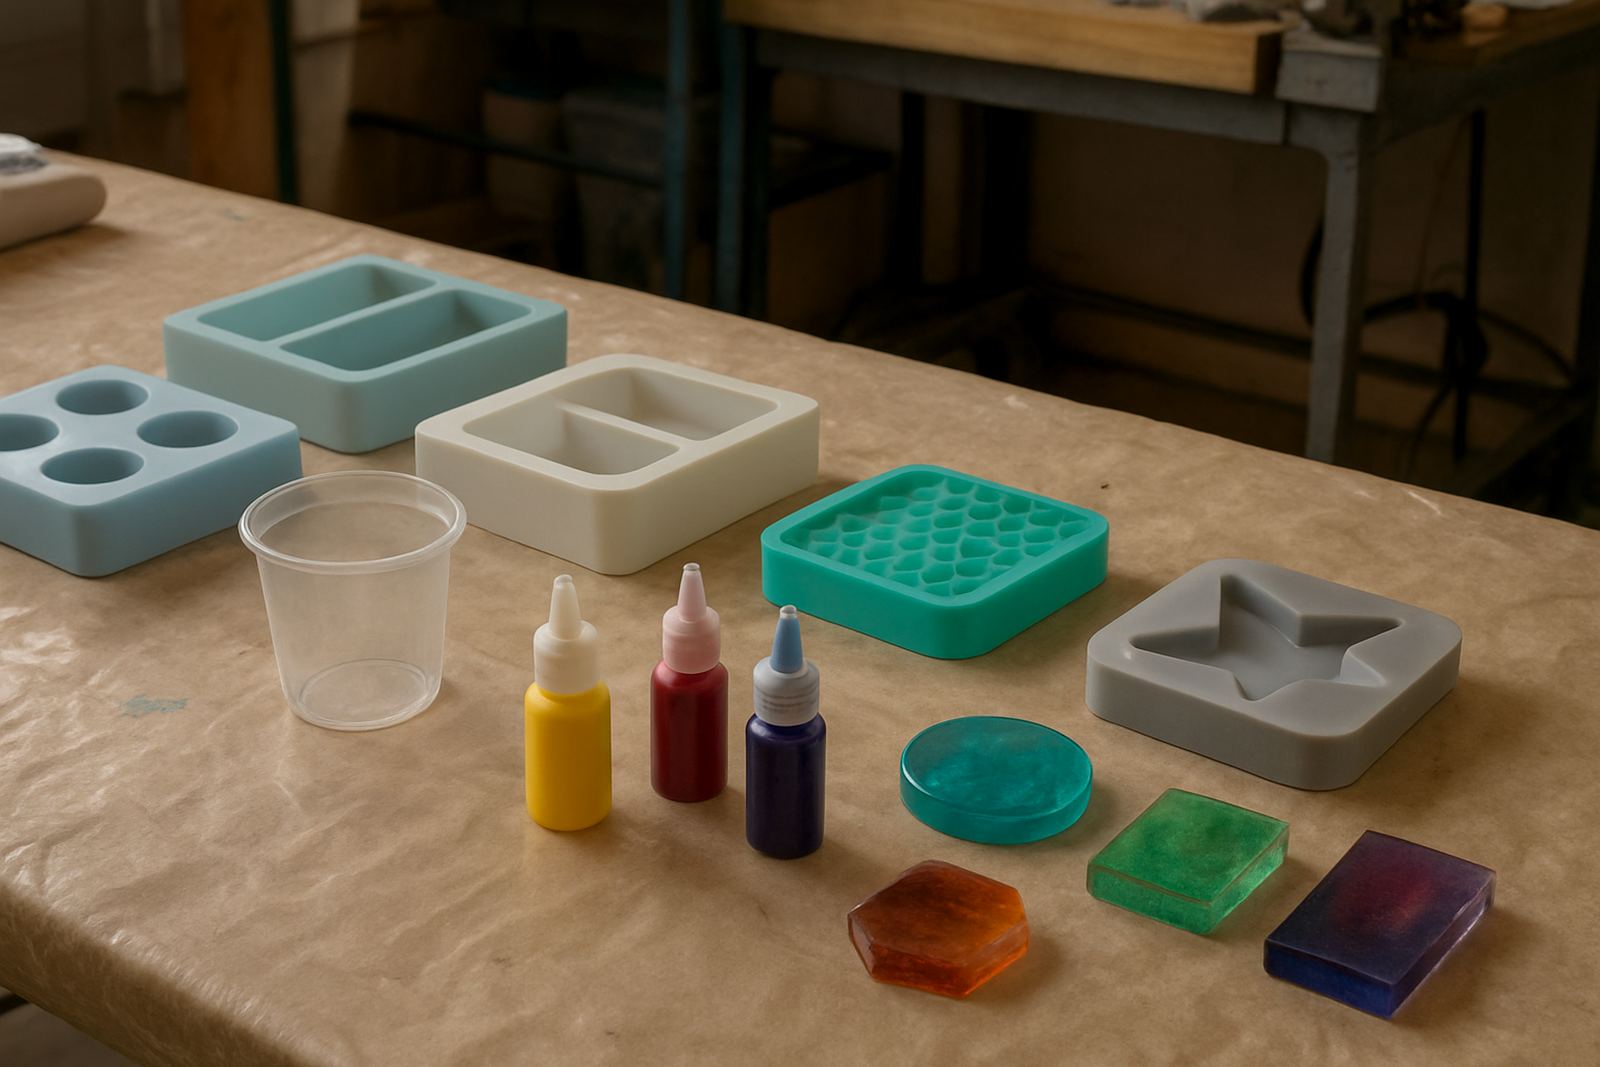
- Bench pack: moulds, mixing cups, stirrers and surface tools for repeated use
- Option set: pigments, release spray, silicone mould material and finishing pads
For a space in Braamfontein, Sandton or Pretoria East, it is worth choosing a kit that can be stored in a cool cupboard and carried between rooms. In coastal areas like Durban or Gqeberha, sealed storage is even more important because humidity can affect some finishing steps and how quickly parts are ready to demould.
Where Resin Casting Fits Best
Resin casting works well in small studios, school labs, incubator spaces and community workshops. It is a practical choice where the team needs to teach precision, process control and clean-up habits without bringing in heavy machinery. It also suits events and training days where several learners need the same outcome from one method.
Typical use cases include:
- prototype housings and sample parts
- student projects and demonstration pieces
- small accessory runs for retail testing
- repair fillers and replacement covers
- creative work with pigments, textures and inserts
Because the material is mixed by hand, the setup can be used in venues that do not have special utilities. You need a flat table, a dust-free area and good ventilation. A basic maker room in Soweto or Midrand can manage this well if it has organised storage and clear house rules.
Power, Ventilation and Workspace Needs
Most small resin casting setups do not need special gas supply and they usually run on normal workshop power for lighting, extraction and curing aids. Some teams use a small curing box or warming shelf, which can help in cooler months when Pretoria mornings are slow to heat up. Where load-shedding is part of the day, plan for manual timing, battery lighting and a simple backup routine so no one loses a half-finished pour.
Good ventilation is important, even for small jobs. The workspace should have open airflow, extractors where needed and a dedicated clean-up point for spills and gloves. If the room also handles sanding or cutting, keep the casting table separate so dust does not settle into fresh pours. That one rule saves a lot of rework and keeps the finish cleaner.
- Flat, level table with spill protection
- Access to power for lights, extraction or curing support
- Room temperature that stays steady during curing
- Dry storage for moulds, pigments and finishing pads
- Clear segregation from grinding or dusty tasks
Care, Cleaning and Servicing Between Batches
Resin tools last longer when they are cleaned straight after use. Cups, stirrers and spatulas should be wiped before the mix hardens, then washed according to the material type. Moulds must be stored flat and away from direct sun, because heat can distort softer moulds over time. If a mould is bent or nicked, the next casting will show it.
For ongoing workshop use, check the following on a regular basis:
- surface wear on moulds and trays
- build-up on measuring cups and mixing tools
- condition of gloves, masks and wipes
- expiry dates or shelf life of consumables
- signage for safe mixing and curing areas
In shared spaces, member onboarding helps a lot. A short induction on ratios, waste handling and clean-up keeps standards steady. It also reduces the chance of someone mixing by eye, which is where avoidable faults usually start.
What to Check Before You Place an Order
Before ordering, confirm the part size, the number of casts per month and whether the work is for learning or production. That will determine how much resin, mould material and finishing stock you need. If the kit is for a school lab refresh, factor in class size and how many learners need to work at once. If it is for a startup space kit, consider transport, storage and the ability to restock the same items later.
It also helps to check the finish you want. Some projects need a gloss surface, while others need a paint-ready matte finish after sanding. Ask whether the parts will include inserts, pigments or multiple colours, because that changes the sequence and the number of consumables required. A quick maker audit can save time here and show where the bench needs better layout or storage.
- part dimensions and expected wall thickness
- number of casts per session or per week
- mould material type and reuse count
- ventilation and curing space available
- finishing standard required, from rough sample to display grade
Typical Specs for Resin Casting Intro
These specs help when comparing starter sets for a workshop or training venue. Exact contents can change by batch size and the kind of project being supported, so it is best to match the set to the space and the user level. For a mixed group, a kit with clear markings and simple measure lines is usually the easiest to manage.
The main aim is to keep the process repeatable. That means accurate measuring, steady curing and a sensible storage plan. If the bench is neat and the ratios are clear, the whole session runs better and the finish improves from the first pour to the last.
Key facts
| Product type | Starter kit and workshop support for small resin cast parts |
|---|---|
| Batch size range | 500 ml to 5 litres per setup |
| Typical part size | Small components up to about 150 mm across |
| Workspace need | Flat bench, ventilation and dry storage |
| Utilities | Standard power for lights or curing support, no gas required |
| Best suited to | Maker spaces, schools, training rooms and prototype benches |