A sensible way to start wire feed welding
The MIG Welding Start is aimed at people who want a straightforward entry into wire feed welding without buying oversized equipment on day one. It works well for light fabrication, repairs, learner training and small production runs where you need repeatable welds on mild steel. In Johannesburg, Pretoria, Durban and the coastal cities, this kind of setup is often chosen because it is quick to learn and easier to manage for day to day workshop work.
The package is intended for flat and easy access joints, tacks, fillet welds and simple repair work on gates, brackets, frames and sheet material. It is a practical fit for school labs, maker spaces, starter workshops and home garages where space is tight and power supply may need a bit of planning.
What comes with the start setup
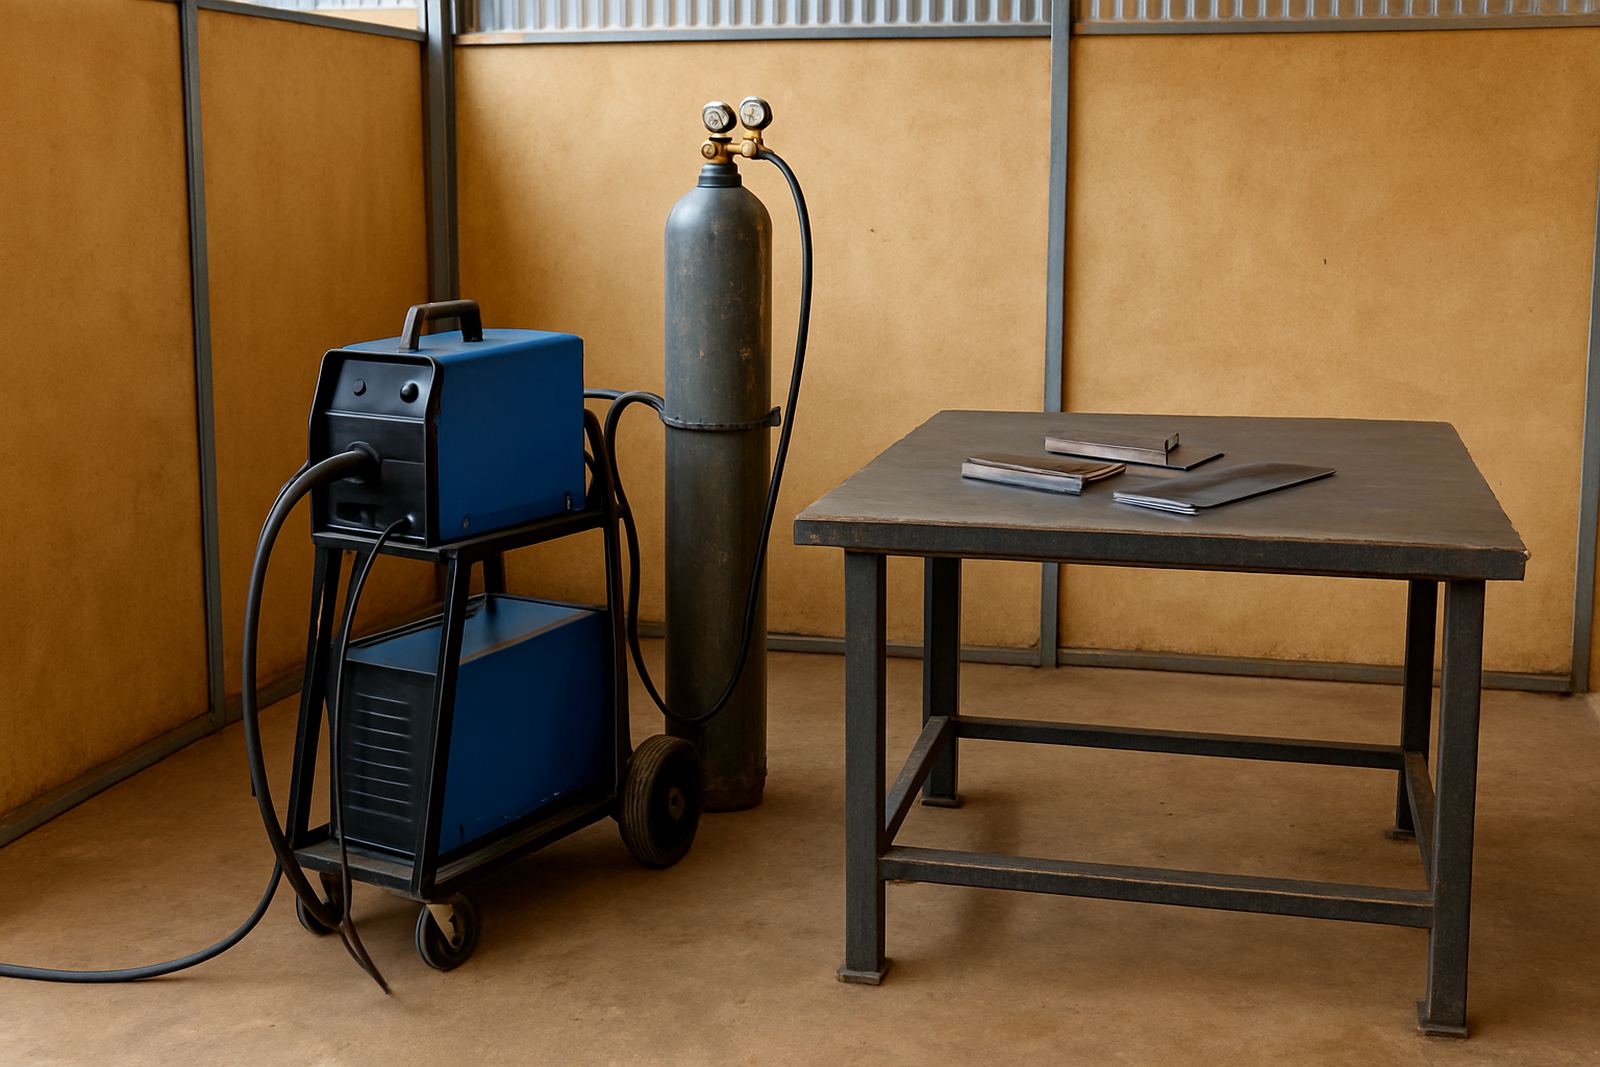
This product is usually specified as a wire feed starter package rather than a heavy industrial line. That means the main welding unit, torch, earth lead, wire feed mechanism and basic consumables are matched so you can begin work with less guesswork. For smaller teams, that saves time at handover and makes member onboarding much easier.
- Wire feed welding unit for mild steel work
- Torch with consumable starter pack
- Earth clamp and lead
- Wire feed drive and spool holder
- Basic regulator and gas hose where gas welding is selected
- Starter consumables for first setup and testing
Some buyers want a bench unit for a fixed bay, while others need a mobile trolley style setup that can move between stations. If you are setting up a maker area in Braamfontein, Sandton or Soweto, it helps to think about aisle width, storage and where cylinders will stand so the space stays safe and tidy.
Sizes, power input and gas choices
The right option depends on the thickness of the material and how often you will weld. Entry level units are normally suited to thinner sections, while larger models can handle heavier fabrication and longer duty cycles. For a South African workshop, the important checks are the electrical supply, the plug arrangement and whether the site can support gas storage safely.
- Power: 230 V single phase for light workshop use, with some units available in higher input options for larger bays
- Wire: Commonly 0.6 mm, 0.8 mm or 1.0 mm mild steel wire depending on material thickness
- Shielding gas: Mixed gas or CO2 depending on the application and finish required
- Output range: Typically suited to thin sheet up to medium fabrication work, depending on machine size
- Duty cycle: Choose a rating that matches your expected weld time, not just the first job
Where power cuts are a concern, many workshops use welding during scheduled production windows and keep leads, wire and gas checks done ahead of time so they dont lose a working hour to a simple setup issue.
Where this product suits best
The MIG Welding Start suits spaces that need reliable but uncomplicated fabrication. It is a good fit for makerspaces, TVET training rooms, school metalwork areas, startup workshops, maintenance teams and small contractors doing repair work around Johannesburg, Midrand, Pretoria East and beyond. Because the learning curve is manageable, it is also useful for supervised beginner sessions.
For a shared workspace, it pairs well with clear safety signage, extraction or at least strong ventilation, wire storage and a dedicated prep table. In coastal areas such as Durban, Gqeberha and Cape Town, the setup should be kept dry and covered when not in use because humidity can affect wire and contact tips faster than many new users expect.
- Starter fabrication bays
- Community makerspaces
- School labs and technical classrooms
- Small repair and maintenance teams
- Member training zones
Installation, gas and workshop setup
Installation should be done on a stable bench or trolley with enough room for the operator to move around the job. Keep the power source close to the working bay but not in the path of grinding dust or floor moisture. If the machine uses gas, the cylinder must stand upright and be secured with a chain or strap. That detail gets overlooked more often than it should, especially in busy spaces.
For gas-fed work, plan for the hose route, regulator access and cylinder storage before the unit arrives. Keep welding leads separated from cutting areas and make sure there is a clear path to the exit. Where local rules require it, include fire extinguishers, hot work controls and basic signage at the bay. A maker station in a school or public venue needs this from day one, not after the first incident.
Care, servicing and ordering checks
Routine care is simple but important. Clean spatter from the torch nozzle, check the contact tip, inspect the liner and watch for feed slip. On a weekly basis, confirm the earth clamp is holding properly and that the wire spool is feeding without snagging. In humid weather or dusty shops, wipe down the machine and store spare wire in a dry container.
Before you order, check the following so the product arrives matched to the job:
- Material thickness and the type of joints you will weld
- Available power supply at the site
- Whether you need gas or a gasless arrangement
- Wire size and spool compatibility
- Whether the workspace is fixed or mobile
- Any learner or member access limits that affect setup
If the machine will be used for training, ask for a setup that supports simple adjustments and clear labeling. That makes changeovers faster and keeps the group focused on technique instead of fumbling with settings.
Key facts
| Product type | Wire feed MIG starter setup for light fabrication and training |
|---|---|
| Power input | 230 V single phase, with higher input options available by application |
| Wire sizes | 0.6 mm, 0.8 mm and 1.0 mm mild steel wire |
| Gas use | Mixed gas or CO2 depending on finish and material |
| Typical use | Sheet metal, brackets, frames, tacks and basic repair joints |
| Recommended spaces | Makerspaces, school labs, small workshops and maintenance bays |