From One Table Off Order To A Repeatable Line
Many furniture builders begin with a few hand tools, a borrowed saw and a corner of a garage in Braamfontein, Soweto or Midrand. That works for a first table or bench, but once orders start coming in the real challenge is consistency. Jigs, labelled storage, clear cut lists and a sensible tool flow matter just as much as skill, especially when you are working around load-shedding and short production windows.
For teams moving from hobby work to regular output, the client situation is usually the same: too many movements, slow material handling and mixed standards between builders. We help turn that into a more structured workshop where each station has a clear purpose. That can mean a straight line from timber intake to cutting, sanding, assembly and packing, or a small-cell setup for custom pieces. The goal is not fancy it is repeatable output with less waste.
- Small batch furniture for homes, offices and student rooms
- Joinery teams needing better flow and safer storage
- Schools and maker spaces adding furniture projects to their programme
- Startups building tables, shelving, stools and fitted units on a budget
Typical Equipment For Furniture Builders
A furniture-making space does not need every machine on day one, but it does need the right mix for accurate measuring, cutting and fixing. In South African conditions, especially near the coast, you also need dust control, rust care and storage that keeps timber and fittings dry. Coastal humidity in Durban or Gqeberha can ruin sheet stock and hardware fast if the room is not managed properly.
The common equipment set usually includes cutting, shaping and assembly tools, plus a bench system that can take repeated clamping. For a starter setup, we often recommend a combination of manual and powered tools so work can continue during power cuts. In many workshops, hand tools are still the back-up plan when the inverter is carrying only the basics.
- Workbench tables with bench dogs, vices and clamping points
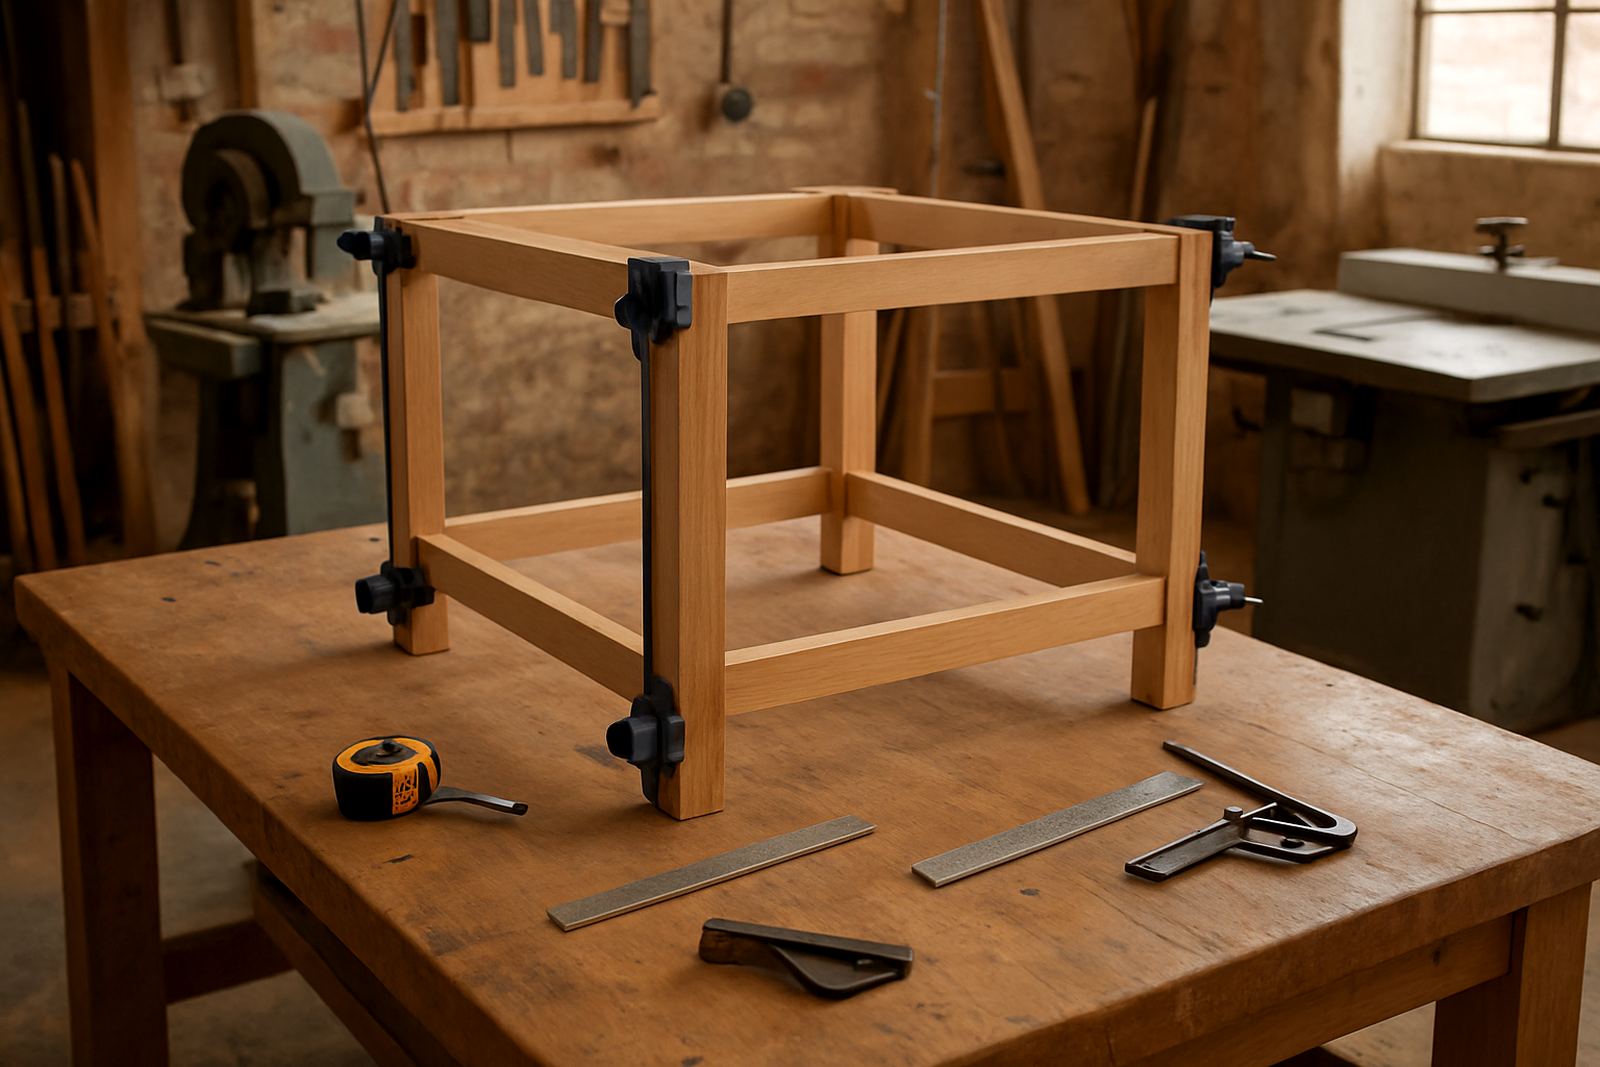
- Measuring and marking gear, including squares, tapes and marking knives
- Portable saws, sanding tools and drilling equipment
- Dust extraction or at least vacuum points and clean-out routines
- Storage racks for sheet goods, hardwood, offcuts and hardware bins
- PPE, safety signage and fire points for dust and adhesive use
For makerspaces serving multiple builders, tool-sharing rules matter. A good layout keeps high-use items close to the benches and noisy gear away from quiet planning areas. It also helps to separate rough cutting from finishing so sawdust does not end up in a final coat. That simple step saves a lot of rework, and a fair amount of frustration too.
Layout Planning That Keeps Furniture Jobs Moving
Furniture work is heavy, long and space hungry, so the layout has to match that reality. A room that suits electronics or craft work will often fail once full sheets, long rails and assembled carcasses start moving through it. We look at access paths, board storage, assembly clearances and where finished work can sit without getting marked or knocked over.
In practical terms, the workshop should allow material to enter close to storage, then move in a clean sequence through cutting, edge work, assembly and finishing. If the finish area is too close to the saws, dust will show up in the final coat. If assembly happens in a tight aisle, you will waste time shifting pieces around. A good layout also considers municipal requirements, especially for fire exits, occupancy, and keeping walkways clear. In shared venues, this matters a lot because one blocked route can affect the whole room.
- Keep sheet stock and timber near the entry point to reduce lifting
- Place cutting stations where long boards can overhang safely
- Leave assembly bays with enough room for a 2.4 metre panel or longer
- Separate finishing, drying and packing from dusty work zones
- Plan charging points and backup power for tools used during outages
We also advise on storage solutions for screws, fittings, edge banding, adhesives and abrasives. In practice, a builder loses more time looking for a 5 mm drill bit or the right hinge than they do cutting a rail. Clear labelling and simple bin systems keep the pace up, especially for teams with changing members or part-time facilitators.
Training That Moves Builders Beyond Basic Skills
The best furniture teams do not just know how to cut wood, they know how to repeat a process. Training should cover safe machine use, accurate measuring, material selection, joinery options and finishing methods that suit the product range. We support venues in Johannesburg and partner spaces nationwide so learners can build skills in a real workshop setting rather than only on paper.
For new teams, the first gap is often not creativity, it is process. Builders may know how to make one nice chair, but not how to make five chairs that match. Training closes that gap by showing how to set a reference edge, check squareness and use templates, stops and jigs. That is where repeatability starts. We also help facilitators structure sessions so learners can move from simple cuts to a full build without rushing the critical steps.
- Safe use of saws, drills, sanders and clamping systems
- Joinery basics, assembly order and fitting tolerances
- Finishing methods for painted, sealed and natural timber pieces
- Material handling and storage to reduce damage and warping
- Simple production tracking for small orders and workshop classes
For schools and community maker programmes, we can also support facilitator setup and member onboarding. That means a space where the rules are clear, tools are returned properly and learners understand what is expected before they touch expensive stock.
Common Mistakes That Push Up Costs
The most common mistake is underestimating space. A single workbench may handle a side table, but it will struggle with cabinets, shelving or dining pieces. Another frequent issue is buying tools before planning the workflow. That usually leads to duplicated equipment, poor access and a workshop that looks full but still does not run well. We see it in small businesses and school labs alike.
Budgeting errors can be just as costly. Many teams plan only for tools, then forget storage, safety signs, replacement blades, clamps and consumables. There is also the false saving of buying weak gear that wears out quickly. In South African conditions, especially where power is unstable or dust is high, a cheap tool can become an expensive delay.
- No allowance for spare blades, sanding discs and fasteners
- Unsafe cable runs and poor plug point placement for backup power
- Not enough clamps, benches or drying space for multiple jobs
- Improper storage that leads to warped boards and rusty fittings
- Skipping maintenance checks until a tool fails mid-job
A basic furniture-builder startup setup can begin around R35 000 to R75 000 for a small bench-based room with manual tools and limited power support. A stronger shared workshop or school lab refresh may sit between R120 000 and R350 000, depending on machine count, storage and safety setup. Larger production-ready spaces, with better extraction, more benches and proper material handling, can move well beyond R500 000. The right number depends on output, room size and whether you are making one-off pieces or regular batches.
How SA Makers Supports Furniture Builders
Our work with furniture builders usually starts with a maker audit or a space review. From there we look at tool zone layouts, maintenance checks, startup space kits and consumables planning. For teams growing across Braamfontein, Sandton, Pretoria East, Cape Town, Durban or Gqeberha, we can also help align multiple venues so the same methods are used in each location.
That matters when you want learners, staff or makers to move between spaces without relearning the whole system. A shared setup makes onboarding easier and keeps standards steadier. It also helps when a project moves from training to actual production, because the workshop rules, storage and safety signage already make sense to everyone involved.
If you are building a furniture business, school lab or community workshop, the next step is usually not more theory. It is a clear layout, the right starter tools and a plan that matches your budget and output. With the right setup, a small team can move from simple workshop skills to a repeatable furniture-making method that holds up under real work.