What Electronics Tinkerers Usually Need From A Space
This use case suits people building simple circuits, sensor projects, microcontroller boards, battery-powered gadgets, home automation ideas, and small test rigs. In South Africa, the best setup is one that can handle power cuts, spare parts shortages, and the reality of shared rooms where tools must be packed away at the end of the day.
A good electronics area does not need to be large, but it does need to be orderly. You want clean tables, enough plug points, anti-static protection, storage for components, and a quiet corner for code uploads and testing. If you are running sessions for a club, school, or startup team, the layout should also make it easy to supervise learners and keep small parts from going missing.
Starter Kit Components That Make Sense In South Africa
Starter kits should focus on the basics first, then add project parts once users are comfortable with wiring, measurement, and safe soldering. For a new group in Johannesburg or Pretoria East, it is better to buy a working set of essentials than a big box of random items that no one can use properly.
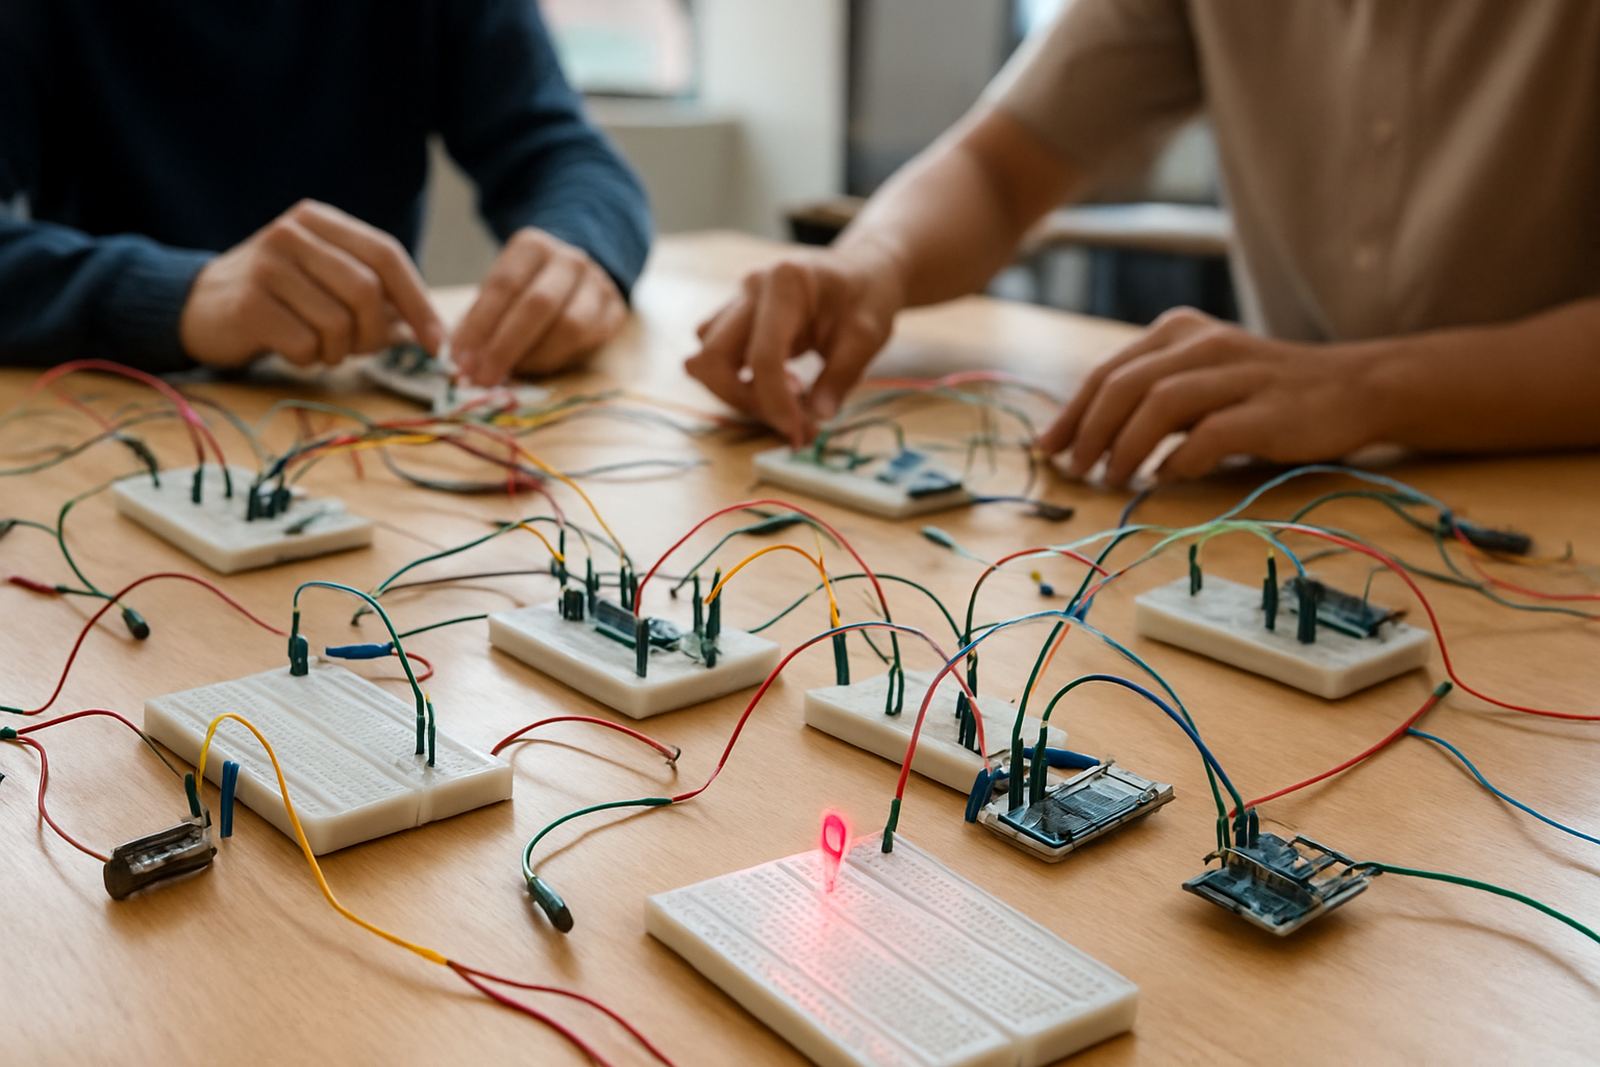
- Breadboards, jumper leads, resistors, capacitors, LEDs, switches, and diodes
- Microcontroller boards, USB leads, and plug-in sensors for light, temperature, and motion
- Hand tools such as wire strippers, side cutters, tweezers, and small screwdrivers
- Soldering irons, solder, tip cleaner, and heat-resistant mats for assembly work
- Multimeters, bench power supplies, and labelled storage boxes for small components
- Enclosures, mounting hardware, and cable ties for finished builds
For coastal areas like Durban and Gqeberha, add moisture protection and better storage for metal parts. Humidity can affect tools and connectors quicker than many people expect, especially if items are left in open trays.
Layout Planning For Safe Circuit Work
The right layout reduces mistakes and protects people and equipment. Electronics work should be separated into three simple zones: assembly, testing, and storage. That way learners are not reaching across live boards, and completed projects are not mixed up with loose components.
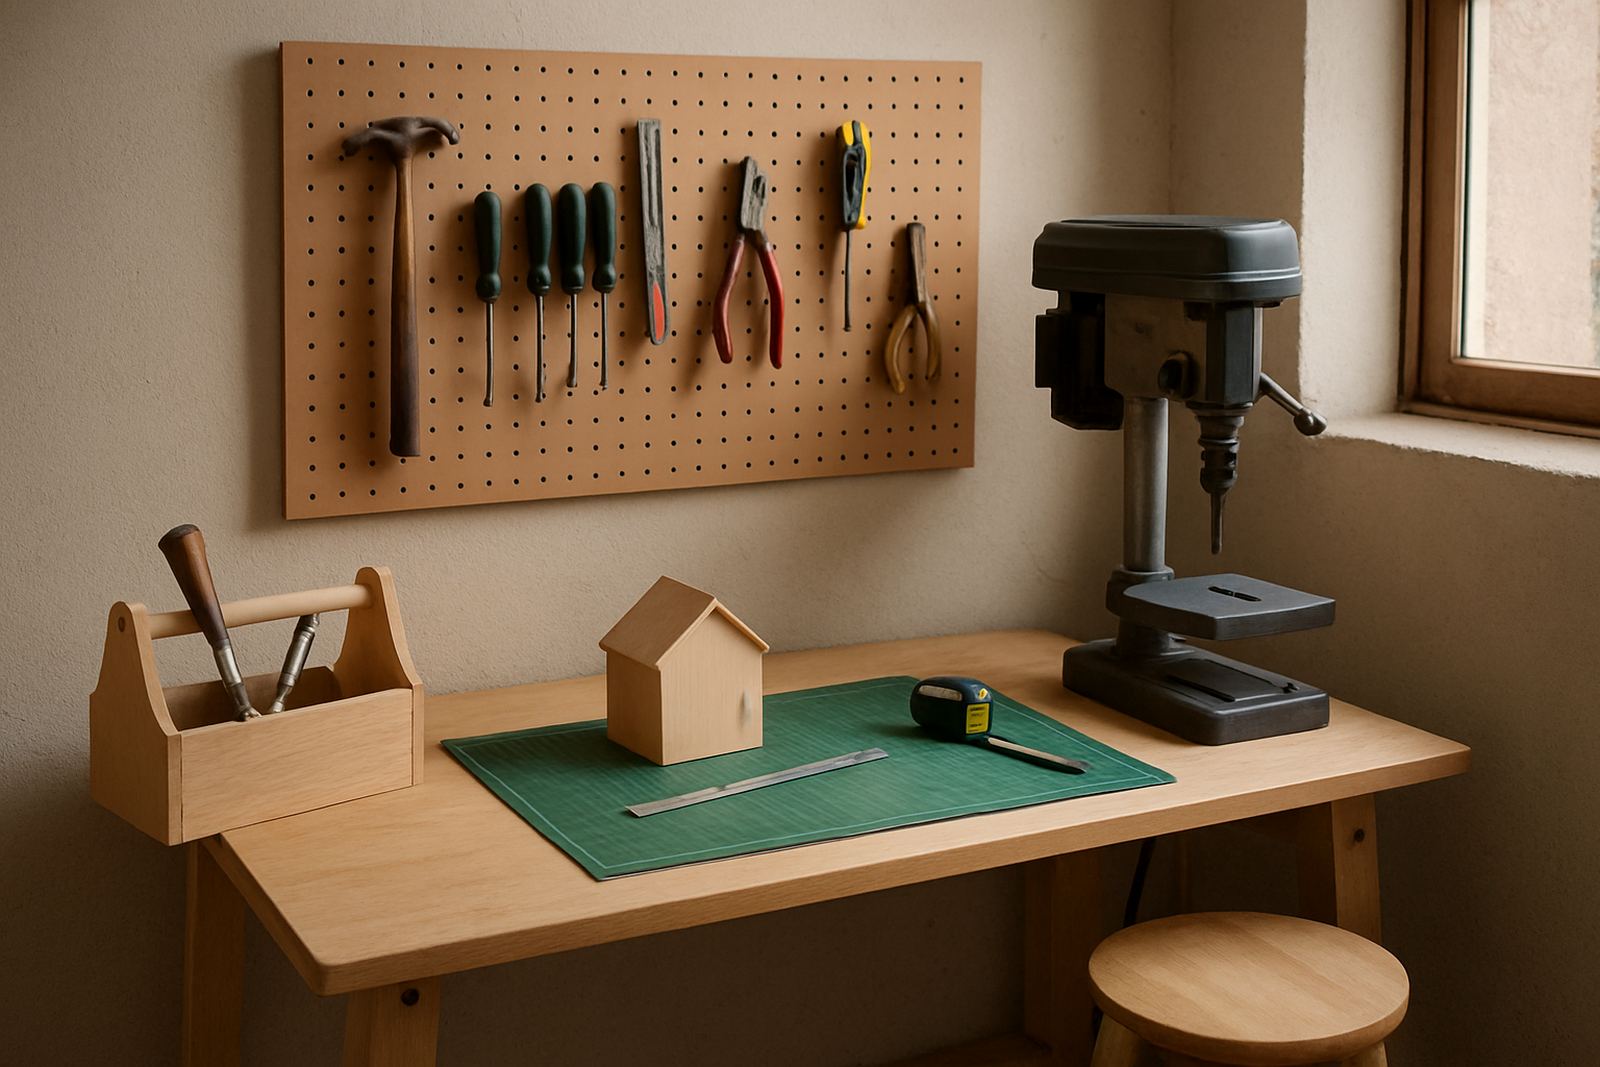
In a shared workshop, place soldering near extraction and keep power leads off the floor. Put the multimeter and bench supply in the testing zone, with clear labels for voltage limits and polarity. A storage wall or locked cabinet works well for batteries, tools, and higher-value items. If the venue uses backup power during load-shedding, the inverter or battery station should be sized for the soldering station, laptop charging, and a few test rigs only, not the whole room.
- Keep mains power separate from low-voltage project tables
- Use labelled bins for resistors, sensors, headers, and screws
- Mark ESD-safe benches where sensitive boards are handled
- Leave a clear walkway for supervision and emergency access
- Mount safety signage where users can see it before starting work
Training And Member Onboarding That Saves Time
Most electronics groups run smoother when new members are shown how the space works from day one. That includes how to borrow tools, where to return components, how to use a multimeter, and what to do if a board starts overheating. A short onboarding process cuts down on breakages and avoids the same questions being answered every week.
For schools, maker clubs, and startup teams, facilitator support is just as important as the equipment itself. A competent facilitator can keep sessions moving, help with basic fault-finding, and prevent a room full of half-wired projects from becoming a safety issue. In Braamfontein or Soweto, this matters even more when multiple age groups or skill levels share one venue.
Training should cover safe soldering, component identification, battery handling, and simple coding workflows. If your users are building smart devices, include storage for laptops, chargers, and test leads so the class can pack up fast when the room needs to be cleared.
Common Mistakes That Push Costs Up
One of the biggest mistakes is buying advanced kits before the basics are in place. A room full of smart modules still fails if there are no test leads, no labelled storage, and no plan for power backup during outages. Another common issue is underestimating consumables. Solder, heat shrink, batteries, tape, cable ties, and headers disappear quickly in active groups.
People also forget maintenance. Tools left on benches, dirty soldering tips, and uncalibrated metres can ruin good work. A monthly maintenance check helps keep the setup usable. It also reveals small problems early, like loose plugs, broken clips, or storage trays that are no longer being used properly.
- Buying too many specialist boards before learners know the basics
- Leaving batteries and loose metal parts in the same box
- Skipping safety signage for heat, mains power, and soldering areas
- Using one table for both dirty repair work and clean assembly
- Ignoring humidity, dust, and theft risk in open storage rooms
Budget Ranges For Different Electronics Setups
Budget depends on whether you are setting up a small home-style lab, a school refresh, or a shared maker space with regular classes. A basic starter setup for a small group can begin around R15,000 to R35,000 if you are covering tools, core components, storage, and a few test items. That range suits a compact room or pilot programme.
A more complete shared electronics zone with better power provision, multiple workstations, storage, safety signage, and facilitator support often sits between R45,000 and R120,000. If you are adding backup power, wall-mounted storage, solder extraction, or a larger stock of consumables, the amount can rise further. For a full school lab refresh or a regional training venue, planning from R150,000 upwards is more realistic.
It helps to stage purchases. Start with the tools and safety items, then add project kits and spare components after the first few sessions. That approach works well for venues in Midrand, Sandton, Durban, and Cape Town where the room may already have some furniture but still needs a practical electronics workflow.
How SA Makers Supports Electronics Tinkerers
SA Makers works with makerspaces and training venues across Johannesburg and beyond to plan tool zones, starter kits, storage, onboarding, and event stations that suit electronics work. If you need a maker audit, we look at what is already on site, what is missing, and how the space can support more builds without becoming cluttered or unsafe.
For teams in Braamfontein, Pretoria East, Gqeberha, or Soweto, the goal is simple: make it easier to start, easier to store, and easier to keep building. That can include consumables planning, safety signage setup, maintenance checks, and support for facilitator-led sessions. If your group needs a practical electronics setup that can handle real use, this is where we begin.