When a classroom needs to work like a makerspace
Most maker education projects start in a room that was never planned for cutting, measuring, building or soldering. A science lab, tech room, library corner or multi-purpose classroom can still do the job well, but it needs clear zones, safe storage and enough room for learners to move without crowding each other. In Johannesburg and the wider Gauteng area, many schools also have to plan around load-shedding, so it helps to think through charging, backup lighting and what work can continue when power is off.
We often support teachers who want to run project-based lessons, after-school clubs, holiday programmes or educator training days. The main need is usually the same: a practical setup that lets learners make something real without turning every lesson into a cleanup exercise. That means planning for tools, materials, supervision sightlines and quick pack-away routines, not just the tools themselves.
- Classroom-based maker lessons for 20 to 35 learners
- School lab refresh work for tech, STEM and art spaces
- Trainer-led workshops at partner venues in Braamfontein, Pretoria East, Midrand and beyond
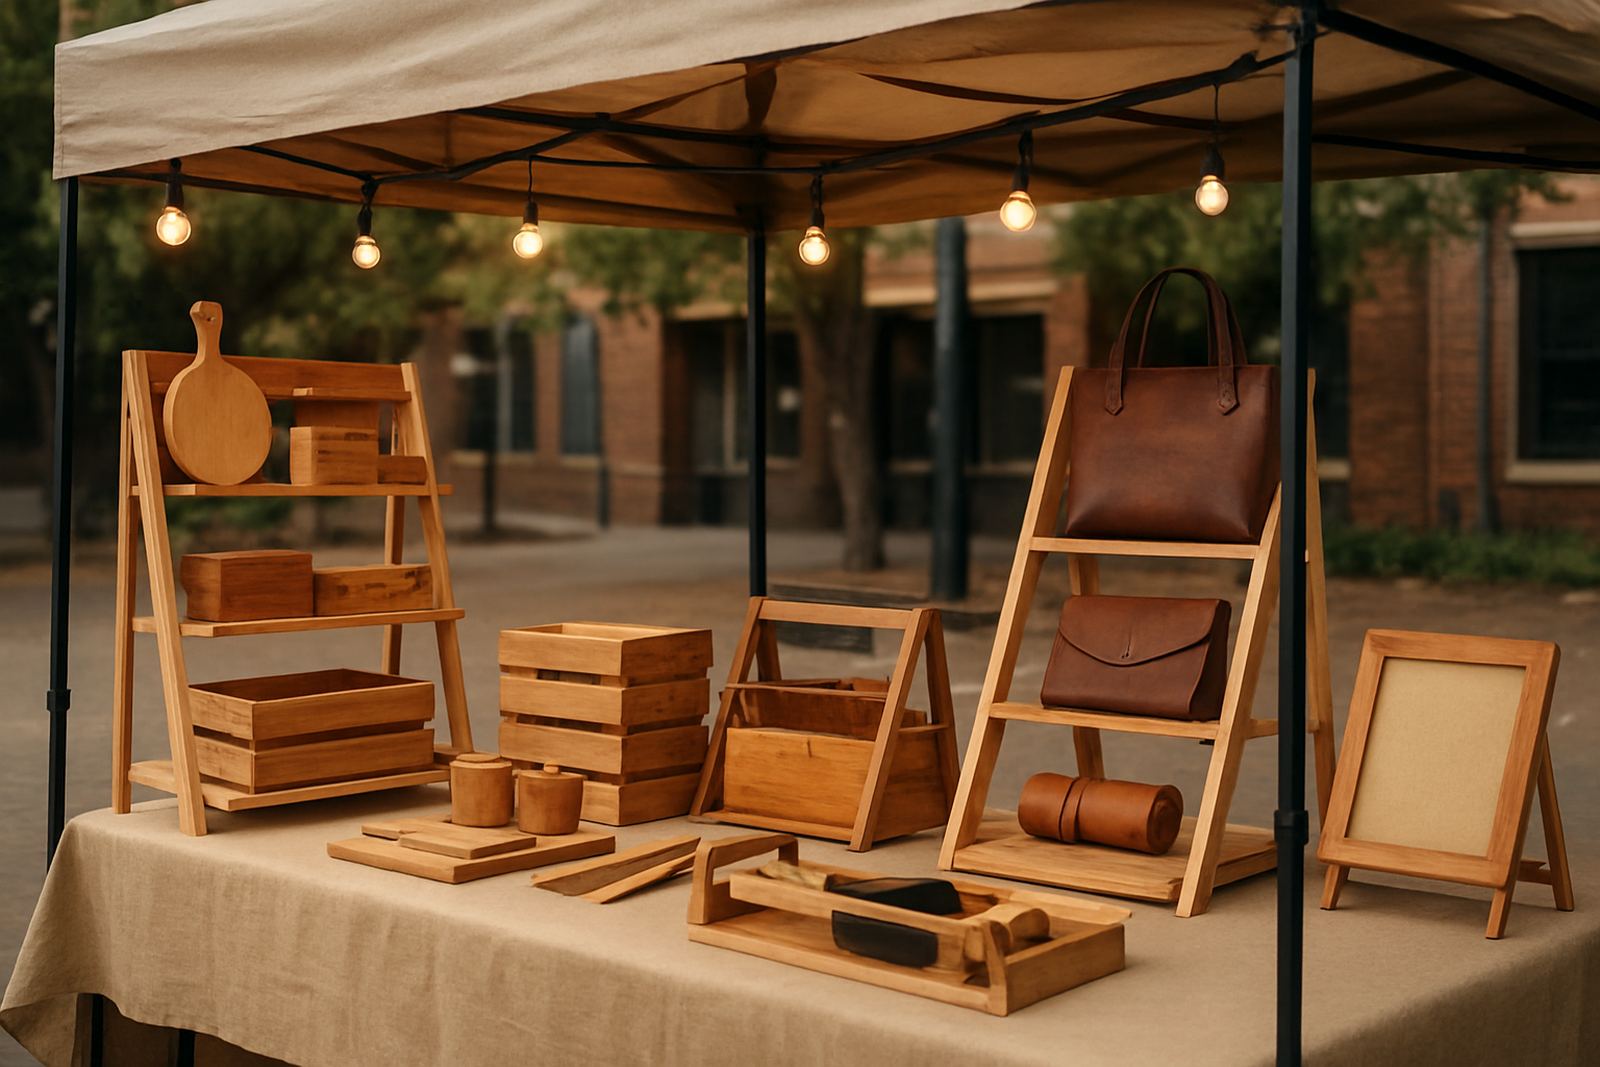
- Portable activity stations for events, outreach days and maker clubs
Typical equipment for maker learning programmes
The right kit depends on age group, lesson outcomes and the amount of supervision available. For younger learners, simple hand tools and low-risk materials may be enough. For senior classes, you may need more advanced tools, measurement gear and a proper charging point for devices used in design or documentation. In humid coastal areas like Durban or Gqeberha, storage must also protect metal tools and consumables from rust and moisture damage.
A strong starter set for maker educators usually includes mixed tools, storage and enough consumables to keep the class moving. We look at what can be shared safely between groups and what should be issued per table, because that has a big effect on cost and control.
- Hand tools such as rulers, cutters, clamps, screwdrivers, pliers and marking tools
- Basic electrical or electronics items for low-voltage learning tasks
- Craft and build materials like board, fasteners, tape, glue and packaging board
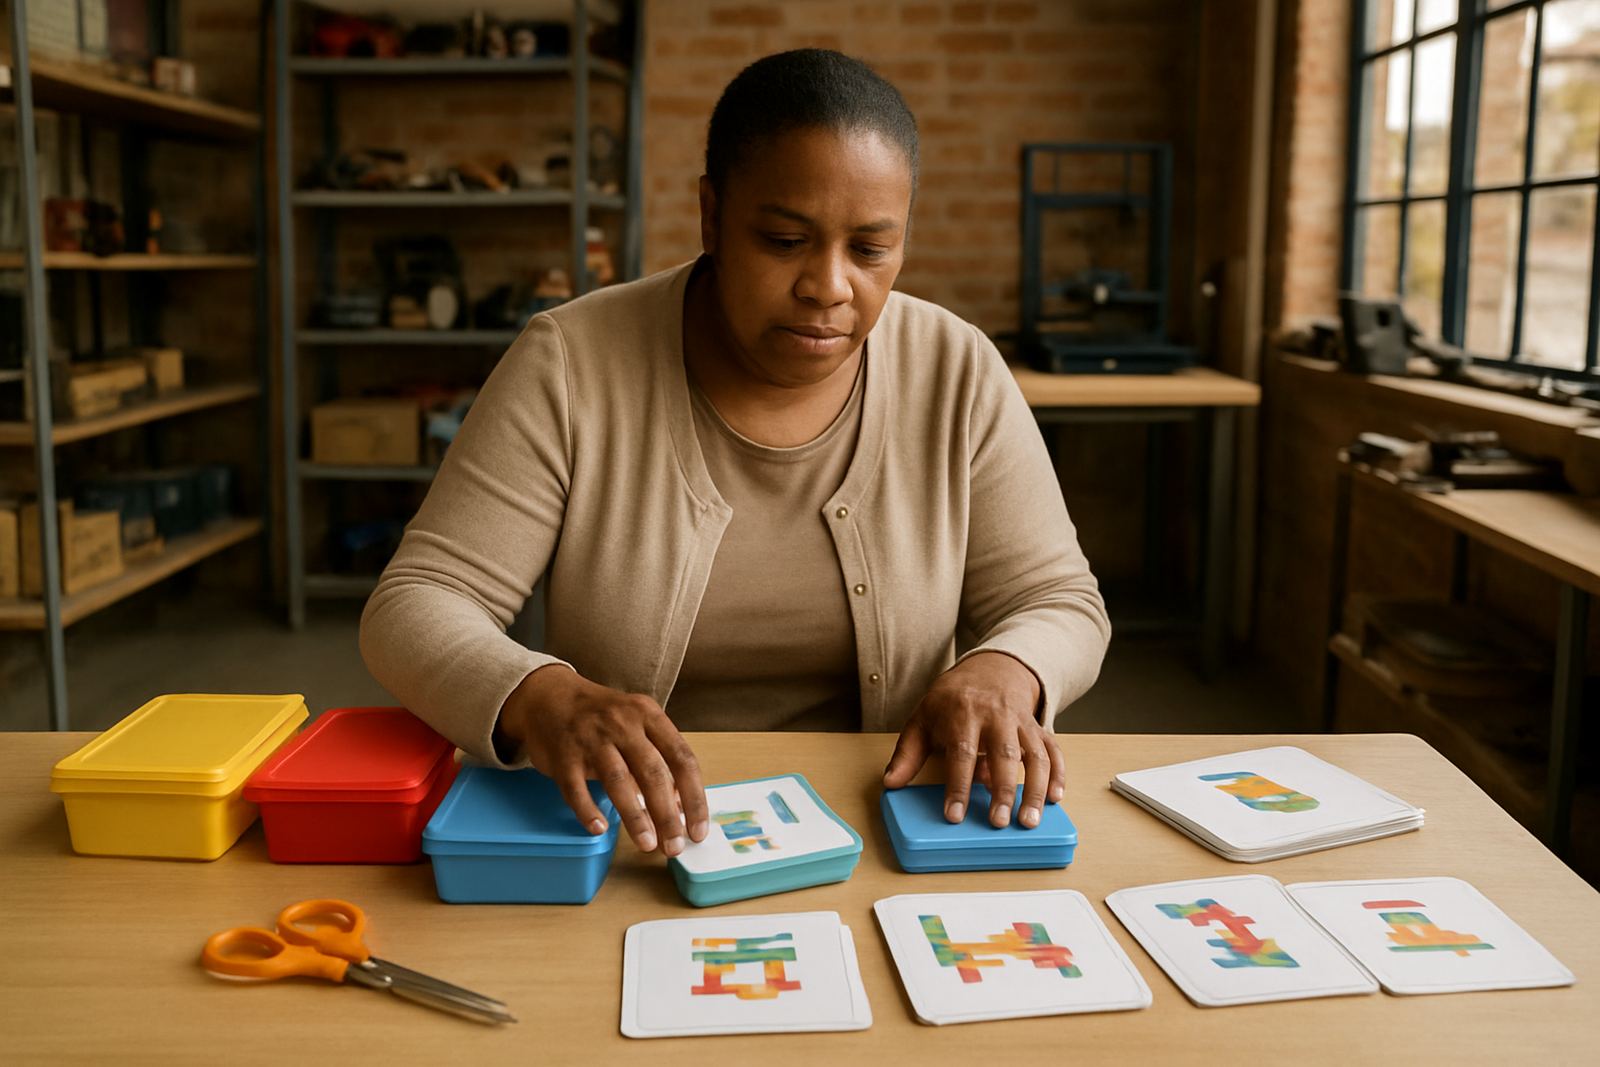
- Labelled storage tubs, tray systems and lockable cupboards
- Safety items such as goggles, gloves, masks and clear signage
- Portable power strips, extension leads and charging storage for devices
If you are running repeated sessions, it is worth budgeting for replacement stock from day one. Consumables disappear fast in busy rooms, and an empty box of fasteners can stop a whole group. That is one of the simplest mistakes to avoid.
How to plan the room so learners stay active and safe
Good layout makes a huge difference. A maker room should have a clear entry point, a tool issue area, active work tables, a clean-up point and storage that does not force learners to cross through busy cutting zones. If the room is used for school lessons, you also need a way to reset it quickly for the next class. That means fixed and mobile furniture, visible labels, and enough aisle space for the teacher or trainer to move through easily.
We usually advise educators to divide the space into simple zones: prep, making, checking and storage. Tool zones should be close to the work area but not in the middle of foot traffic. High-use consumables need to be reachable without opening up half the room. If you are working in a venue with mixed age groups, the younger learners should not share the same layout as the senior ones because the safety needs are different.
- Keep sharp tools in one marked location with controlled issue and return
- Use open tables for collaboration, not narrow rows that block movement
- Place bins and scrap trays at the edge of the room for quick clearing
- Store fragile items above floor level to reduce breakage
- Build in a visual checklist for opening, closing and maintenance checks
For schools with limited rooms, movable trolleys can be a better answer than fixed benches. They let you set up a lesson in one room and pack away before the next class. That is often cheaper than a full remodel and easier to manage when the timetable shifts.
Training support for teachers, facilitators and programme leads
Many educators do not need more theory, they need confidence using the room, the tools and the lesson flow. Training should cover how to introduce activities, manage materials, correct unsafe habits early and keep the group engaged while different learners move at different speeds. For a school or community programme, it also helps to train more than one person so that the programme does not depend on a single facilitator.
Our support can include member onboarding for new users of the space, facilitator support for planned sessions, and maintenance checks so the room stays usable term after term. In practice, that may mean showing a teacher how to issue tools, store consumables properly, label each station and do a quick end-of-day reset without losing ten minutes to admin.
- Short induction for staff using the room for the first time
- Session planning support for recurring maker lessons
- Safety signage setup suited to learner age and tool risk
- Basic maintenance routines for tools, storage and benches
- Clear stock control for consumables and replacement items
Budget ranges for school and training setups
Budgets vary widely because some educators only need a starter trolley, while others need a full room refresh. A small outreach kit for demonstrations or club sessions can start from around R15 000 to R35 000. A more complete classroom set-up with storage, signage, tools and consumables often sits between R45 000 and R120 000, depending on the number of learners and the type of activities planned.
For a larger school lab refresh, or a trainer venue that needs several work zones, the budget can move from R150 000 upward. That usually includes layout planning, storage solutions, safety setup and enough tools for repeated use. If the programme includes digital tools, charging needs or specialist equipment, the number rises again. It is better to budget for a second round of consumables and minor repairs than to spend everything on the first order. Otherwise the room looks ready but stops running after a few weeks.
The common mistake is buying too many item-specific tools before the basics are sorted. A strong plan starts with the room, then the storage, then the core tool set, and only then the specialist extras. That order saves money and avoids clutter.
Working with partner venues across South Africa
Not every educator has a permanent maker room, and that is fine. We work with partner makerspaces and training venues in Johannesburg, Braamfontein, Sandton, Midrand, Pretoria East, Soweto, Durban, Cape Town and Gqeberha, so schools and trainers can match the right venue to the right programme. That helps when you need a space for teacher upskilling, learner workshops, or a pilot project before rolling it out on campus.
For groups that want to start small, a maker audit can show what is already usable, what needs replacing and what can be staged in phases. From there we can help with startup space kits, tool zone layouts, storage solutions, event maker stations and consumables planning. The goal is a room that can handle real teaching, not just a one-day demo.
- Good for schools testing maker education before a full rollout
- Useful for colleges, NGOs and community learning hubs
- Helpful when you need venue options near your region
- Supports both fixed rooms and portable programme setups