A Youth Club Brief With Tight Deadlines
The club was based in Durban and worked with learners aged 13 to 17 who had never built a competition robot before. Their brief was straightforward on paper: create a basic robot for a local youth challenge, keep the build affordable, and make sure the machine could handle repeated runs without falling apart. The group had a mixed level of experience, so the project also had to double as training.
The main request was for guided build sessions rather than a handover of parts only. They wanted help planning the layout, choosing a drive system, and setting up a small working area that could handle soldering, fastening, wiring and test runs. Because the venue was in Durban, corrosion risk and storage during humid weather also had to be considered from the start.
- Client type: youth club and mentors
- Town: Durban
- Project type: starter competition robot
- Build style: guided sessions with hands-on support
What Had To Work In The Space
The club had a good room, but it was not a full workshop. Power points were limited, the floor space was tight and equipment had to be packed away between sessions. Load-shedding was another issue, so we planned the build around tools that could still be used safely when mains power was unreliable. That meant keeping the process simple, with chargers, hand tools and battery tools arranged in a sensible sequence.
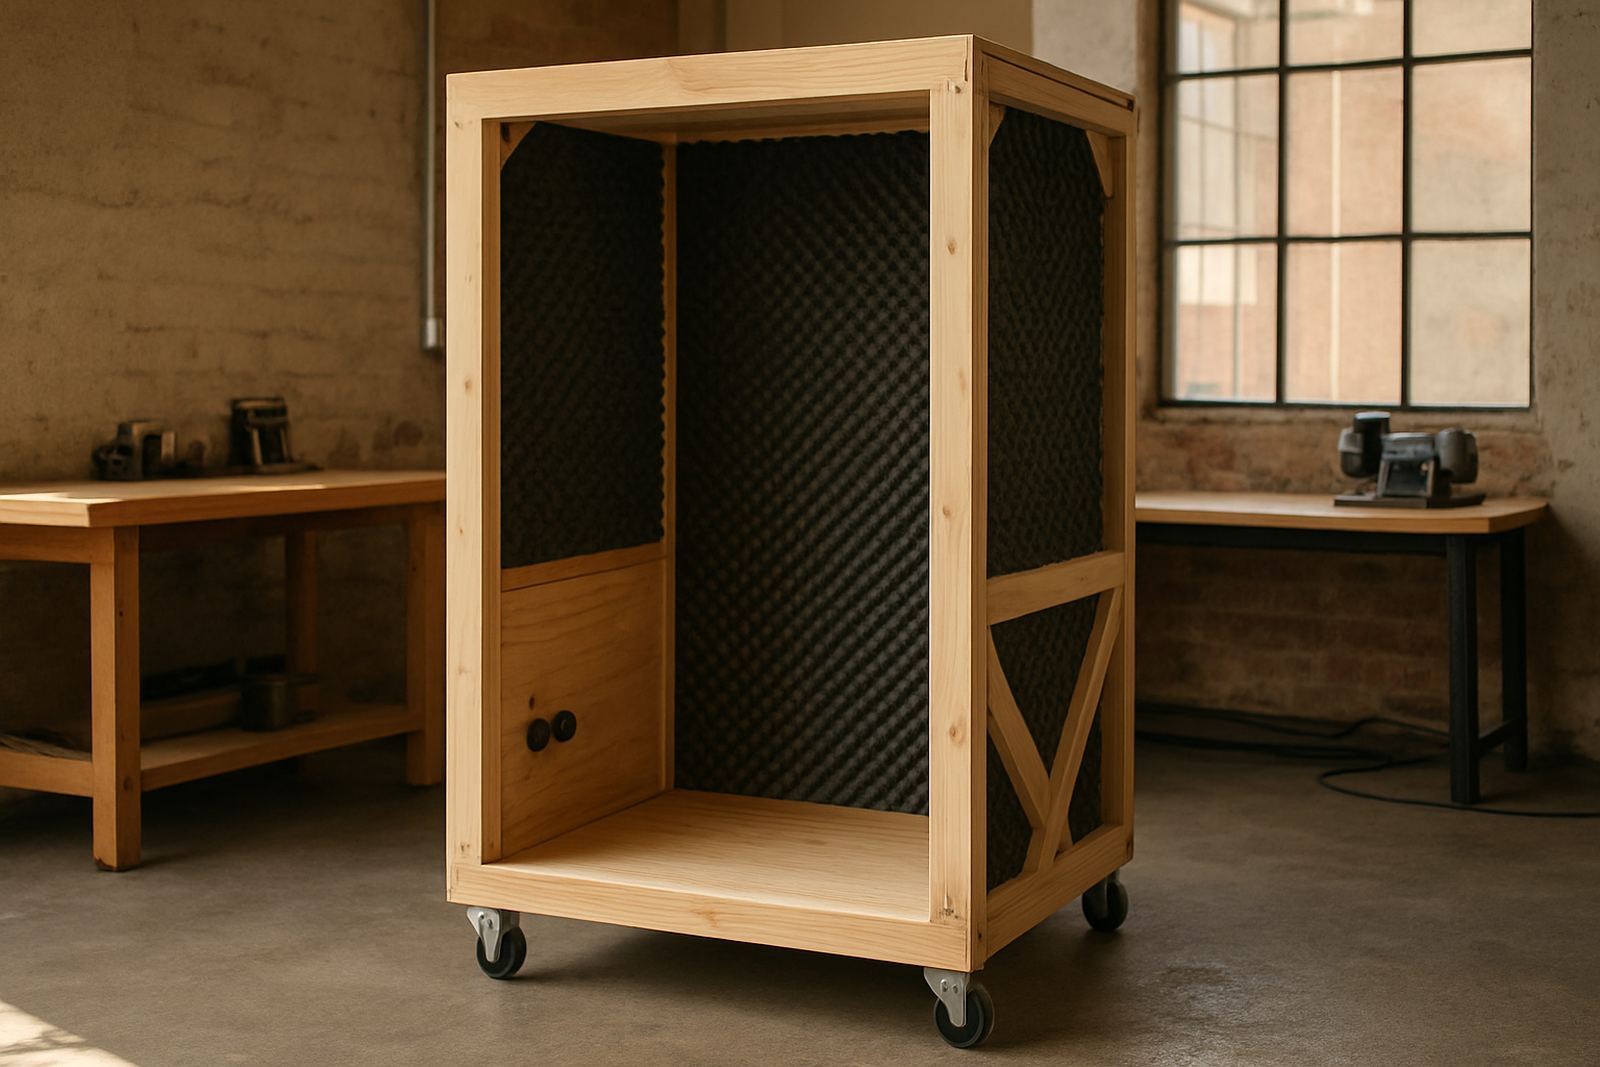
We also had to stay within school-style safety rules. Sharp edges had to be covered, loose wiring had to be clipped down, and the team needed a clear rule set for tool use. We set up a small safety station with signage, PPE reminders and a tidy storage system so the students could reset the area after each session. It made a big difference because the room was being used by more than one group each week.
- Limited power outlets
- Small room with shared use
- Battery and hand tool friendly setup
- Storage needed between sessions
Our Build Plan And What We Supplied
We started by mapping the robot into three clear sections: chassis, drive and control. That made the sessions easier for the learners to follow and gave each subgroup a proper task. The parts package included a lightweight frame, wheels suited to indoor floors, a compact motor set, wiring consumables, fasteners, cable ties, switchgear and a simple control board. We also supplied starter tools for assembly and testing, plus labels and basic wiring markers so the team could keep track of each connection.
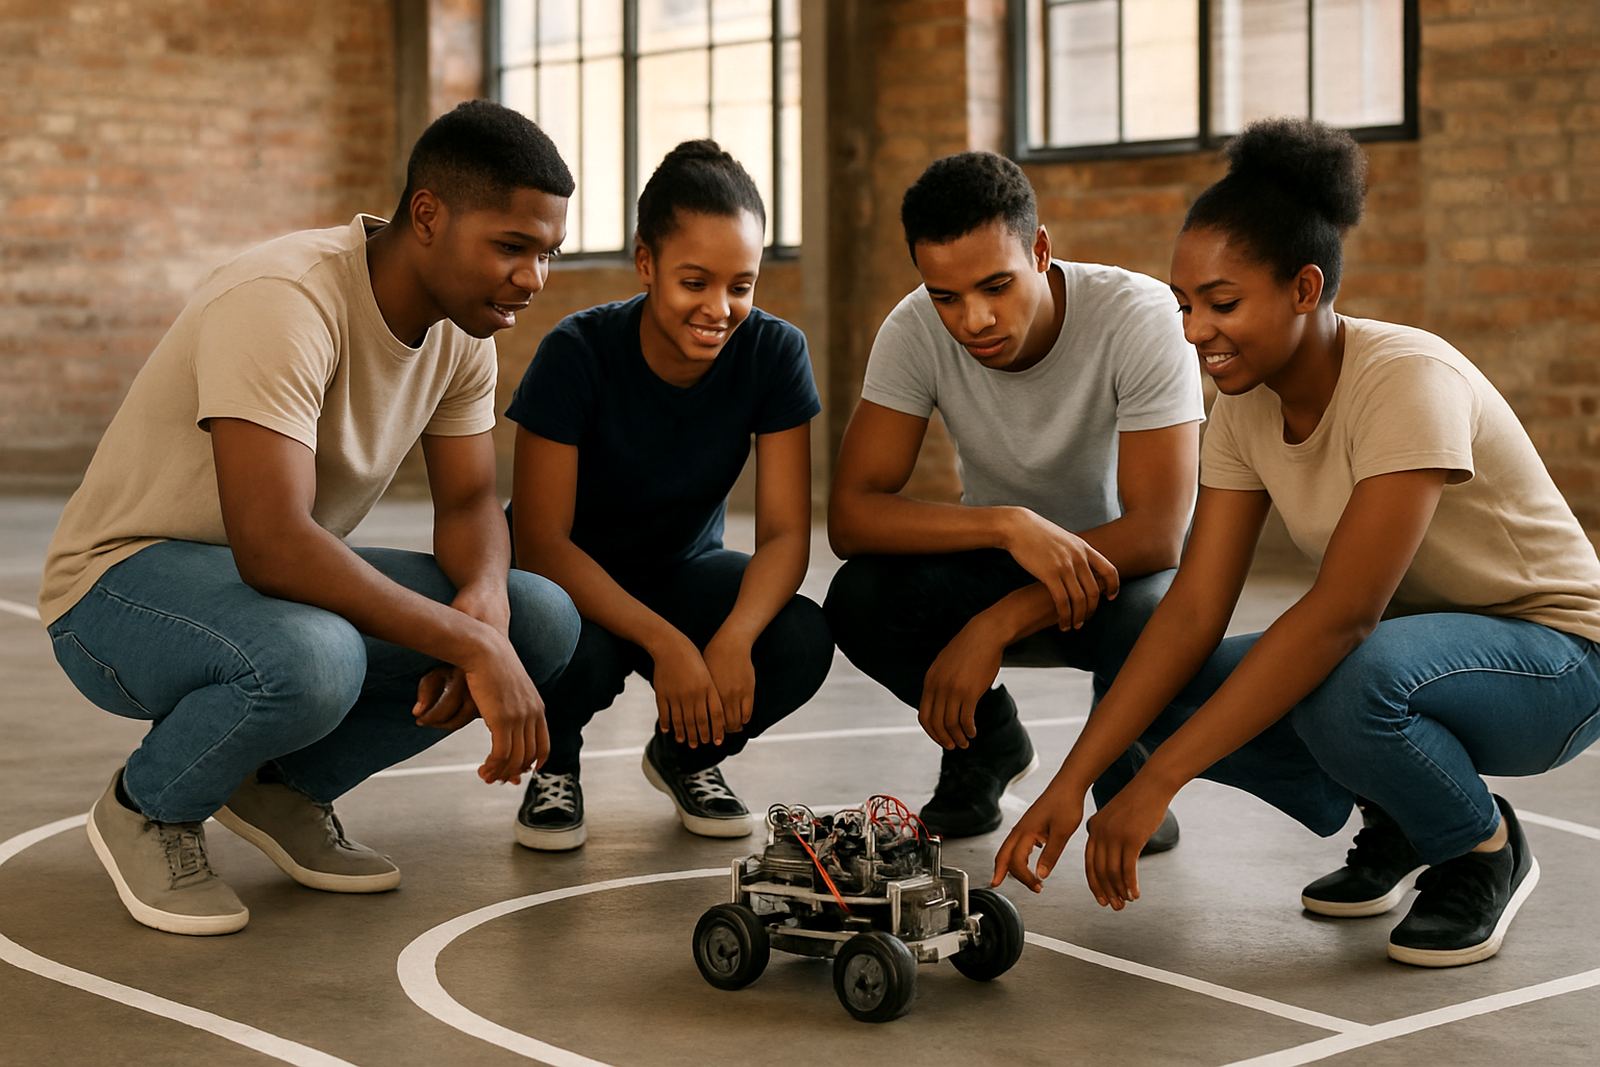
On the training side, the sessions covered safe assembly, tightening methods, battery handling, wire management and fault finding. We kept the robot design simple enough for first-time builders but strong enough to hold up in a game. The goal was not to make the fanciest machine, but one that could drive straight, turn properly, and keep working after a knock or two. The learners built confidence quickly once they saw the bot moving under their own control.
- Lightweight chassis package
- Indoor-use wheels for smooth floors
- Motor and control set with basic wiring kit
- Starter tools, labels and consumables
Six Weeks From First Layout To Match Ready
The project ran over six weeks. In week one we completed the layout session and showed the group how to plan parts before touching tools. Week two covered frame assembly. In week three the drive system went in, followed by wiring checks and battery fitment. Week four was for control testing and tidy-up work, while week five focused on trial runs and repairs. By week six the team had a working competition robot and had done enough practice to understand its limits.
We kept the schedule realistic because youth groups often lose time to exams, transport, and venue sharing. Shorter sessions worked better than long ones. Each visit had a clear goal, so the learners could pick up where they left off without wasting time. A lot of the value came from repetition, especially when tightening fixings and testing the same movement more than once. That simple discipline helped the robot become more reliable.
There were a few small setbacks, including a loose connector and one wheel alignment issue, but both were sorted during the build period. Nothing major, just the kind of thing that shows up when a team is learning on the job.
Key facts
| Project type | Youth club competition robot build |
|---|---|
| Town | Durban |
| Duration | 6 weeks |
| Core build | Lightweight chassis with simple drive system |
| Support provided | Guided sessions, starter parts, safety setup and testing |
| Outcome | Competition-ready robot completed by the youth team |