What our space planning covers
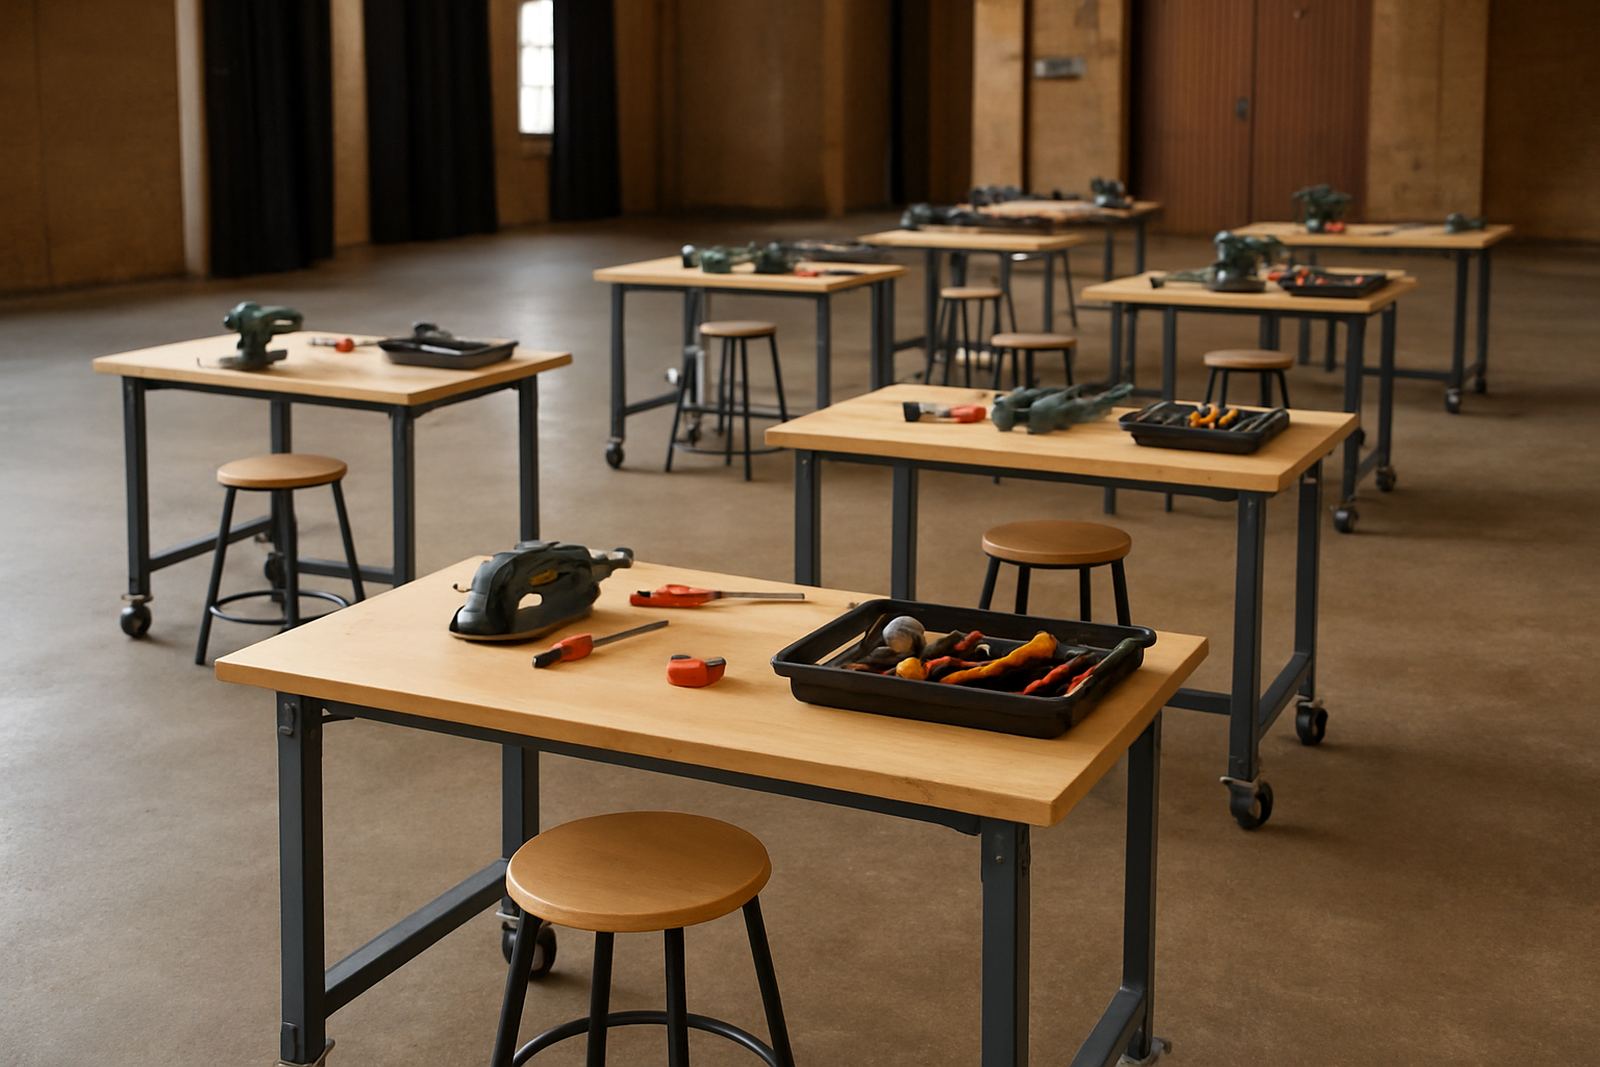
We plan shared workshops, training rooms and flexible maker areas for groups that need order, safe movement and enough room for real work. The aim is simple: fit the tools, protect the people and make daily use easier in Braamfontein, Sandton, Midrand, Pretoria East, Soweto and partner venues nationwide. We look at the room as it is, then shape it around your actual workflow not guesswork.
- Tool zone layouts for hand tools, benchtops, small machines and assembly points
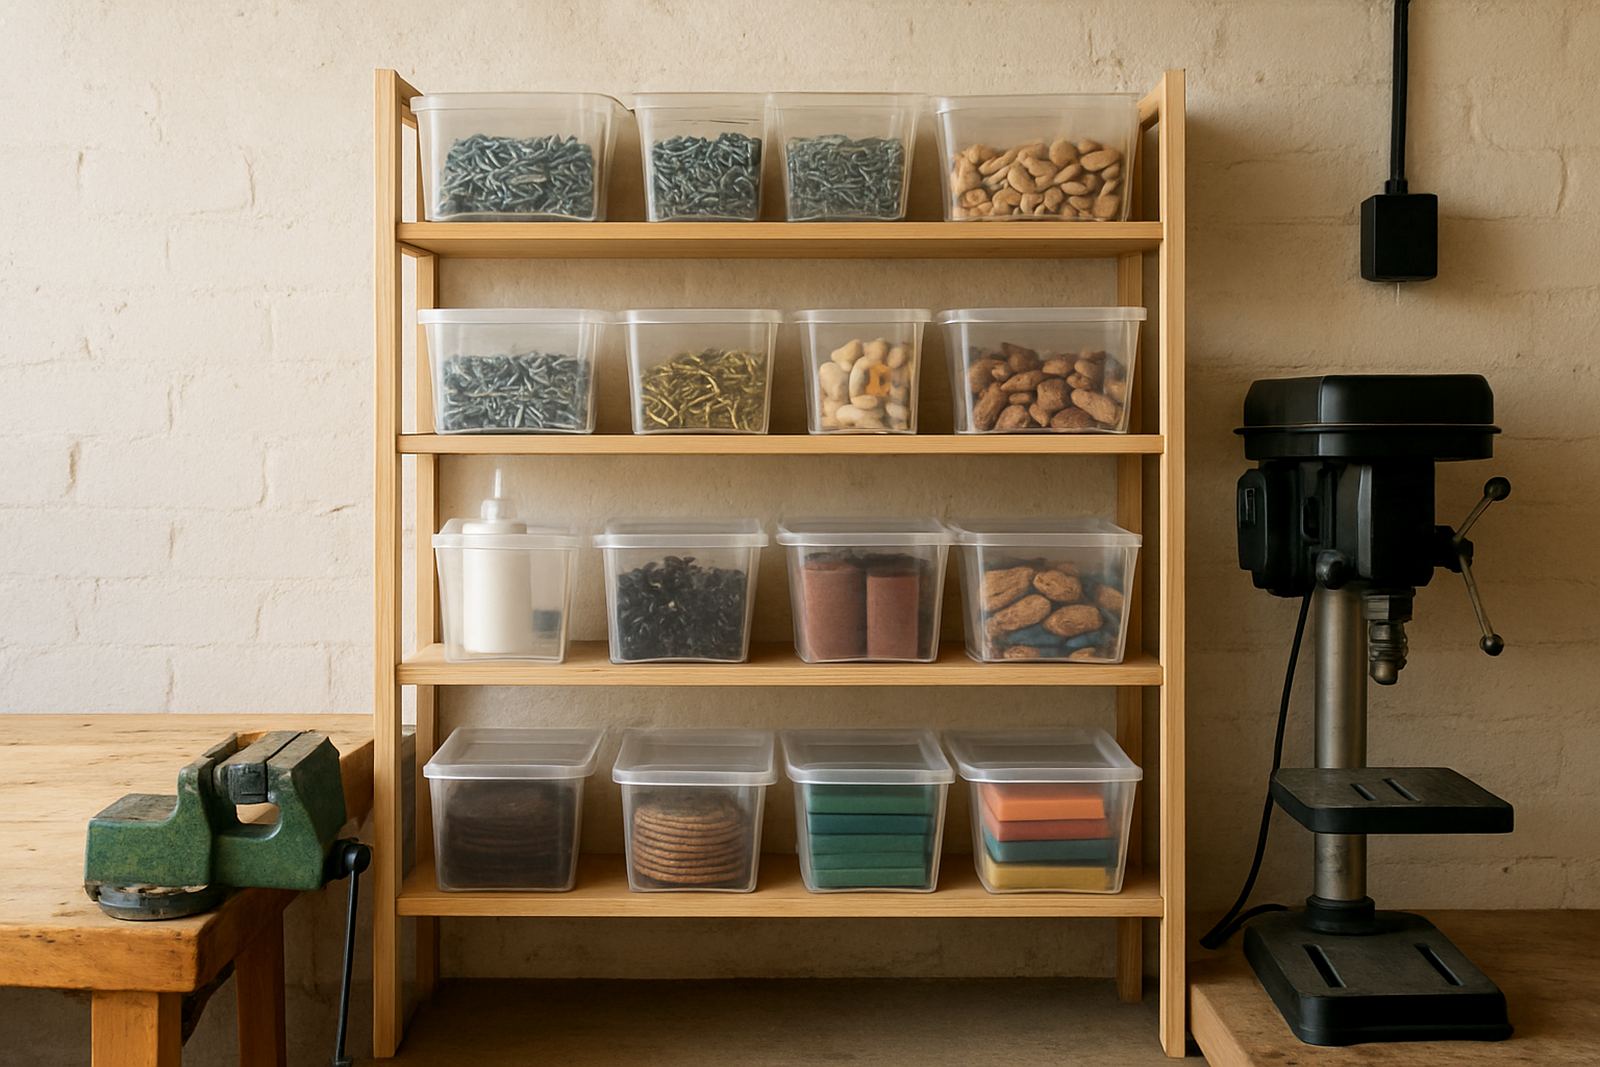
- Storage placement for materials, offcuts, PPE and shared consumables
- Clear walkways, loading paths and access for trolleys or wheelchairs where needed
- Power point use, extension lead routes and backup plans for load-shedding
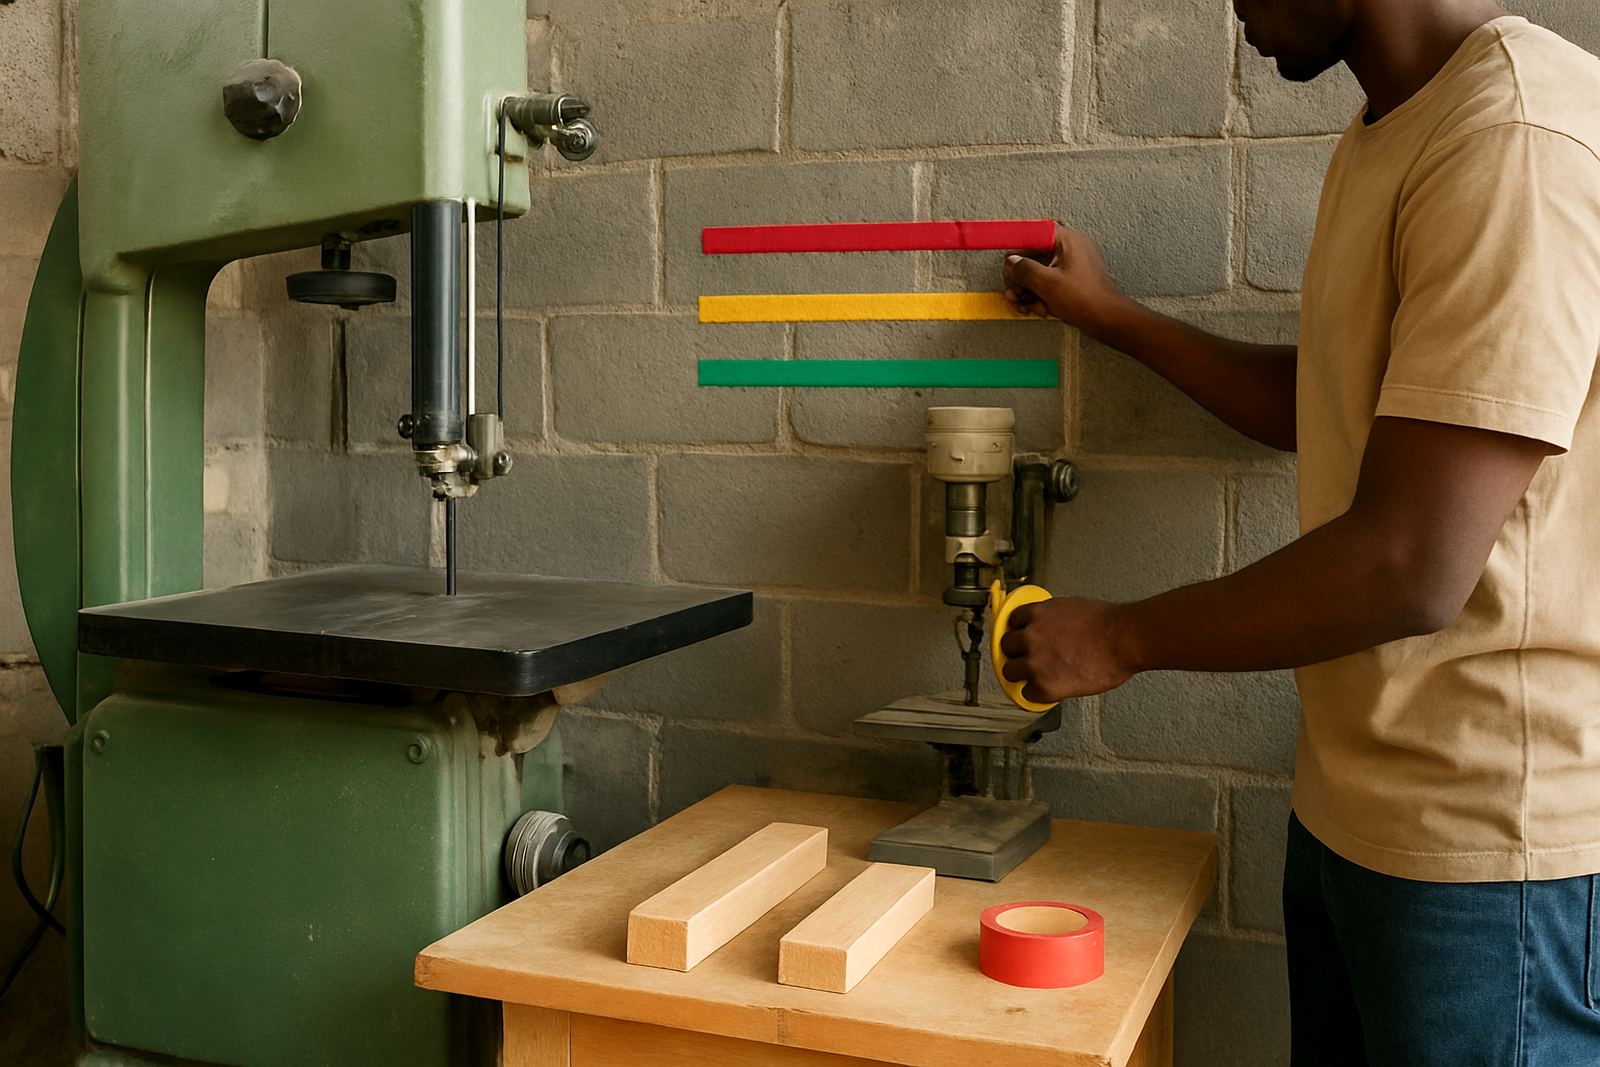
- Signage positions for safety rules, fire points and member guidance
How we assess the room before drawing a plan
Every project starts with a practical site check. We measure the room, note ceiling height, doors, windows, floor condition and where the power and water points sit. In older buildings around Johannesburg this often means working around columns, uneven floors and limited plug points. Along the coast we also factor in humidity, corrosion risk and storage that keeps materials dry.
We then group the space by use. For example, a cutting zone should not sit beside a quiet training table, and dusty work should not share air with packaging or electronics. If you run classes, we also plan sight lines so facilitators can see the room without standing in the middle of it.
What is included in the service
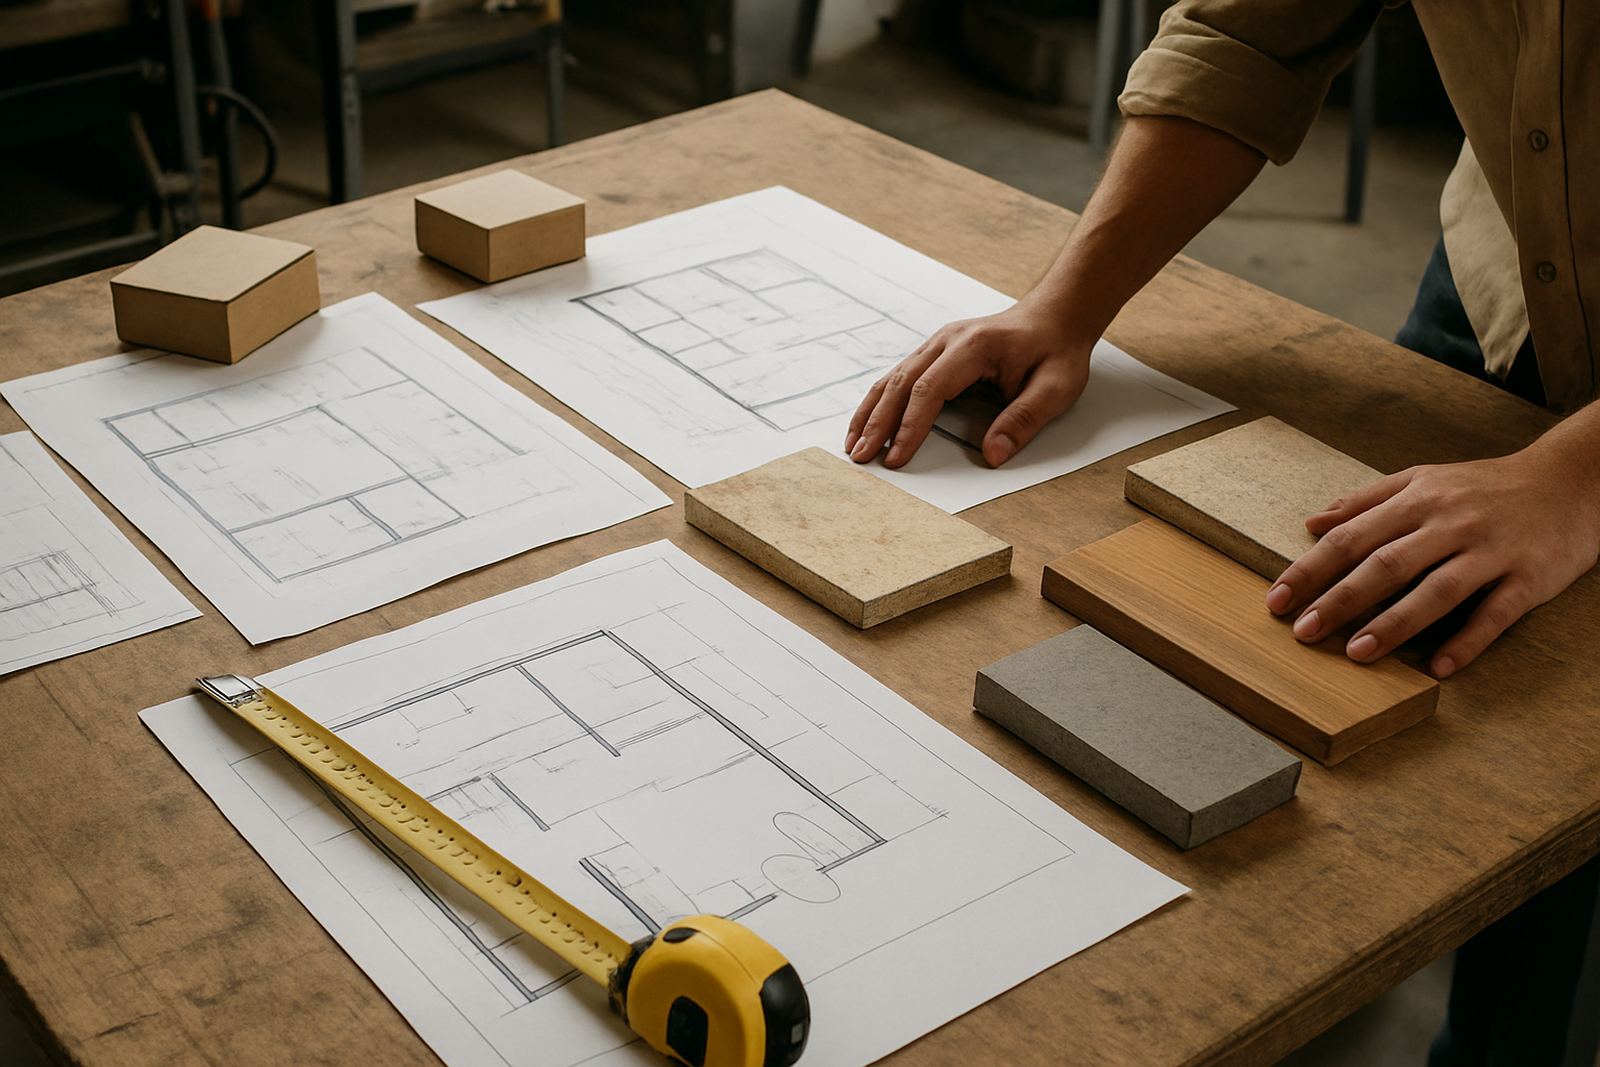
The service includes a working layout plan, practical recommendations and a clear list of items needed to make the room function well. We can also support with startup space kits, safety signage setup and consumables planning if you want the room ready for members or learners straight away.
- Measured layout with zones marked for tools, training, storage and circulation
- Furniture and bench placement advice, including fixed and moveable units
- Safety spacing for hot work, sharp tools and high traffic areas
- Storage solution notes for cabinets, shelves, bins and lockable areas
- Maintenance access planning so cleaning and repairs dont disrupt sessions
- Optional member onboarding notes for spaces with rotating users
Our planning process from first brief to final layout
We keep the process straightforward. First, you send the brief through the enquiry form on our contact page with the room size, the type of work, expected headcount and any special limits from the landlord, body corporate or school. Then we review the site needs and confirm the scope before any layout work starts.
After that we prepare a draft plan with zones, dimensions and notes for access, power and storage. If you need changes, we adjust the drawing and finalise the recommendation list. For larger venues or school labs, we can add facilitator support and maintenance checks so the layout stays practical after opening.
- Step 1: Share the room details and your use case
- Step 2: Confirm measurements, workflow and safety needs
- Step 3: Receive a draft layout and action list
- Step 4: Refine the plan and lock in the final arrangement
Turnaround times and pricing approach
For a single room or a small starter workshop, turnaround is usually 5 to 10 working days once we have the measurements and brief. Bigger projects, multi-room spaces or venues that need several revision rounds can take 2 to 3 weeks. If the site is spread across more than one branch or venue, we will break the work into phases so you can open sections in order.
Pricing depends on room size, number of zones, detail level and whether you need extra services such as signage, onboarding or a school lab refresh. We quote per project so you know what is included, and we keep the scope clear from the start. There are no vague extras hiding later, just a practical scope that matches the space and budget.
Keeping the layout working over time
A good plan still needs upkeep. Shared workshops change as tools are added, classes grow or storage fills up. We suggest maintenance checks every 3 to 6 months for active spaces, and after any major change such as a new machine, a different class format or a move in equipment. In humid areas, check rust, swollen timber and labels that peel off faster than expected.
For high-use spaces in Johannesburg, Durban or Cape Town, regular checks help keep aisles clear, storage labelled and safety signs visible. That matters when the room gets busy and people start moving kit quickly.
- Check bench spacing and access routes
- Review power use and cable management
- Top up labels, signs and consumables
- Rework storage if materials are piling up
- Update the layout when new tools arrive
Key facts
| Typical project size | Single room to multi-zone maker area |
|---|---|
| Common room types | Workshops, training rooms, school labs, shared studios |
| Planning outputs | Layout map, zone notes, action list, storage guidance |
| Turnaround | 5 to 10 working days for smaller spaces |
| Review interval | Every 3 to 6 months for active spaces |
| Coverage | Braamfontein and nationwide partner venues |