Start with light before you touch the camera
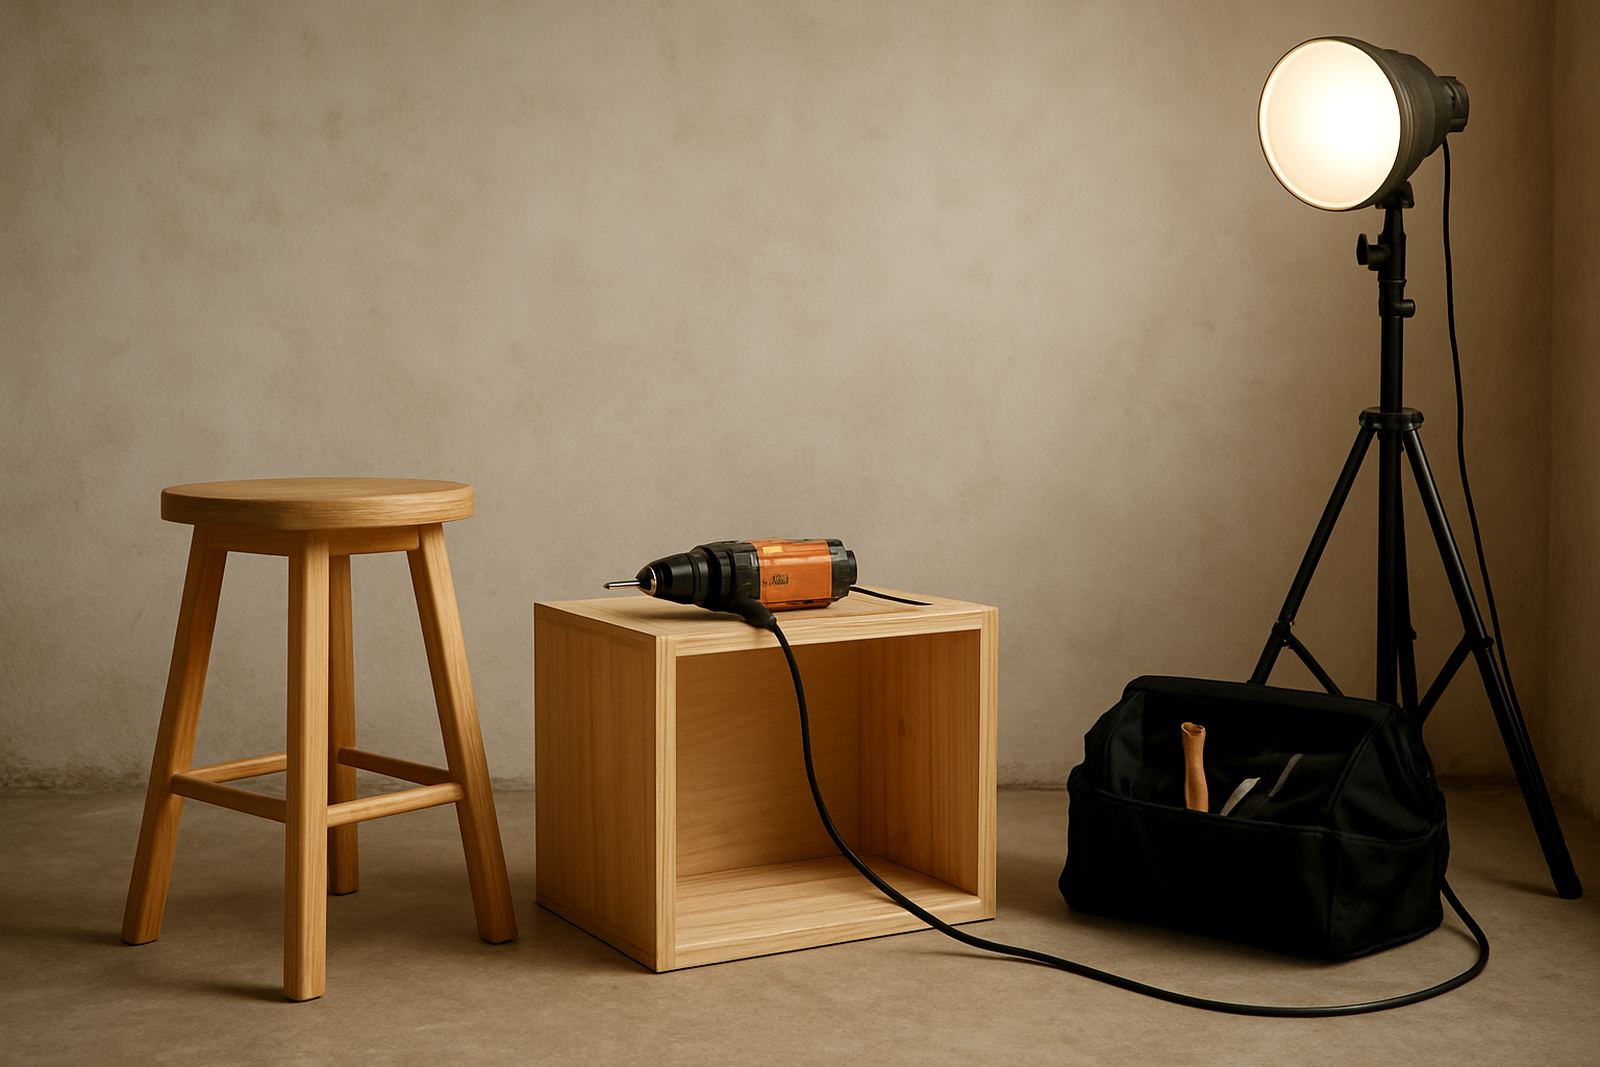
Good product photos start with light, not with a fancy camera. For most makers in South Africa, the best option is still daylight near a window, especially in the morning or late afternoon when the light is softer. Harsh midday sun can blow out pale plastics, reflect off metal, and leave deep shadows that hide detail. If you are working in Braamfontein, Soweto, or Durban and the weather is bright, use a sheer curtain or a white sheet to soften the sun.
Keep your subject close to the light source and turn it slowly until the details show clearly. A small box, kit, or tool accessory often looks better when the light falls from one side and then wraps gently across the surface. For shiny items, move the product away from the window a little bit so the reflection is less harsh. If you are shooting indoors during load-shedding, a torch or LED lamp can help, but aim it through a diffuser so the light does not create a hard spot on the item.
Choose a background that does not fight the product
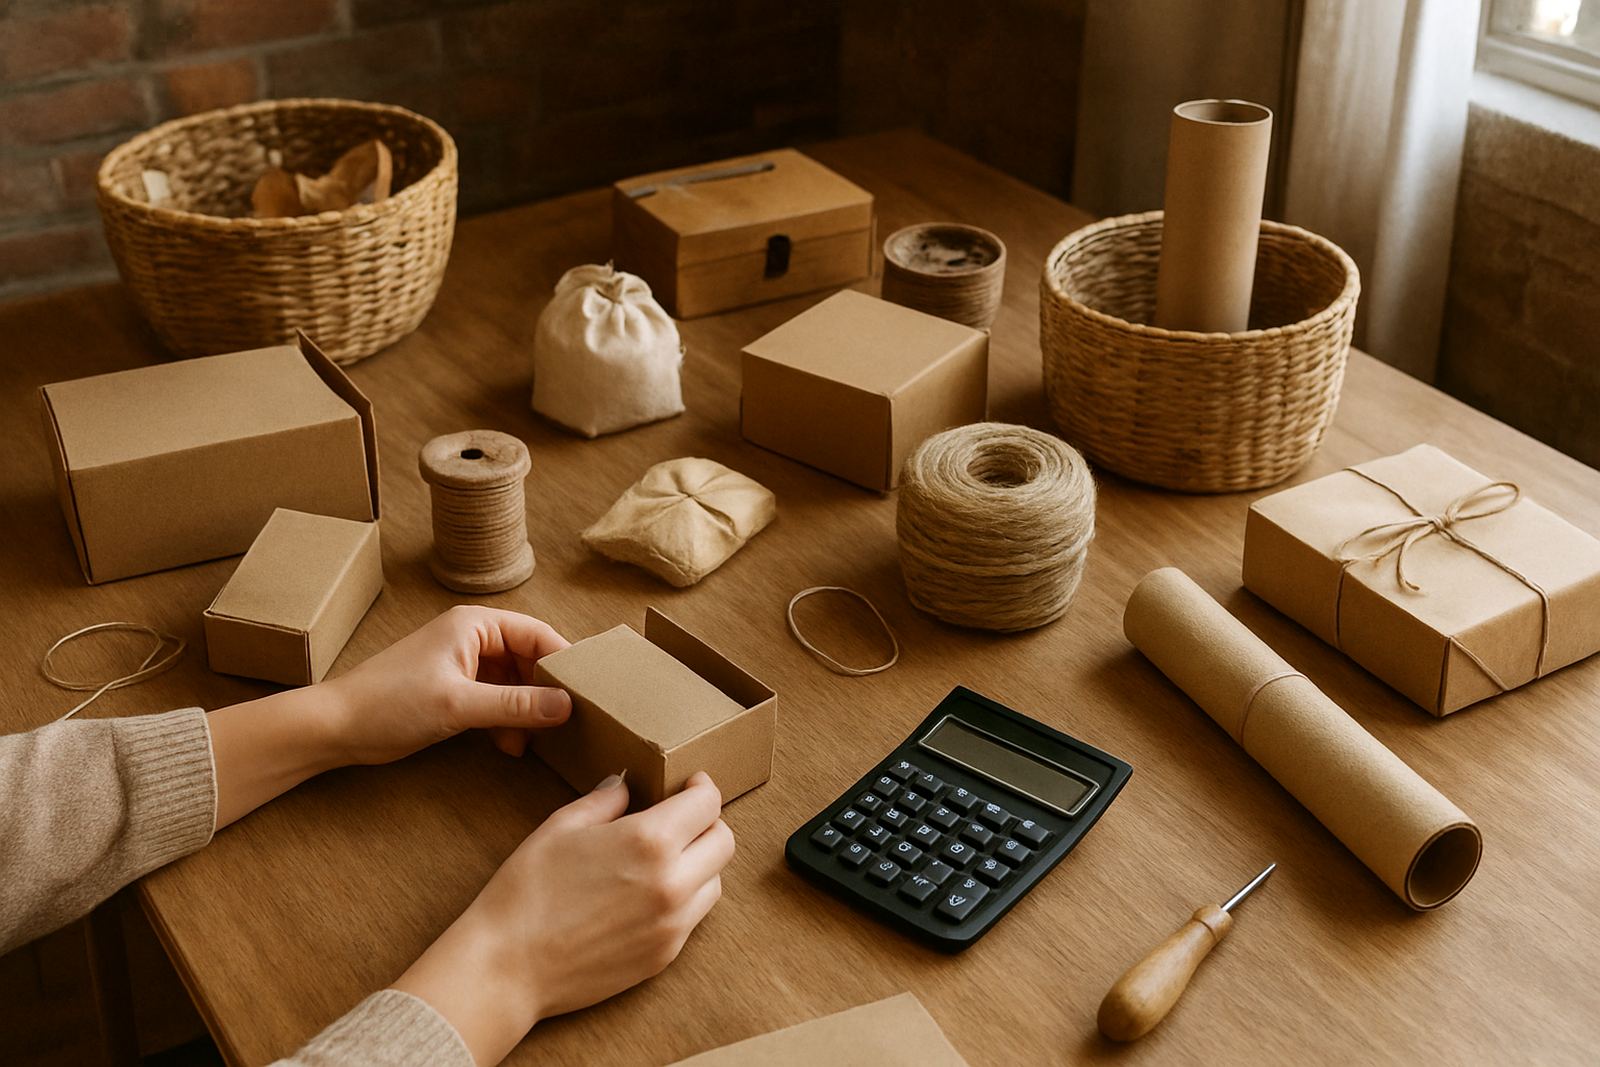
The background should support the item, not compete with it. A plain white board, grey card, clean timber offcut, or light fabric can work very well. The point is to make the product easy to read at a glance. A cluttered workbench with screws, tape, offcuts and labels in shot can make even a well-made item look unfinished.
For starter kits, a neutral background gives the best result because it keeps the focus on what is included. For a tool, use a flat surface with enough space around the item so it is not crowded. If the product is dark, choose a lighter background. If it is pale, a mid-grey or warm wood surface often gives better separation. In humid coastal areas like Gqeberha or Durban, wipe down the surface first because dust and moisture marks show up quickly on camera.
- Use one background only per set of photos so the look stays consistent.
- Keep colours plain and avoid busy printed cloths unless they are part of the product story.
- Test both matte and slightly textured surfaces to see which shows less glare.
- Clean the edges of boards and tables, because crumbs and sawdust show more than you think.
Show size and function with everyday objects
First product photos should answer simple questions straight away. What is it? How big is it? How does it work? A single item on its own is useful, but size reference photos help buyers and workshop users understand what they are looking at. In South Africa, where maker spaces often serve schools, small businesses and community groups, clear scale photos save time and reduce confusion.
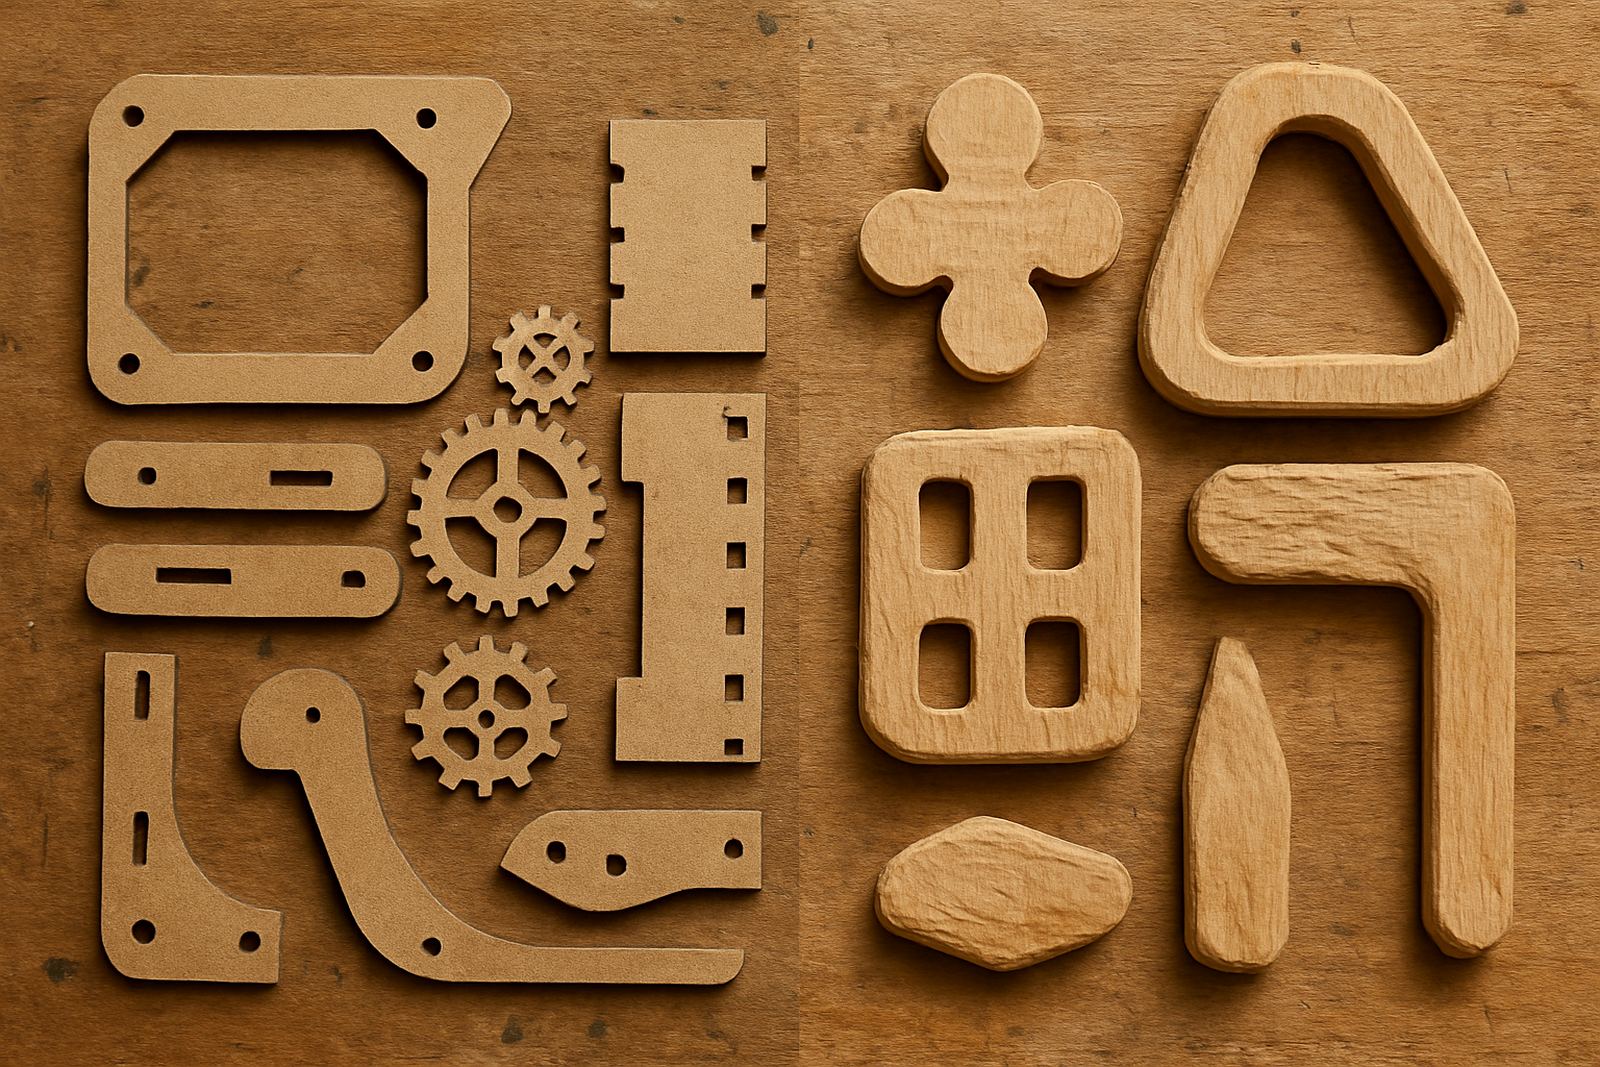
Place the product next to an everyday object that people already know, such as a ruler, A4 sheet, hand, or standard workshop glove, depending on what makes sense for the item. Do not overcrowd the frame. One scale object is enough. If you are photographing a starter kit, show one hero image of the full set, then a second image with the main parts laid out neatly. If it is a storage solution or a tool zone component, show a close-up of the function, then a wider image that shows where it would sit in the workspace.
- Use a ruler or tape measure for small parts and accessories.
- Use a hand in frame only when the grip, size, or fit matters.
- Take one wide shot and one close shot for every product.
- Keep the item centred and leave enough space around it for cropping later.
Keep the setup simple enough to repeat every time
If you want consistent product photos, the setup must be easy to repeat. A small table, one light source, and one background are enough to get started. The more complicated the setup, the harder it is to keep the same look from one batch to the next. That matters when you are photographing several items for an audit, a member onboarding pack, or a school lab refresh.
Write down the basics of your setup so anyone on the team can repeat it. Note the distance from the window, the surface colour, and where the camera stood. At a workspace in Midrand or Pretoria East, this can be the difference between one polished image set and another that looks like it came from a different supplier entirely. Even a quick photo check before packing can stop problems later.
- Mark the table position with masking tape if the setup must stay the same.
- Keep a clean cloth nearby to remove dust, fingerprints and glue marks.
- Use the same angle for each item in a range so the photos match.
- Charge batteries before shooting, especially if power cuts are likely.
Shoot the details that matter to makers and buyers
First photos are not only for looks, they also need to show practical value. A maker wants to see finish, joins, labels, switches, edges, fasteners, and any moving parts. A school buyer wants to know whether the item is safe and easy to handle. A facilitator wants to know if it will suit a training table or shared workspace. Focus on the details that answer these questions clearly.
Take close images of the parts that would matter during use. If the item has a handle, show the grip. If it has a compartment, show the inside. If it comes flat packed, show how it folds or assembles. For South African users, durability matters too, so show surfaces that can handle dust, transport and regular handling. A clean close-up of a hinge, edge or printed label often does more for trust than a styled picture with props.
A Braamfontein example that keeps the photos honest
In Braamfontein, a small maker team preparing to launch a starter kit can get strong results with a simple window setup and a plain table. Use a white board against the wall, place the kit near the window, and photograph it just after sunrise while the light is still soft. If the room is narrow, move the camera back and zoom slightly rather than shooting too close, because this keeps the proportions natural.
That same team can then take one second set of photos in a nearby training venue with a clean, neutral wall and no busy background. The goal is not to make the kit look bigger than it is. It is to show the parts clearly so schools, makerspaces and teams know exactly what they are getting. In a city where workspaces are often shared and time is tight, simple photos that are easy to repeat save effort when you need to photograph the next batch fast.
When the first product photos are clear, honest and easy to read, they do more than make an item look presentable. They help people trust the work, understand the size, and see how the product will fit into a real South African workshop, classroom, or small business space.