Start With One Clear Message Per Project
At an open day or exhibition, visitors rarely have time to read a full report. Each learner project should carry one clear message, such as what problem it solves, what skill it shows, or what material was reused. That single idea should appear on the title card, in the model itself, and in the learner’s short explanation.
Keep the wording plain. A Grade 9 robotics project does not need a technical paragraph if a visitor can understand it in 20 seconds. Use a title, a one-line purpose statement, and three short facts. For example: what it does, what it is made from, and what the learner would improve next time. This works well for school labs, youth centres, and community makerspaces where many projects are displayed side by side.
- Project title in large print
- One sentence on the problem solved
- Three key facts only
- One photo or sketch if the project is small
Choose Displays That Hold Up In Real Conditions
South African open days are not always held in air-conditioned halls. Some are in sports halls in Soweto, church halls in Pretoria East, or school courtyards in Durban where wind and humidity can cause trouble. Use stands that keep work upright and protect paper, cardboard, and lightweight models from people brushing past.
For tabletop projects, keep the footprint tight so a learner can stand beside the display and still leave space for visitors. If the event may be affected by load-shedding, use battery lights or daylight placement where possible. A simple LED strip can make a project much easier to read during late afternoon viewing, and it does not need much power. Avoid loose leads across walkways, because trip hazards create problems fast.
- Use A3 foam board or laminated cards for titles
- Raise small projects on boxes or plinths
- Keep cables taped down and out of foot traffic
- Use clips or stands that do not damage the work
Show the Process, Not Only The Finished Piece
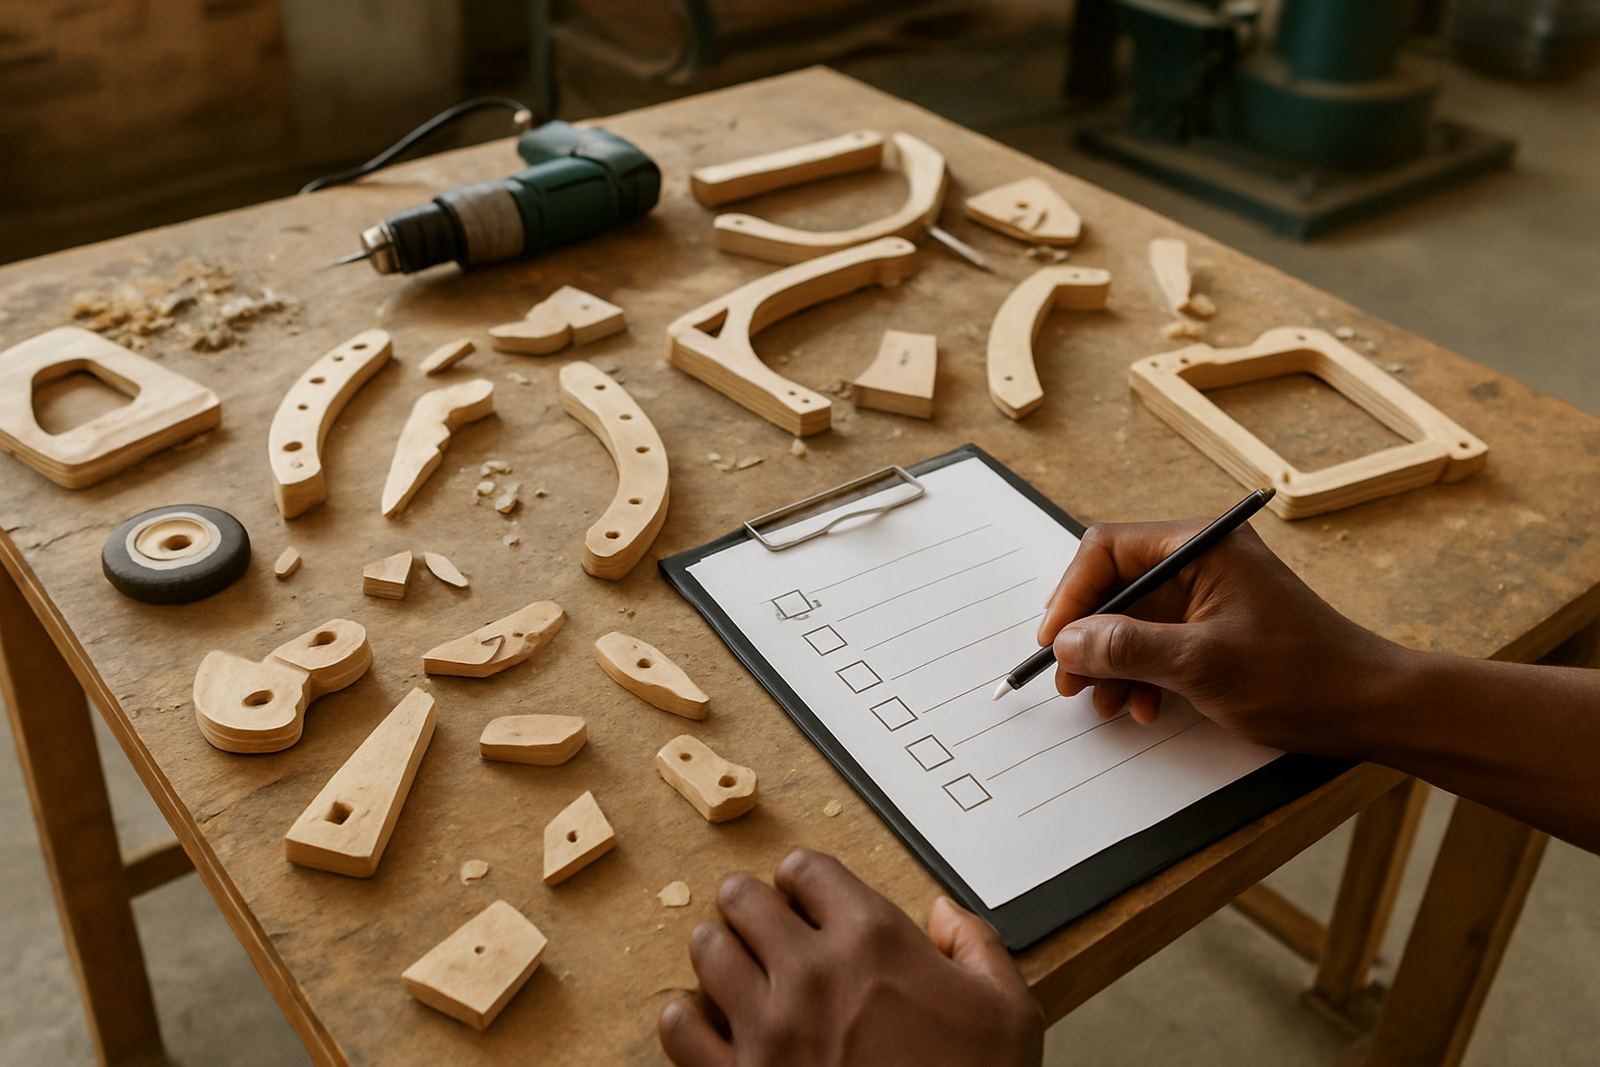
Visitors enjoy seeing how a learner got from idea to final result. A strong expo includes one or two process photos, a rough sketch, a failed test piece, or a short materials list. This shows effort and helps judges or teachers understand the thinking behind the project, not only the end result.
For example, if a learner built a simple water-saving planter, show the first drawing, the cut list, and the test version with leaks fixed. That makes the learning visible. It also helps other learners start their own projects because they can see the steps, not just the polished item. Process boards are especially useful where projects are made over a term and the final item is small but the learning is big.
- Idea sketch
- Materials used
- One mistake and how it was fixed
- Final result with a short reflection
Set Up A Simple Flow For Visitors
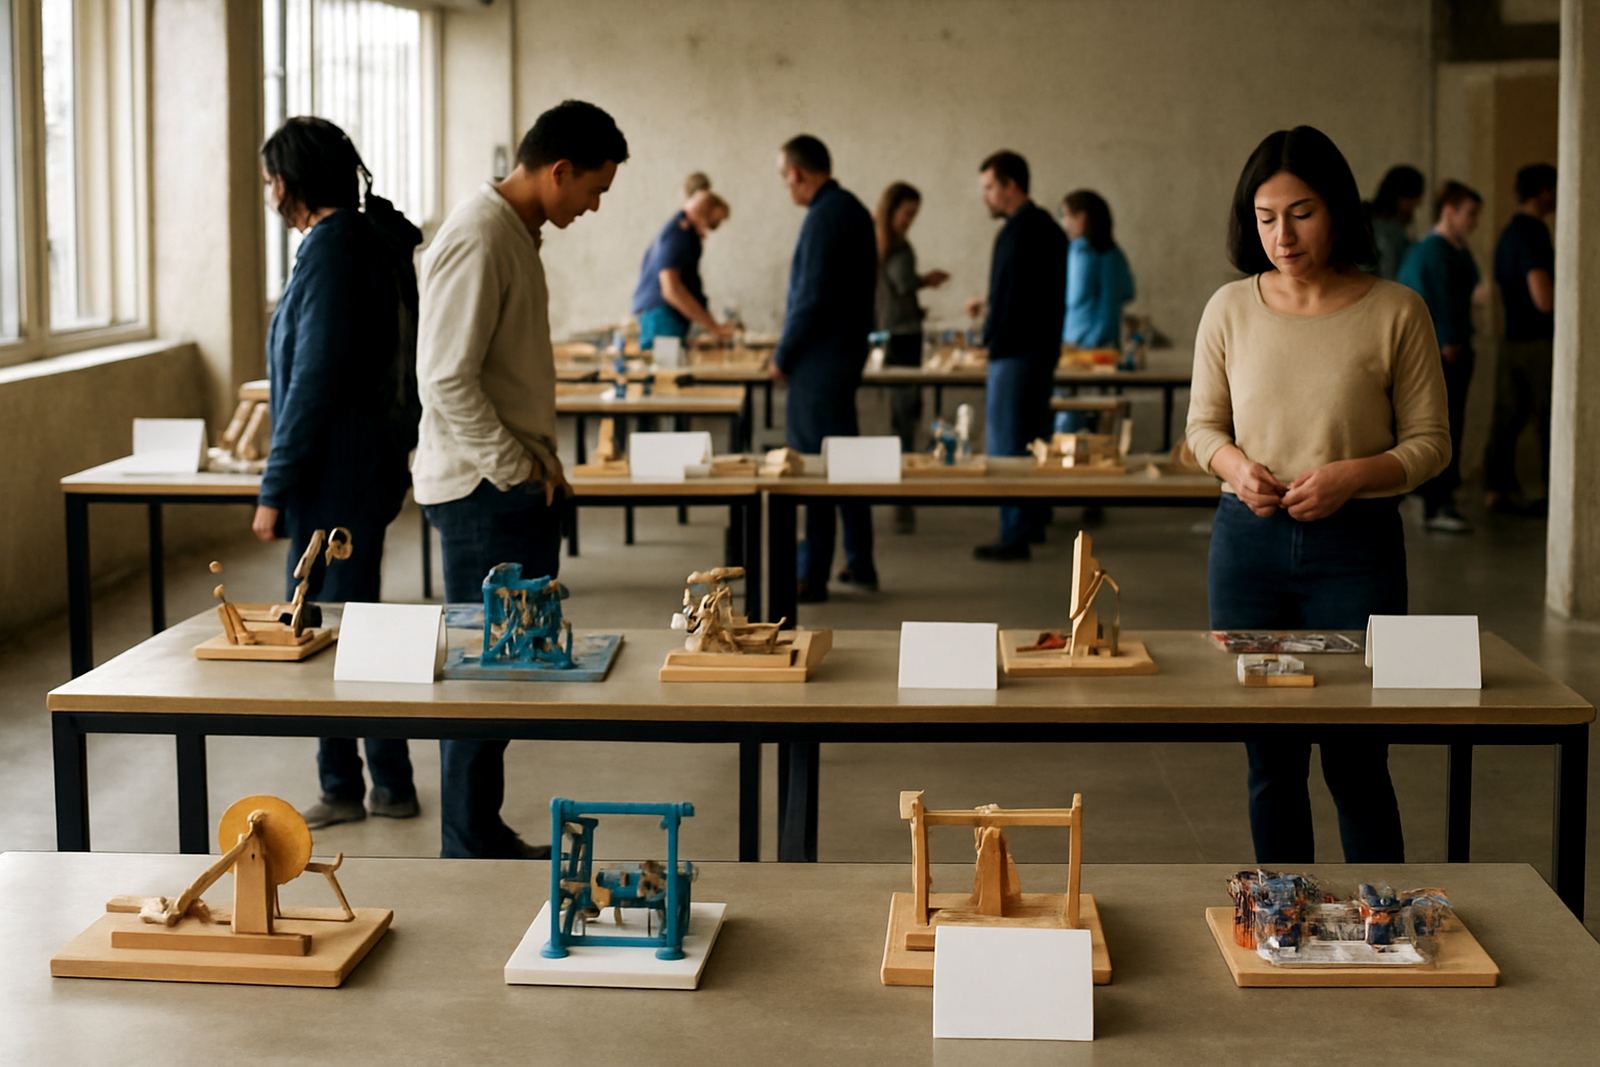
Good flow matters when several classes are presenting at once. Start with a welcome point, then arrange projects in groups by theme, age, or skill type. A visitor should be able to move from one display to the next without doubling back. In a Braamfontein venue, for instance, a table near the entrance can carry school maker kits, while the centre of the room shows finished projects and the back wall carries process boards.
Assign learners to their own stations if possible. Each learner should know their short script: what they made, what tool was hardest to use, and what they would do differently next time. This avoids the common problem of one confident speaker talking for the whole team while others stand quietly. A good expo gives every learner a turn, even if the explanation is brief.
- Welcome table or sign-in point
- Themed display groups
- Clear walking space between tables
- Short learner script for each station
Use Labels People Can Read In Seconds
Labels should be big enough for someone standing at arm’s length to read without leaning in. Use plain language and avoid long sentences. If the audience includes parents, teachers, sponsors, or municipal visitors, keep the wording simple enough for all of them. A good label can carry the project name, learner name, school or club, and one line of context.
Do not overload the board with small text. The aim is to support the learner, not bury the project under notes. If you need more detail, add a separate sheet in a clear sleeve. That way the display still looks tidy and the deeper information is there for anyone who wants it. A neat label often gives the whole project more credibility, and it saves time when a visitor asks repeat questions.
Plan For Reuse After The Event
A expo should not end in waste. When the event is over, boards, stands, and storage crates should be packed so they can be used again at the next open day. This matters for schools and community groups that run more than one event a term. It also helps when a maker space in Sandton or Midrand hosts travelling learner work and needs materials that can move safely.
Store reusable items by size and purpose. Keep title boards flat, label holders together, and fragile models in boxes with padding. If the projects will be shown again in Cape Town, Gqeberha, or Durban, use packaging that can handle transport and coastal moisture. A little planning here saves money and keeps the work looking good the next time round.
- Flat storage for boards and signage
- Boxes for fragile models
- Separate bags for clips, ties, and labels
- Checklist for the next event
A Johannesburg Example That Works In Practice
At a Braamfontein open day, a mixed group of learners showed 12 projects in one hall. The best displays were not the most expensive ones. They were the ones that had a clear title, a short explanation, and a tidy stand. One learner presented a recycled storage box with a strong before-and-after photo, while another showed a simple solar charging demo with a handwritten note on how load-shedding affected the test schedule.
Visitors moved through the hall quickly, so the displays needed to do the talking. The group used colour coded cards for science, craft, and tech projects, plus a short learner script at each station. Teachers said the setup made questions easier because people could point to the display instead of asking for the whole story again. That is the kind of practical solution that works in real venues, whether the event is in Johannesburg, Soweto, Pretoria East, or a partner makerspace in Durban. The key is not fancy presentation, just a clear one. And yes, the room felt calmer for it.