Why mixed skills get better results than solo effort
Most maker projects need more than one kind of know-how. A woodworker may know material strength, while a coder understands the control board and a visual designer thinks about layout and finish. When those skills sit together early, mistakes get picked up sooner and the final build is more practical.
In a shared workshop, the value of collaboration is not just speed. It is also about reducing waste, sharing tools fairly and making sure each step fits the next one. A team that plans together will usually use less timber, fewer fasteners and less rework, which matters when every Rand counts.
The strongest teams also know when to ask for help. That is often what separates a promising idea from a finished product that can actually be used, sold or displayed.
Set roles before the first tool comes out
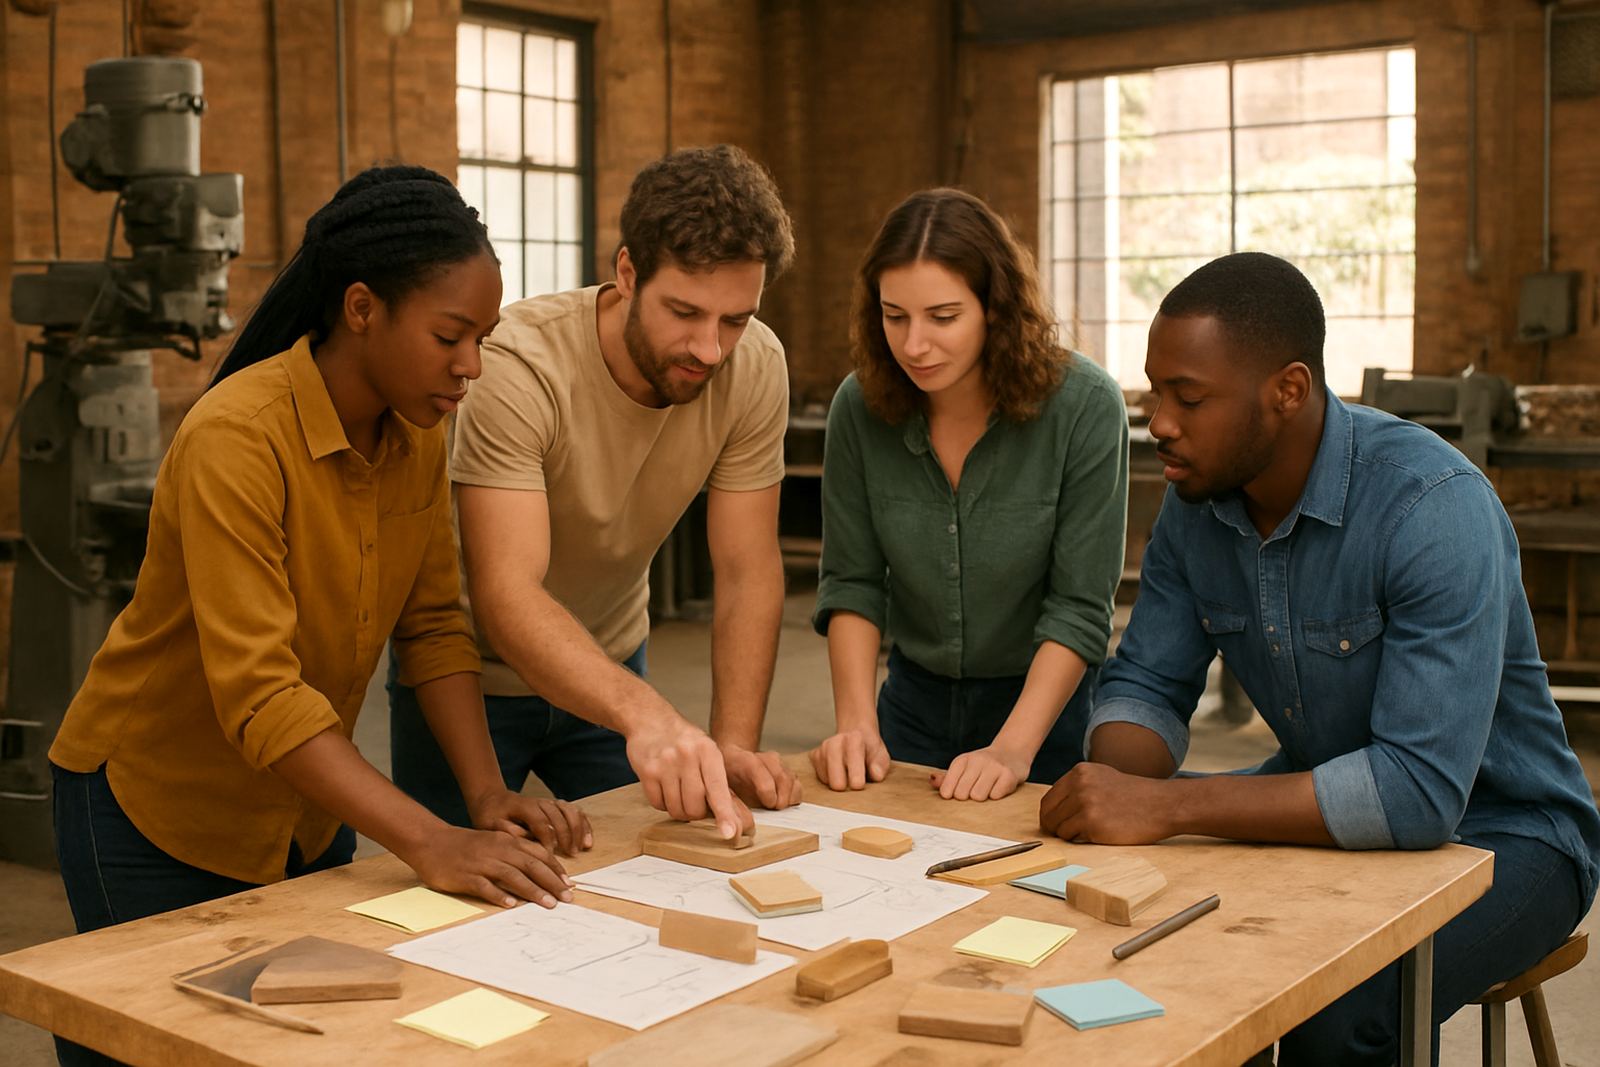
Good collaboration starts before cutting, drilling or wiring. A simple role split stops people from stepping on each other’s toes. One person can lead measurements, another can manage materials, and someone else can keep track of safety and consumables. It does not need to be formal, but it should be clear.
- Assign one person to drawings, dimensions and changes.
- Choose one person to check stock, offcuts and consumables.
- Nominate a safety lead for PPE, machine sign-off and housekeeping.
- Use one shared notes page for tasks, photos and decisions.
In Braamfontein, where teams often move between a workshop and a training venue, this kind of role split saves time. It also helps when the group changes from one session to the next, because everyone can see what was done and what still needs attention.
Shared spaces work best when the workflow is visible
In a busy makerspace, confusion usually starts when materials and tools are left without order. Teams work better when the space itself shows the sequence of the job. Labelled bins, marked benches and a clear storage zone make it easier to stay focused, even when there are several projects on the go.
We often recommend a simple flow: receive, sort, cut, assemble, test and pack away. That kind of line-up suits school groups, startup teams and hobby makers alike. It keeps people from wandering off with the only measuring tape, and it makes tool returns much easier at the end of the session.
A visible workflow also helps new members settle in faster. They can see where things belong and who is handling each stage, which lowers friction for everyone.
- Keep the main cutting area separate from finishing and drying.
- Store fast-moving consumables near the point of use.
- Leave a clear path for carrying panels, frames or equipment.
- Put safety signage where it is seen before the machine, not after.
A Pretoria East team build that stayed on track
A good example came from a small team working across Pretoria East and Midrand on a portable display unit for community events. The group had one person with joinery experience, one with electronics knowledge, and two members who were strong on layout and finishing. They started with a shared sketch and a measurements sheet, then split the work into timber prep, wiring and assembly.
Because they planned around the venue schedule and power cuts, they tested the electrical parts first and saved the no-power tasks for later. They also kept a spare consumables box with screws, cable ties and tape, so no one had to stop halfway through. The project was finished without last-minute panic, and the team could explain every part of it because each member understood the whole build, not just their own section. That made the final handover much easier.
Training and onboarding turn helpers into contributors
Cross-skill teamwork only works when people are trained to work safely and speak the same practical language. A shared space can bring together school leavers, small business owners and experienced tradespeople, but they still need the same basic rules. That means machine induction, storage rules, cleaning routines and a clear process for reporting faults.
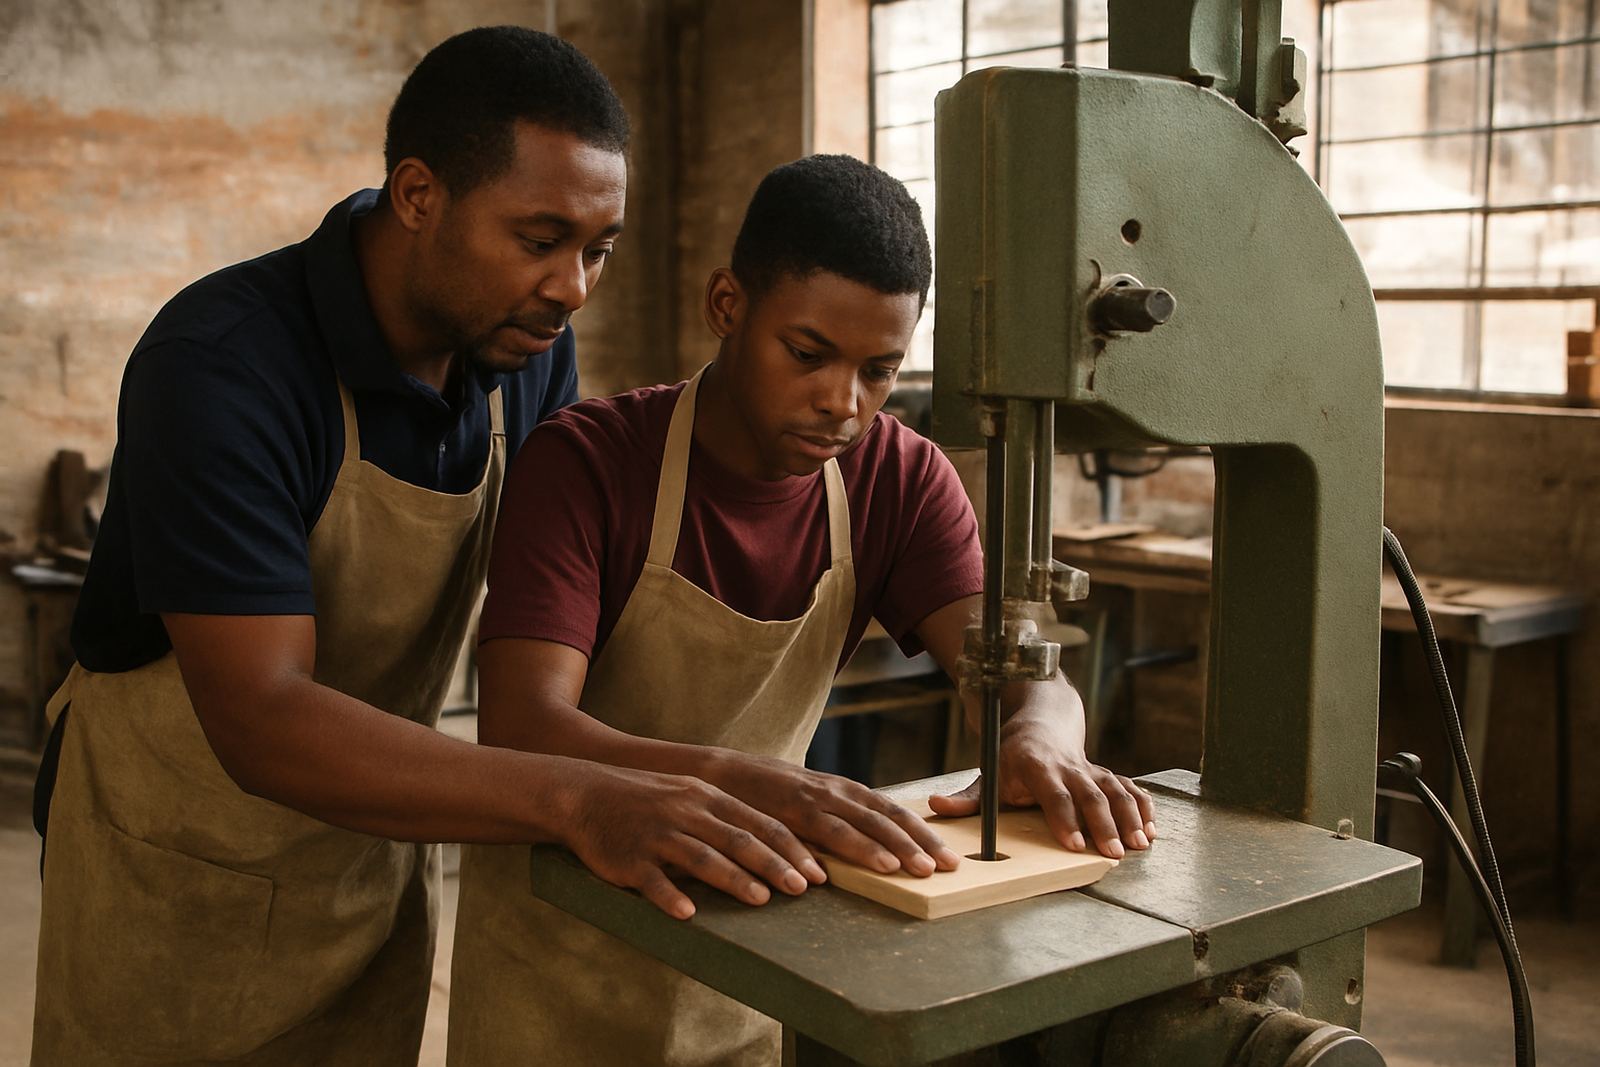
Member onboarding is especially important in larger hubs where people arrive with different levels of confidence. A short induction on tool zones, hot surfaces, dust control and emergency exits reduces risk. It also helps new people understand that collaboration is not just about being friendly, it is about being reliable when the job gets busy.
When facilitators support the group properly, the experienced members can focus on the build while newer members learn by doing. That balance is what keeps a space useful instead of chaotic.
How to keep collaboration practical from first idea to final handover
The best maker teams keep their process simple enough to repeat. They do not rely on memory alone, and they do not leave the space to chance. They check tools, record changes and close out each session properly. That discipline matters whether the team is in Sandton, Soweto or Durban, because the same basics still apply: good planning, safe use of tools and clear storage.
For group projects, a quick end-of-day check is often enough to keep things moving. It should cover what was completed, what still needs parts, and what must be tested before the next session. If the team is building something for a school lab, event station or startup pitch, this final check can save hours later.
- Photograph each stage before packing away.
- Write down open tasks in plain language.
- Tag damaged tools or missing parts immediately.
- Confirm who returns first the next session and what they need to start.
When teams follow this kind of rhythm, collaboration becomes less about coordination stress and more about making useful work together. That is the real strength of a shared creative space.