Why practical maker skills matter during studies
Students who can measure accurately, use basic hand tools, read a simple layout and keep a workspace tidy usually move faster with assignments and project work. These skills help in engineering, design, art, architecture, business and even school science projects, because the same habits keep showing up: plan first, check twice, then build.
In a Braamfontein workshop or a makerspace in Pretoria East, the same student can learn how to cut, assemble, test and improve a project without relying on guesswork. That matters when deadlines are tight and materials are limited. It also helps with confidence, because once a student has made one good thing, the next one feels less risky.
Core skills every student should learn early
The best place to start is with basic workshop habits that transfer into almost any creative or technical field. These are small skills, but they make a big difference when a project must look neat and work properly.
- Measuring with a tape measure, steel rule and square
- Marking out clean lines before cutting
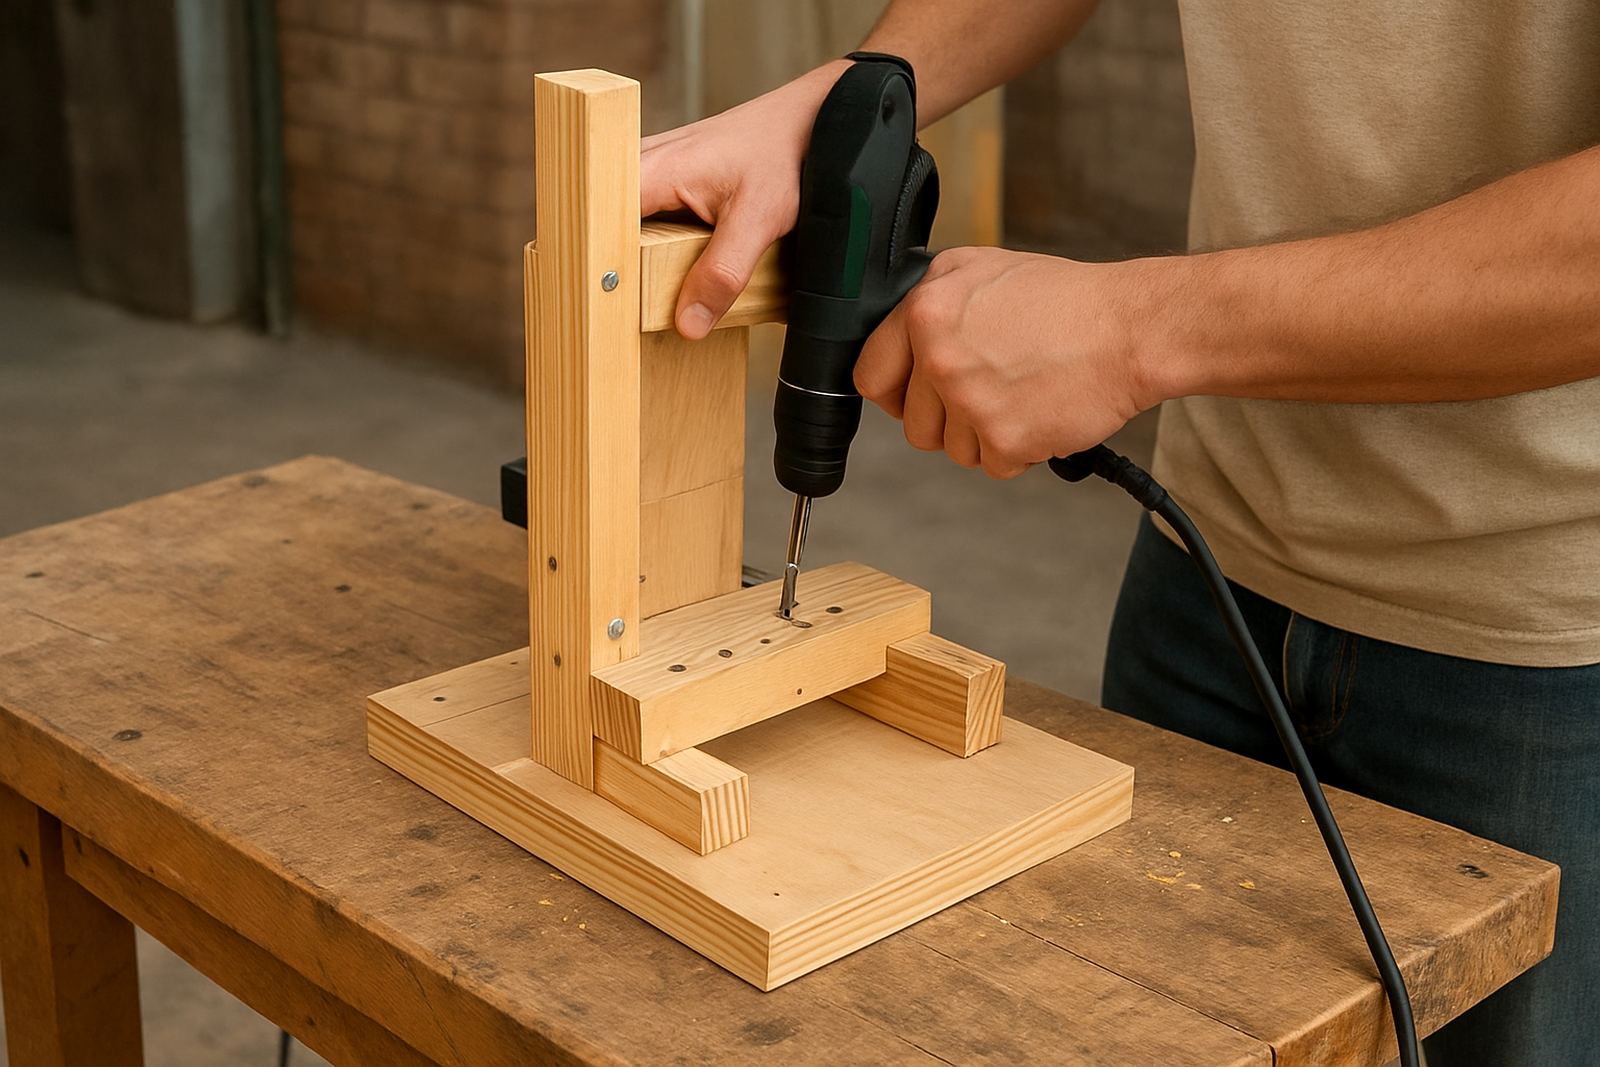
- Using a hand saw, utility knife, drill and clamp safely
- Sorting fasteners, offcuts and consumables so nothing gets lost
- Checking fit before final assembly
- Cleaning tools and storing them correctly after use
Students should also get used to simple maintenance, like tightening loose screws, replacing worn blades and spotting damaged cables. In South Africa, that extra check matters because power cuts and dusty conditions can interrupt a session and leave equipment in rough shape if nobody takes care of it.
How maker training supports portfolios and applications
A strong portfolio is not only photos of finished work. It should show the process too, because lecturers, employers and project reviewers want to see how a student thinks. A simple notebook with sketches, measurements, material choices and short notes can be more useful than a polished picture alone.
Students can build proof of skill through small, clear projects such as a storage tray, a poster frame, a prototype stand or a simple classroom display. Even a school lab refresh benefits from this approach, since the student learns to work to a brief, stay within a budget and explain what was made and why.
- Before and after photos of each project
- One page explaining the brief, materials and tools used
- Notes on what went wrong and how it was fixed
- A short list of skills demonstrated, such as measuring or assembly
That kind of record helps a student speak with more confidence at interviews, interviews and project reviews, because they are not only saying they can do the work, they can show it.
Safety, storage and good workshop habits
Safety is part of maker skill, not a separate subject. Students who learn to wear the right protection, handle blades properly and keep cords out of walkways are more likely to finish a job without injury. In shared spaces, this also shows respect for other people using the same tools and benches.
Practical habits to build early include checking ventilation for glues and paints, keeping liquids away from electrical gear and switching off equipment during load-shedding rather than leaving it in an uncertain state. In coastal areas like Durban and Gqeberha, humidity can affect adhesives, timber and storage, so materials need to be sealed and labelled properly. In Gauteng, dust and temperature swings can also cause problems if items are left exposed.
- Wear eye protection when cutting, drilling or sanding
- Keep a tidy offcut bin and clear floor space
- Label tools, chargers and personal items
- Report damaged plugs, loose sockets or unstable benches
Using local makerspaces to practise with support
Not every student has the room or budget to build at home, which is why partner makerspaces are useful. A good shared space gives access to tools, guidance and other people who can explain better methods when a student gets stuck. That support can save material and time, especially on a first project.
In Johannesburg, a student from Soweto or Sandton might come into Braamfontein for a training session, then continue practising at a nearby partner venue. Someone from Midrand or Pretoria East may need a venue that suits school transport, while students in Cape Town, Durban or Gqeberha often benefit from spaces that understand local conditions, storage limits and municipal safety expectations.
When choosing a makerspace, students should ask practical questions: what tools are available, what training is included, whether there is facilitator support, and how materials are stored between sessions. If the space matches the project, learning becomes much easier.
A simple starter path for first-time makers
Students often do better when they start small and build up. A starter kit does not need to be complicated, but it should cover the basics needed to complete one useful project from beginning to end. That first win creates momentum and helps a student move from watching to doing.
A sensible starter path looks like this:
- Choose one project with a clear use, such as a pen holder, display stand or model frame
- List the materials, tools and safety items needed
- Practise one skill at a time, then combine them
- Finish with sanding, labelling or a clean edge so the work looks ready for use
- Keep notes for the next project, including what to improve
For students, that process builds discipline as much as skill. It teaches how to work with a brief, how to manage time and how to keep going when a measurement is wrong or a cut goes off line. Those are useful habits in study, work and everyday life.
A local example that shows the value of hands-on learning
Take a student in Braamfontein preparing a portfolio for a design or engineering course. The student starts with a simple materials tray for a shared studio table. First comes a sketch, then measurements, then a cut list. After a safety briefing, the student marks the board, cuts it, checks the fit and assembles the parts with clamps and fasteners.
At first the corners are not perfect, and one edge needs rework. That is normal. With guidance from a facilitator, the student corrects the mistake, finishes the piece and photographs the final result. By the end, there is not only a tray, but a record of planning, problem solving and steady improvement. That is exactly the kind of evidence that helps a student stand out.
When students get access to the right tools, a safe venue and practical instruction, they start to trust their own hands. That confidence carries into exams, projects and future work.