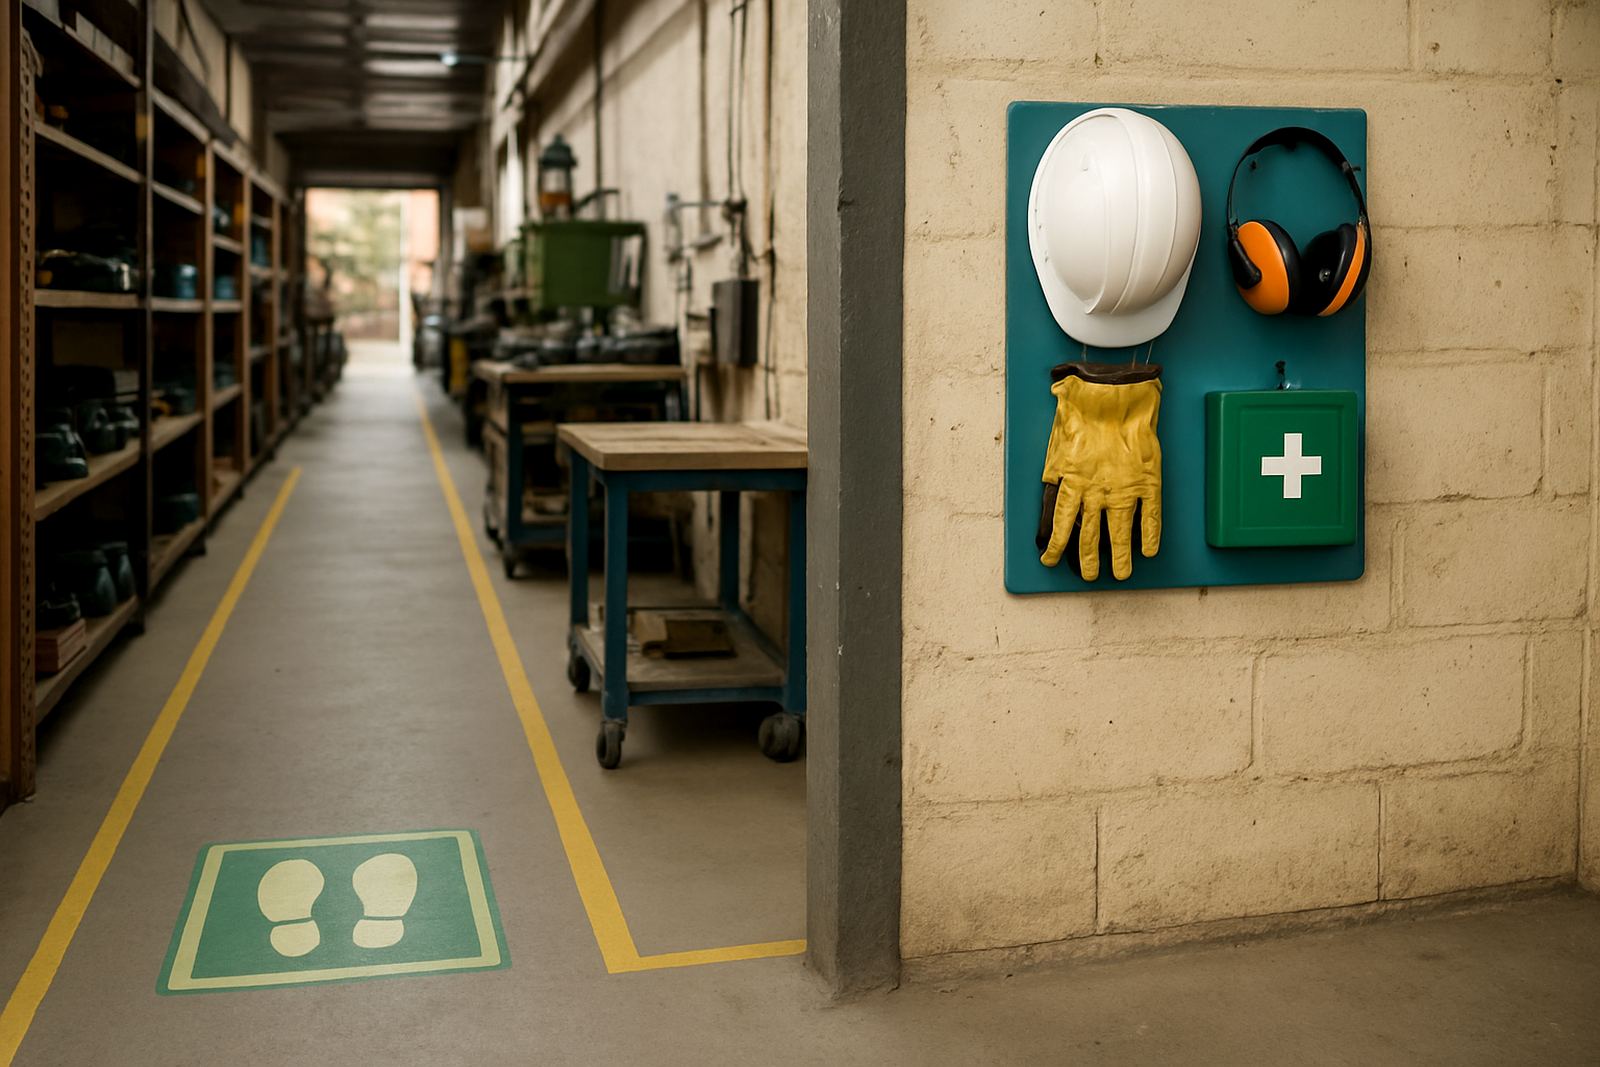
Why shared workshops need clearer routines than private garages
A communal workshop is different from a home garage or a one-person studio. In Braamfontein, Soweto or Durban, the same bench may be used by students, hobbyists, school groups and small teams in one week, so the risks change every hour. Tools get moved, consumables run low, cords end up in walkways and someone always arrives looking for the nearest plug point during load-shedding.
The answer is not more rules for the sake of it. It is better habits that are easy to follow. When the space is planned well, people spend less time asking where things go and more time making. That means clear tool zones, visible safety signs, storage that matches the work being done and a short induction for every new member.
A good shared workshop also has to work in South African conditions. In coastal areas like Gqeberha or Durban, humidity can affect metal tools and stored timber. In Pretoria East and Midrand, dusty conditions can build up on surfaces faster than people expect. A practical routine helps prevent small problems from turning into lost time or damaged equipment, and it keeps the place friendlier for beginners.
Start with the layout, not the warning sign
If the layout is confusing, people take shortcuts. That is where most workshop incidents begin. Keep high use tools together, keep hand tools separate from machines and leave enough space for turning, carrying and setting down materials. A simple walking route through the room matters more than a pretty floor plan.
For shared spaces in Johannesburg and other busy centres, the best layouts usually have three clear areas: prep, active work and storage. Prep is where materials are measured, marked and checked. Active work is where cutting, fixing or assembly happens. Storage should hold both personal items and shared consumables, with labels that are easy to read from standing height.
- Keep the most used tools within a short reach of the main work zone.
- Separate sharp items from general storage so people do not have to search through mixed boxes.
- Mark cable routes and plug points so extension leads do not cross foot traffic.
- Leave at least one clear path to exits, first aid supplies and fire equipment.
When the layout is planned properly, even a small room can handle more people without feeling cramped. That is often the difference between a workshop that runs well and one that feels like a storage shed with power points.
Induction should be short, hands-on and repeated
A common mistake is to treat induction like a once-off form signing exercise. In a shared space, people forget things, new volunteers join and school groups arrive with different levels of experience. A five minute talk at the entrance is not enough on its own. Short practical inductions work better when they happen every time a new group comes in.
Keep the first session focused on the space itself. Show where to find PPE, where to return tools, what to do if a machine sounds different and who to speak to when something is damaged. If a member is working near soldering, cutting or sanding stations, they should know the local rules before they start. It saves time and avoids avoidable mistakes, even for experienced makers.
For training venues in Sandton, Cape Town or Pretoria East, we often suggest a simple repeatable checklist that stays on the wall and at the sign-in point. The wording should be plain, not technical. People are more likely to follow instructions when they understand them at a glance.
- Wear the right eye, hand and foot protection for the task.
- Test equipment before use and report faults immediately.
- Switch off and unplug tools after use where appropriate.
- Clean the bench and return materials before leaving the area.
Storage that reduces accidents and protects stock
Storage is not just about tidiness. It affects safety, cost and how fast a group can get back to work. If items are stacked badly, people climb, reach or carry awkward loads. If fast-moving consumables are mixed with old stock, waste goes up. Good storage makes the whole room easier to manage.
In maker spaces around Midrand and Braamfontein, a sensible setup usually includes labelled shelving, lockable compartments for higher risk items and clear bins for commonly used parts. Keep heavier materials lower down and lighter items above. This reduces strain and makes it easier for different users to share the same room without confusion.
Consumables need regular review too. Glue, screws, timber offcuts, solder and sanding supplies all disappear faster than people expect. A monthly count helps you order before the shelves run empty. In a shared setting that is often more useful than a big bulk purchase done once a year and forgotten.
On humid days near the coast, sealed storage matters even more. Steel tools, electrical fittings and some adhesives do not like damp conditions. A dry cupboard, silica packs where needed and decent airflow can keep stock usable for longer. It is not glamorous work, but it saves money.
Cleaning schedules work best when everyone can see them
Most shared workshops do not have a cleaning problem because people do not care. They have one because no one knows exactly what clean means in that room. A visible schedule turns a vague expectation into a shared routine. It also makes it easier to hold people to the same standard, whether they are students, volunteers or regular members.
Keep the cleaning list practical. Wipe benches, sweep floors, empty bins, check cords, return clamps and inspect shared tools for damage. If a machine area needs dust extraction or a weekly wipe-down, say so clearly. Put the task next to the name of the person responsible and the date it was last done.
- Daily: sweep work areas, empty rubbish and reset shared tools.
- Weekly: inspect cords, plugs, blades and guards for wear.
- Monthly: review storage, consumables and signage.
- After events: check for lost items, broken parts and blocked walkways.
When the checklist is visible, the room usually stays in better shape without anyone nagging. That is especially helpful in busy spaces that host open evenings, school visits or weekend build sessions.
A Johannesburg example: keeping a busy maker room practical
In Braamfontein, a shared workshop can see students from nearby campuses, entrepreneurs testing prototypes and community groups running weekend sessions all in the same month. The room may also have to cope with power interruptions, limited parking and tight turnaround times between bookings. That is exactly where simple safety habits earn their keep.
One practical approach is to split the room into a clean entry point, a tool wall, a main build zone and a storage corner. Add clear signage at eye level, a sign-in sheet at the entrance and a quick reset routine at the end of each session. If the lights go out, people should already know where the torches are, which area stays clear and who checks the equipment before power returns. Small systems like that prevent confusion when the room gets busy.
For teams running school lab refreshes, event maker stations or startup space kits, the lesson is the same. Do not overcomplicate the room. Keep the rules short, the labels clear and the handover simple. When people know where things belong, the space becomes easier to share and much safer to use.
Safe shared workshops are built on repetition, not luck
The safest workshops are rarely the fanciest ones. They are the places where people follow the same habits every time: check the space, move with care, store tools properly and leave the room ready for the next group. That consistency matters in Johannesburg, Durban, Cape Town and everywhere else makers gather to learn and build.
If your shared space is getting harder to manage, start with the basics. Review the layout, refresh the signage, tighten the storage plan and make the induction easier to repeat. Those steps do not need a big budget. They need attention, clear thinking and a commitment to do the same practical things well, day after day.