Why schools are looking beyond the classroom
Many schools want more practical learning, but the reality is often tight budgets, limited space and a long list of competing priorities. A makerspace partnership gives learners access to shared tools, work benches, storage and guided project time without the school having to carry the full cost of setting up a permanent workshop.
This is especially useful in Johannesburg and surrounding areas where schools may have space constraints or older buildings with limited power points, awkward room sizes and not much secure storage. A nearby makerspace can fill that gap for robotics clubs, art-tech projects, woodwork, STEM activities and entrepreneurship programmes.
For school leaders, the attraction is simple: learners get to work with proper equipment in a managed environment, and teachers get support instead of having to supervise everything alone.
What a school can actually do with a makerspace partner
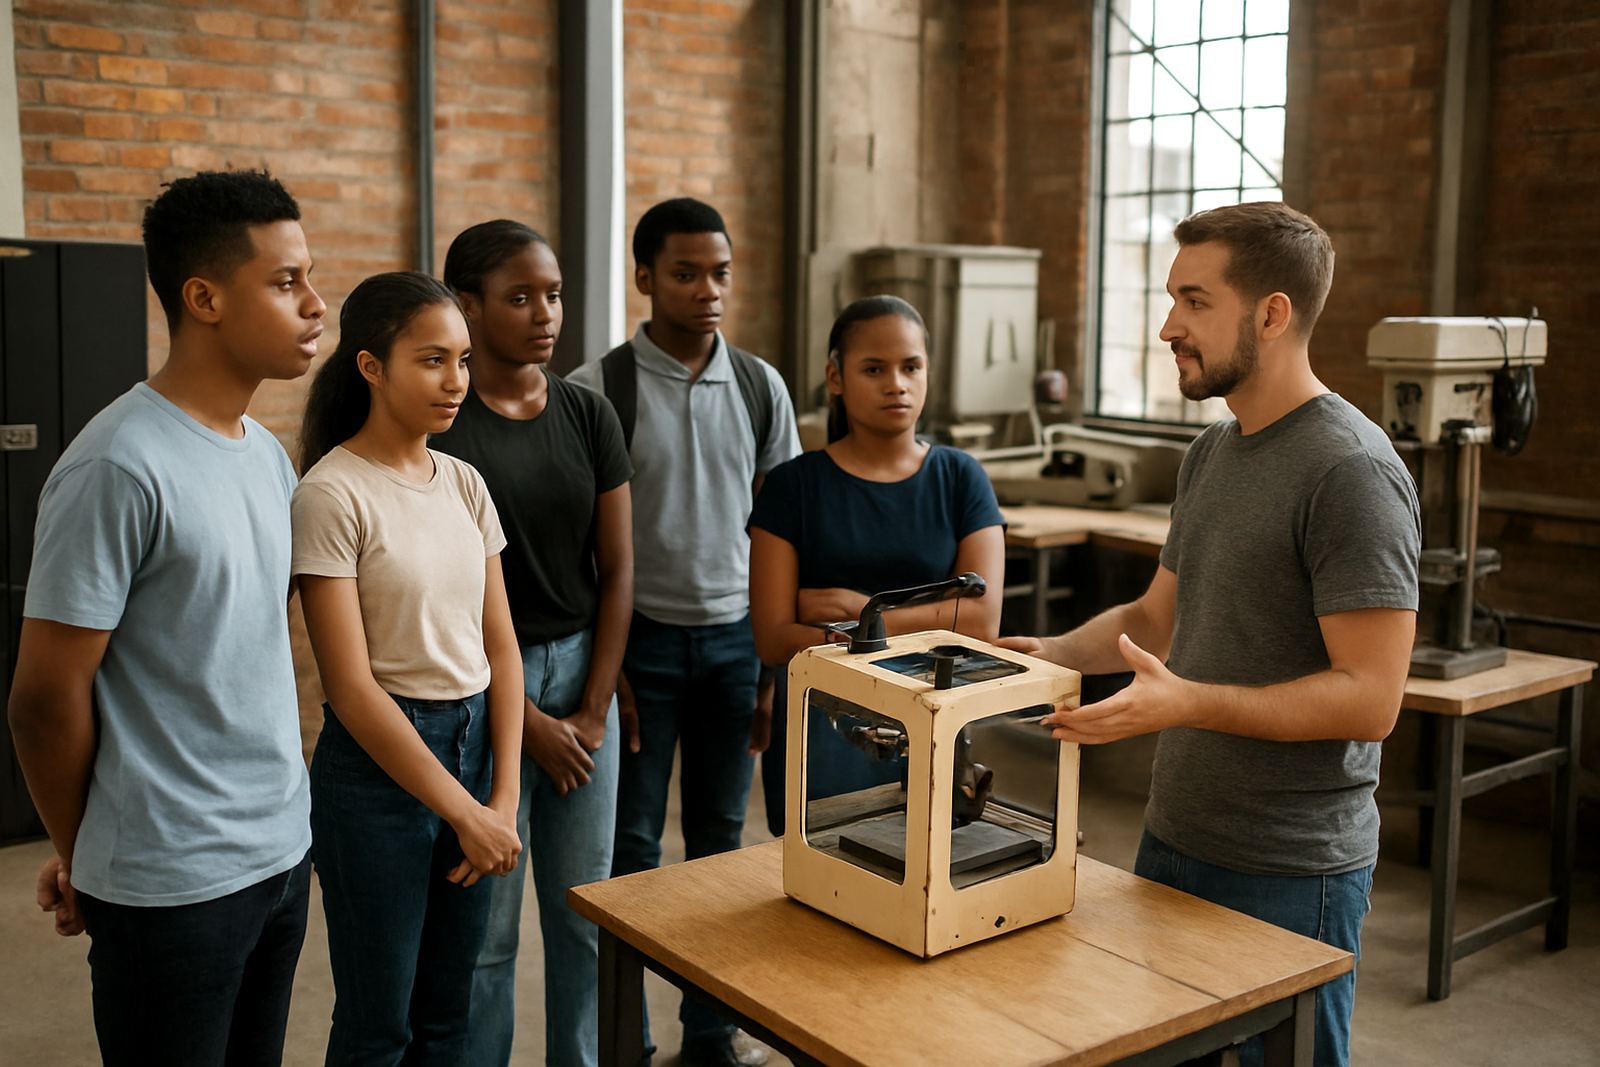
A good partnership is more than a once-off excursion. It can cover regular practical sessions, holiday programmes, teacher support and project days for different age groups. The school brings the curriculum goals and learner group, while the makerspace brings tools, layout advice, facilitation and safety systems.
- Run after-school clubs for coding, carpentry, electronics or model making.
- Host class visits for specific tasks that need specialist tools.
- Train teachers on basic tool use, safety and project setup.
- Set up a school lab refresh with better storage, signage and work zones.
- Support learner projects for fairs, exhibitions and entrepreneurship challenges.
In practice, this means a school can use the space for a term, a few hours a week or only for specific units where hands-on work makes the most difference.
How to match the right space to your school goals
Not every makerspace will suit every school. Before signing up, look at the age of learners, the type of work you want to do and the distance from the school. A primary school in Sandton may need a very different setup from a technical high school in Soweto or a mixed-ability group in Pretoria East.
Ask practical questions. Is there secure parking for a school vehicle? Can the space handle 20 learners at once? Is there backup power for load-shedding? Are there basic safety controls for tools, chemicals or hot equipment? Is the venue accessible for younger learners or those with mobility needs?
- Choose a venue with enough floor space for movement and supervision.
- Check if the space has reliable lighting and backup power for dark winter afternoons.
- Confirm whether storage is available for school materials between sessions.
- Review the safety signage and induction process before any session starts.
If the answers are clear and practical, the partnership is much easier to manage.
Getting teachers and facilitators on the same page
The best school-maker partnerships work when teachers and facilitators plan together. The school should set the learning outcome, while the makerspace team helps shape the hands-on part so it is realistic and safe. That could mean breaking a big project into smaller steps or adjusting materials to fit the time available.
Facilitator support matters here. A skilled facilitator can keep learners moving, explain tool use in plain language and manage group work so quieter learners are included. Teachers then stay focused on assessment, behaviour and curriculum links rather than trying to run the whole session alone.
For schools with limited staff, this arrangement can make practical learning possible even during busy exam terms or sports seasons.
Simple setup steps that save time and money
Good planning prevents avoidable cost later. Schools should map the learners, the project type and the equipment needed before any session begins. That includes consumables, safety items, cleaning supplies and storage at both ends of the arrangement.
It also helps to think about transport and timing. A project that works on paper may fail if learners spend half the session travelling, or if tools need to be packed and unpacked every week without a proper storage solution.
- Confirm learner numbers, age groups and session length before booking.
- List every consumable needed, from timber offcuts to glue, wire or fixings.
- Set a clear handover process for materials and finished projects.
- Build in maintenance checks for tools used repeatedly by school groups.
When the basics are sorted, the learning time can focus on making, testing and improving rather than hunting for missing materials.
A local example from Braamfontein to the wider metro
Take a Johannesburg school that wants to run a term-long maker club but has no dedicated workshop. The school could work with a Braamfontein venue for weekly sessions, then use a second venue closer to learners in Soweto or Midrand for holiday workshops. That way, the school keeps the programme going without expecting one place to carry everything.
One term could focus on recycling and product design, another on simple electronics, and another on school-based repair skills. The same group of learners can move from idea to prototype to presentation while building confidence in a shared space with proper supervision.
For schools on the coast, humidity can affect paper, timber and stored components, so the partnership may also need better sealed storage and more regular maintenance checks. In inland areas, dust and winter dryness bring their own problems. A local venue that understands those conditions can help the school choose materials that last.
What schools should ask before committing
A strong partnership is built on practical answers, not promises. Before a school signs off on anything, it should know who is responsible for supervision, safety, bookings, materials and communication with parents or guardians. The same applies to risk management and venue rules.
Use a short checklist to keep the discussion focused:
- Who provides the tools and who checks them before each session?
- What safety induction is given to learners and staff?
- How are damaged items reported and replaced?
- What happens if a session falls on a public holiday or load-shedding slot?
- Can the venue support school events, exhibitions or maker days later in the year?
Once those points are answered, the school can move from a once-off visit to a proper learning partnership that makes sense for the budget and the timetable.