Start With The Type Of Maker Activity You Want To Support
Before you buy tools or paint walls, be clear about what the space is for. A small lab for school projects in Braamfontein will need different kit to a neighbourhood repair space in Soweto or a prototyping room serving young entrepreneurs in Midrand. If the main use is woodwork, electronics, sewing or a mix of all three, that choice affects power points, storage, dust control and supervision.
In Johannesburg, the best venues usually begin with a focused first phase. That could mean one clean workroom, one noisy tool zone and a small meeting area for inductions and planning. Keep the first setup tight enough to run well with a modest team, because a lab that tries to do everything at once often struggles with safety and upkeep.
Choose A Site That Works In Real South African Conditions
Venue choice should account for load-shedding, parking, public transport and the daily realities of your members. A room with good natural light in Braamfontein can be easier to manage than a bigger site with poor access and weak security. Check ceiling height, floor strength, ventilation and whether the landlord allows fixed fittings, extraction or extra electrical points.
Coastal humidity in Durban or Gqeberha can affect timber, steel and stored consumables, while dusty inland sites need better cleaning routines. If you plan to host learners after school or over weekends, think about nearby taxi routes, pedestrian safety and whether the building remains open long enough for setup and pack-down.
- Test the power supply under load, not just at a wall socket.
- Check for safe storage of tools, chemicals and sharp items.
- Confirm water access for cleaning and basic workshop use.
- Ask about noise limits if neighbours share the building.
Plan The Layout Before The First Tool Arrives
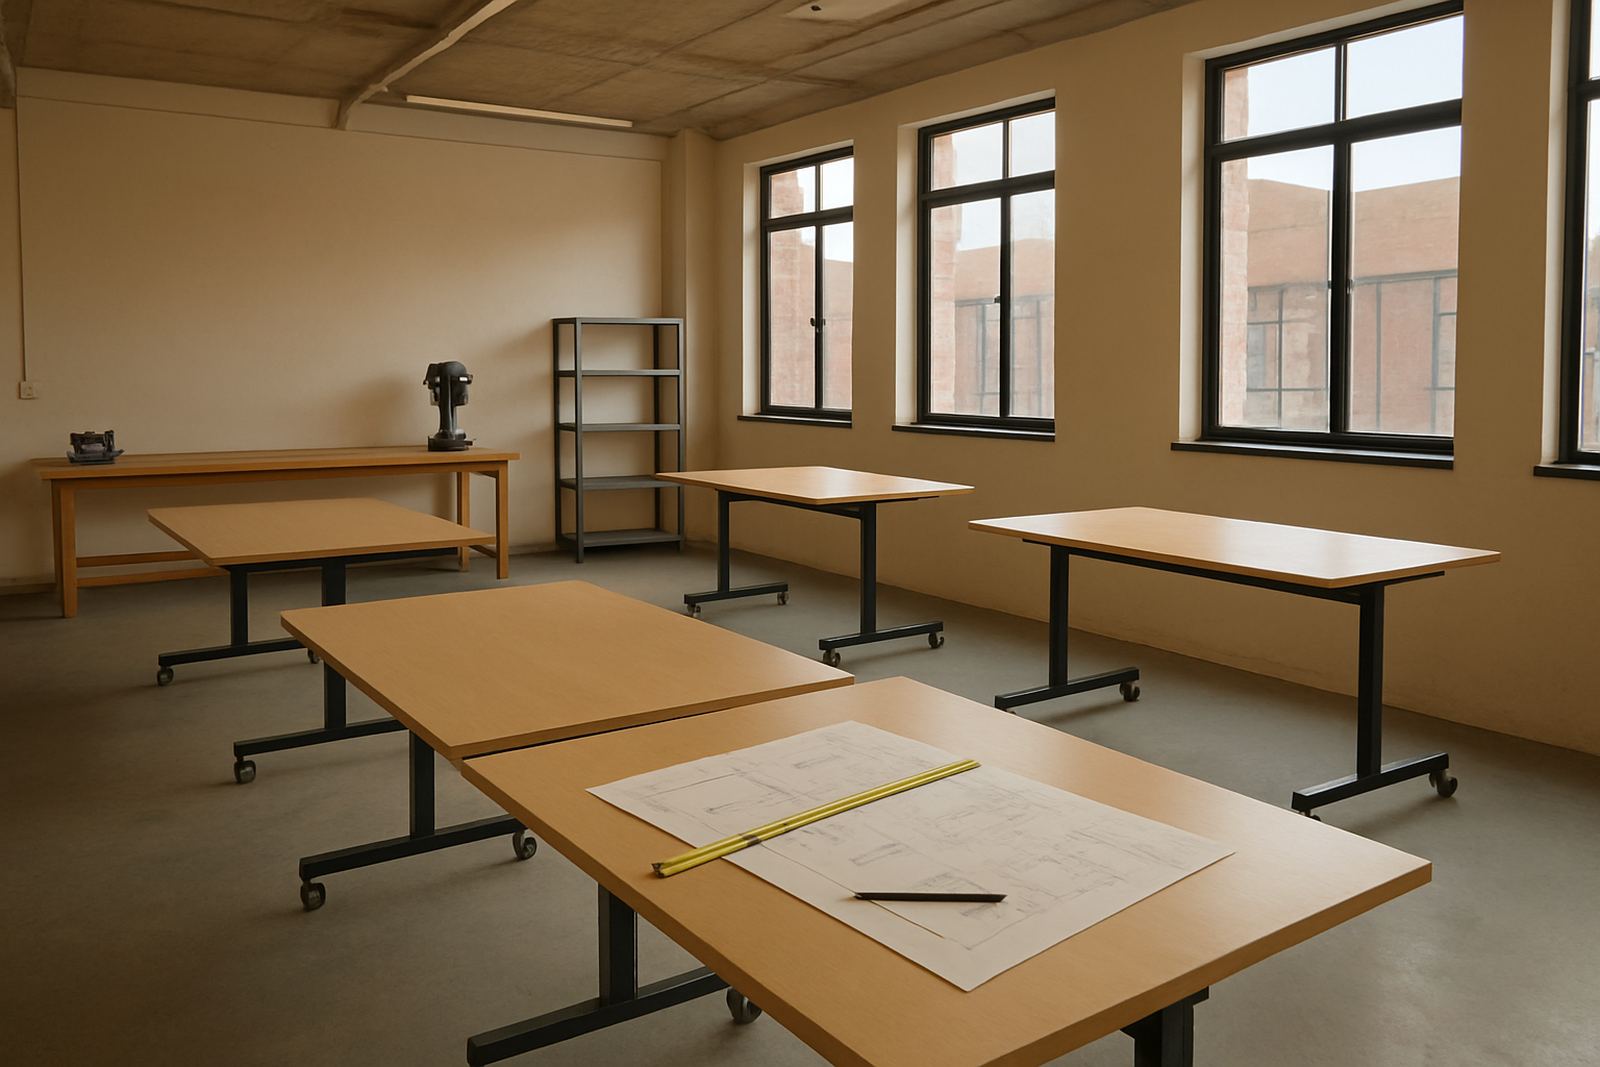
Space planning saves money and avoids clutter from day one. A useful community lab usually has a clear entry point, a sign-in area, teaching space, tool storage and separated work zones. The route through the venue should feel obvious, so new members know where to wait, where to put bags and where not to stand during active work.
Tool zone layouts matter because people make fewer mistakes when each station has a purpose. Keep measuring tools near cutting benches, fixings near assembly tables and PPE within easy reach. In smaller venues, use vertical storage and mobile trolleys to keep floors open. Even a modest room can work well if every square metre has a job.
- Place the noisiest tools furthest from teaching and admin areas.
- Keep fire exits clear and visible at all times.
- Mark walkways, charging points and restricted zones clearly.
- Use lockable storage for shared tools and consumables.
Build Safety Into The Setup From Day One
Safety signage setup is not decoration, it is part of the operating system. Members need to see where PPE is kept, which tools need training and what to do during an emergency. In a local lab, that also includes house rules for children, guest access, first aid and after-hours use. If your space will host schools or youth groups, write the rules in plain language and keep them on the wall as well as in the induction pack.
Safety checks should be routine. Fire extinguishers must be accessible, cords must not trail across walkways and ventilation must suit the tools in use. If you are running during load-shedding, have a written process for safe shutdown and restart. The same goes for battery charging, hot equipment and any machine that should not be left unattended.
Budget For Consumables, Storage And The Small Things People Forget
Many new lab operators budget for the big tools and then get caught by the smaller recurring costs. Consumables planning should cover screws, blades, sandpaper, glue, masking tape, cleaning materials, batteries and printer stock if you issue worksheets or labels. These items disappear quickly when a space gets busy, and stockouts slow down every session.
Storage solutions are just as important. Clear tubs, labelled shelves and lockable cupboards help members return items correctly. If the lab serves multiple groups, separate communal stock from project stock so one team does not use another team’s materials. It is also worth setting a simple re-order level for each item, so you do not run out in the middle of a school holiday programme.
- Keep a monthly list of top-use consumables.
- Set one person to sign off replenishment orders.
- Store hazardous items away from general access areas.
- Use transparent containers where possible so stock is easy to check.
Train Members And Facilitators Before Opening Wide
A community lab works best when onboarding is structured. New members should know how to book time, where to store work, how to report faults and what to do when something breaks. Facilitator support matters too, because even experienced makers need a clear process for group sessions, tool sign-out and incident reporting. Without this, the space can become confusing fast.
Training does not need to be complicated. Start with practical demonstrations, short checklists and a simple induction for every user. In places like Sandton or Pretoria East, you may get corporate teams that want structured workshops, while in Soweto or Cape Town you may see community groups and schools needing more hands-on guidance. A good lab adapts to both without lowering standards.
Use A Local Rollout Example To Shape Your First Year
Imagine a first launch in Braamfontein with partner sessions in Midrand and Soweto. The first venue opens with one clean tool room, one training room and a storage bay for starter kits. The team starts small, runs a maker audit after the first month, then adjusts the layout, stock levels and sign-in process based on real use. That approach is often better than fitting everything at once.
From there, maintenance checks become part of the rhythm. Tools are inspected, signage is updated, shelves are tidied and member feedback is recorded. If you are building a school lab refresh or a neighbourhood maker station, this steady method keeps the venue usable and safe. The point is not to launch big, it is to launch well and stay useful.