Why hands-on work helps learners remember more
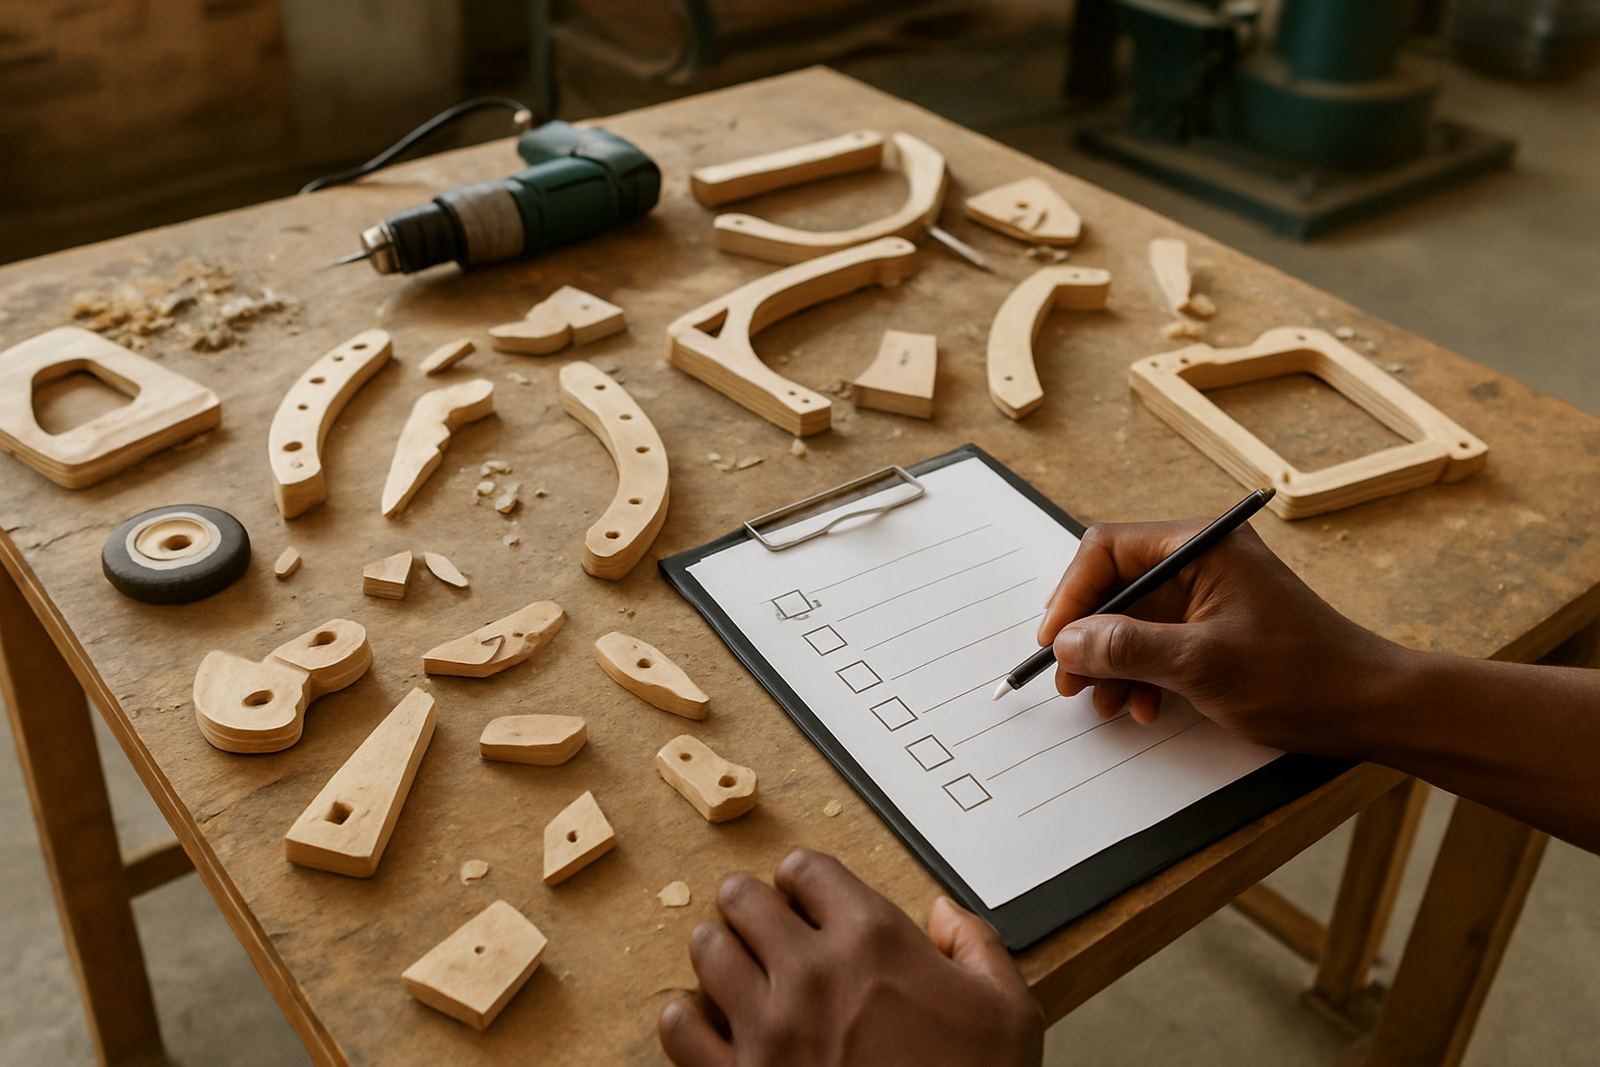
When a learner measures timber, marks out a bracket, wires a simple circuit or assembles a cardboard prototype, they are doing more than finishing a task. They are linking theory to action. That is where real understanding starts to settle in, because the lesson is tied to a visible result that can be checked, corrected and improved.
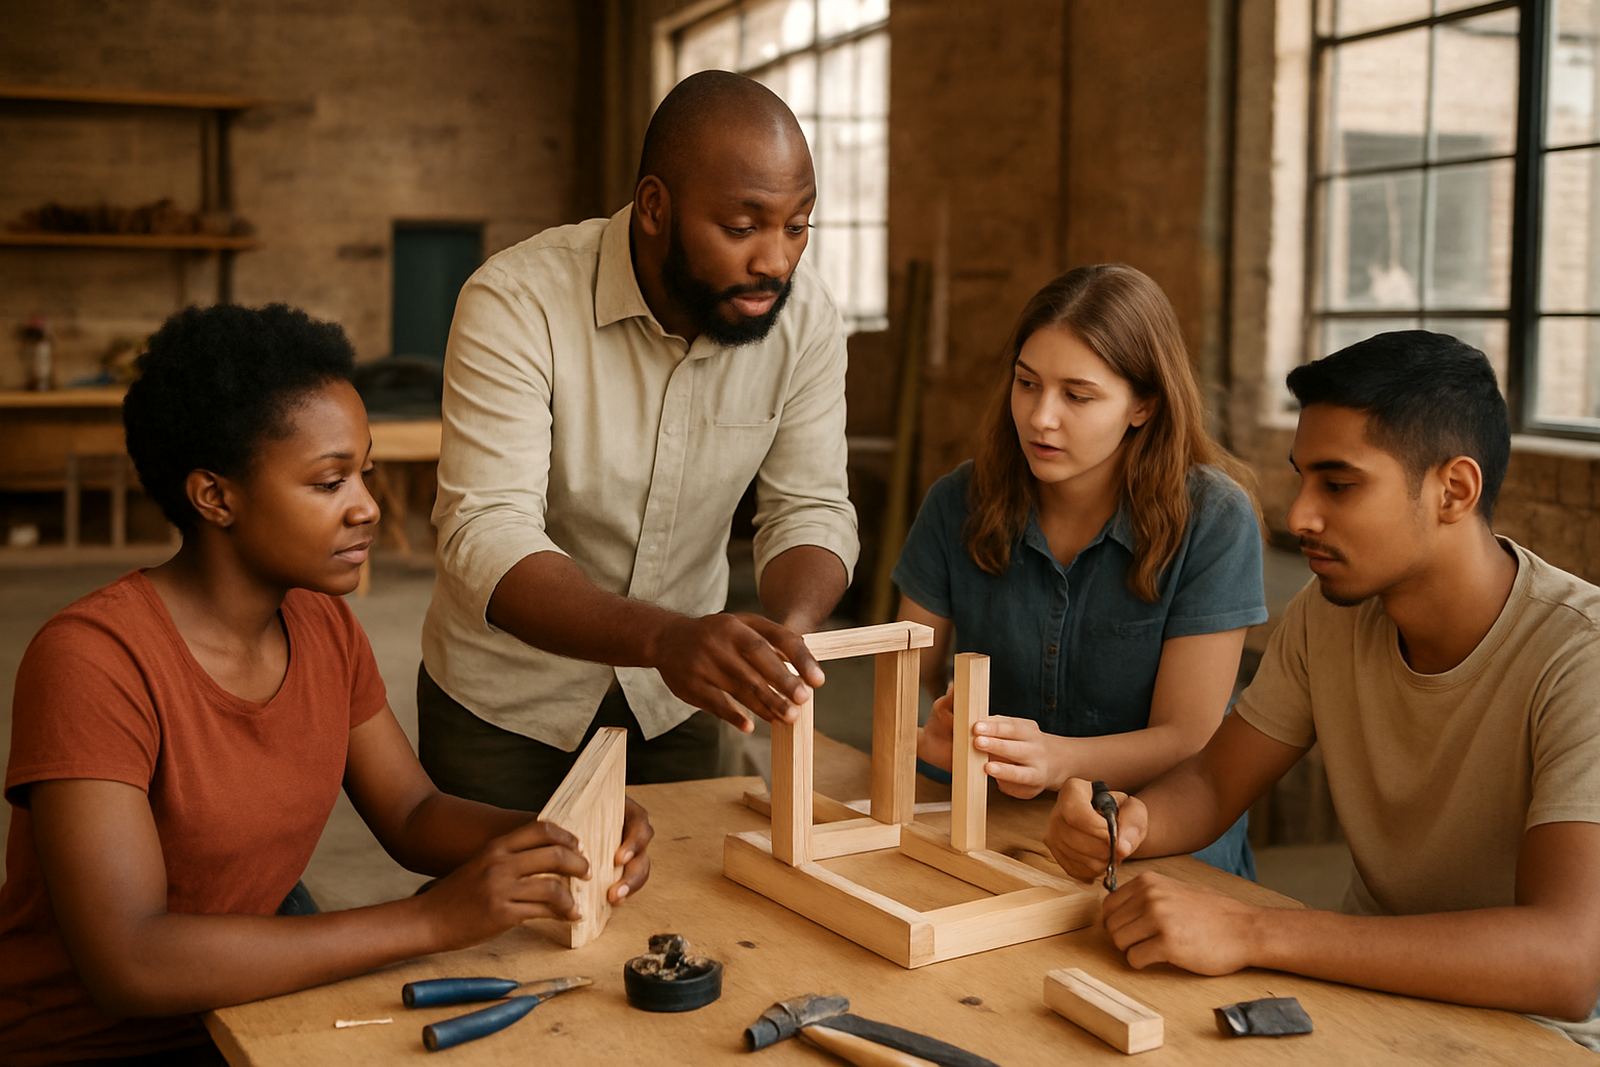
Practical work also gives quieter learners another way to contribute. Some children think best by drawing, some by talking and some by building. A good making activity makes room for all three. It lets a group see who notices detail, who keeps to sequence, and who can solve a small problem when a joint does not fit first time.
In South African schools, this matters even more because class sizes, timetable pressure and limited equipment can make it hard to keep learners engaged for long stretches. A well planned build session can hold attention better than a long explanation, provided the task is simple enough to finish and clear enough to assess.
Start with small builds that match the lesson
The best teaching projects are not the fanciest ones. They are the ones that fit the lesson objective and the age group. If the aim is to teach measurement, a small storage tray or plant marker set may work well. If the aim is teamwork, a basic bridge challenge or model shelter can do the job. The point is to keep the build focused, so learners can see what they are learning and why it matters.
For schools around Braamfontein and Soweto, we often see better results when a teacher keeps the scope tight. One class might build a simple stationery organiser from board, while another group works on a poster stand or a small display unit for a science fair. These are practical enough to teach process, but not so complex that the session runs out of time.
- Choose one clear skill per session, such as measuring, cutting, joining or finishing.
- Set a finish line learners can reach in one lesson or one afternoon.
- Use low-cost materials that are easy to replace and safe to handle.
- Allow for one mistake in the process so learners practise fixing, not just copying.
Plan the room so the build can actually happen
A strong lesson can fall apart if the room is not ready. Before learners arrive, the teacher or facilitator should think through the work flow: where materials will sit, where tools will be shared, how people move, and where finished items will dry or rest. In a busy school hall or a youth centre with limited storage, this planning saves time and prevents confusion.
Good space planning also reduces risk. Clear walkways, proper tool zones and signed storage areas help learners know where to go and what to do. If the activity involves glue, blades or power tools, supervision has to be built into the layout, not added at the end. In a Johannesburg winter term when load-shedding is common, it also helps to keep some tasks manual and simple enough to continue without power.
- Set up a materials table, a tool table and a finished work area.
- Label sharps, cords, glue and cleaning items clearly.
- Keep the busiest part of the room near adult supervision.
- Have a backup activity ready for power cuts or late arrivals.
Teach safety and routine before the first cut
Young people are quick to engage when something looks practical, but excitement can lead to rough handling. That is why the first lesson should include safety and routine, not only the project brief. Learners need to know how to carry tools, how to return them, how to work in pairs and what to do if something breaks or spills.
Simple rules work best when they are repeated every time. In a school workshop, that might mean glasses on before cutting, no loose cables across the floor, and one learner at a time on a shared tool. It also means showing how to clean up properly. These habits build respect for the room and for one another, and they carry into other learning spaces too.
For coastal areas like Durban and Gqeberha, storage and maintenance need extra care because moisture can affect tools, fasteners and board stock. In those places, closed storage, regular checks and dry shelving are not a nice extra they are part of keeping the programme going.
Use making to build confidence, not just products
A project should produce an object, but the deeper value is in what learners gain along the way. They practise planning, patience, measuring, sequencing and speaking up when they need help. They learn that an idea can be improved by trying again, and that a mistake is not the end of the work. That shift matters in youth programmes where some learners arrive with little confidence in formal classroom work.
Good facilitators make space for reflection at the end of the session. Ask what worked, what took too long, and what the group would change next time. The answers often reveal more than a written test, because learners talk about the choices they made while working with their hands.
- Ask learners to explain one step they completed themselves.
- Keep a short group review at the end of every build.
- Let learners compare two versions of a project and choose the better one.
- Use photos, sketches or labels so they can describe the process clearly.
A Braamfontein example that can be repeated elsewhere
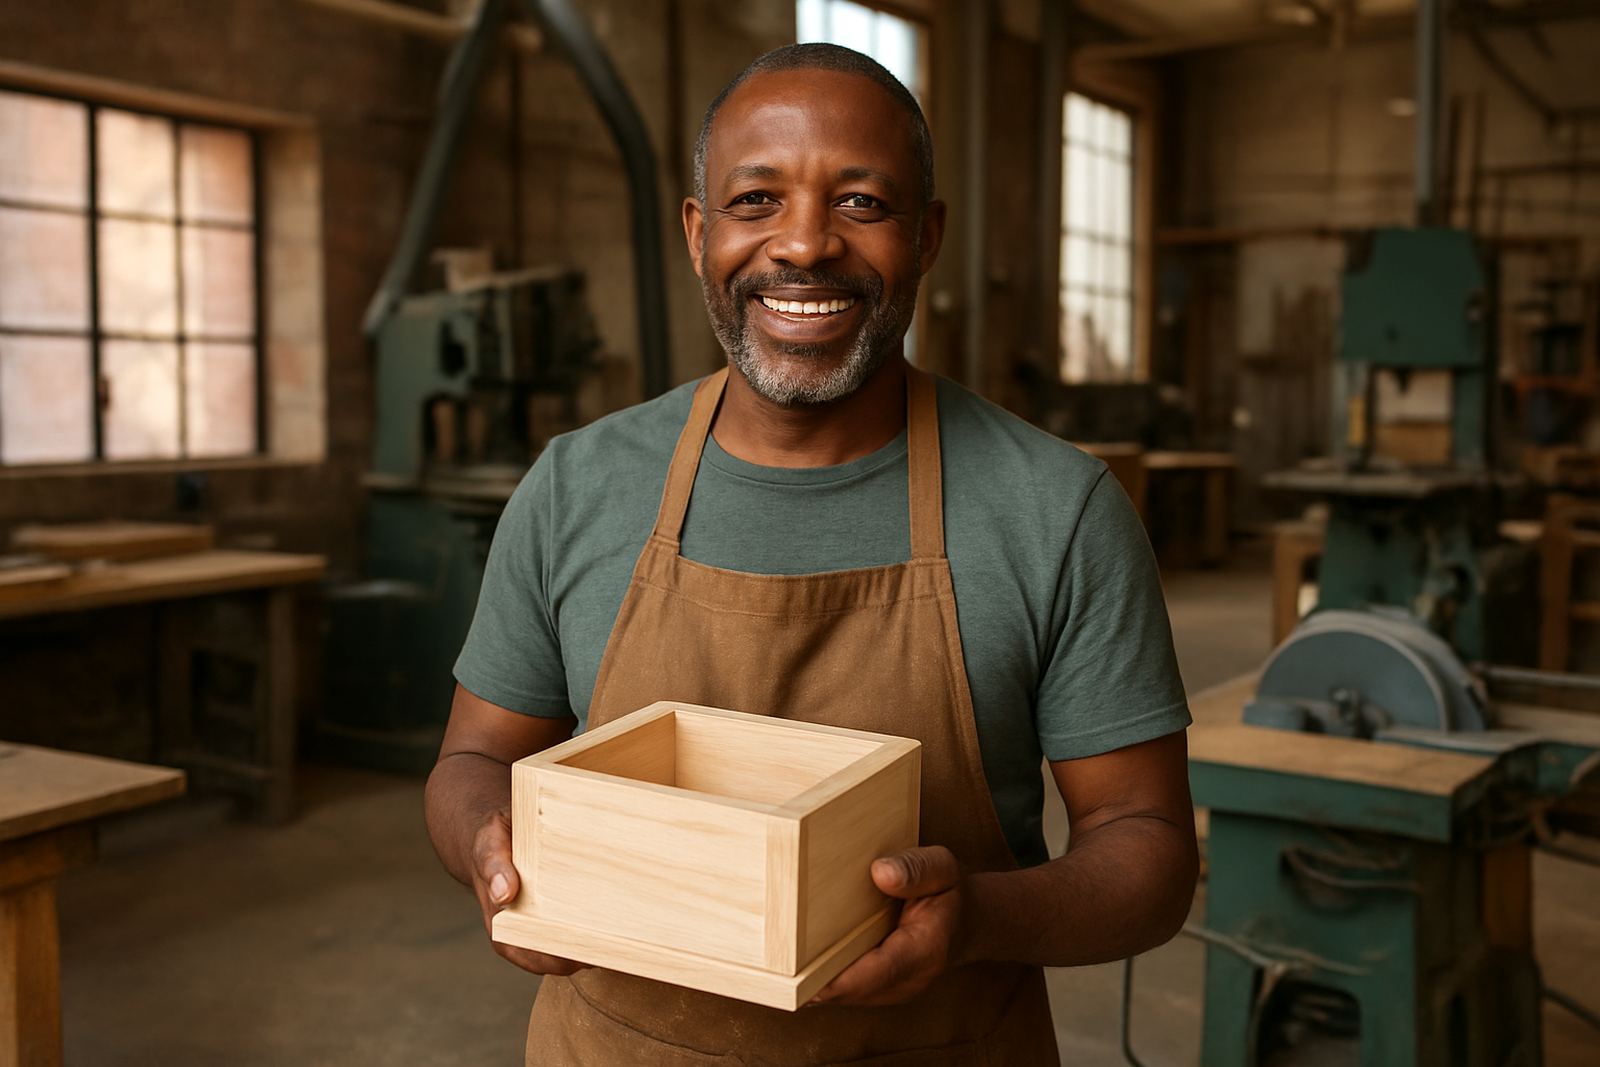
A youth programme in Braamfontein might start with a simple maker station for 15 to 20 learners. The group could build compact display stands for a school market day, using board, hand tools and basic fixings. One team measures, another cuts, another assembles, and a final team checks finish and labelling. The project can be completed over two sessions, which makes it manageable for after-school hours.
This same approach can be adapted in Midrand, Pretoria East or Soweto, depending on the room and the age group. In some venues the activity may suit a school lab refresh, while in others it may be better as an event maker station or a weekend skills session. The materials change, but the teaching method stays the same: clear task, shared roles, safe setup and a finish that learners can point to with pride.
When schools and youth groups ask for more than a one-off activity, it helps to think in systems. A maker audit can show what tools are available, what needs repair, and where storage or safety signage should be improved. That makes future sessions easier to run and less dependent on one enthusiastic teacher or volunteer.
What a good making programme needs from the start
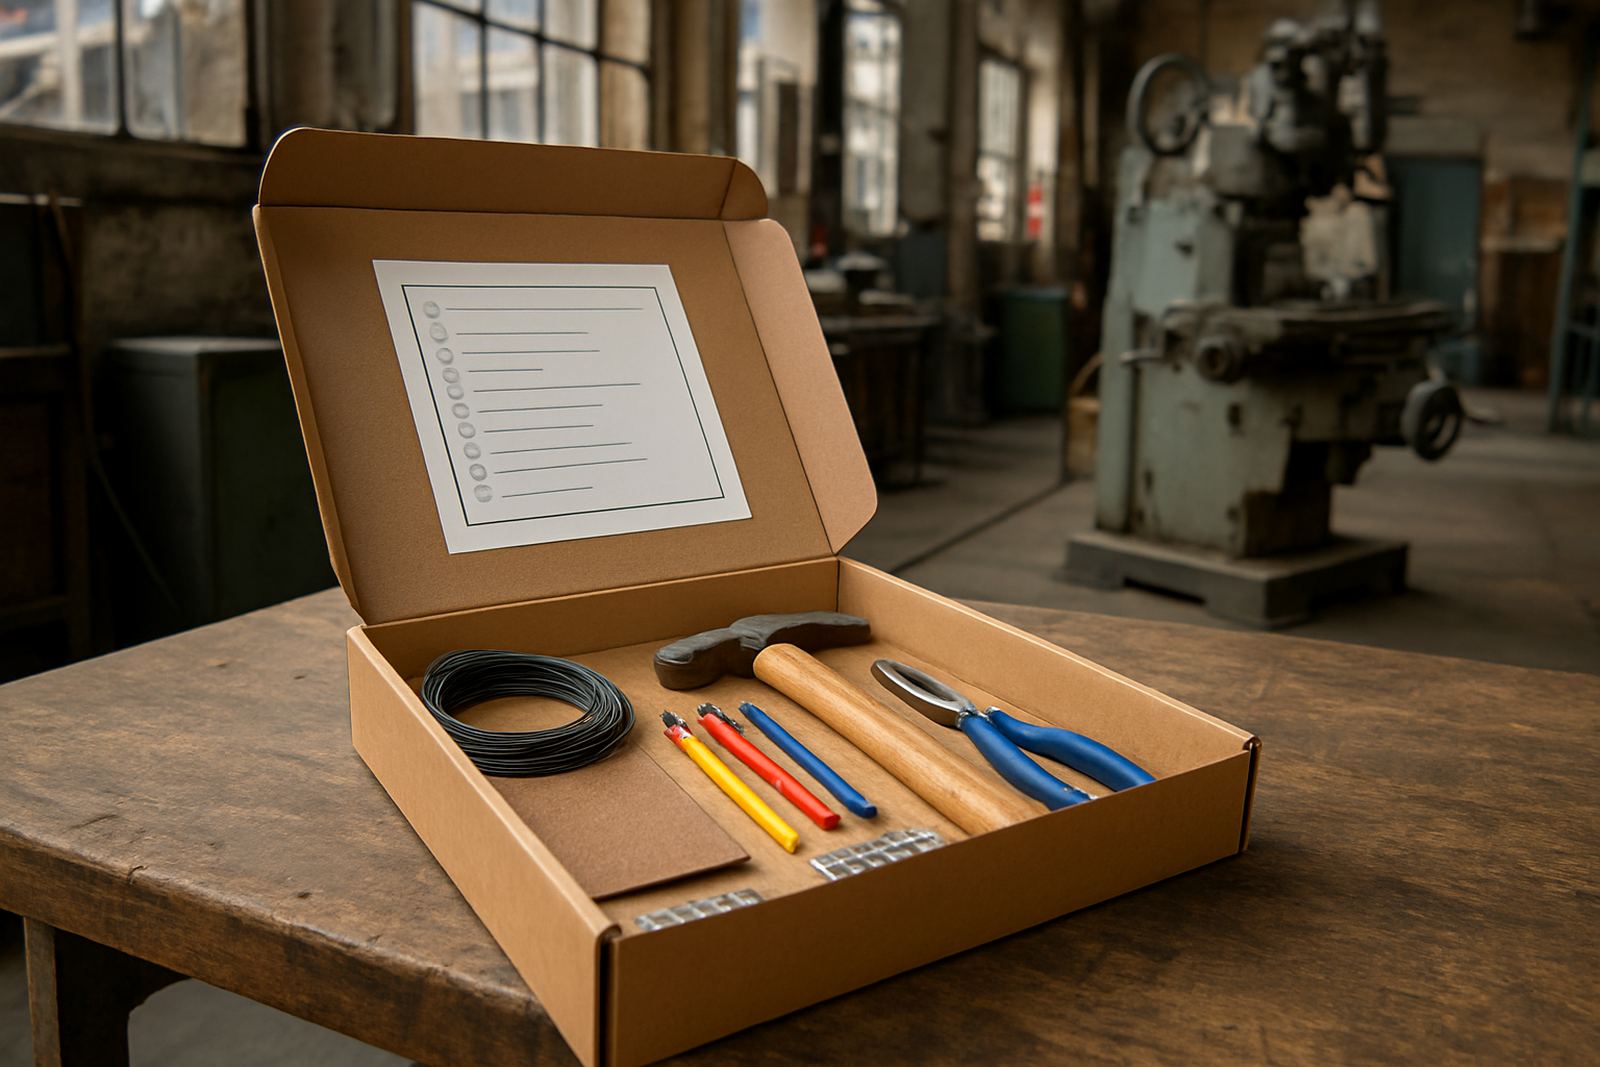
For a practical learning programme to work well, it needs structure as much as energy. The right starter kit, the right layout and the right support make a big difference to how smoothly the sessions run. A school or youth group does not need a huge workshop to begin. It needs a plan that matches the space, the learners and the available time.
That usually means sorting the basics first: where tools will live, how consumables will be tracked, who will onboard new members, and how maintenance checks will be handled. Once those pieces are in place, the actual teaching becomes easier because the room is ready for repeat use.
Teaching through making works because it turns abstract ideas into something concrete. It helps learners see progress, work with others and solve problems in real time. And in a South African setting, where every hour and every rand counts, that practical value is hard to beat.