Start With the Project, Not the Shopping List
The quickest way to overspend is to buy a pile of tools before you have a clear project in mind. Start by writing down what you want to make in the first three months, then work backwards from there. A school robotics group needs a different kit from a small furniture repair team or a community makerspace doing mixed craft and light assembly.
Think about the materials you will use most often, the size of the items you will work on and how many people will use the kit at once. If your work is mainly small repairs, model making or assembly, your starter list stays compact. If you plan to cut timber, drill steel, solder electronics and store consumables, you need more space, more safety control and better organisation from day one.
- List your first 5 to 10 projects before you buy anything.
- Separate must-haves from nice-to-haves.
- Match the kit to the most common material, not the rare one.
Budget for the Full Set-Up, Not Only the Tools
Many people budget for the hand tools and forget the extras that keep the kit usable. Cases, storage bins, charging points, extension leads, PPE, labels and replacement consumables all add up. In Johannesburg, where load-shedding can interrupt a full working day, it also helps to plan for battery backup or tools that can still be used safely when power is unstable.
A sensible starter kit budget should include a little room for spares. Blunt blades, worn drill bits and missing fasteners can stop a whole session. If your team works in a shared space in Braamfontein or Midrand, add a cleaning allowance too. A kit that is cheap on paper but messy in use becomes expensive very quickly.
- Set aside part of the budget for PPE and storage.
- Allow for consumables like screws, tape, glue and sanding discs.
- Keep 10 to 15 percent for replacements and small upgrades.
Choose Tools That Fit South African Conditions
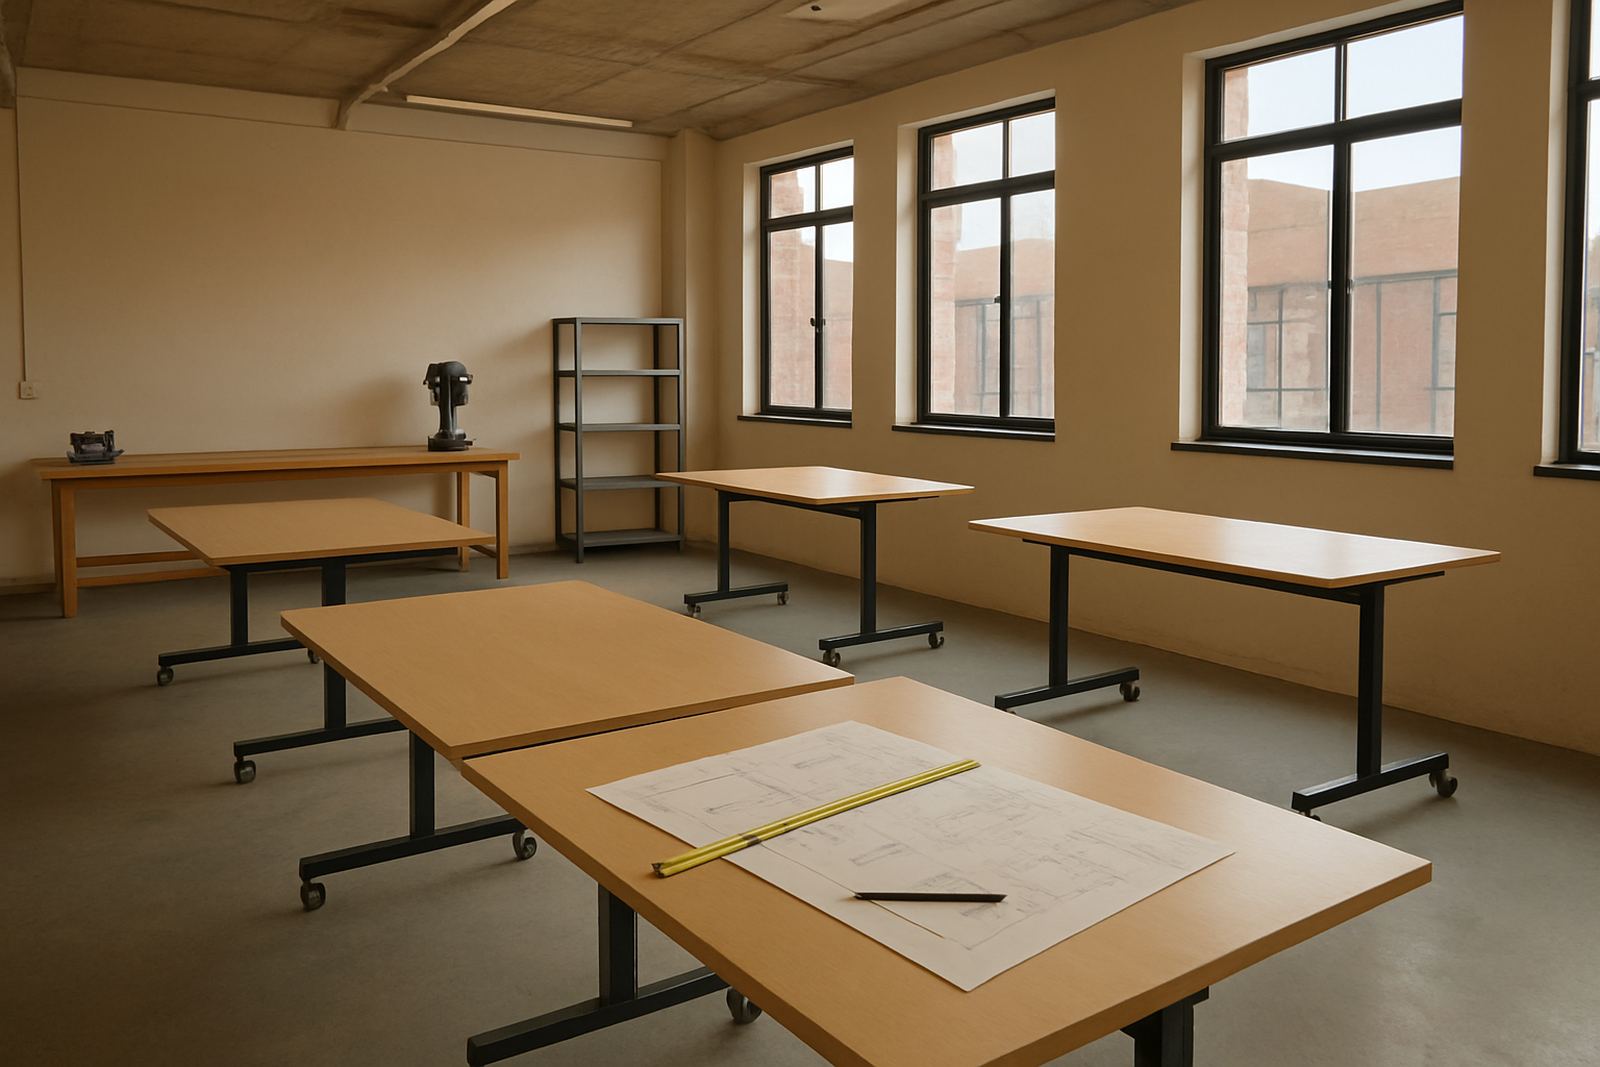
Conditions matter. A coastal team in Durban or Gqeberha may need better rust protection and sealed storage than a dry inland workshop. In Cape Town, wind and dust can affect outdoor events and open loading areas. In Pretoria East and Sandton, space can be limited, so compact kit layouts and stackable storage help keep the area workable.
When comparing options, ask how the tools will hold up to daily handling, transport between venues and storage in warmer rooms. Look for sturdy cases, easy-to-clean surfaces and clear labels. If the kit will move between partner makerspaces, choose items that pack well and can be checked quickly after each use. That makes life easier for the facilitator and the next team, too.
- Use rust-resistant storage where humidity is high.
- Choose compact tools if the kit must travel often.
- Check that chargers and power supplies suit local outlets and voltage.
Build the Kit Around Safety and Daily Use
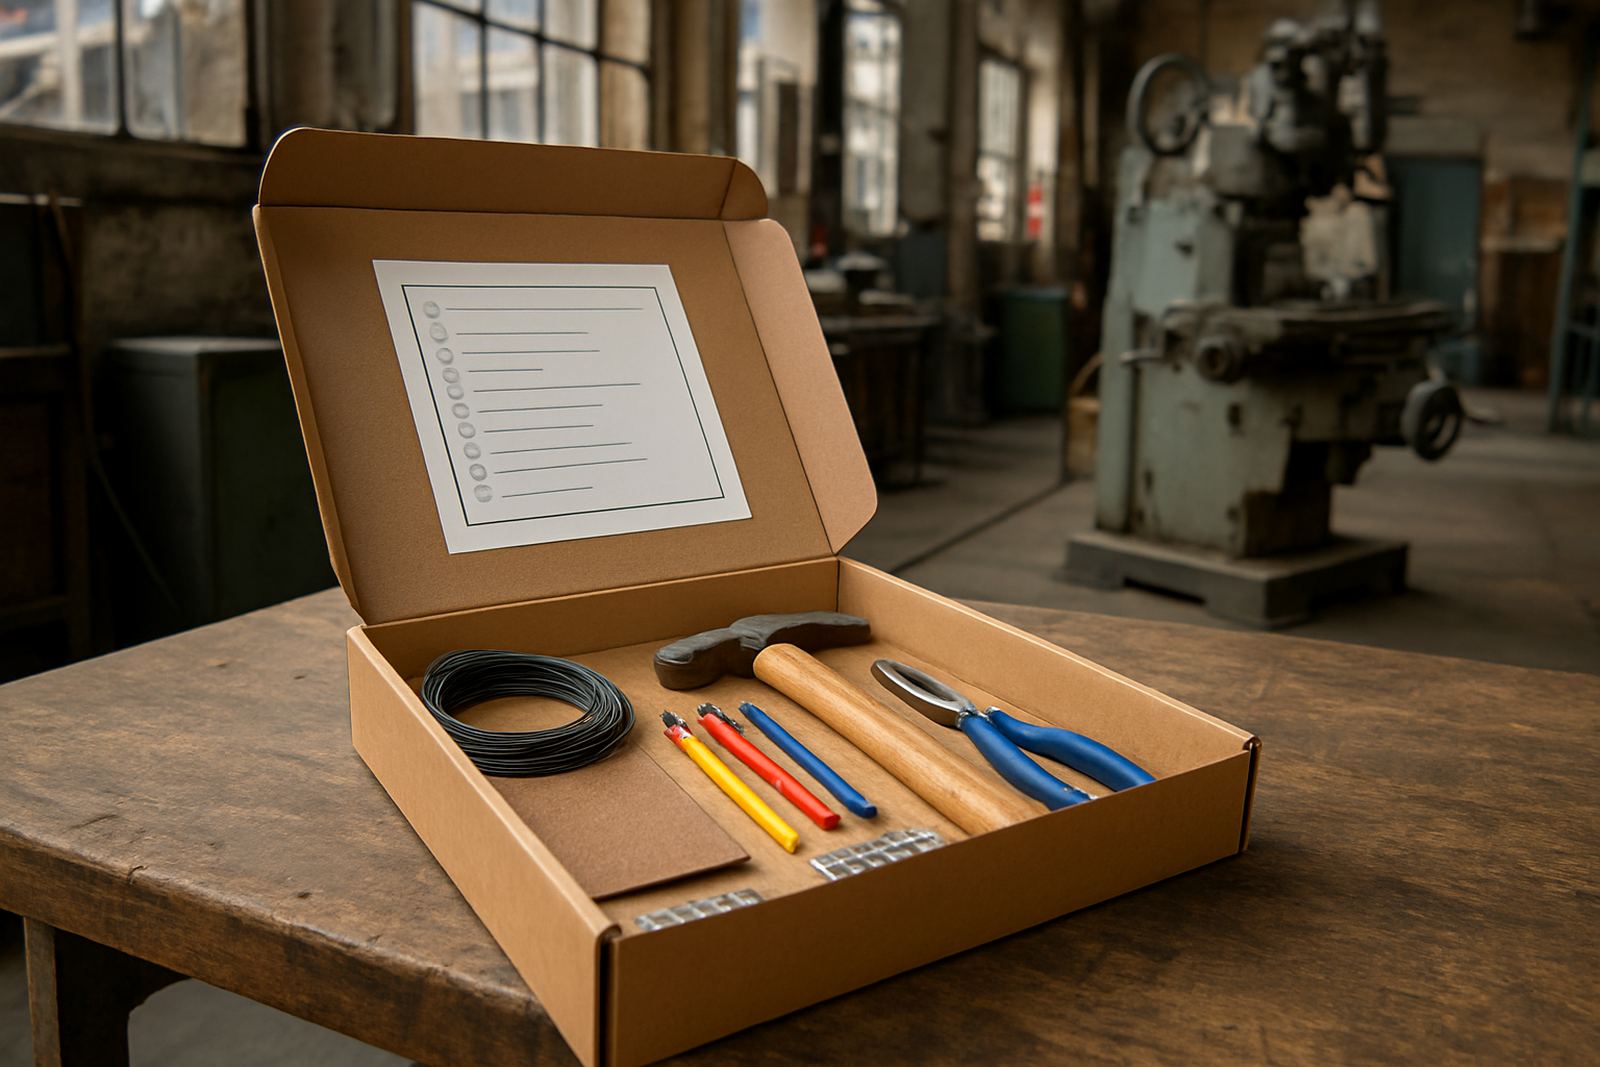
A starter kit should be simple enough for new users to follow without confusion. That means each item must have a clear place, a clear purpose and a clear safety rule. Good kits include eye protection, gloves where needed, first aid basics, signage and a short use guide. If several people use the same space, safety signage should be visible from the entry point and near the main work area.
Do not leave safety as an afterthought. A small cut, a loose cable or a badly stored blade can create avoidable trouble. For schools, youth groups and community programmes, the best kits are the ones that make correct use easy. Even a neat layout can reduce mistakes because users are not hunting for things under pressure.
- Keep sharp tools in labelled containers.
- Place the most used items at hand height.
- Add simple rules for set-up, clean-down and storage.
Match the Kit to the People Who Will Use It
The same kit will not work for every group. A beginner class in Soweto may need more guidance and fewer items per person, while a small team in Braamfontein might want a broader range of tools for different tasks. If the kit will be used by mixed skill levels, include basic items first and build in stages as confidence grows.
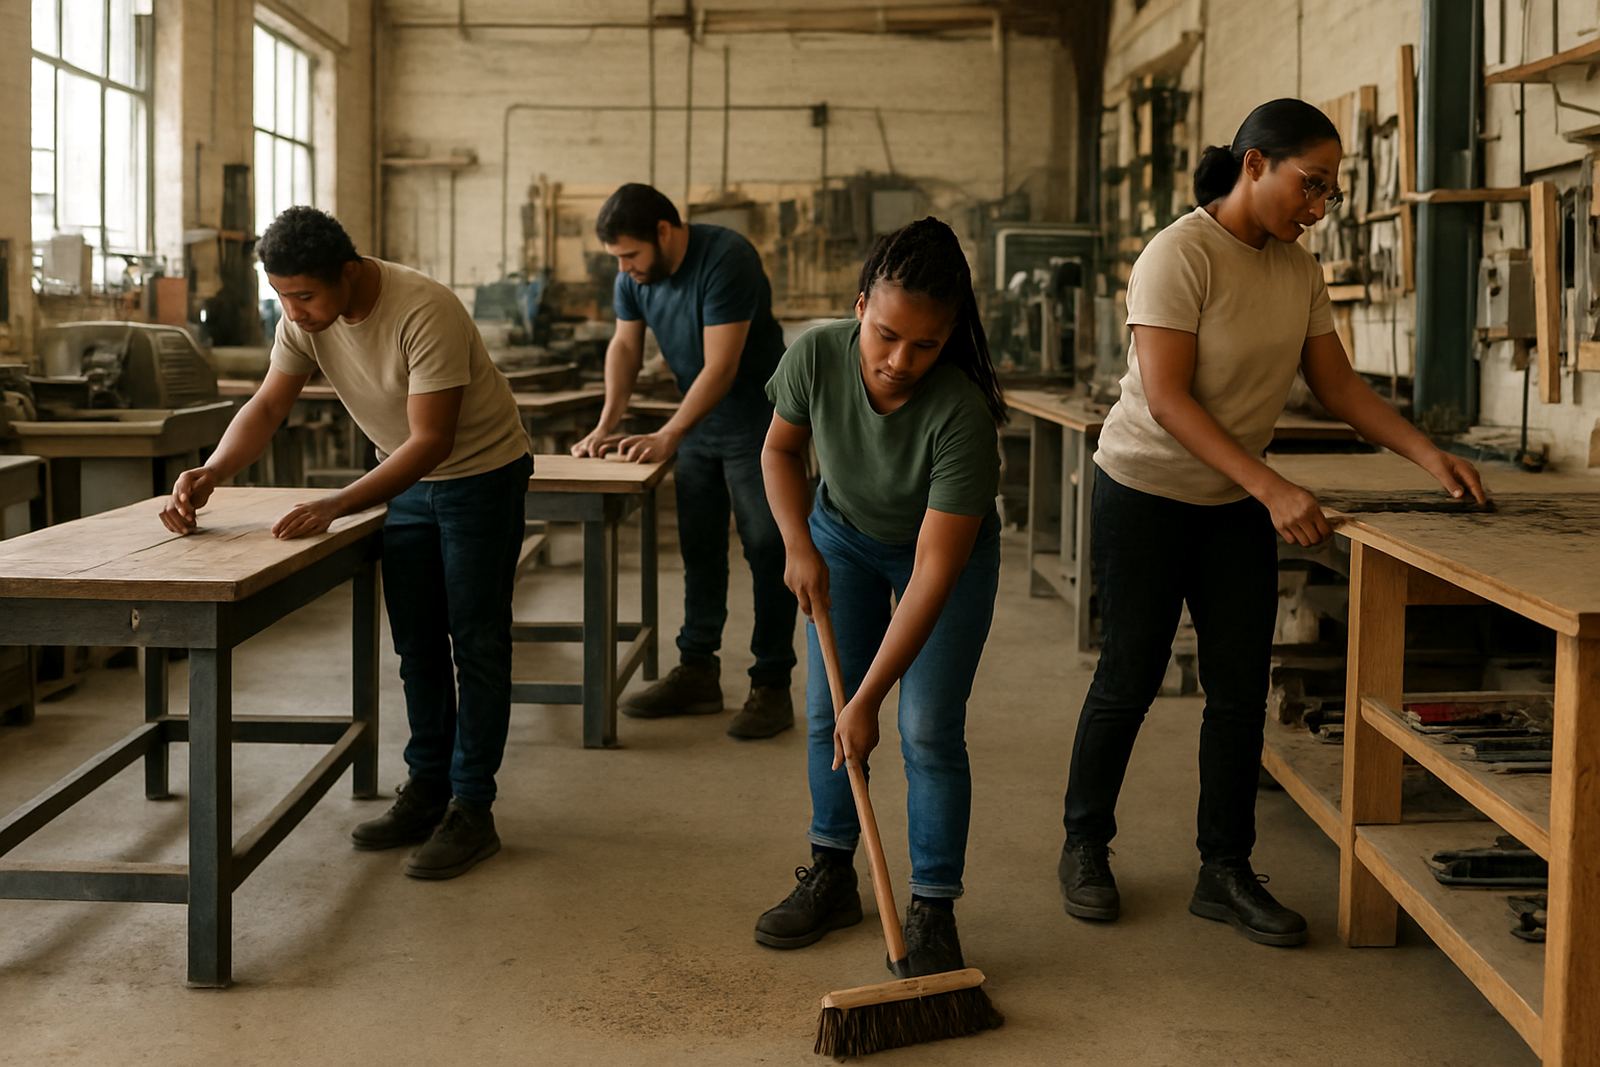
It also helps to think about who is responsible for keeping order. If one facilitator will manage the whole setup, the kit should be easy to audit and replenish. If the space is shared by volunteers or rotating teams, then colour coding, numbered trays and a simple inventory sheet can save a lot of time. One missing pair of snips or a forgotten charger can stall the whole session.
- Keep beginner kits simple and clearly labelled.
- Use numbered storage for shared teams.
- Assign one person to checks after each session.
Plan for Growth Without Buying Everything at Once
The smartest starter kit leaves room to grow. Begin with the tools you need every week, then add specialist items once the workflow is proven. This approach keeps the first purchase manageable and helps you avoid shelves full of gear that no one uses. If your group later adds events, school visits or a second work zone, the kit can expand in a controlled way.
For example, a youth maker group in Braamfontein might start with hand tools, basic measuring gear, storage and a small consumables pack. After a few months, it may add a dedicated event station, extra signage and a second set of shared tools for busy sessions. That staged approach keeps cash flow steadier and reduces waste. It also makes maintenance easier because you know exactly what gets used most.
If you are unsure where to start, write down what the kit must do in week one, what it should do by month three and what can wait until later. That simple plan often gives better results than buying in one big rush.