What Arc Welding Basics covers in a starter setup
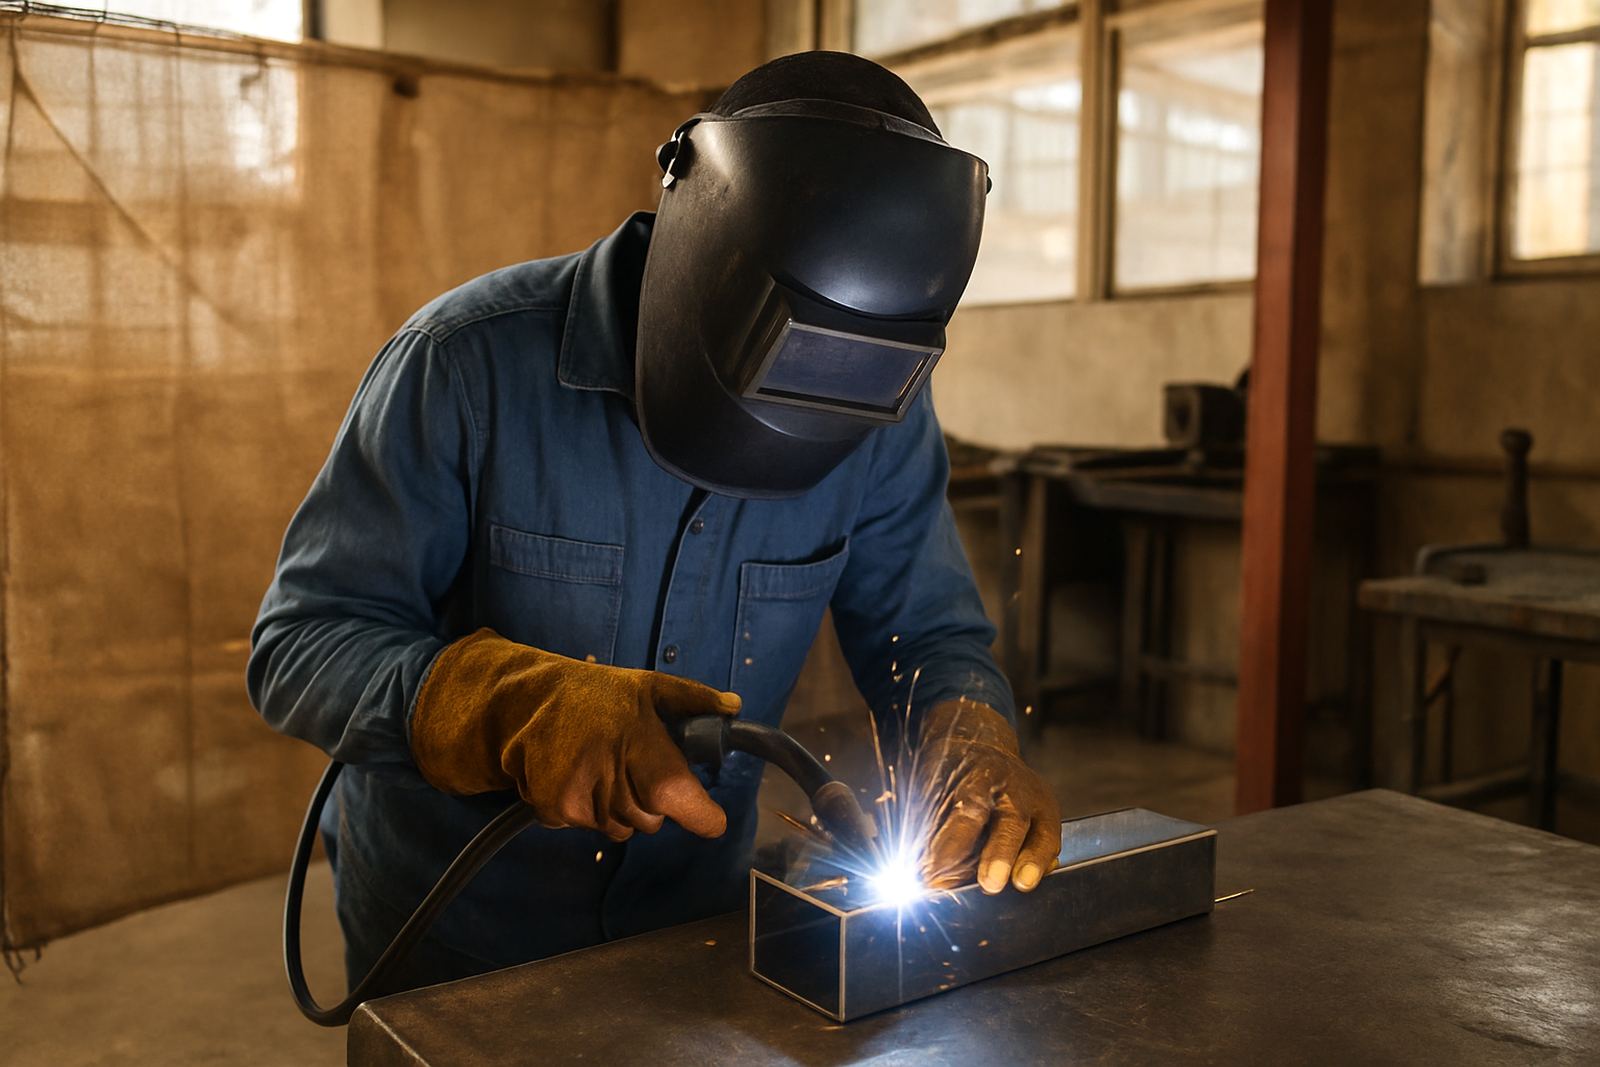
This product is aimed at first-time welders and training groups who need the core items for arc welding practice without overbuying. In a Braamfontein workshop or a partner space in Midrand, the usual setup includes an inverter welding machine, electrode holder, earth clamp, welding leads, a starter pack of electrodes, a wire brush, chipping hammer and a proper face shield. It is a practical route for flat plate practice, tack welds, fillet joints and short bead runs on mild steel.
The content is matched to South African working conditions, where power interruptions, site movement and mixed skill levels are common. If you are setting up in a school lab refresh or an event maker station, the gear has to be easy to store, quick to explain and simple to hand over between users. A good starter pack keeps the learning curve manageable and helps reduce wasted rods and poor joint finish.
- Suitable for mild steel practice from about 1.6 mm to 6 mm plate
- Works with common 2.0 mm and 2.5 mm electrodes for beginner training
- Best for short sessions, test coupons and supervised workshop use
Machine settings and workshop power needs
Most beginner arc welding work uses a single-phase 220 V supply, which is the normal workshop power found in Johannesburg, Pretoria East and many home garages. For load-shedding planning, it helps to have a generator, inverter backup or a dedicated session plan so the class does not stop mid-run. The machine should offer adjustable amperage and a clear display or dial, so the trainer can set it for electrode size and metal thickness.
For basic bead practice, a 2.0 mm rod usually sits in the lower amperage range, while 2.5 mm rods need a stronger setting. As a guide, 2.0 mm electrodes are often run around 40 to 70 amps and 2.5 mm electrodes around 70 to 100 amps, depending on joint position and material condition. Too much current burns through thin steel, while too little leaves sticky starts and rough slag. That is where good guidance saves time and material, especially when the team is still learning the feel of the arc.
- Power input: 220 V single-phase is the usual option
- Output range: roughly 40 A to 140 A for beginner work
- Recommended duty cycle: 20% to 60% for short training runs
- Use dry leads and firm earth contact to keep the arc stable
Where it suits best: training rooms, makerspaces and school labs
This setup suits spaces that need controlled weld practice rather than full production. It works well in makerspaces, TVET-style training rooms, technical school labs, community fabrication hubs and startup space kits in Gauteng, KwaZulu-Natal and the Western Cape. In coastal areas like Durban and Gqeberha, storage matters because humidity can rust exposed steel and cause electrode problems if packs are left open. A covered cabinet and sealed consumable box are worth it.
For member onboarding, the product is easy to introduce in a 90 minute or half-day session. Learners can start with safety checks, then move to plate cleaning, strike practice, flat beads and simple corner joints. The aim is not to flood the room with gear. It is to give enough control for a first good weld and enough structure so the facilitator can keep everyone moving. That makes it useful for maker groups, school clubs and small teams testing a new fabrication process.
- Good fit for supervised beginner welding classes
- Works in small bays where storage is limited
- Useful for repeat practice, demos and basic maintenance training
Installation, ventilation and safe working layout
A proper layout matters as much as the machine. Keep the welding zone clear, with a non-combustible floor area, a dry workbench or welding table and enough room to move stock in and out safely. A good training bay needs space for the power lead, earth clamp, helmets, gloves and a cooling area for finished work. If the room is used for school groups or public sessions, safety signage should be visible at the entrance and on the wall near the machine.
Ventilation should pull fumes away from the operator and other people in the room. Open doors alone are not always enough, especially in smaller spaces or during winter mornings in Johannesburg. If the room shares air with other activities, consider local extraction or a mobile fume solution. Sparks can travel farther than people expect, so keep paper, cloth, solvents and packaging away from the line of work. A fire extinguisher should be close, checked and easy to reach.
- Minimum clear working zone around the table: about 1 metre
- Keep cable runs short and untangled to reduce trip hazards
- Use non-flammable screens where learners work side by side
- Store rods, helmets and clamps off the floor in a dry cabinet
Care, servicing and consumable planning
Arc welding gear lasts longer when it is cleaned after each session and checked before the next one. Brush slag off finished joints while the metal is still manageable, then inspect the lead insulation, clamp jaw and electrode holder for wear. Dust buildup inside the machine can reduce cooling, so regular cleaning is worth doing in spaces that run every week. In coastal towns, wipe exposed metal parts and keep consumables sealed because rust can creep in quickly.
For service planning, set aside a small stock of electrodes, spare earth clamps, tip cleaner and replacement brushes. If the workshop runs training blocks, log hours and note any repeated faults such as poor arc starts, overheating or loose connections. The machine itself may only need basic servicing, but the surrounding setup needs attention too. That includes extension leads, plugs, storage cabinets and signage. It saves stoppages later and helps the facilitator spot problems before they affect a class.
What to check before you order Arc Welding Basics
Before placing an order, check the size of the space, the skill level of the users and the type of metal you plan to practise on. A school lab refresh may need a smaller, easier-to-control unit, while a makerspace in Sandton or Durban might want a stronger machine with longer duty cycle and more consumables. Think about who will supervise the sessions, how often the kit will be used and where it will be stored between classes. If the room is shared, make sure the kit can be locked away.
It also helps to confirm whether you need only the machine and safety gear, or a fuller setup with training aids, starter stock and signage. If your team plans to run more than one station, count the number of users and allow for extra leads, brushes and rods. The best order is the one that matches your actual workshop flow, not just the first lesson. A clear list now means fewer gaps later.
- Confirm the available power supply and plug type
- Check the thickness of the metal you will weld most often
- Decide if you need helmets, gloves and aprons included
- Plan storage for dry rods and a safe lock-up point
- Ask for the right number of spares for regular sessions
Key facts
| Product type | Beginner arc welding starter setup |
|---|---|
| Power input | 220 V single-phase |
| Output range | About 40 A to 140 A |
| Electrode sizes | 2.0 mm and 2.5 mm common starter rods |
| Typical material use | Mild steel from 1.6 mm to 6 mm |
| Included items | Welding machine, leads, clamp, holder, cleaning tools and safety essentials |