What the Arduino First Steps class covers
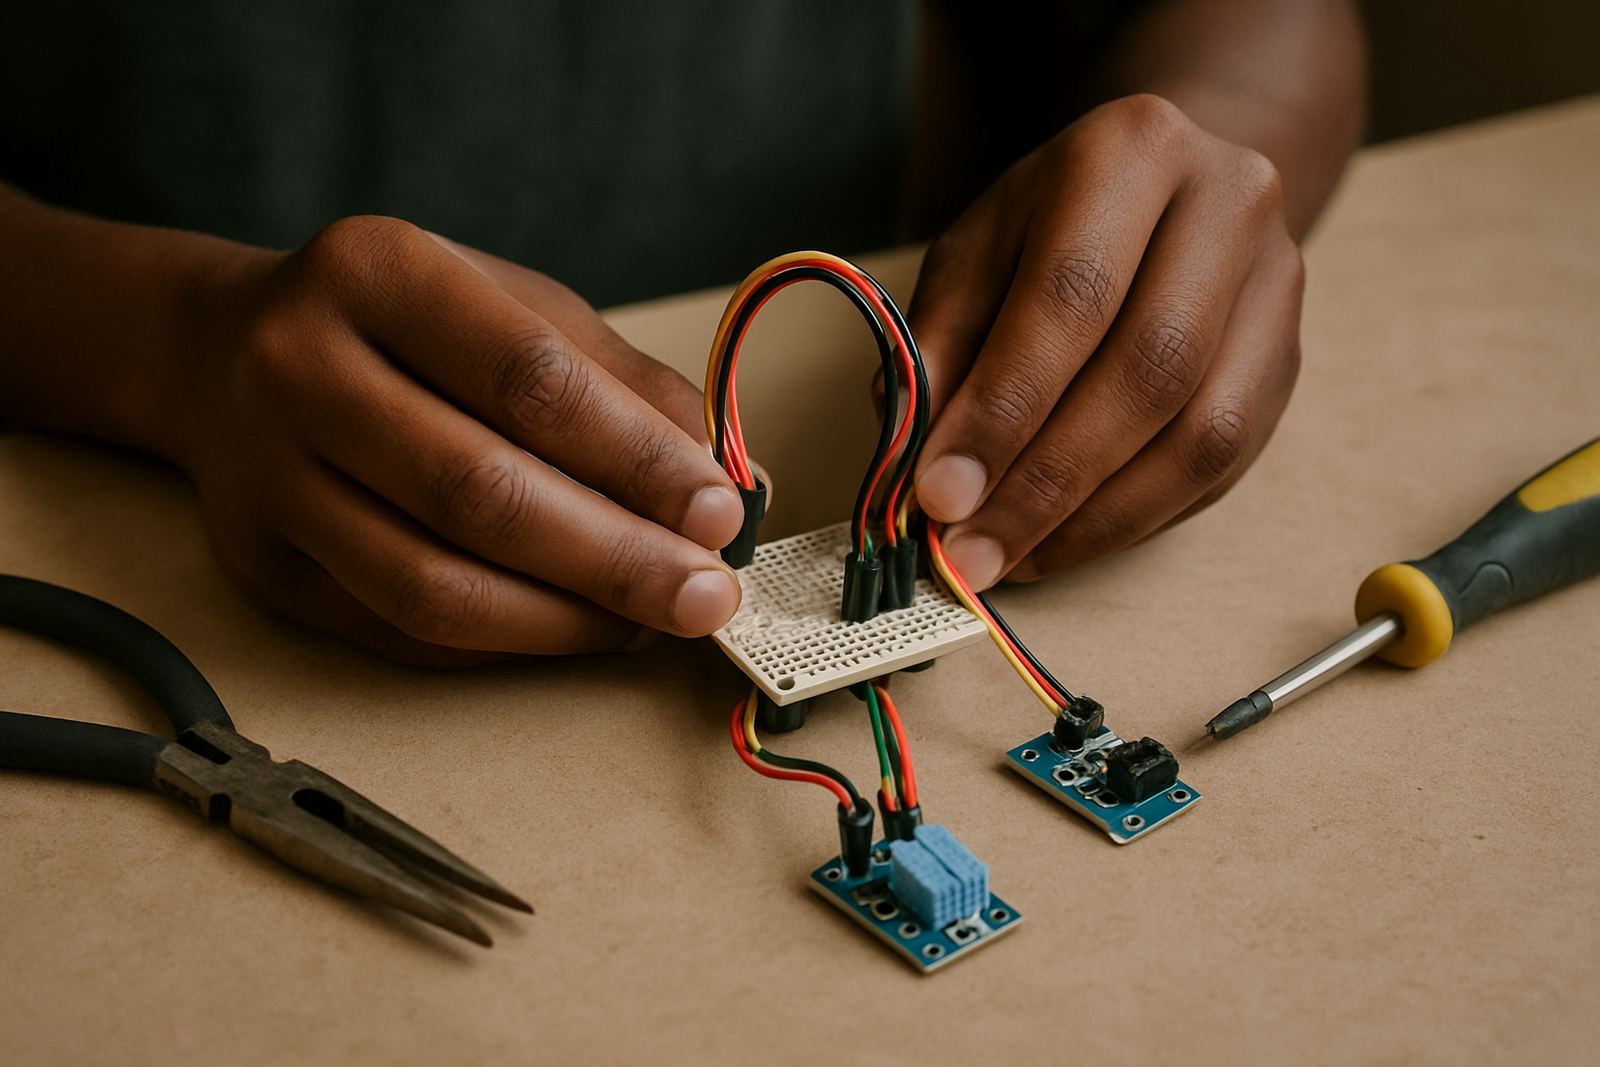
This product is a practical introduction to microcontroller-based electronics for beginners. Learners work with a board, jumper wires, a breadboard, resistors and basic sensors, then follow simple code to make lights, buttons and readings respond in real time.
The class is set up for South African conditions, so it works well in shared workshop spaces where power cuts, limited bench time and mixed skill levels are part of the day. It is a good fit for after-school groups, community labs, corporate teams and first time makers who need clear steps, not theory overload.
Typical outcomes include reading a sensor, writing a short programme, wiring a circuit safely and understanding what each part does. By the end, users should be able to repeat the project on their own and adapt it for another small build.
Sizes and format options for different groups
Arduino First Steps is usually supplied as a one-person kit, a small group kit, or a trainer pack for larger sessions. The best option depends on how many learners will share tools and whether each person needs their own board for homework or follow-up work.
- Individual kit: suited to solo learners, home practice and one-on-one coaching.
- Pair kit: useful for two learners sharing one build station at a time.
- Workshop pack: sized for classrooms, makerspaces and company training rooms.
- Facilitator bundle: adds spare parts, demo leads and a few backups for busy sessions.
In larger venues, it helps to allow one kit per two people plus a shared tool table. That keeps the room moving and avoids delays when someone loses a jumper wire or needs a replacement LED. For schools in Johannesburg, Pretoria East or Soweto, this approach also makes end-of-class pack down easier.
Where the class suits best
This class works best in rooms with tables, chairs, basic lighting and enough plug points for laptops or charging stations. A full workshop is not needed, but the space should be dry, stable and free from dust where possible, especially in coastal venues like Durban or Gqeberha where humidity can affect stored parts.
It suits makerspaces, school technology labs, training rooms, youth programmes and team-building events. In Braamfontein and Sandton, it is often used for weekday training. In Midrand and Pretoria East, it is a strong fit for school refresh projects. In Cape Town and Durban, it is often booked for short, focused sessions where clean setup and quick pack down matter.
- Schools introducing electronics or robotics basics
- Community maker groups and youth projects
- Startups testing product ideas before larger builds
- Staff training for innovation days and internal learning
Where the venue has strict municipal or school safety rules, the session can be adjusted to match the room, the age group and the available supervision. That helps keep the class practical and compliant.
Power, setup and space planning
Arduino First Steps needs low power only. Most sessions use USB power from a laptop, power bank or small charging station, so there is no gas requirement. If the room is affected by load shedding, the class can still run on battery-backed laptops and charged devices, which makes it easier for venues to keep training on schedule.
For setup, allow one clear bench per learner or pair, plus a central table for shared tools, spare parts and the facilitator kit. Cable management matters because loose wires and chargers can become a trip hazard in busy rooms. A simple layout with labelled boxes, taped cable runs and a clean return point after the session saves time and keeps losses down.
If the class is part of a larger maker space or school lab refresh, it may also help to plan storage for small components such as resistors, switches and sensors. These should stay in sealed containers away from damp corners, direct sun and open windows. Good storage avoids corrosion and the usual missing parts problem, which is a pain during repeat sessions.
Care, servicing and repeat use
These kits are built for repeated teaching use, but they last longer with simple care. Boards should be unplugged after class, stored flat and kept away from liquid, dust and static-heavy surfaces. Breadboards should be checked for loose contacts now and then, especially if they are used by different groups every week.
We recommend a quick maintenance check after each session and a deeper check every few weeks for busy venues. Look for bent pins, damaged wires, missing components and worn labels. In humid areas, a silica gel packet in the storage box helps keep corrosion down, particularly for venues near the coast.
- Wipe down boards and sensors with a dry cloth only
- Replace any wire with cracked insulation
- Keep code notes with the kit so the next user can pick up quickly
- Store components in lidded boxes with clear labels
For schools and shared workshops, a simple sign-in and return system helps track what is missing. It also saves the facilitator from chasing down little parts at the end of every lesson.
What to check before you order
Before placing an order, confirm how many learners will use the class, the age group, and whether the session needs printed notes or facilitator support. It is also worth checking if your venue has laptops available, or whether the kit must include a shared device for coding. A quick check now avoids surprises later on.
Ask whether the kit should include extra sensors, spare jumper wires, additional breadboards or a storage case. If the class will be used in a school lab or community space, check the bench size and storage access as well. In some rooms, the limiting factor is not the kit itself but the space around it.
When comparing options, check that the parts list matches the intended lesson. A beginner class should not be overloaded with advanced items that confuse the group. The aim is to get a clean first build that works, then build from there.
Training support for venues and facilitators
If you are running this as part of a broader programme, support can be added for facilitator prep, member onboarding, maintenance checks and consumables planning. That is useful when a venue hosts regular sessions and needs the same standard every time. It also helps when more than one trainer uses the same kit pool.
For partner makerspaces and training rooms across Johannesburg, Pretoria, Durban, Cape Town and Gqeberha, the class can be aligned with your room layout and storage setup. If you need help organising a starter zone, a school lab refresh or a maker audit, it is easier to sort that before the first class than after parts start going missing.
To enquire, use the contact page form and include your location, group size and preferred session format. That gives us enough detail to recommend the right kit and training level without back-and-forth delays.
Key facts
| Product type | Beginner electronics class and starter kit |
|---|---|
| Core components | Microcontroller board, breadboard, jumper wires, LEDs, resistors and sensors |
| Typical group size | 1 to 12 learners per session, depending on format |
| Power needs | USB power from laptop, power bank or charging station |
| Setup space | One bench per learner or pair, plus a shared tool table |
| Best suited for | Schools, makerspaces, youth programmes and team training |