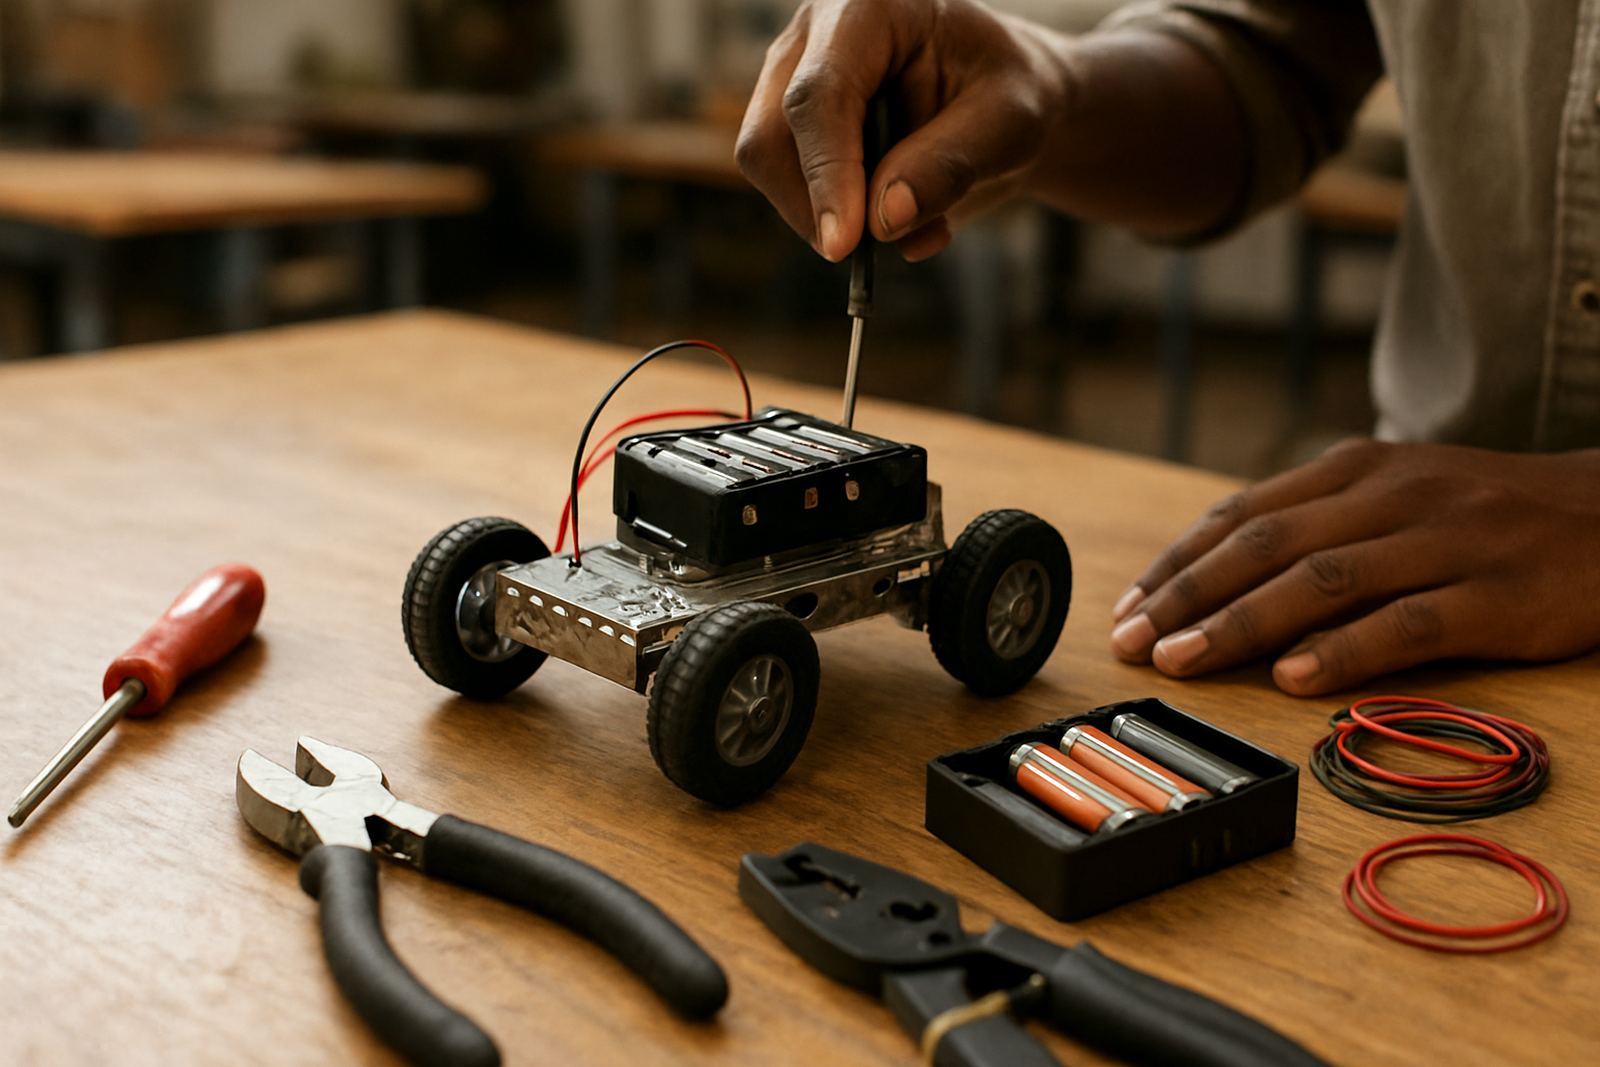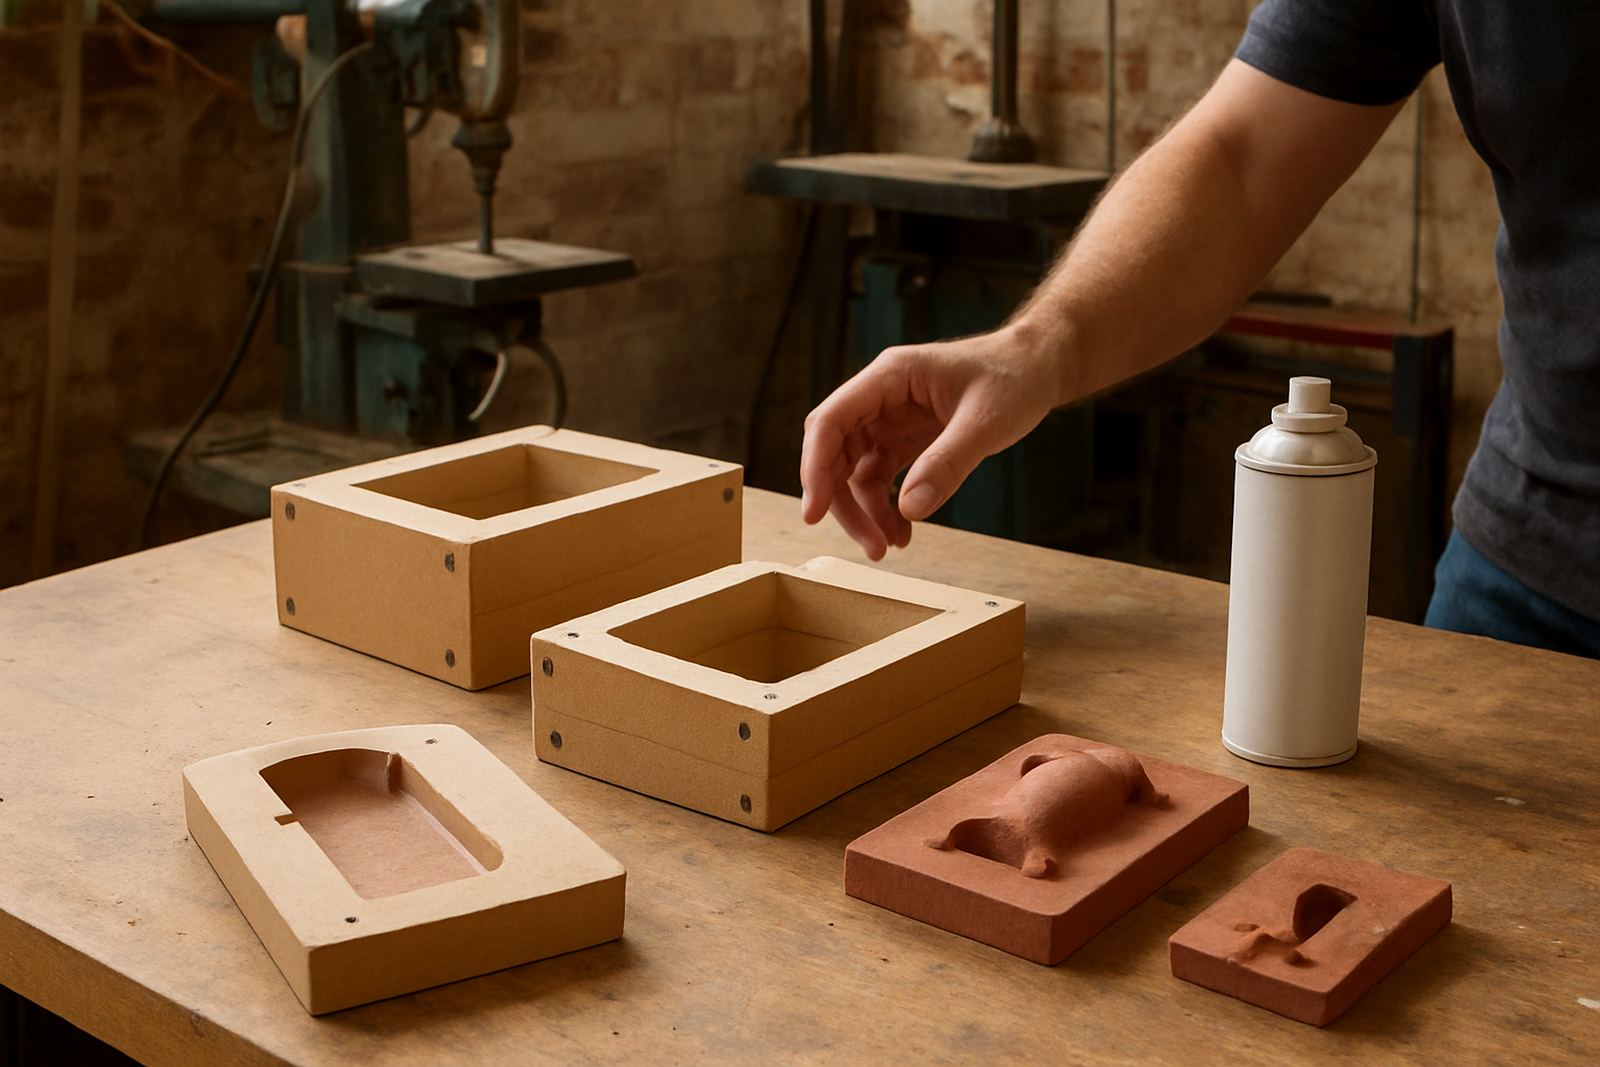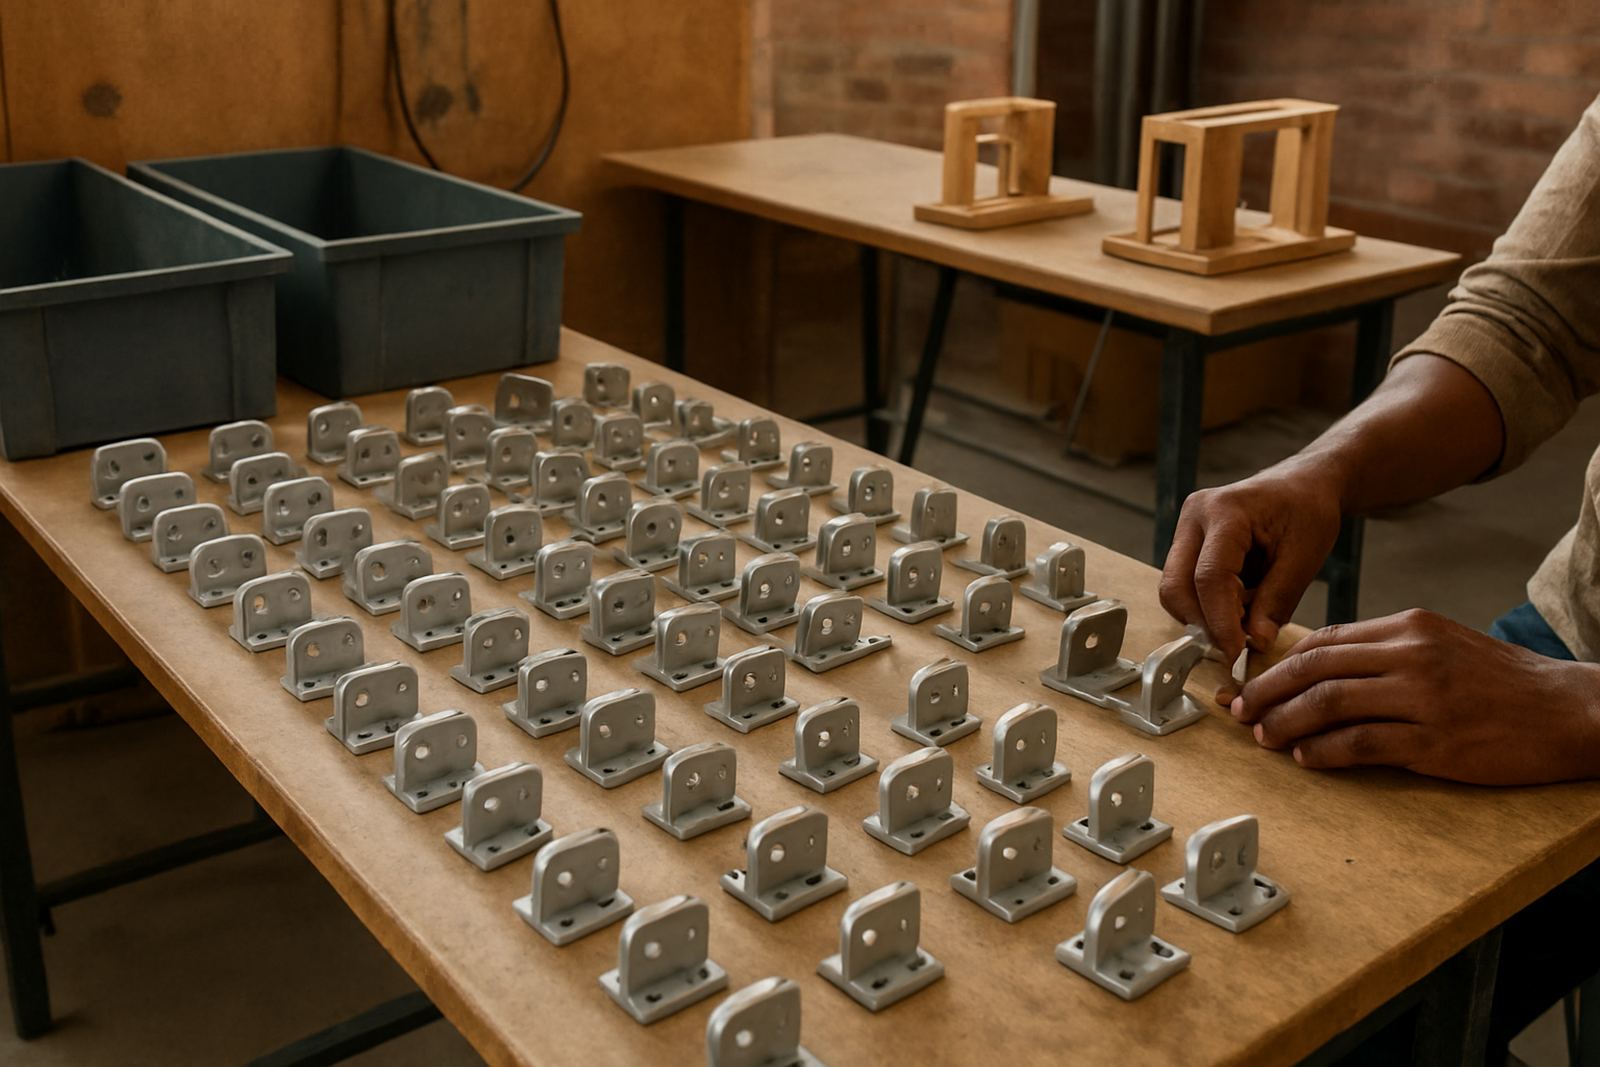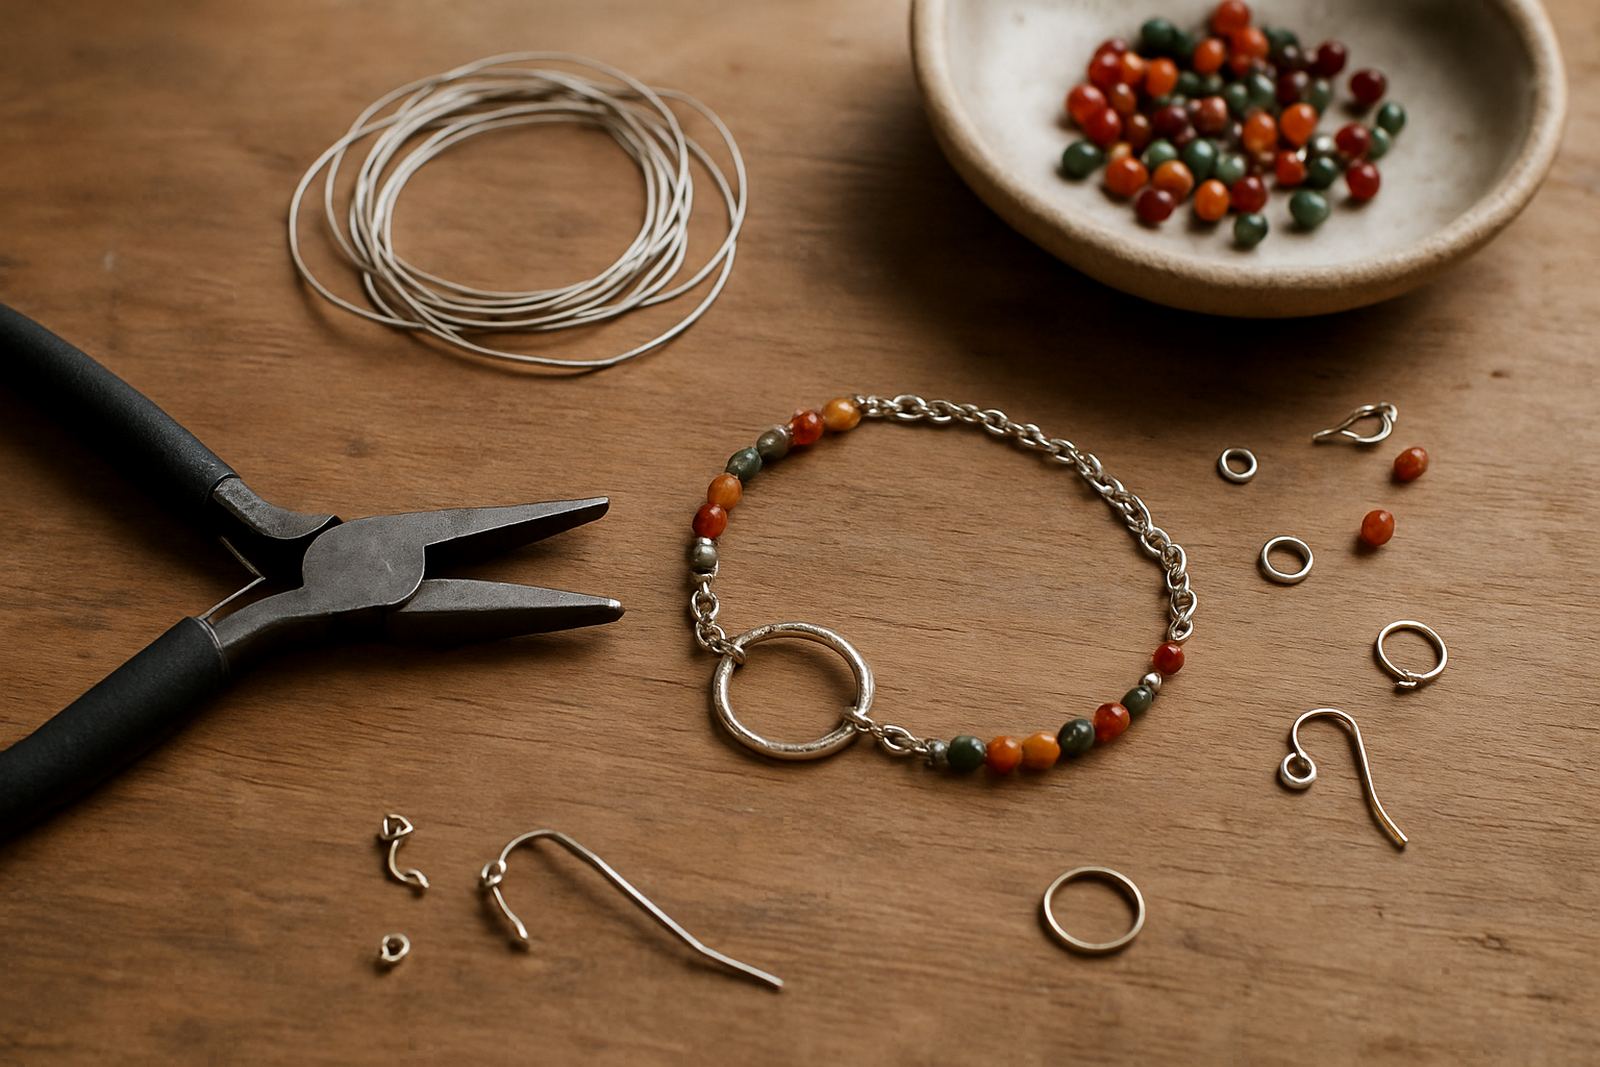
What this jewellery making intro kit gives you
This starter kit is aimed at beginners who want to make neat, repeatable pieces without setting up a full workshop on day one. It brings together basic hand tools, a selected set of findings and small-scale project items so learners can practise measuring, cutting, filing, shaping and finishing with confidence. It is suitable for individual makers, school labs, youth programmes and shared creative spaces that want a clean starting point with controlled costs.
The focus is on low-risk work with metal sheet, wire and simple decorative components. That means less waste, fewer setup hurdles and easier supervision for facilitators. You can use it for first projects like textured pendants, wire rings, charm earrings and link bracelets, then grow into more advanced forming and soldering later if your venue allows it.
Starter sizes and options for different group numbers
We offer the intro kit in practical pack sizes so you can match the order to your class size or maker group. A single-user pack suits one learner at home or in a small studio, while a 5-person or 10-person training set is better for workshops in Braamfontein, Soweto or Pretoria East where tools need to move between stations.
Common option formats include:
- Solo kit for one maker with a compact tool roll and small consumable pack
- Pair kit for two learners sharing a bench and completing the same starter project
- Trainer pack for 5 to 10 learners with shared reference items and labelled findings
- School pack with extra safety signage and storage tubs for controlled issue
Most buyers choose a mixed kit that includes enough wire, sheet offcuts and findings to complete several test pieces. If your space has limited storage, ask for a reduced consumables version and top up as the group progresses. That works well in coastal venues too, where humidity can affect small metal parts if they are left open on a shelf.
Where it suits best in South African spaces
This kit suits makerspaces, school technology rooms, private studios, community hubs and startup training rooms that need tidy, easy to manage jewellery work. In Johannesburg and Sandton, it works well in compact rooms where benches must be shared. In Durban and Gqeberha, it also helps when you want materials that store neatly and can be moved away after use because of moisture and coastal air.
It is also a solid fit for:
- After-school art and design clubs
- Adult short courses and holiday workshops
- Small retail makers who want a training starter pack for staff
- Community programmes that need a controlled entry point for learners
- School lab refresh projects where jewellery making sits alongside other maker activities
If your venue uses municipal approval rules for learner tools, fire controls or shared storage, this intro level is easier to manage than a full fabrication setup. It keeps the work focused on hand processes and small items, which makes supervision simpler.
Bench setup, power and gas needs
The jewellery making intro kit is mainly hand-tool based, so it does not rely on heavy power draw. In most cases you only need a stable work surface, task lighting and secure storage. If your training room experiences load-shedding, that will not stop the core activities because filing, measuring, forming and assembly can continue without mains power.
For optional add-ons such as basic buffing or small powered finishing tools, plan for a standard South African plug point and a safe extension setup. Keep cables out of the work path and away from water containers or polishing compounds. The kit does not require gas as standard. If you later move into soldering or annealing, that should be planned as a separate work area with the right ventilation, heat protection and supervision.
Minimum setup guide:
- One sturdy bench or table per 2 learners
- Bright white task lighting over each work area
- Small parts trays for findings and cut-offs
- Lockable storage for sharp tools and silver-coloured metal stock
- Ventilated room with a clean, dry surface
Care, servicing and keeping small tools accurate
Jewellery tools last well when they are cleaned after use and stored dry. Wipe files, cutters and pliers before putting them away. Keep abrasive dust off hinges and jaws, and do not leave metal offcuts mixed in with finished findings. In humid areas, especially near the coast, sealed storage is worth the extra effort because tarnish and rust can show up quickly on neglected tools.
For servicing, check the jaws on pliers for alignment, inspect cutters for nicks and replace worn consumables before they affect class output. If your kit is used in a shared room, schedule a quick maintenance check after each training cycle. That keeps the set ready for the next group and avoids delays when a learner needs a clean cut or straight bend. A few minutes of care saves time later, no doubt about it.
Good storage habits:
- Use labelled tubs or foam inserts for each tool type
- Store findings in sealed packets or compartment boxes
- Keep polishing cloths and small abrasives dry
- Separate beginner stock from finished pieces
What to check before you place an order
Before ordering, think about who will use the kit, what kind of pieces they want to make and how much supervision the group will have. A beginner class focused on simple decorative items needs different quantities from a business training room that plans to repeat the same exercise each week. It helps to know whether you want more wire work, more sheet work or a balanced mix of both.
Check these points first:
- Number of learners and expected bench space
- Whether you need ring sizing tools, piercing tools or basic forming tools
- Type of findings required, such as hooks, jump rings, posts and clasps
- Storage space available for sharp items and loose parts
- Whether the venue needs signage, onboarding help or facilitator support
- Any school or venue safety rule that affects blades, heat or shared equipment
If you are buying for a maker programme in Midrand, Braamfontein or Pretoria East, it is worth asking for a simple contents list that matches your teaching plan. That makes issuing stock easier and helps learners keep track of what they have used.
Key facts
| Product type | Beginner jewellery making starter kit |
|---|---|
| Core contents | Hand tools, findings, wire, sheet offcuts and small decorative project items |
| Typical group sizes | 1, 2, 5 or 10 learners |
| Power needs | None for core use; optional light powered finishing tools need standard mains power |
| Gas needs | Not required as standard |
| Suitable spaces | Home benches, makerspaces, schools, shared training rooms and community studios |