What the TIG Welding Intro Covers
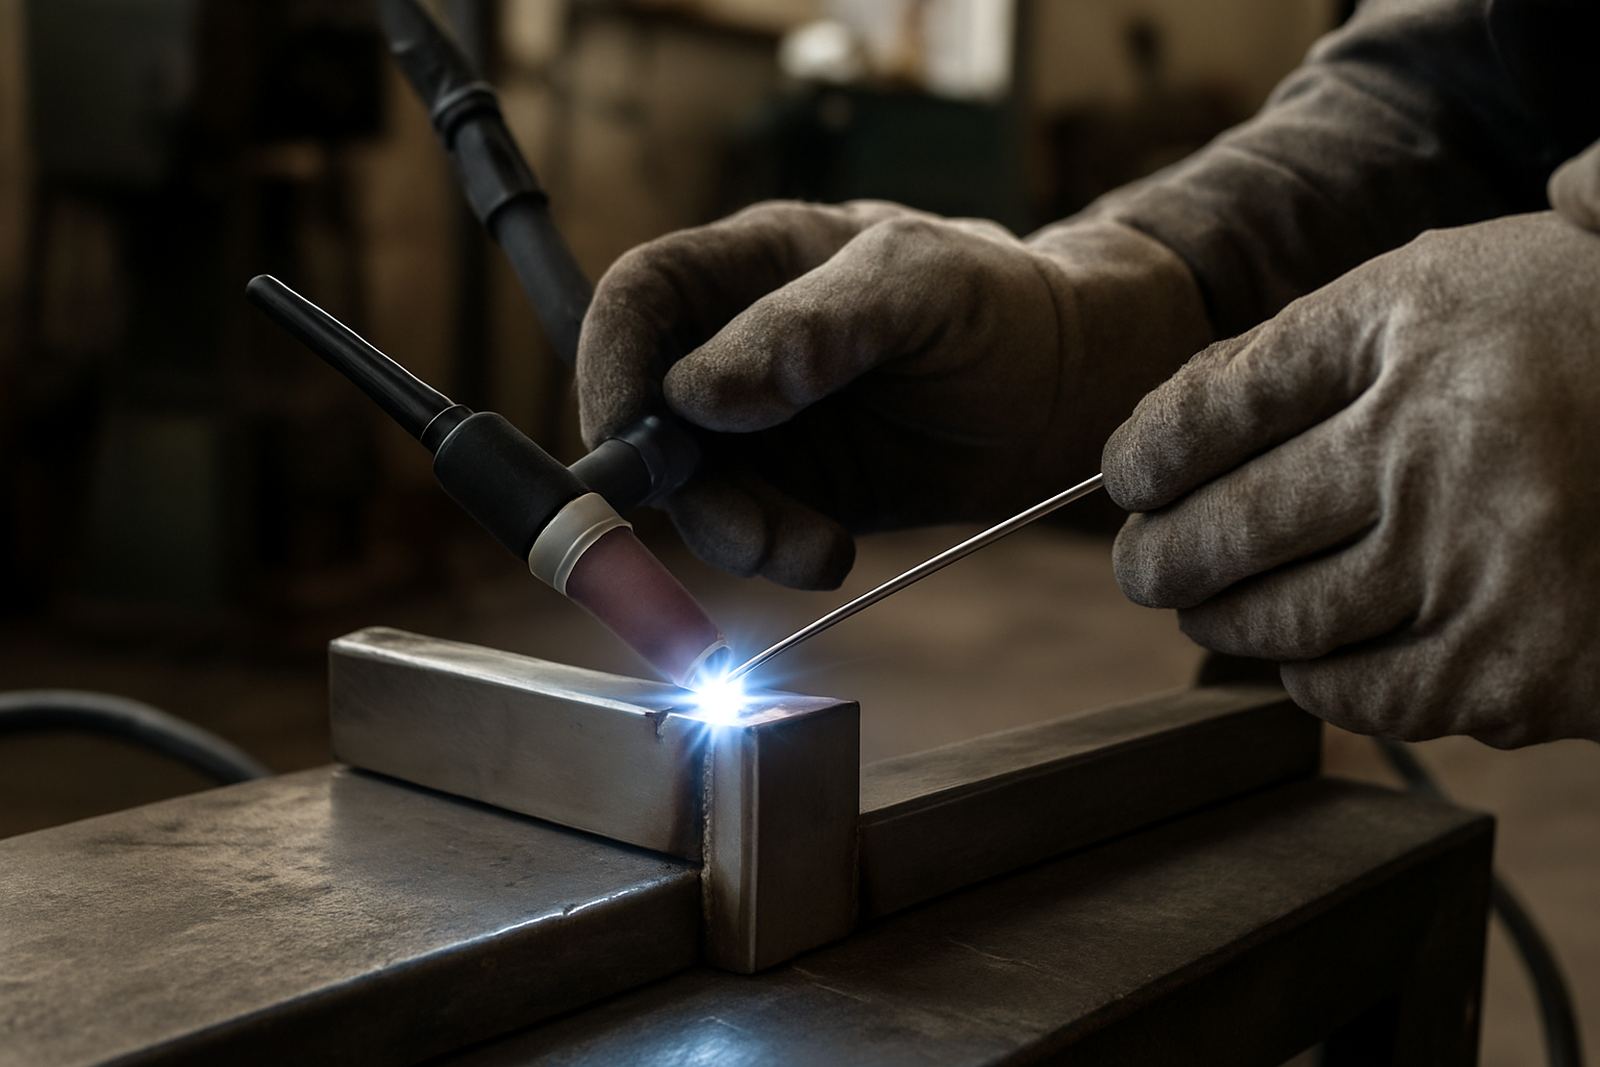
This introductory product is set up for controlled, neat welding on thinner material where appearance and accuracy matter. It is a good fit for learners who are moving past basic cutting and drilling and need a better feel for heat control, puddle movement and clean finishing on small fabrication jobs.
The session usually starts with machine setup, torch handling, cup and tungsten choice, then moves into arc striking, holding a steady angle and adding filler without overheating the joint. For Johannesburg workshops, coastal sites in Durban, or school labs in Gqeberha, the same basic process applies, but ventilation, power stability and gas handling must be checked before work begins.
- Best for light fabrication and repair work
- Suitable for mild steel, stainless steel and aluminium practice
- Focuses on torch angle, arc length and filler timing
- Helps learners produce cleaner welds with less grinding
Sizes, Configurations and Learning Options
The intro can be matched to the level of the learner and the type of work being done. For a school or community makerspace, a compact training set is often enough for small classes. A larger setup suits a team that wants repeatable practice stations with proper spacing, torch racks and individual gas control. The aim is to keep the learning practical and safe, not to crowd the room.
Common options include entry-level practice kits for 2 to 4 learners, small group setups for 6 to 8 learners, and workshop packs for facilitator-led training sessions. If the space is in Braamfontein or Soweto where room is tight, a mobile arrangement with a welding screen and dedicated prep bench works well. In Midrand or Pretoria East, a fixed layout with more clearance and storage is often easier to manage.
- Individual starter kit for personal practice
- Two-person training set for paired learning
- Group kit for maker labs and school workshops
- Venue-ready setup with screens, clamps and consumables
Where It Suits Best in a Local Workshop
This product suits light metal work where a clean finish matters more than speed. It is commonly used for brackets, frames, trolleys, small housings, jigs, rail repairs and custom parts that need neat weld beads with limited spatter. It also works well for teaching material prep, fit-up and consistency, which are often the difference between a tidy result and a messy one.
In a makerspace or training room, TIG welding pairs well with fabrication lessons that include marking out, cutting and sanding. In school labs, it is useful for controlled demonstrations and supervised practice. In Durban and Cape Town, where coastal humidity can affect consumables and stored material, dry storage matters more than people expect. Leave rods and tungsten in sealed containers and keep steel off the floor if the room is damp.
- Light fabrication jobs
- Repair work on thin sections
- School and TVET practical training
- Maker demos and small batch builds
Power, Gas and Installation Checks Before You Start
Before ordering or using the intro, check your power supply, gas supply and workspace layout. Most training setups need a stable single-phase supply, enough room for a gas cylinder, and a bench height that lets the learner keep a steady hand. In South African workshops, load-shedding backup planning is worth sorting out early, especially if the session is scheduled around class times or evening training slots.
Good airflow is essential. Do not place the workstation in a closed storeroom or against a wall where fumes and heat build up. Use proper screens to separate other users from the arc, and keep a dry extinguisher nearby. If the venue is in a municipal building, check local safety requirements for fire access, cylinder storage and learner supervision before the first session.
- Stable single-phase power supply preferred
- Gas cylinder, regulator and hose must be correctly matched
- Work area needs ventilation and clear access
- Bench space should allow torch movement without clutter
Care, Service Intervals and Consumable Handling
To keep TIG practice consistent, the torch, cable and gas path need regular checks. Inspect the cup, collet and tungsten before each session, and replace damaged items before they affect the arc. If the torch starts running hot or the arc becomes unstable, look for loose fittings, a worn tungsten tip, or poor earth contact first. Simple checks save time and reduce frustration.
Store filler rods straight and dry. Keep the machine covered when not in use, especially in dusty workshops or near grinding stations. For teams in coastal towns, wipe down the torch and machine after use to limit corrosion. A monthly maintenance check is usually enough for a teaching space, while busy commercial rooms may need weekly inspections. Reuben and Johan on the operations side would treat gas leaks, cable damage and worn consumables as stop-work items, not something to push through.
- Check torch parts before every session
- Keep tungsten clean and correctly ground
- Store filler rods in a dry, labelled container
- Service cables, clamps and gas fittings on a schedule
What to Check When Ordering This Intro
When placing an order, confirm what material you want to practise on, how many learners will use the setup, and whether the venue has the right supply and ventilation. If the training is for new members, ask for a package that includes enough filler, spare tungstens and basic PPE guidance so the group can start without delays. For a school or community space, it is worth adding a simple sign set and a cleaning routine from day one.
Also check whether you need a compact training pack or a broader makerspace setup with storage and facilitator support. Some venues need a starter bundle for one room, while others want multiple stations spread across a larger floorplan. Naledi and Ayanda usually focus on matching the setup to the group size and the space, rather than pushing a one-size-fits-all fix. That keeps the first session calm, not chaotic.
- Material type: mild steel, stainless steel or aluminium
- Number of learners and station count
- Available power supply and gas arrangement
- Need for screens, signage, storage and facilitator support
Key facts
| Process | TIG / GTAW style light fabrication training |
|---|---|
| Typical material thickness | 0.8 mm to 3.0 mm for beginner practice |
| Power requirement | Stable single-phase supply, workshop dependent |
| Gas | Shielding gas with regulator and hose set |
| Suitable materials | Mild steel, stainless steel, aluminium |
| Typical users | Makerspaces, schools, training rooms, small workshops |