What Vinyl Cutter Start Covers
Vinyl Cutter Start is a beginner class for people who want to use a vinyl cutter with confidence, not guesswork. It focuses on the first jobs most makers need in South Africa: stickers for product branding, labels for storage, simple wall signs, safety notices and small batch signage for events or classrooms.
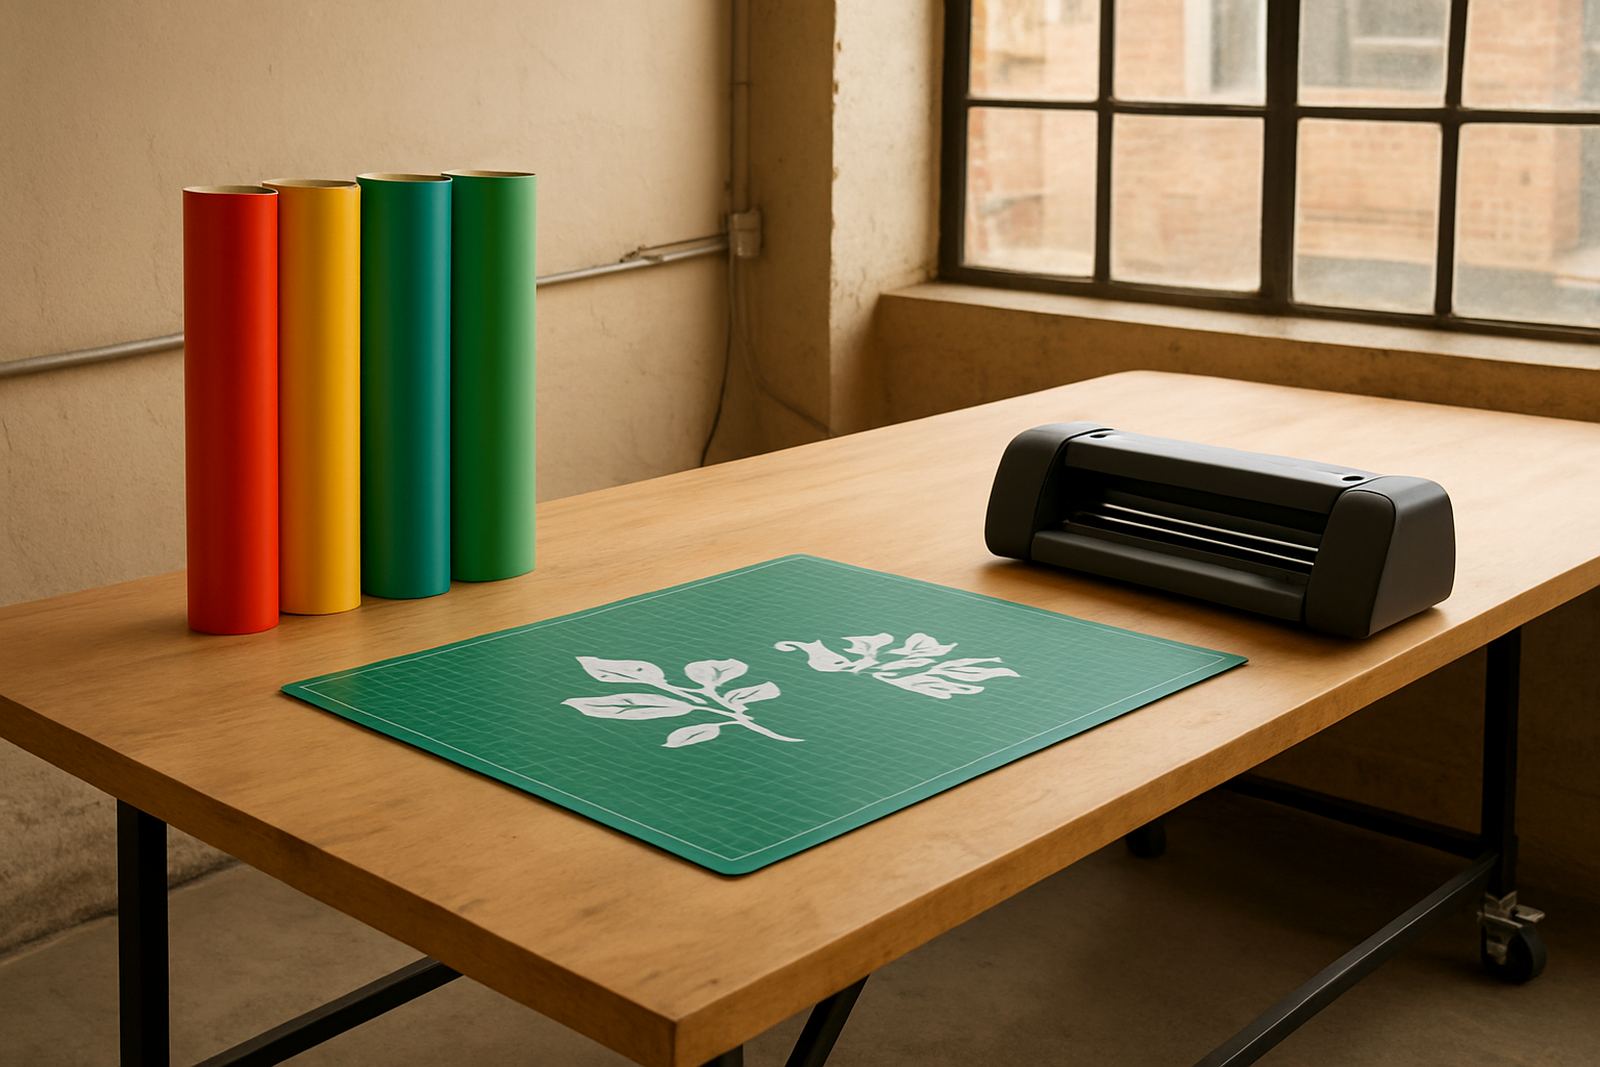
The session covers how the machine reads cutting paths, how to set pressure and speed for different vinyl types, and how to keep the blade in good condition so cuts stay clean. It also walks through the full workflow from a basic layout to cutting, weeding, application tape and final placement. This is useful whether you are setting up a makerspace in Braamfontein, running a school lab in Pretoria East, or preparing a shared sign station in Durban where humidity can affect adhesive handling.
You do not need prior machine experience. The class is suited to staff, facilitators, small business owners and teams who need a repeatable process that saves material and avoids wasted cuts.
Sizes, Table Space and Workspace Fit
Vinyl cutters come in a few practical widths, and the right size depends on the jobs you expect to do. Smaller units suit compact counter space and light admin work, while wider cutters are better for decals, batch runs and longer signage panels. If you are planning a shared workshop area, allow enough space for the machine, media roll, keyboard or laptop area, and a clean surface for weeding.
- Entry-level widths often handle small stickers, labels and A4 sized work well.
- Mid-size cutters suit most community makerspaces and training rooms.
- Larger cutters help with long runs, shop signage and school projects.
- Leave clear space behind the unit for material feed and in front for output handling.
- For shared venues, plan a dust-free table and a storage spot for blades, mats and rolls.
If the machine will be used in a classroom or partner makerspace, make sure the layout supports one operator plus one helper. That reduces mistakes when handling transfer tape, trimming corners and moving finished pieces to the application area.
Where It Suits Best in South African Spaces
This training is a strong fit for makerspaces, school labs, startup studios and community centres that want a low-cost way to produce branded items in-house. It is also practical for venues that host events, since a vinyl cutter can turn out directional signage, name labels and temporary notices quickly without waiting for outside printing.
In Johannesburg and nearby areas like Midrand and Sandton, it works well in shared innovation spaces where users need a simple, repeatable process. In coastal cities such as Cape Town, Gqeberha and Durban, the class includes basic handling guidance for moisture-sensitive materials and storage, because damp conditions can curl backing paper and lift adhesive edges if stock is left open too long.
For teams in Soweto or Pretoria East, the main advantage is that the process is easy to standardise. Once the blade depth, cut settings and artwork format are set, members can follow the same steps each time. That matters when several people use one machine across different shifts.
Power, Installation and Setup Notes
Vinyl cutters do not need heavy power, but they do need a stable setup. A proper plug point, a level table and enough room for material feed are the basics. If your venue is affected by load-shedding, plan for safe shutdowns and make sure the machine is connected through suitable surge protection. Sudden power loss during a cut can waste material, so it helps to schedule longer jobs during more stable supply windows or use backup power where available.
- Use a level, wobble-free surface to stop tracking errors.
- Keep the feed path clear so rolls do not drag or skew.
- Allow room for media to move in a straight line.
- Store blades, mats and tools away from dust and moisture.
- Use labelled power points if the machine shares a room with other equipment.
No gas connection is needed for this product. Basic installation is about placement, power and tidy cable management. If the unit is part of a larger maker station, include a nearby bin for vinyl offcuts and a clean zone for final trimming.
Blade Care, Consumables and Servicing
Good blade care makes the biggest difference to cut quality. A blunt or dirty blade can tear vinyl, leave incomplete corners and waste material. In training, we show how to check blade wear, set the correct exposure and clean the holder so the cutting edge moves freely.
Consumables matter too. Different vinyl stocks behave differently, especially cheaper films that may crack or stretch during weeding. Keep a simple log of what works best for stickers, wall labels and temporary event graphics. If you are buying for a training venue or maker group, it is worth ordering extra blades, spare blades caps, transfer tape and a few test rolls at the same time.
- Replace blades when cuts become rough or need repeated passes.
- Clean adhesive residue from rollers and holders regularly.
- Store rolls flat or upright in dry conditions.
- Check pinch rollers before every use to avoid tracking problems.
- Keep a small test strip ready for setting adjustments before a full run.
A little servicing done often is better than waiting for a fault to grow. That keeps the machine ready for classes, school work and community jobs without unnecessary downtime.
What to Check Before You Order
When ordering a vinyl cutter for a space or training programme, the first question is what you want to make. Small sticker batches need different settings from long signage runs, so match the cutter width and software workflow to the real job list. If your team works with beginners, ask for a model that is straightforward to set up and easy to explain in a one hour class.
Check the following before confirming the order: maximum cutting width, compatible media types, blade replacement method, available stand or table fit, and whether the unit suits your expected daily workload. If the machine will support a school lab refresh or member onboarding programme, it should be simple enough for multiple users and durable enough for regular use.
Also confirm who will manage maintenance checks, storage, and consumables planning. A machine lasts longer when one person tracks blade changes, another monitors stock, and the space stays organised. That is especially useful in busy shared venues where a cutter may be used by different teams across the week.
How We Help Your Team Get Started
SA Makers supports workshops, training venues and partner makerspaces with practical setup guidance for vinyl cutter use. We can help plan a tool zone, decide on storage, support facilitator handover and make sure the space is ready for routine use. If you are setting up a new area in Braamfontein or extending a shared space elsewhere nationwide, the aim is the same: a clean workflow that members can follow without confusion.
This class is often paired with starter kits, safety signage setup and maker audit work, especially where a venue wants to launch with clear systems from day one. The result is a cutter that does useful work, not equipment that sits unused because nobody is sure how to run it properly.
Use the enquiry form on the contact page to ask about dates, venue fit and what your team needs before the first session. We can also help assess whether a compact cutter or a wider format unit is the better fit for your space.
Key facts
| Product type | Beginner training class for vinyl cutter use |
|---|---|
| Focus areas | Cut settings, blade care, weeding, transfer tape and sticker workflows |
| Suitable space | Makerspaces, school labs, small workshops and training venues |
| Typical cutter widths | Small desktop units up to wider workshop models |
| Power needs | Standard plug point with surge protection recommended |
| Care requirements | Blade checks, roller cleaning, dry storage and regular test cuts |