What makerspace managers need on day one
If you are setting up a shared workshop in Braamfontein, Sandton, Midrand or further afield, the first challenge is not buying every machine at once. It is deciding what work the space must support, how many people will use it at the same time, and how to keep traffic moving without clutter or risk. A good makerspace gives makers enough freedom to build, but still keeps cutting, sanding, assembly, storage and cleaning in the right places.
For most managers, the starting point is a practical mix of benches, tool storage, labelled consumables, lockable cabinets, PPE points and a clean intake area for new members. If you also run classes or community programmes, you need a separate teaching zone with sight lines, power access, and space for a facilitator to demonstrate without blocking the whole room.
We usually look at the venue first, then the workflow. Ceiling height, floor loading, ventilation, daylight, access control and nearby ablutions all affect the final setup. In older buildings around Johannesburg city centre, power supply and load-shedding backup planning matter just as much as bench count. In coastal venues like Durban or Gqeberha, moisture control and rust resistance become part of the layout decision.
Tool zones that keep the room usable
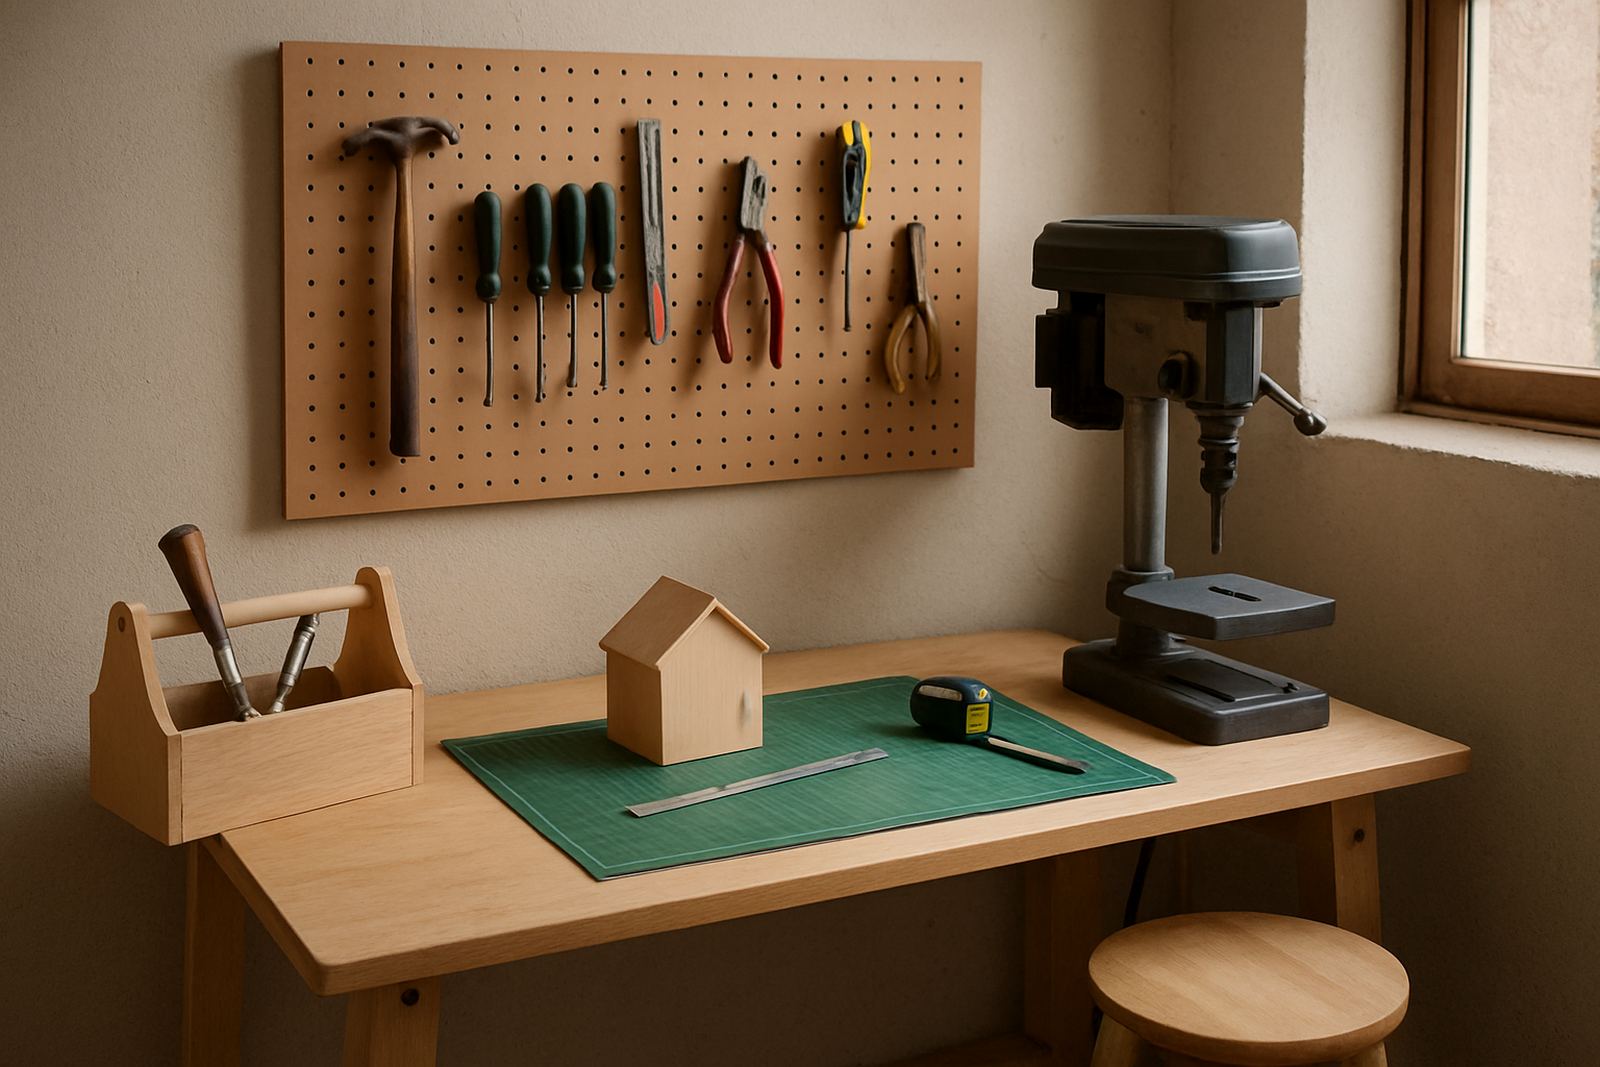
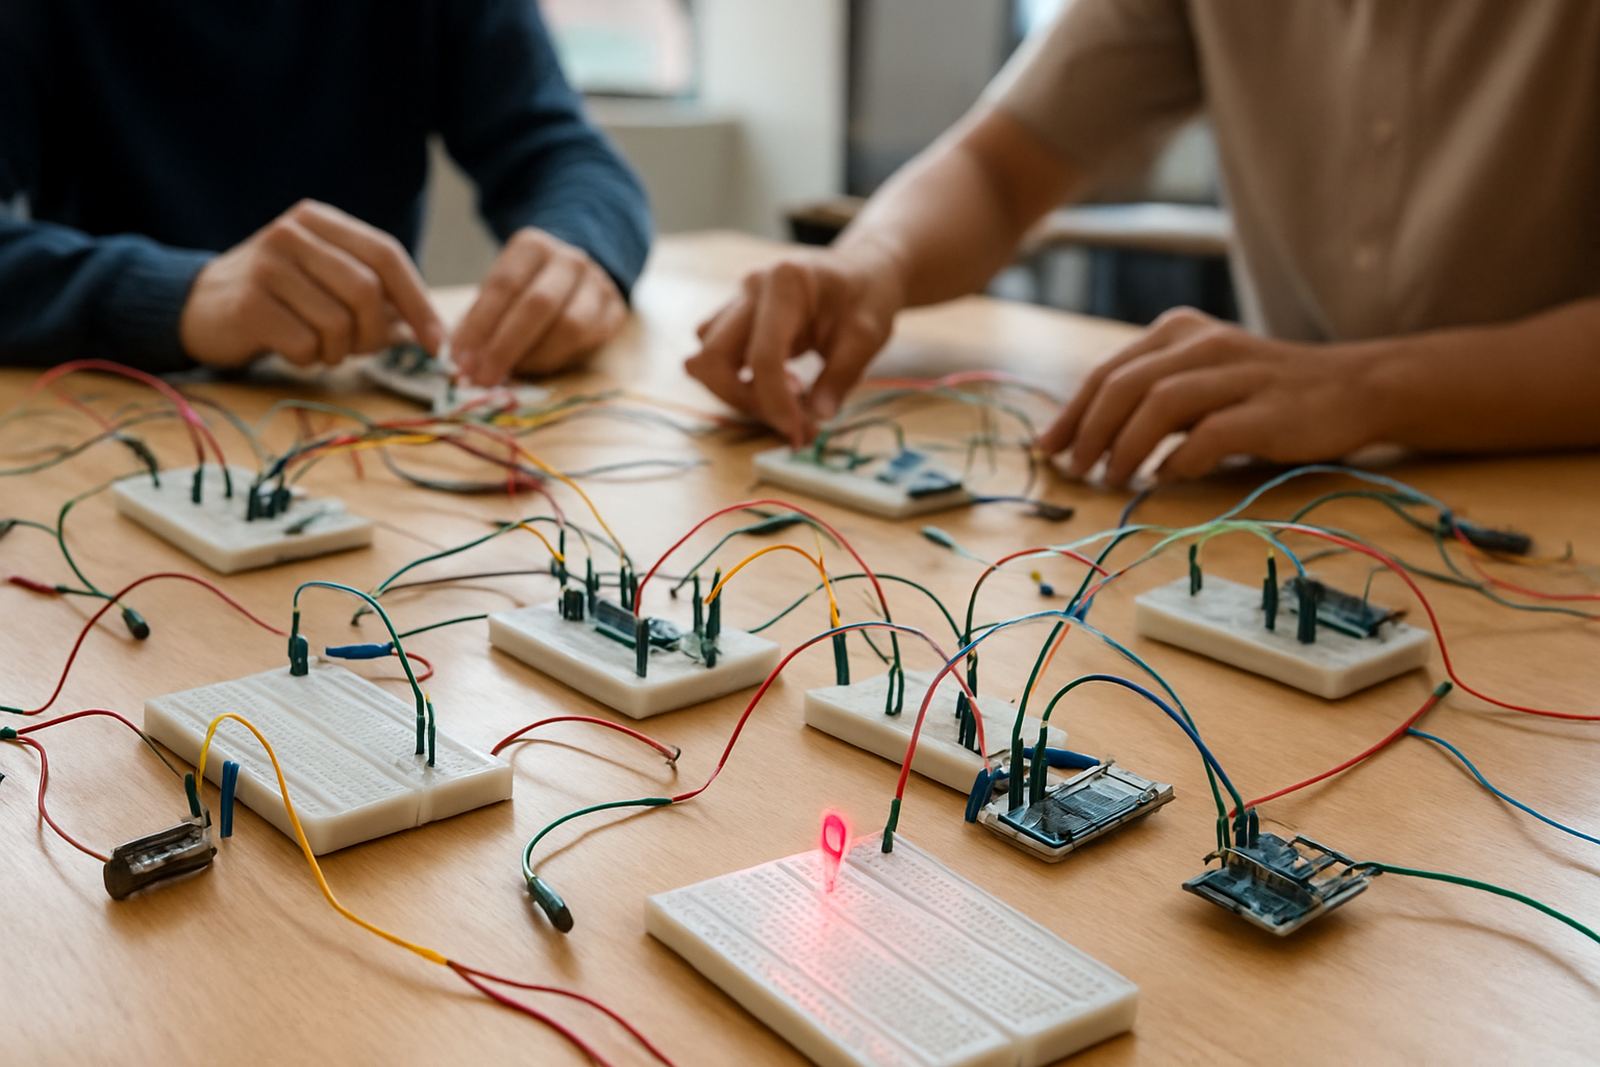
Tool zone layouts should follow the work, not the other way around. Cutting tools should sit near material intake and offcut bins. Assembly benches should be close to clamp storage and hand tools. Finishing areas should be separated from dusty work and fitted with extraction where needed. Electronics benches need clean surfaces, anti-static controls and enough light to avoid mistakes on small parts.
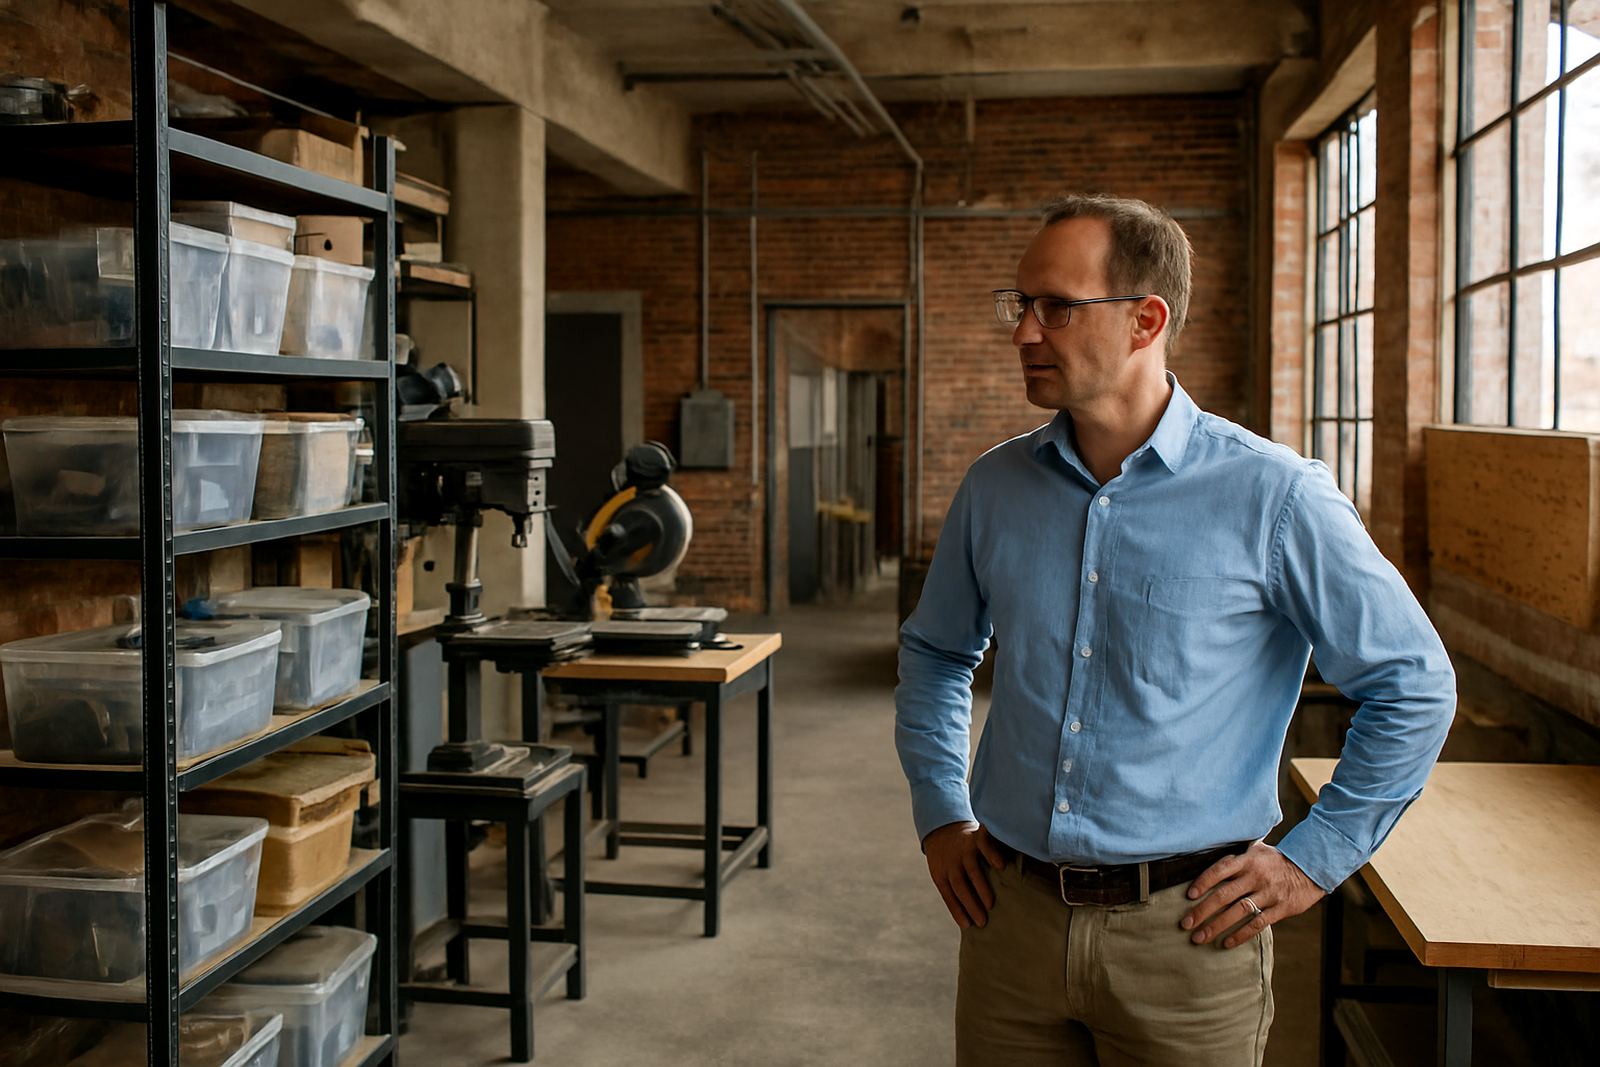
Common equipment sets for a medium makerspace often include workbenches, vice stations, hand tool boards, cordless drill sets, bench-mounted saws, sanding stations, soldering kits, storage racks, mobile trolleys and a lockable consumables cabinet. Depending on the site, you may also need compressor points, fire extinguishers, first aid kits, dust collection, charging shelves and a dedicated area for laptops or design work.
We also advise managers to think in terms of movement. A member should be able to enter, sign in, collect PPE, grab materials, work, clean up and return tools without crossing high-risk zones too often. That sounds simple, but many spaces become crowded when machines are placed by brand preference or where they fit rather than by how people actually move through the room.
- Keep at least one clear aisle for materials and emergency access
- Place noisy equipment away from meeting points and teaching tables
- Store the most used tools between waist and shoulder height
- Use colour-coded labels for tools, returns and consumables
Space planning for shared use and classes
Shared spaces need zoning that can survive a busy week. A makerspace may host school groups in the morning, startup teams in the afternoon and member projects after work. That means storage, cleaning and supervision have to be planned into the room, not added later. If your layout does not allow quick reset between sessions, the whole place starts losing hours.
Good planning normally includes a reception or sign-in point, a visible rules board, a secure storage area for member projects, a facilitator station, and a small meeting corner for onboarding or project reviews. In Johannesburg and Pretoria East, we often plan for flexible event maker stations too, because a room may need to switch from training to demo mode in under an hour.
We also recommend a maker audit before buying. That means checking what equipment is already on site, what is broken, what can be maintained, and what should be removed. Many spaces overspend on duplicate hand tools while underfunding storage, safety signage and maintenance checks. A better setup is one that members can actually keep tidy and staff can keep working with on a normal weekday.
Safety, onboarding and support systems
Shared workshops live or die on process. A proper onboarding flow helps members understand where tools are kept, which equipment needs supervision, what PPE is required and how to report faults. Without that, even a well equipped space can become messy, unsafe and expensive to run. Safety signage should be visible, plain and placed at eye level near entrances, machines and high-risk areas.
In South Africa, practical safety planning also means preparing for load-shedding and municipal compliance. Backup lighting, safe charging points, clear emergency exits and reliable storage for batteries or fuel powered tools all matter. In buildings with mixed tenants, check noise rules and waste handling requirements before you install heavier machinery. If your space serves schools or youth programmes, the rules around supervision and tool access need to be stricter still.
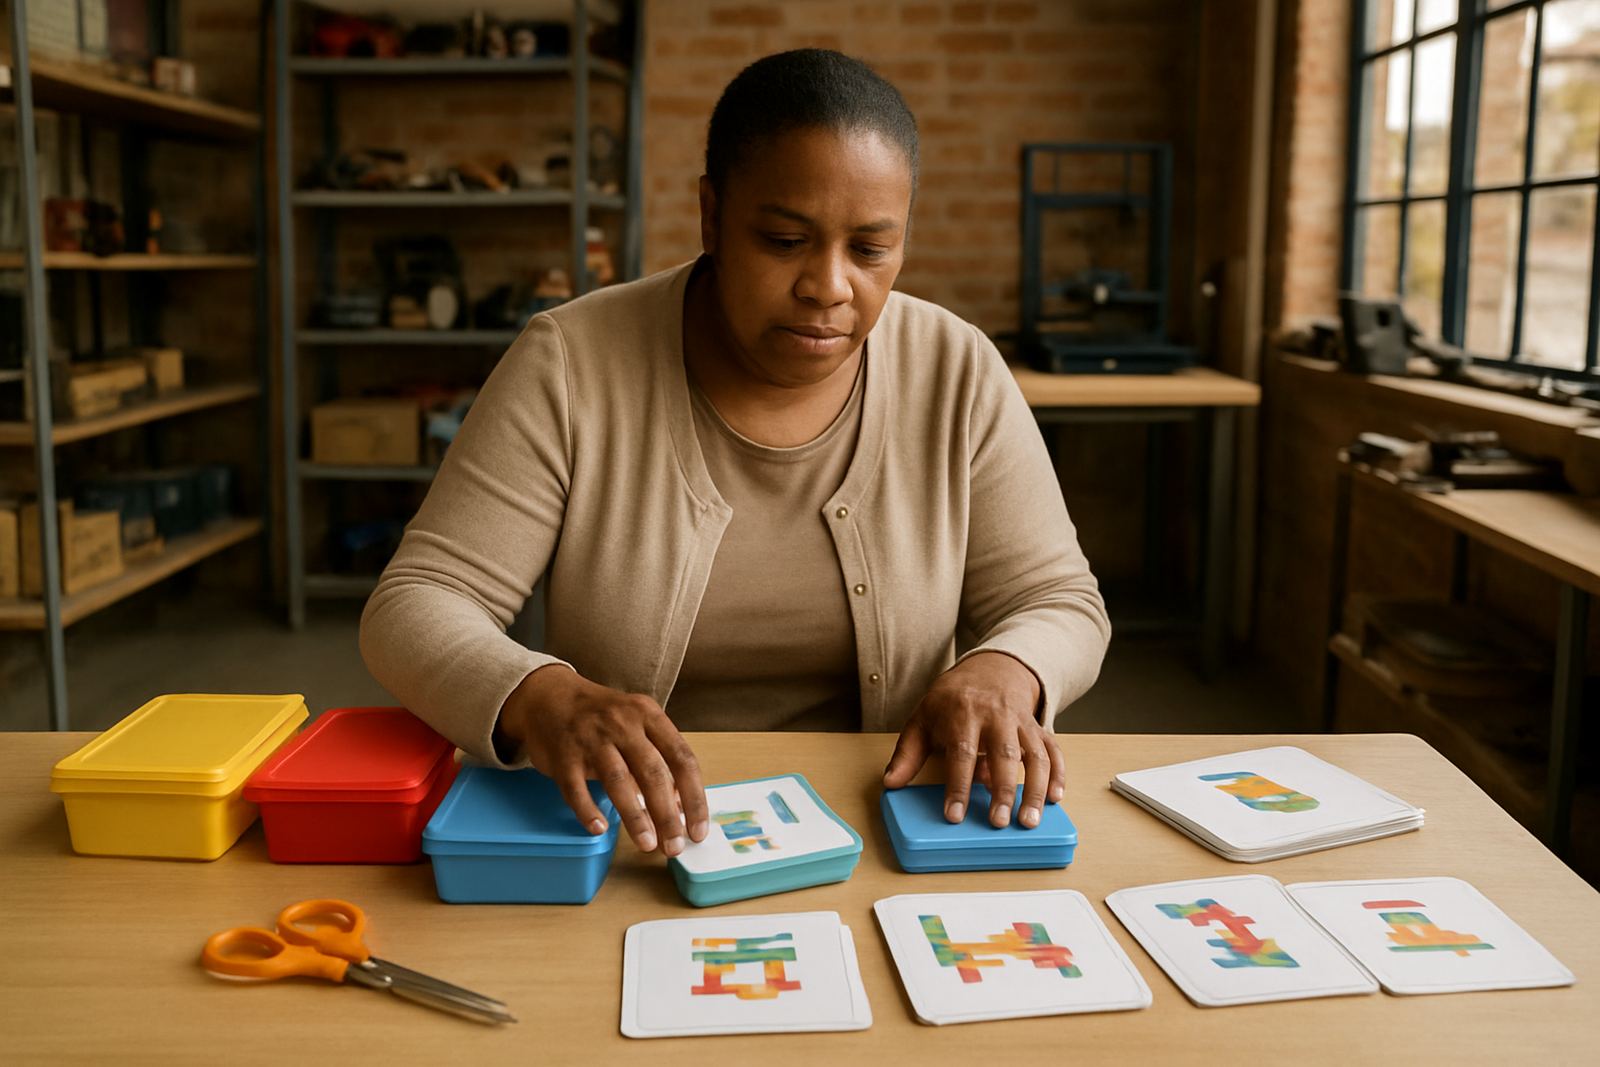
Facilitator support is another weak point in many new spaces. Even skilled makers can struggle if they are left to manage classes, repairs and member questions at the same time. Training the people who run the floor is often the best money spent in the first year.
- Member onboarding packs with room rules and tool procedures
- Clear induction for beginners, including PPE and cleanup steps
- Regular maintenance checks on key equipment and leads
- Visible incident reporting and fault logging process
Starter budgets for real spaces
Budgets depend on size, the type of making you support, and whether you are fitting out a shell space or refreshing an existing venue. As a rough guide, a small starter makerspace with basic benches, storage, hand tools, signage and onboarding material can begin around R85 000 to R180 000. A more capable mixed-use workshop with machine zones, storage systems, training setup and better safety control often sits between R250 000 and R600 000. Larger community or school-linked spaces can go beyond that once extraction, power upgrades and specialist equipment are added.
Do not forget operating costs. Consumables planning matters every month, not just at launch. Sandpaper, drill bits, glue, tape, fasteners, solder, marker pens, blades, wipes and PPE all need a replenishment rhythm. If you ignore them, the space feels understocked after a few busy weeks and members start bringing in their own materials, which affects safety and consistency.
It also helps to budget for replacements and repairs from the start. Many managers focus on launch day and then get caught by worn leads, missing clamps, damaged stools or broken storage. A maintenance line in the budget is not a luxury, it is what keeps the room open.
Where SA Makers supports managers
SA Makers works with people setting up, staffing and running shared creative spaces across Johannesburg, Soweto, Pretoria East, Midrand, Durban, Cape Town and Gqeberha, with partner makerspaces and training venues nationwide. Based in Braamfontein, the team helps with space planning, tool zone layouts, startup space kits, safety signage setup, member onboarding, facilitator support, maintenance checks, storage solutions, event maker stations, school lab refresh projects and maker audits.
For managers, that means practical support from the first room sketch through to the day members start using the benches. The team includes people who handle training, workshop operations, community partnerships, starter kit buying, technical support and makerspace network management. That mix matters when the space needs to be both useful and manageable, not just well supplied.
If you are opening a new site or fixing a room that never quite works, start with what the space must do every week. The right layout, the right equipment and the right process will save time, reduce mess and make the whole place easier to run.