What Student Prototypers Usually Need On Site
Most student prototyping work starts with a tight brief, a deadline and limited floor space. In Braamfontein, Pretoria East, Soweto or on a campus near Midrand, the common requirement is the same: a place where cutting, assembly, finishing and testing can happen without tripping over each other.
A typical set-up for this use case includes hand tools, measuring gear, cutting stations, small power tools, worktables, storage for personal projects and a safe area for adhesives, batteries and small parts. For many tertiary groups, the aim is not full production. It is a reliable space for mock-ups, working models and presentation-grade samples that can survive transport to critique day.
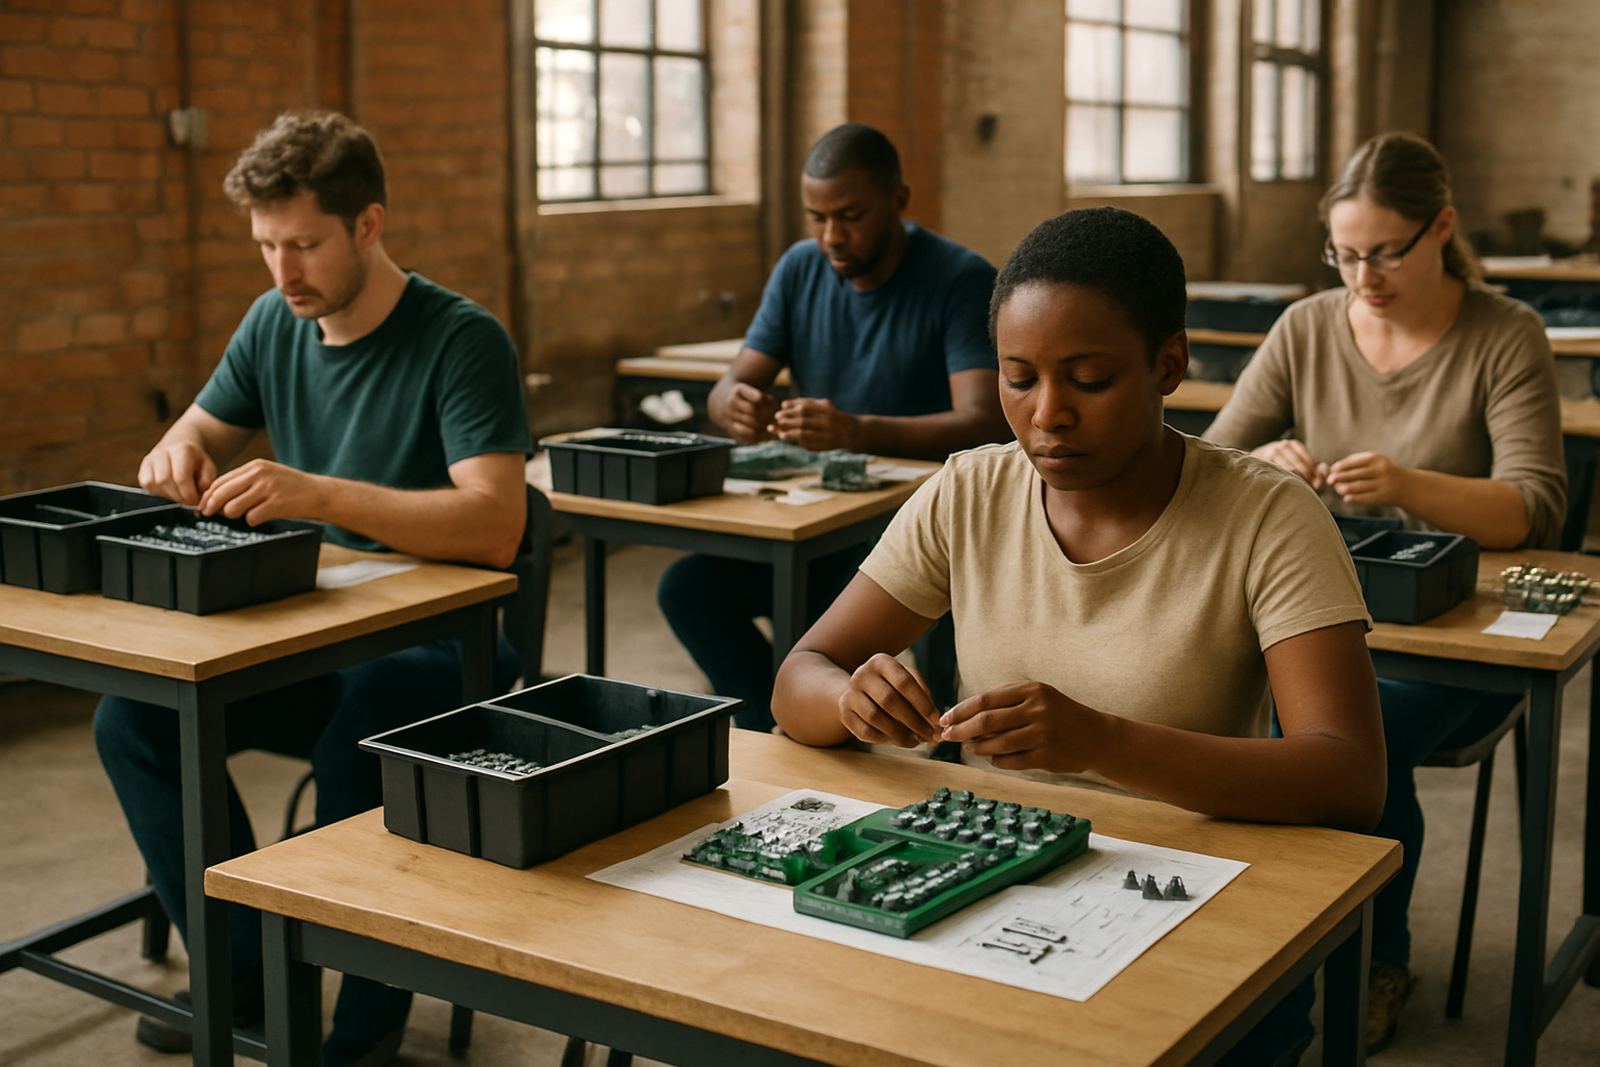
We also look at the mix of users. One team may be building architecture models, while another is working on electronics enclosures or product concepts. The layout has to support varied work without making the room feel cramped or unsafe.
Choosing The Right Equipment Mix For Courses And Competitions
The best starter list is practical, not overbuilt. A student prototyping room usually needs enough variety to handle cardboard, foam board, timber offcuts, acrylic, fabric, light metal work and basic electronics. For coastal venues such as Durban or Gqeberha, humidity control matters too because paper stock, timber and some adhesives can move or fail if storage is poor.
- Cutting and shaping tools for foam board, chipboard, timber and light sheet materials
- Measuring tools, clamps, squares and marking gear for accurate models
- Basic power tools for drilling, sanding and light fixing work
- Safe storage for glue, blades, fasteners, batteries and small components
- Clear bins or drawers for team sets so parts do not disappear between sessions
For electronics or sensor-based builds, add test equipment, a soldering area and a separate bench for fragile components. If the room will host mixed classes, colour coding the storage by project type can save time and reduce mix-ups during busy weeks.
Layout Advice For Labs, Studios And Shared Maker Rooms
Good layout starts with movement. Students should be able to collect materials, work, clean up and return tools without crossing through active cutting or finishing zones. In many Johannesburg and Sandton venues, the mistake is trying to fit too many stations into one room. It looks efficient on paper, but becomes slow in practice.
We usually recommend distinct zones for cutting, assembly, finishing, storage and cleaning. Keep noise-heavy tools away from quiet detail work and presentations. If a room doubles as a teaching venue, leave enough open floor area for a group demo or safety briefing. Lighting should be bright and even, with extra task lighting at detail benches and cutting points.
Power access is another big issue. Load-shedding means some venues will need battery-backed lighting, enough charged tools, and a simple sequence for work that can pause and restart safely. Where municipal rules or building management limit extraction, sanding dust and spray work may need to move to a designated area or partner makerspace.
Training, Supervision And Member Onboarding
Student makers are often capable, but they still need clear onboarding. A short induction on tool use, storage rules, fire safety and clean-down habits reduces breakages and keeps projects on schedule. It also helps students who are new to workshops, especially first years who have not used shared equipment before.
For group projects and campus events, facilitator support matters. Someone needs to manage bookings, oversee the first use of each tool and make sure students understand what can and cannot be done in a shared room. That is especially useful when different departments share one venue and the group includes design, engineering and business students at the same time.
- Tool induction and safe operating steps
- Project sign-in and storage labelling
- Consumables issue control
- End-of-session clean-up and checks
- Clear escalation for faulty tools or damaged parts
When this is done well, the room stays usable through exam season and does not turn into a storage dump after the first rush of assignments.
Starter Kits That Fit Tertiary Budgets
Budget is usually the pressure point. Student teams often need a small amount of cash for a lot of different items, and if the kit is badly chosen the money disappears fast. A lean starter kit for simple model building can begin around R1 500 to R4 000 per team. For mixed-material prototypes with more tools and storage, many campuses spend R5 000 to R15 000. Larger shared lab refreshes can sit from R20 000 upwards, depending on tool count and safety needs.
It is better to buy by use case than by list. A presentation model team needs cutting mats, knives, rulers, clamps and adhesives. A product prototype team may need additional electrical consumables, fasteners, heat-shrink, labelling and storage boxes. If the venue in Soweto or Midrand is shared with school outreach, consider durable items that can handle frequent use and rough handling.
Consumables planning is important too. If students must buy blades, tape, glue and fasteners from scratch every month the project slows down. A small stockroom plan can prevent last-minute buying runs and keep team budgets under control.
Common Mistakes In Student Prototyping Spaces
The most common mistake is buying tools before the space is ready. Without proper zoning, storage and safety signage, even good equipment becomes hard to use. Another issue is underestimating how much table space is needed. A model that looks small on screen can take up a surprising amount of room once cutting, drying and assembly begin.
Teams also get caught out by weak storage. If blades, screws, offcuts and half-finished parts all go into one box, projects stall. Poor maintenance is another one. A bench sander, drill or heat tool that is not checked regularly can stop work for an entire afternoon and create safety risks.
Finally, do not ignore the handover from one group to the next. If the venue serves different departments or partners across Cape Town, Durban and Gqeberha, there needs to be a repeatable process for booking, returning tools and logging damage. That keeps the room ready for the next cohort instead of becoming a scramble zone.
How SA Makers Supports Student Teams And Campus Spaces
Our work with student prototypers usually starts with a maker audit or a simple space review. From there, we look at the room size, the number of users, the likely materials and the sort of projects the students build during the term. Some campuses need a full tool zone layout, while others only need a starter kit plan and better storage.
We can help with maintenance checks, safety signage setup, event maker stations and school lab refresh work where tertiary and outreach programmes overlap. We also support maker-space connections nationwide, so student teams can find a suitable venue for a build sprint, a training session or a final presentation prep day. If the current room is too small, too noisy or too far from campus, we can help map a practical alternative in Braamfontein or beyond.
For student work, the goal is simple: get the right tools in the right place, then keep the system easy enough for busy people to use, even in exam week.