A Community Garden Plan With Real Daily Use
The project came from a local community group in Benoni that was running a shared urban gardening initiative near homes, a church hall and a small open yard used for weekend activity. The brief was simple on paper but specific in practice: create planter boxes that could be built with volunteer labour, stand up to sun and rain, and make it easier for older gardeners and school helpers to work without bending low for every task.
The space was open to wind and had uneven ground, so the planters needed to be stable, heavy enough to stay put, and sized so they could be moved by hand if the site layout changed later. The group also wanted a layout that would let different crops be separated, with clear paths between beds for watering, harvesting and cleaning. We worked with that brief from the start and kept the layout practical rather than fancy, because this was a working garden and not a show area.
What We Had To Work Around
Benoni summers can bring strong sun and sudden rain, and the site sat in an exposed part of the property. That meant the material choice had to cope with heat, moisture and occasional standing water. We also had to build for volunteer use, which meant the construction process itself needed to be straightforward enough for mixed skill levels. A few helpers had woodworking experience, others had none, so the build had to be easy to follow and safe to repeat.
There were also local practical limits. The group had limited storage, so parts had to be cut to manageable lengths and delivered in bundles that could be moved through a narrow gate. The site had no reliable power on some days because of load-shedding, so we planned for hand tools and pre-cut components where possible. As one of the organisers said, they needed a setup that would not depend on perfect conditions to get finished, which is exactly how we approached it.
- Uneven ground that needed a level base before assembly
- Limited on-site storage for long timber lengths and fixings
- Volunteer builders with mixed experience levels
- No dependable power every day, so hand-tool friendly work was needed
- Exposure to sun, rain and damp soil
The Planter Build And Materials Supplied
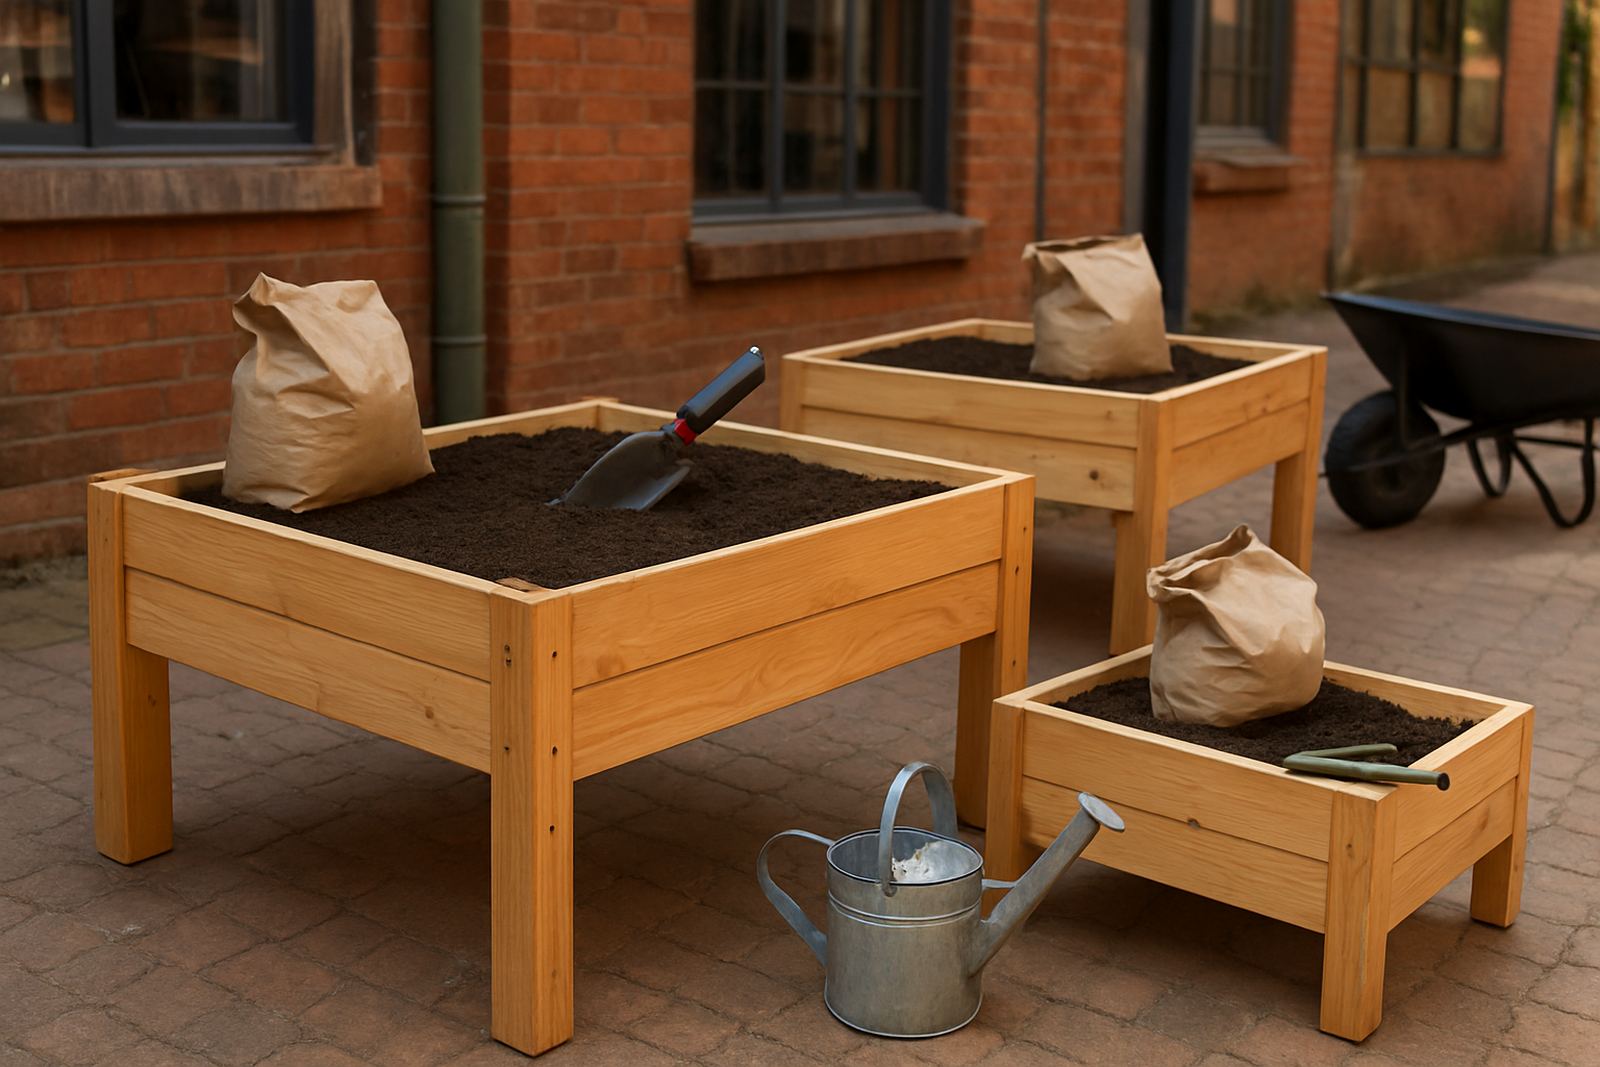
We supplied the build plan, cut list, assembly guidance and the material kit for the planter set. The main planter units were built from treated timber framing with lined internal beds, corrosion resistant fasteners and drainage spacing at the base. Each unit was designed at 1.2 metres by 0.8 metres, with a working height of 750 mm. That height made the beds easier to use for planting and weeding, especially for children and older volunteers.
The timber sections were sealed for added weather resistance, and the internal lining was chosen to slow moisture damage from soil contact. We also included corner bracing to reduce movement when the beds were full. The group asked for a hard-wearing finish rather than a decorative one, so the final look was neat, plain and easy to maintain. We supplied the fixings in labelled packs to make volunteer assembly simpler and less confusing.
- Raised planter size: 1.2 m x 0.8 m x 750 mm high
- Treated timber frame with sealed outer faces
- Internal lining to protect against soil moisture
- Corrosion resistant screws, brackets and corner braces
- Base spacing for drainage and airflow
Training The Volunteers On Site
Because the garden relied on community participation, the build day included a short training session before assembly started. We showed the volunteers how to sort fixings, check for square corners, pre-drill clean pilot holes and handle the frames without splitting the timber. The point was not just to finish the planters once, but to give the group a repeatable method they could use for future additions.
We kept the training practical and brief. People were shown how to read the layout plan, where each frame sat in relation to the paths, and how to lift and place the finished units without damaging the lined base. A few people were assigned to measuring, others to fastening and a smaller group handled the final positioning. That split kept the work moving and gave everyone a clear role. It also helped avoid mistakes that can happen when too many hands crowd one task.
Timeline From Brief To Final Placement
The project ran over three weeks from initial site conversation to final setup. Week 1 covered the site check, measurement and plan confirmation. We marked out the garden area, checked access and finalised the planter count and spacing. Week 2 was for cutting, sealing and preparing the parts off-site, with all fixings grouped and labelled. Week 3 was the build and placement phase, which included volunteer guidance, assembly, alignment and a final walk-through with the group leaders.
The timeline was short enough to keep momentum, but long enough to avoid rushing the prep work. That mattered because the group needed the planters ready for a planting weekend and also wanted time to source soil and seedlings. By handling the prep in advance, we reduced pressure on the volunteer day and made the actual build cleaner and less stressful.
- Week 1: site check and layout planning
- Week 2: cutting, sealing and pack preparation
- Week 3: volunteer build, placement and handover
Results For The Shared Growing Space
Once the planters were in place, the garden immediately had clearer growing zones and better access for watering and maintenance. The raised height made it easier for volunteers to work in cooler early morning slots, which matters in a busy area where people fit gardening around work, school and transport. The garden also looked more organised, which helped the group speak to neighbours and potential donors about what they were doing.
Most importantly, the planters gave the project a stable base to grow from. The group could separate herbs, leafy vegetables and seedlings, and the cleaner layout reduced trampling around the beds. After the first few weeks, the volunteers reported that the planters held their shape well after rain and did not shift under regular use. That is the sort of result that keeps a shared space going, not just looking good for one weekend.
There was also a social result. People who had not gardened before joined in because the site felt more organised and less intimidating. That matters in community work, because a tidy, practical space tends to bring more hands back next time.
What We Would Repeat On The Next One
If we did this project again, we would keep the same basic approach: simple materials, clear labels, short training and a build sequence that volunteers can follow without confusion. We would also keep the planter height and footprint close to the Benoni version because it worked well for mixed-age use and fit the available yard space without overcrowding it.
The other thing we would repeat is the pre-cut, pre-packed method. It reduced waste, saved time and made the build day manageable even with load-shedding and limited storage. For a community garden, that practical planning is just as important as the final timber frame. Good projects are not only about what is built, but about whether people can keep using it next month and next season too.
For groups planning a similar shared garden in Johannesburg, Benoni, Pretoria or anywhere else in Gauteng, the lesson was clear: keep the structure simple, use durable materials and give volunteers a process they can follow with confidence.
Key facts
| Project type | Community planter build for a shared urban garden |
|---|---|
| Town | Benoni, Gauteng |
| Timeline | 3 weeks from site check to handover |
| Planter size | 1.2 m x 0.8 m x 750 mm high |
| Materials | Treated timber, sealed finish, lined internal beds, corrosion resistant fixings |
| Use case | Volunteer-led food growing, school support and neighbourhood gardening |