What the Midrand team needed from the start
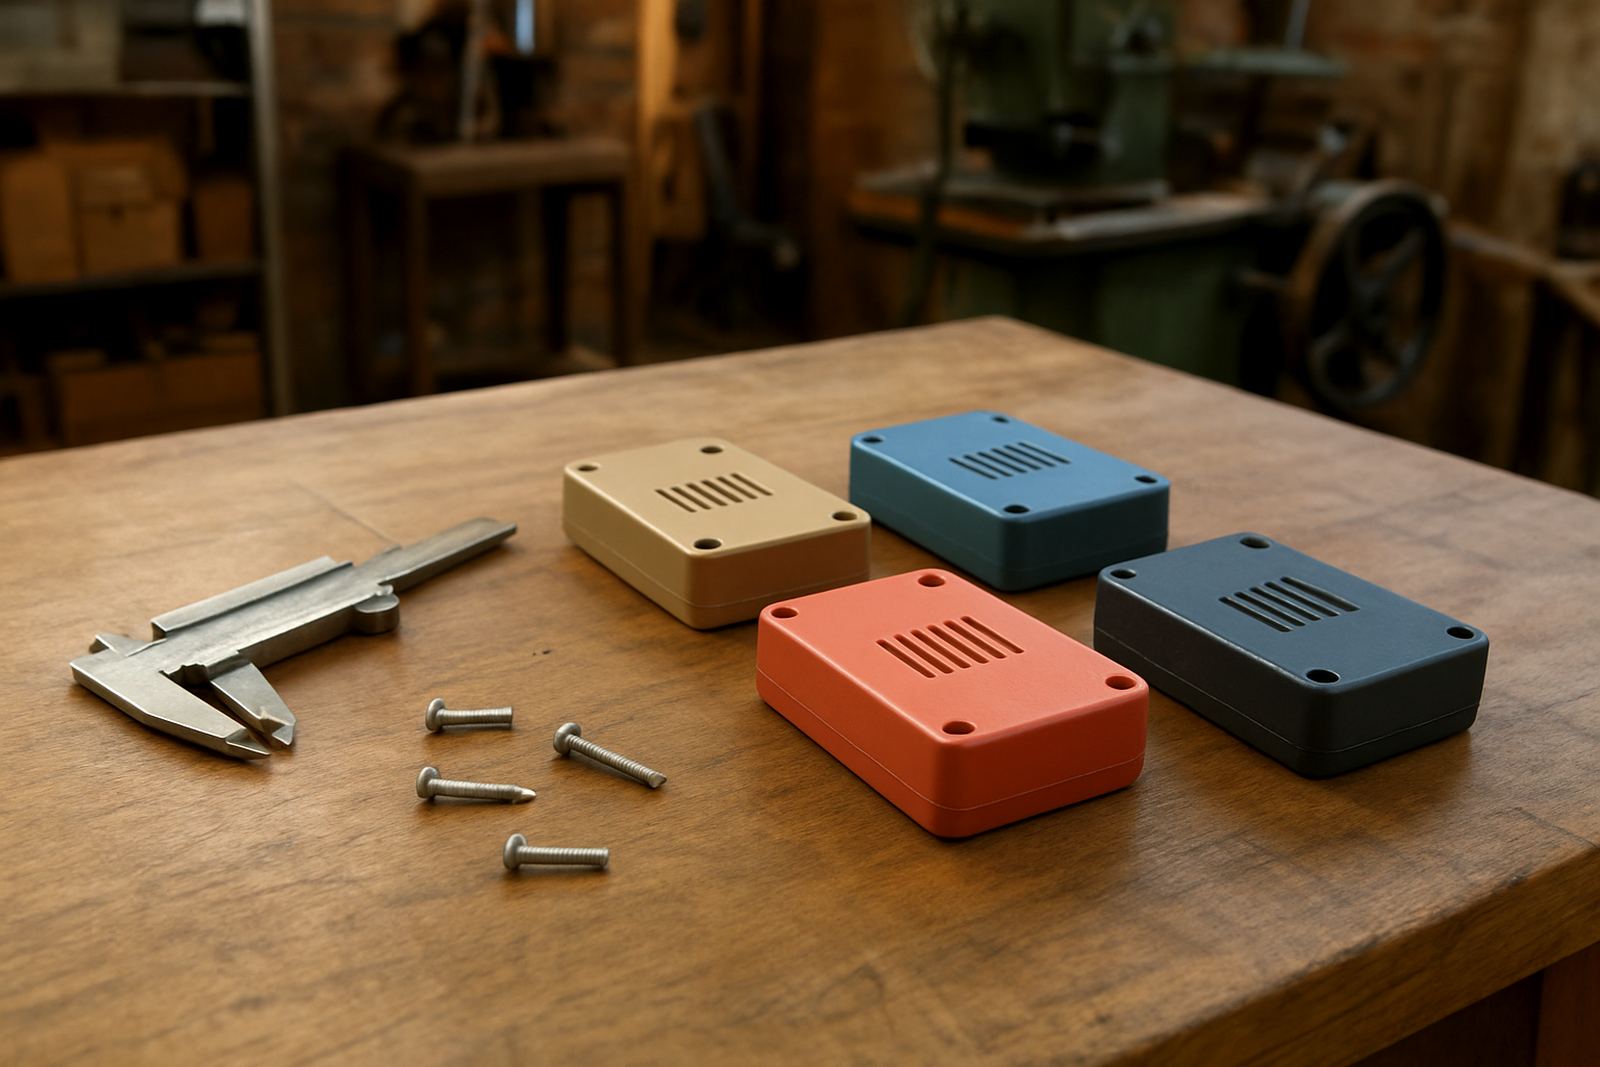
The client was a small product team based in Midrand, working on a hardware concept that had to move between bench testing, live demonstrations and short transport runs. They did not need a final commercial shell yet, they needed a dependable prototype enclosure that could take knocks, stay aligned, and make internal components easy to reach during changes.
The brief was simple in principle but strict in practice. The enclosure had to be light enough for one person to lift, strong enough for repeated opening and closing, and neat enough for stakeholder meetings. It also had to allow for quick access to wiring, control parts and removable panels. They wanted something that looked organised from day one, not a rough one-off box that would need redoing after the second round of testing.
Because the team was still refining their product layout, the enclosure also had to allow for changes in internal spacing. That meant we had to plan for adjustment points, standard fasteners and a panel arrangement that would not force a full rebuild every time the internals changed by a few millimetres.
Constraints we worked around on site
Midrand gave us a good central base for the project, but the space itself came with the usual mixed conditions that South African teams know well. Power interruptions meant we had to plan the cutting and assembly sequence carefully, and the team needed a setup that would not lose time if load-shedding interrupted a session. We also had to keep the build tidy because the enclosure would be moved between a workshop area and a meeting space.
We mapped the practical limits before any material was cut. Clear access had to be maintained around the enclosure, the footprint had to fit a standard workbench, and the finish had to stand up to handling by different team members. The client also wanted a solution that could cope with dust and occasional transport in the Gauteng climate, where summer humidity and fine workshop dust can both cause problems if tolerances are loose.
- Footprint planned to suit a 1200 mm by 800 mm bench zone
- Panel edges rounded and protected for safer handling
- Access points placed for fast inspection without full strip-down
- Material choices set for repeat use, not single demo use
What SA Makers supplied and set up
Our team worked through the enclosure as a practical workshop build, with enough structure to stay firm but enough flexibility for future changes. We arranged the layout, supported the material selection and handled the workshop setup so the client could stay focused on the product itself. The enclosure used a modular frame approach with removable side panels, front access and a base that could be anchored or shifted as required.
We also helped with the supporting workshop needs around the build. That included tool zone layout, consumables planning, safety signage setup and storage planning for parts, fixings and spares. The client had several iterations in mind, so keeping screws, brackets and spare panels sorted was just as important as the enclosure itself. Without that, the team would have wasted time hunting for bits and pieces during each test cycle.
- Modular frame with removable side panels
- Quick-access hatch for test adjustments
- Labelled storage for fasteners and spare parts
- Safety sign placement near the work area
- Workshop flow arranged for single-person handling where possible
Build timeline and delivery stages
The full project ran over four weeks from first briefing to handover. Week one was planning, measurements and confirming the enclosure layout. Week two covered tool zone setup, material preparation and the first round of assembly. Week three was the adjustment stage, where we checked alignment, access, heat clearance and panel fit. Week four was final finishing, labelling and a practical handover with the client team.
This kind of schedule works well for early-stage teams because it leaves room for changes without dragging the job out. The client needed decisions quickly, but not rushed decisions. By keeping the work in clear stages, we could check each part properly before moving on. It also meant the team could keep testing while the enclosure evolved, rather than waiting for one big final build.
We found that short review points were worth more than a long single handover. A quick check after the first assembly saved a lot of rework later, and the client appreciated having a clear idea of what was done each week.
Key results from the prototype enclosure
The finished enclosure gave the team a stable testing platform that looked organised in demos and stayed practical in daily use. It held its shape through repeated opening and closing, and the access panels made it easier to check internals without disturbing the full setup. The client could move it between testing and presentation spaces with less fuss, and the internal layout stayed serviceable after the first few rounds of changes.
Just as important, the enclosure helped the team talk about the product with more confidence. When people could see a neat build rather than a loose prototype, the conversation changed. The team could explain function, maintenance and upgrade paths more clearly. That made the enclosure useful beyond the bench, which was part of the original brief.
- Faster inspection and adjustment during test sessions
- Cleaner presentation for demos and stakeholder meetings
- Reduced handling damage during movement between rooms
- Better organisation of parts, fixings and spares
What we would repeat on the next build
If we were doing a similar project again, we would keep the same approach: early measurement, modular construction and clear storage from the start. That combination gives the team room to change the internal layout without starting over, and it keeps the enclosure useful while the product is still moving. We would also keep the access points generous enough for two hands, because tight openings slow down maintenance more than most teams expect.
For the next version, we would recommend confirming the service points even earlier in the process, especially where cables, ventilation or removable modules are involved. A small change in the internal layout can affect the whole enclosure if it is not checked at the outset. We would also plan the finish around the actual use case, not just the presentation. A build that will be handled every week needs stronger edges and simpler fixings than one that only appears in a demo once a month.
That practical thinking is what made this Midrand project work. The result was not a flashy shell, it was a serviceable enclosure that matched the stage the team was at and gave them a better base for testing, demoing and refining.
Who this kind of project suits
Projects like this suit early-stage product teams, school innovation groups, small engineering crews and founders who are still shaping their first physical prototype. They also suit anyone who needs a presentable enclosure for roadshows, investor meetings or internal trials, but does not want to commit to a final production build too early.
We support this work from Braamfontein and through partner makerspaces and training venues around Johannesburg, Pretoria East, Sandton, Midrand, Soweto, Durban, Cape Town and Gqeberha. If a team needs help with a prototype enclosure, startup space kit, safety signage, member onboarding or maintenance checks, we can plan the workspace and the process together. The goal is always the same: make the build easier to use, easier to explain and easier to keep working.
Key facts
| Project type | Prototype enclosure for testing and demos |
|---|---|
| Client location | Midrand, Gauteng |
| Timeline | 4 weeks from briefing to handover |
| Frame style | Modular enclosure with removable panels |
| Access | Front and side access for quick checks |
| Support supplied | Layout planning, workshop setup and storage planning |