Campus brief and the build goals
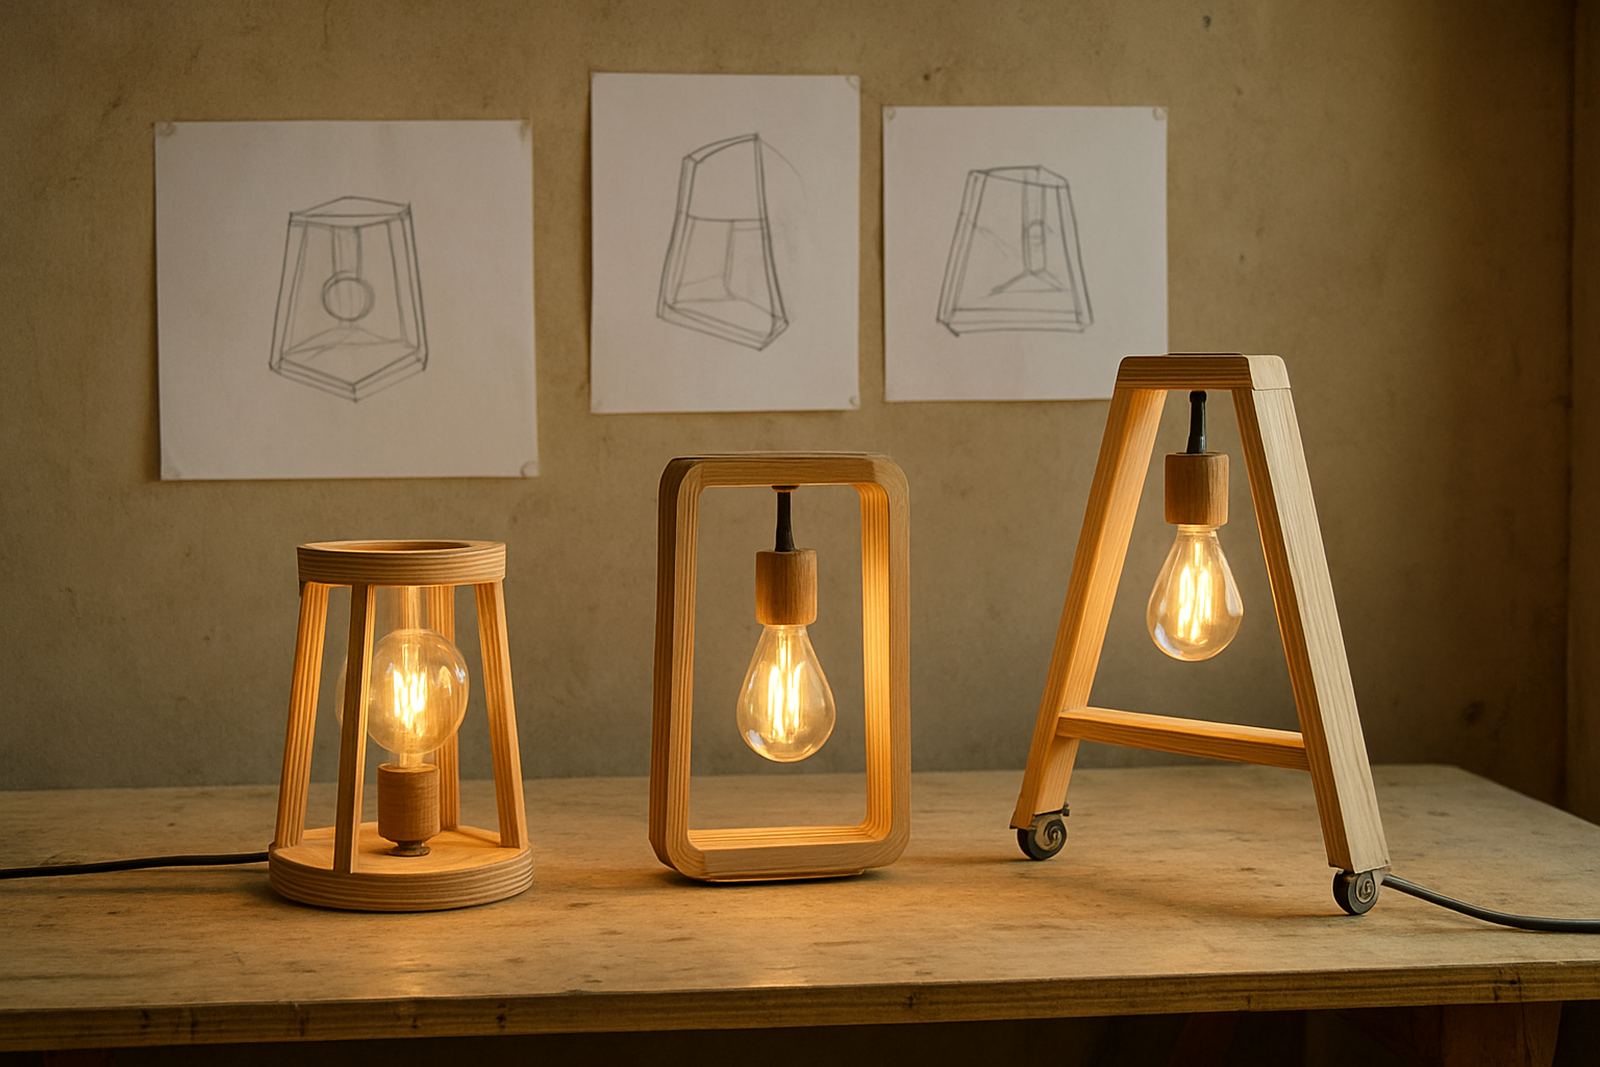
The client was a student team from a Johannesburg campus in Braamfontein preparing for a public expo. They wanted a small lamp range that looked tidy on a table, packed flat for transport, and could be assembled without specialist tools. The lamps had to suit late evenings in studio spaces and residence rooms, so the light needed to be warm, bright enough for reading, and not harsh on the eyes.
The brief was clear: keep the footprint small, use materials that were easy to source locally, and make the product feel finished rather than school project rough. The team also wanted one design language across the range so the pieces could sit together as a family. We worked with them on shape, structure, wiring route, and a simple packing method that made the set practical for a student budget.
What the student team needed to solve
Before any cutting started, we sat down with the team to sort out the real constraints. They had limited workshop time, mixed experience levels, and a tight show date that came up faster than expected. They also needed to work around load-shedding windows and venue access rules, so the process had to be planned in blocks rather than left to chance.
- Build time had to fit into 3 weeks
- Each lamp needed to stand stable on a narrow base
- Parts had to be cut flat for easy transport between venues
- Assembly had to avoid exposed live parts
- The finish had to handle normal student use, not just a one-off display
We also checked the expo venue setup. The tables were smaller than expected, and the organisers had rules about cable routing and no loose leads across walkways. That changed the base design and the power entry point, because a pretty lamp is no use if it trips people up.
Our supply and workshop support
We supplied a compact starter spec that could be repeated across the range. The lamp body used laser-cut panels, slotted tabs, and a weighted base to keep it upright. We helped the students choose material thickness that would hold shape without making the unit bulky. The final parts were cut from 3 mm sheet for the main shell and a heavier base layer for stability.
For the electrical side, we kept to a simple low-voltage setup with an inline switch, insulated connections, and a compact LED holder. The team wanted warm white light rather than cool blue light, which suited the wood finish better and felt more natural in a student room. We also guided them on cable strain relief, safe solder joints, and how to keep access points neat for maintenance later.
- Laser-cut body panels for fast repeat assembly
- Low-voltage LED lighting with inline switch
- Weighted base for stability on small tables
- Simple slot-fit joints to reduce glue time
- Clear labelling so new members could assemble a unit later
Timeline from first cut to expo day
The work ran over 3 weeks. In week one we mapped the size, checked the prototype, and settled the final lamp dimensions. In week two we cut the parts, adjusted a few tabs that were too tight, and trial-assembled two units to make sure the wiring stayed clear of the shell. In week three the team finished sanding, final assembly, and pack-out for the campus expo. It was not a huge project, but it needed careful sequencing so the students could keep moving without redoing work.
The schedule mattered because the team had class commitments and limited after-hours access to their maker space. By splitting the task into short work sessions, they could make steady progress without overloading anyone. One of the useful lessons here was that smaller projects still need proper planning, otherwise they drift and the deadline arrives before the final fix is done.
Results on the expo floor
The finished lamps gave the team a clean display piece that photographed well and held up through handling on the day. The range looked consistent across the table, which made the stand feel thought through rather than patched together. Visitors could pick up a unit, see how the panels locked in place, and understand the design logic straight away.
Most importantly, the build was practical for student use after the event. The team could strip a unit down, pack it flat, and rebuild it again without special jigs. That matters when a campus team wants to reuse the same product for another market day or exhibition. It also gave them a base product they could improve later with alternative finishes or different lamp heights.
- Compact footprint suited for counters, shelves, and display tables
- Flat-pack parts made transport easier between Braamfontein venues
- Stable enough for public display and everyday student use
- Consistent appearance across a small production run
What we would do again
We would use the same approach again for a student team or small campus group because it kept the project realistic. Start with a small prototype, confirm the wiring path early, and only then move into the final cut. That order saved time and cut waste, which is important when material budgets are tight and workshop hours are limited.
We would also keep the same habit of checking venue rules before the build is finalised. In Braamfontein and across Johannesburg, expo spaces can vary quite a bit, and a lamp that looks good in the workshop may need a different base or cable exit once it reaches the floor. A little checking up front saves a lot of rework later, and that is the kind of detail student teams remember.
Key facts
| Project type | Student lamp range for a campus expo |
|---|---|
| Location | Braamfontein, Johannesburg |
| Build duration | 3 weeks |
| Core materials | 3 mm laser-cut sheet, heavier base layer, insulated electrical parts |
| Lighting | Low-voltage warm white LED |
| Key feature | Flat-pack body with slot-fit assembly |