What the Polokwane brief asked for
The client was a group of educators in Polokwane supporting Foundation Phase and intermediate learners across several public schools. Their brief was clear: produce tactile teaching aids that help learners handle, sort, match and build concepts using touch as well as sight. The aids had to be light enough for a teacher to move between classes, safe for children to handle, and simple enough for the school staff to clean and maintain without special equipment.
They also wanted a repeatable system. Instead of one-off teaching items, they needed a small kit of templates and components that could be copied later by staff or volunteers. The schools asked for items that would not fall apart after a term, especially in classrooms where materials are shared and storage space is tight.
- Client type: educator group serving several schools
- Town: Polokwane, Limpopo
- Use case: tactile literacy, numeracy and fine motor activities
- Priority: low cost, easy repair, long service life
The constraints we had to work within
We had to keep the build process practical from start to finish. The schools did not have access to large fabrication equipment, and the aids had to be made using simple workshop tools that are easy to source locally. Power cuts were part of the plan from day one, so the making process needed to work in short sessions and not depend on long machine runs. That shaped the material choices and the way we set up the production order.
Polokwane’s dry conditions helped with storage, but we still had to think about dust from daily classroom use. Edges had to be smooth, pieces had to be easy to wipe down, and storage packs needed to keep small parts together. The schools also asked for clear visual labels because more than one educator would be using the same aids, and items often move from one room to another. We kept the instructions plain and the set-up fast, so a teacher could get started without a long briefing.
- Build method: hand tools, jigs and simple templates
- Power planning: short fabrication runs to suit load shedding
- Finish requirements: wipe clean surfaces and rounded corners
- Storage: labelled packs for each class set
The kit we supplied and how it was set up
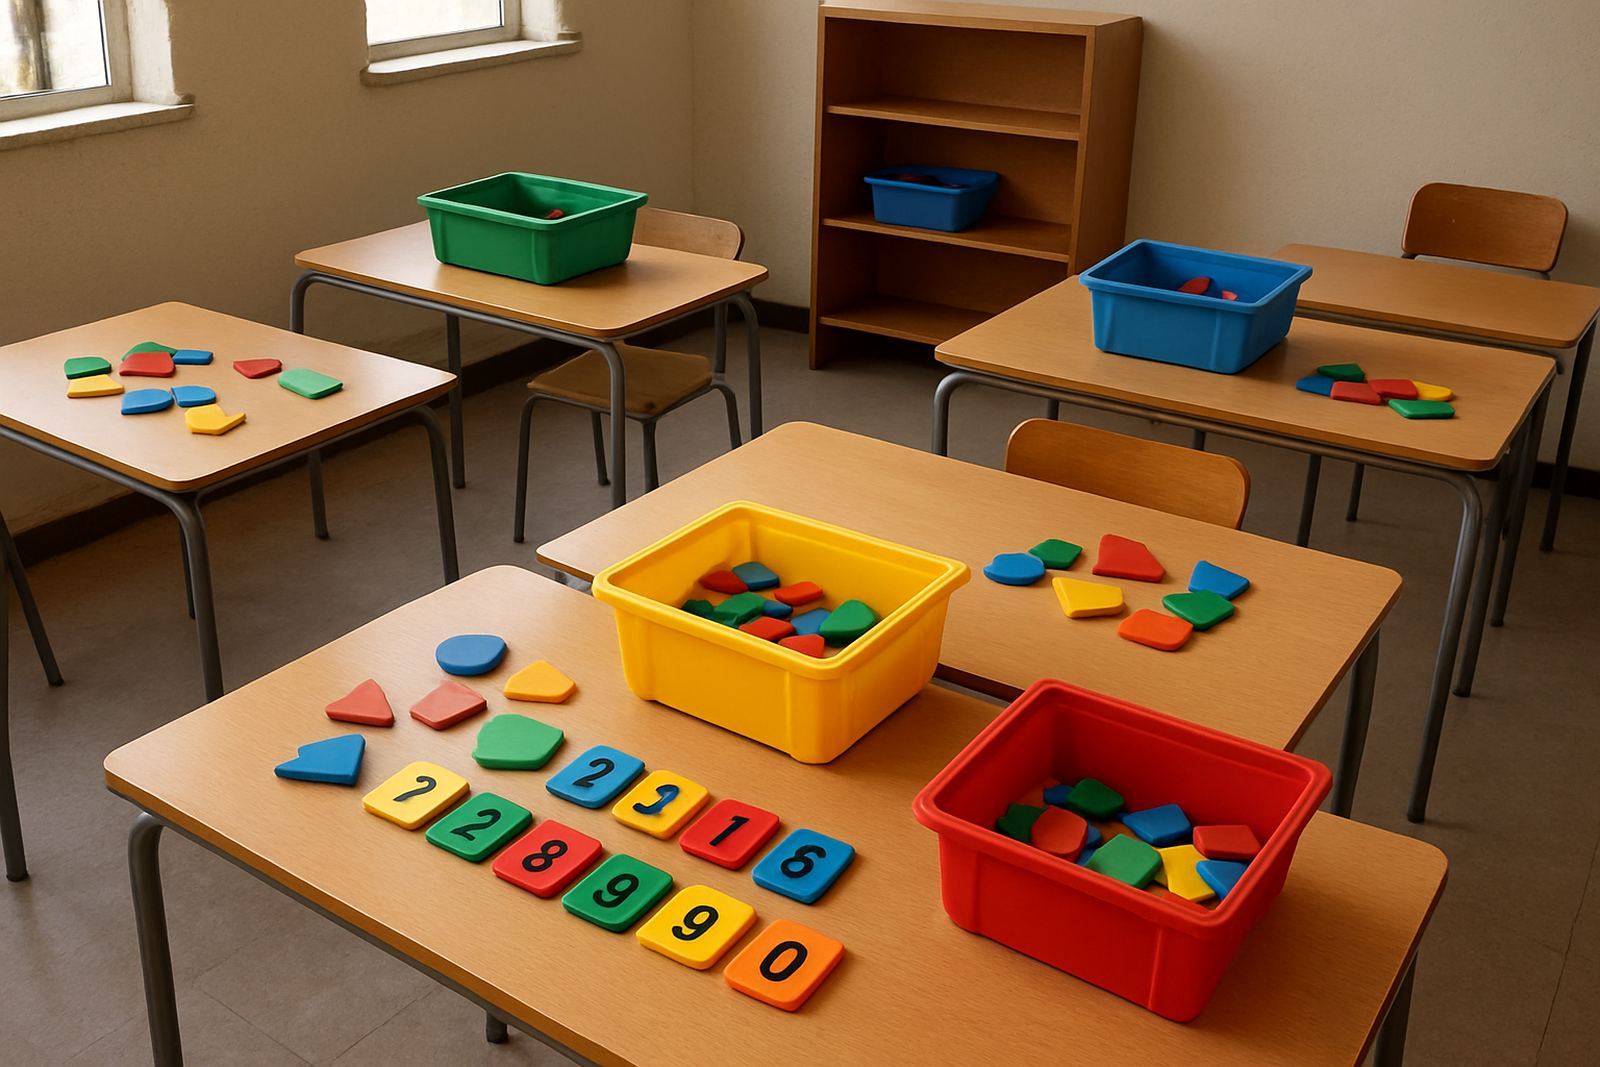
We supplied a teaching aid package built around repeatable components. The main parts were tactile alphabet tiles, number cards with raised markers, shape boards, sorting trays, and modular prompt strips for matching exercises. Each set was cut and assembled to the same dimensions so replacement parts could be made later without measuring from scratch.
The larger boards were designed around A3 format and the smaller cards were set to a hand-friendly size of about 90 x 90 mm. We used durable sheet material, corner rounding, non-toxic adhesive and printed overlays sealed for classroom handling. The tactile elements were built with layered texture, so learners could feel differences clearly with their fingers. A standard kit fit into a lidded storage box of roughly 600 x 400 x 250 mm, which made it easy to carry between rooms or store on a shelf.
We also supplied a simple repair pack with spare fasteners, touch-up labels and a cutting guide. That part matters more than people think. When a school can fix a missing piece quickly, the kit stays in use and does not sit in a cupboard. We kept the build notes short and direct, because staff do not need extra paperwork when a class is waiting.
Training for staff and classroom handover
Once the aids were ready, we ran a short handover with the educators so they could use the tools confidently from week one. The session covered safe handling, basic storage habits, and how to rotate the kits between groups without losing parts. We also showed the team how to use the templates to make additional pieces later, which gives the schools a practical way to grow the set over time.
The training was hands-on and focused on classroom reality. Teachers wanted to know how long each activity should take, how to split learners into groups, and which pieces worked best for one-on-one support versus full class use. We answered those questions on the floor rather than in theory. It helped that the aids were simple. When an item is too fussy, it spends more time being explained than being used.
- Training format: one practical handover session
- Topics covered: setup, storage, safe use and basic repair
- Outcome: educators could deploy the kit without outside support
Timeline from brief to delivery
The full job took 4 weeks from first brief to handover. Week 1 was used for needs mapping with the educators and checking how the aids would move between classrooms. Week 2 covered template finalising and material sourcing. Week 3 was the fabrication stage, with small batches produced to keep quality consistent. Week 4 was used for checks, packing, labelling and the training session in Polokwane.
The staggered approach worked well because it gave the team room to adjust details before the full set was completed. A few items were re-sized after the first sample run so that they would sit better in small learner hands. That saved time later and kept the final kits more useful in class. The schools appreciated that the process was not rushed. In practical work, a small correction early on avoids bigger trouble later.
What changed in the classrooms afterwards
After delivery, the educators reported that learners engaged more quickly with the tactile activities than with paper only exercises. The matching boards made it easier to introduce phonics and number recognition, while the sorting trays helped with group work and fine motor practice. Because the pieces were durable and easy to reset, teachers could use them more often without feeling they were saving the kit for special occasions.
Another result was better staff confidence. Once the educators had a repeatable system and clear storage method, they could share the tools across grades with less confusion. The project also created a local reference point for future classroom aids, since the schools now have a format they can copy. That is often the real win. A good aid is not just useful once, it keeps working term after term.
- Improved learner participation in small group activities
- Faster setup between lessons and fewer missing parts
- Reusable templates for future school-made aids
- More confident use by teaching staff
What we would do again on a similar project
We would follow the same pattern again for another school cluster in Limpopo or any other province. Start with a short needs review, build one sample set, test it with teachers, then produce the full batch only after the details are confirmed. That way the final kit matches the real classroom and not just the idea of one. We would also keep the storage system part of the brief from the start, not as an afterthought.
For a project like this, we would again use simple materials, local fabrication methods and clear labels. We would keep spare components in the pack and make sure the templates are easy to copy. If the school plans to add more classes later, that foundation matters. It keeps the cost down and the aids in circulation, which is the point. The work is not about flashy gear, it is about tools that hold up in everyday teaching.
Key facts
| Project location | Polokwane, Limpopo |
|---|---|
| Client type | Educator group serving multiple schools |
| Timeline | 4 weeks |
| Core output | Tactile classroom teaching aid kits |
| Kit format | A3 boards, 90 x 90 mm cards, labelled storage box |
| Support included | Templates, handover training, repair pack |