What a Well-Planned Tool Zone Needs
A tool zone is more than a row of machines. It needs clear entry and exit points, enough working space around each tool, safe walkways, storage that matches the tools on hand and sight lines that let a facilitator keep an eye on the room. In Braamfontein workshops we often work with tight footprints, uneven walls and mixed user groups, so the layout has to favour safety first and still leave room for movement and learning.
We plan around the actual tools in use, not just the room size. That includes fixed machines, hand tools, charging points, clamping stations, PPE storage and cleaning points. We also think about load-shedding, daylight, ventilation and where dust, heat or noise may affect nearby areas. If the space is in a school or community venue, we factor in access control and municipal fire safety rules from the start.
Included In A Tool Zone Layout Service
Each layout is built around your tools, your users and your supervision model. Some spaces need a few compact benches and lockable cupboards, while others need dedicated zones for cutting, assembly, finishing and packing. We map the flow so users are not crossing through active work areas and so materials can move in one direction without crowding.
- Measured layout plan for the room or workshop bay
- Tool zoning by task, noise level and supervision need
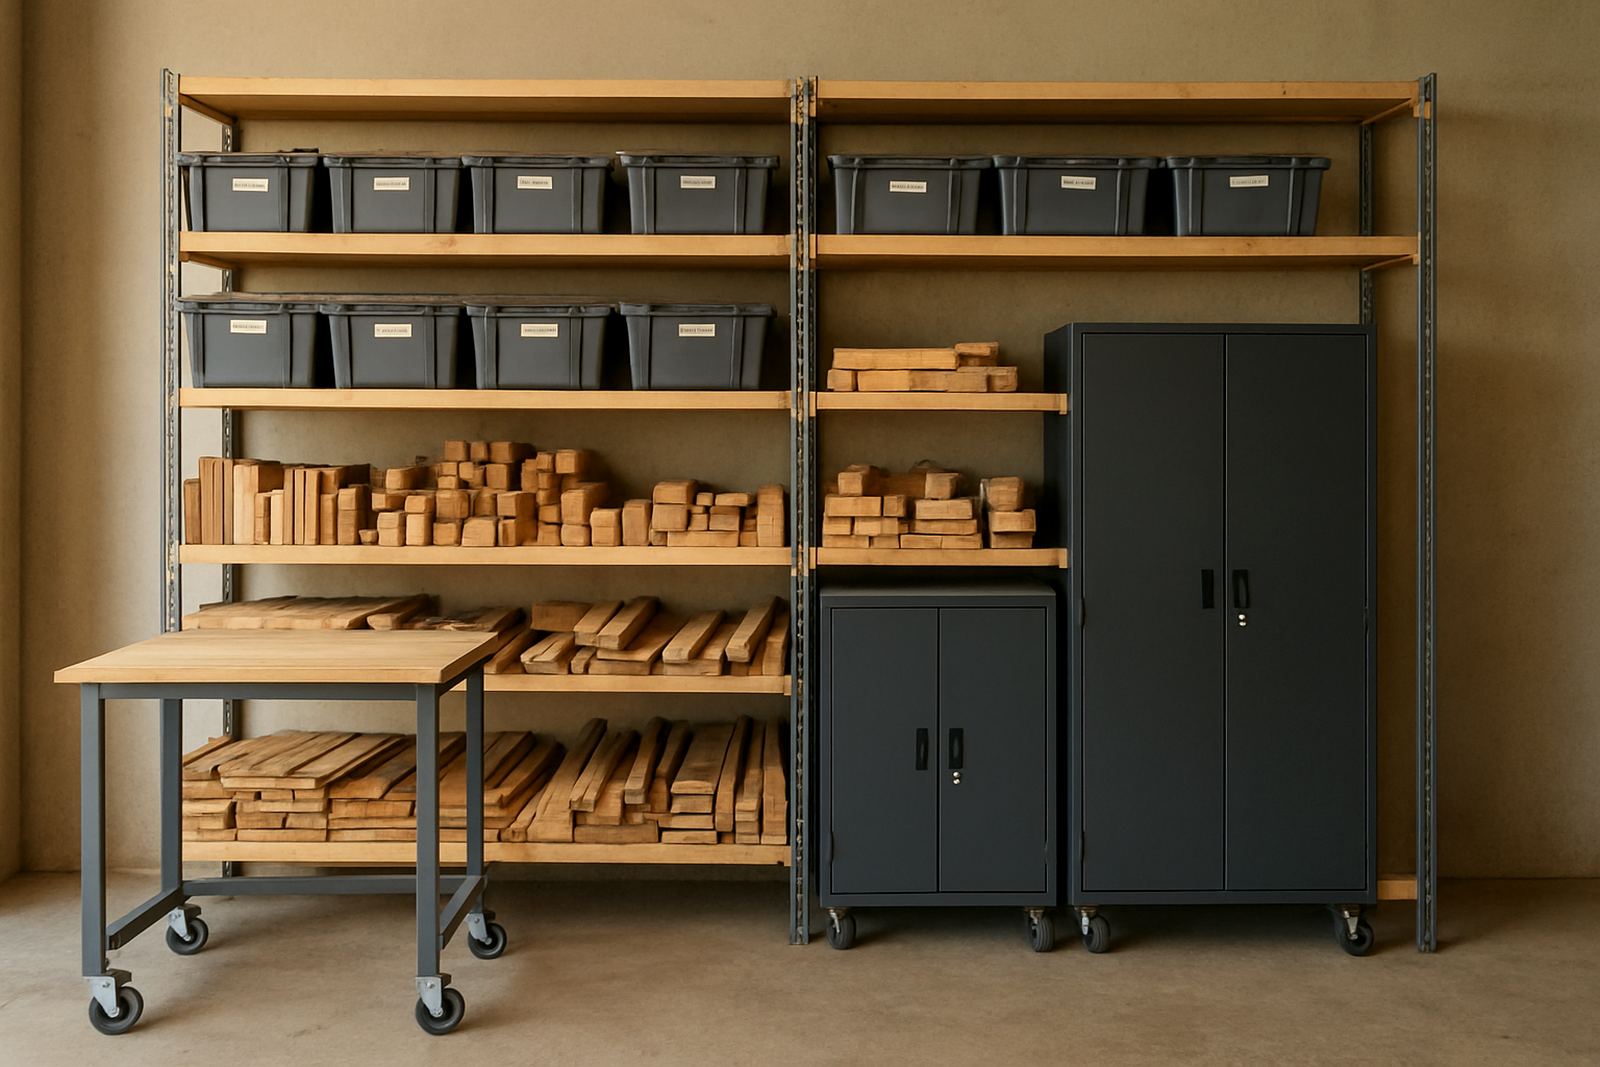
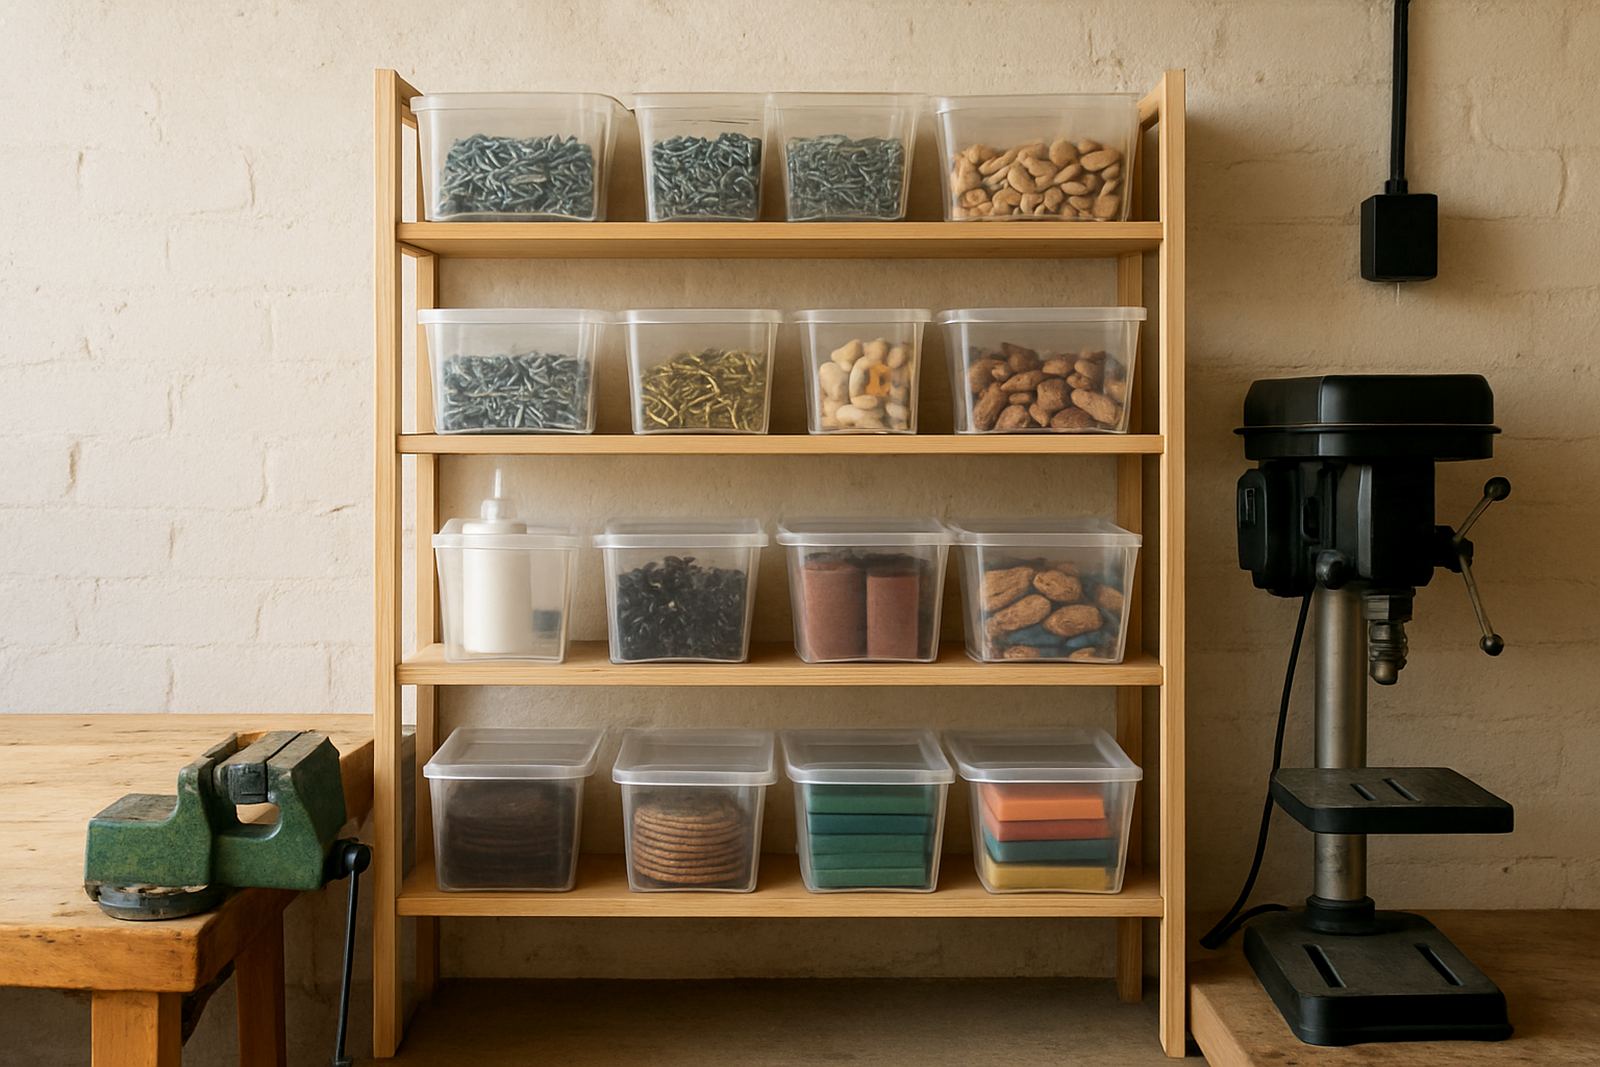
- Storage placement for hand tools, consumables and PPE
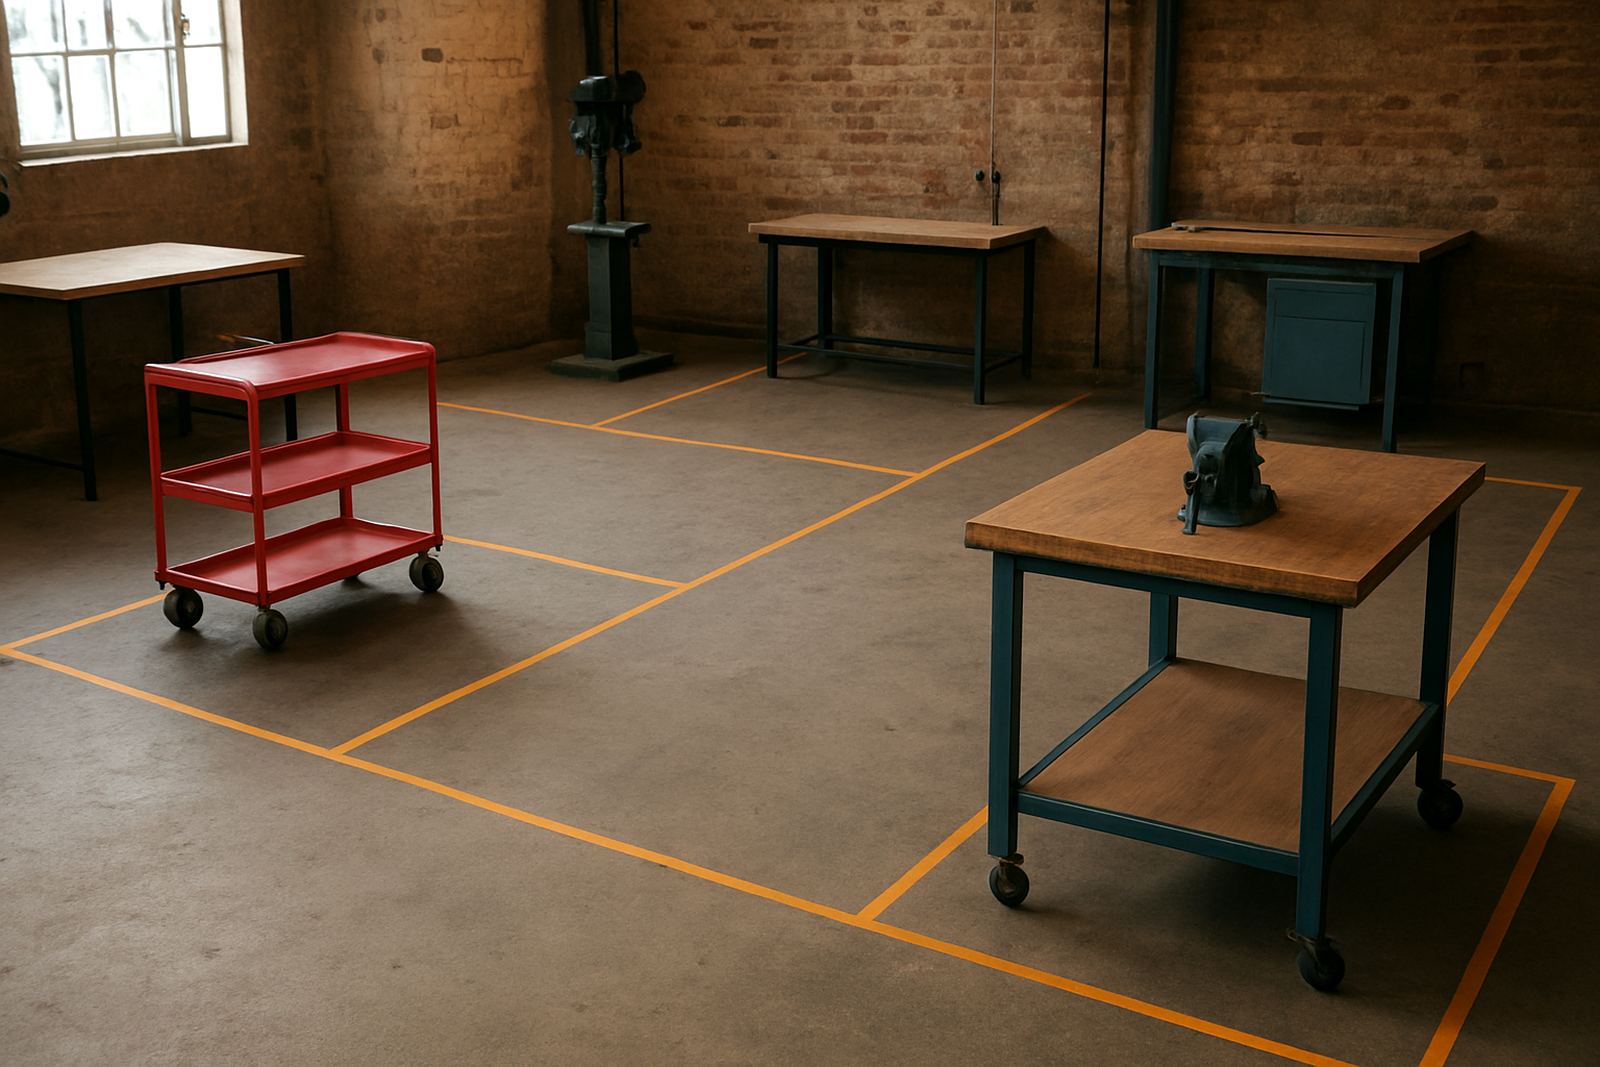
- Bench spacing, aisle widths and safe clearances around equipment
- Power and charging point suggestions for battery tools and task lights
- Safety signage positions for rules, PPE and emergency action points
- Maintenance access zones for cleaning, inspection and repairs
Where needed, we can also prepare labels for drawers, wall panels and storage bays. That makes it easier for new members to find kit and return it to the right place, which saves time and cuts down on missing items.
Our Layout Process From First Visit To Handover
We start with a site review, either in person or through detailed photos, measurements and a tool list. From there we note the floor area, ceiling height, power supply, lighting, doors, windows and any fixed structures. We then compare that against the number of users, the type of training or production taking place and the level of supervision available on site.
- Step 1: Site measure-up and tool audit
- Step 2: Zoning plan for flow, storage and supervision
- Step 3: Review of safety needs, signage and access routes
- Step 4: Final layout with recommendations for fittings and labels
- Step 5: Implementation support and walk-through with your team
In most cases, a straightforward room can be assessed and planned within 5 to 10 working days after we receive the measurements and tool list. Larger spaces or multi-room maker areas usually take longer, especially if the plan must be phased around ongoing classes or stock still on site.
Sizing, Clearances And Practical Specs
Tool zones have to be sized for real use, not just for appearance. We work with practical clearances that let people carry materials, turn safely and step away from a live tool without bumping into the next station. For shared spaces, we prefer wider aisles and clearly marked no-go areas around active equipment.
Typical specs we plan for include bench depths of 700 to 900 mm, aisle widths of 900 to 1200 mm for single-direction movement and 1200 to 1500 mm where two people may pass with materials. Around powered tools, we allow extra space for safe stance, material feed and emergency stopping. In humid coastal areas like Durban and Gqeberha, we also advise on rust-prone storage and air movement, because damp kit becomes a maintenance problem very quickly.
We can plan for wall-mounted shadow boards, mobile storage, lockable steel cabinets, clipboards for sign-out systems and separate bins for scrap and offcuts. If the room serves children or school groups, we also consider height-appropriate storage and supervised access to sharp tools.
Pricing Approach And What Changes The Cost
We price tool zone layouts according to room size, number of tools, complexity of the workflow and whether you need one room or several linked areas. A simple starter workshop costs less than a multi-use training venue with storage, teaching stations and maintenance bays. If the site needs repeated visits or coordination across Braamfontein, Sandton, Midrand or Pretoria East, travel and time on site are included in the quote from the start.
Rather than using vague package labels, we quote on the work required. That means you know what is being measured, what drawings or notes will be supplied and whether installation support is included. Consumables planning, signage setup and follow-up checks can be added if you want one team handling the full setup.
For smaller rooms, clients usually budget from a few thousand Rand for a planning exercise. Larger workshop projects with implementation support and multiple stations are quoted individually, because the tool mix and room conditions make a big difference to the final cost.
Keeping The Layout Working After Launch
A good layout needs maintenance, not just a once-off plan. As tools are added or replaced, the room can drift out of order and the flow gets blocked. We recommend a light review every 3 months for active training spaces and every 6 months for steadier workshop environments. If the venue is busy or shared between teams, monthly checks are worth it.
- Check that aisles stay clear and storage zones are still being used correctly
- Inspect labels, safety signs and floor markers for wear or fading
- Review tool returns, missing items and consumable top-ups
- Confirm that charging points and extension use still suit the load
- Test whether supervision sight lines are still open after any changes
We also help after events, school holidays and intake periods, when rooms often need a quick reset. That keeps the layout practical and stops small issues becoming accidents or delays.
Key facts
| Coverage | Braamfontein, Johannesburg base with support in Sandton, Midrand, Pretoria East, Soweto, Durban, Cape Town and Gqeberha |
|---|---|
| Typical room size | From compact 20 m² starter rooms to larger 200 m²+ shared maker spaces |
| Bench spacing | 700 to 900 mm bench depth, 900 to 1500 mm aisle widths depending on movement needs |
| Turnaround | 5 to 10 working days for a basic site review and layout; larger sites by scope |
| Review cycle | Every 3 months for active training rooms, every 6 months for quieter spaces |
| Pricing basis | Quoted on room size, tool count, complexity, travel and implementation support |