Start with the job, not the bead
New welders often focus on how the weld looks before they understand what the joint needs to do. That is backwards. A weld on a garden gate, a frame for a school project, or a bracket for a small workshop trolley all need different strength, access and finish. If the joint holds, stays square and can take day-to-day use, you are already learning properly.
In Johannesburg, where many makers work in shared spaces or from a small garage, that shift in thinking matters. Space is tight, power can be inconsistent during load-shedding and every minute counts. So before striking an arc, ask three things: what load will this joint carry, what material thickness am I working with, and what can go wrong if I rush it.
- Match the joint type to the task, not to what looks neat.
- Check material thickness before choosing settings or wire size.
- Leave enough room to work safely and reach the joint properly.
Get the setup right before the torch comes on
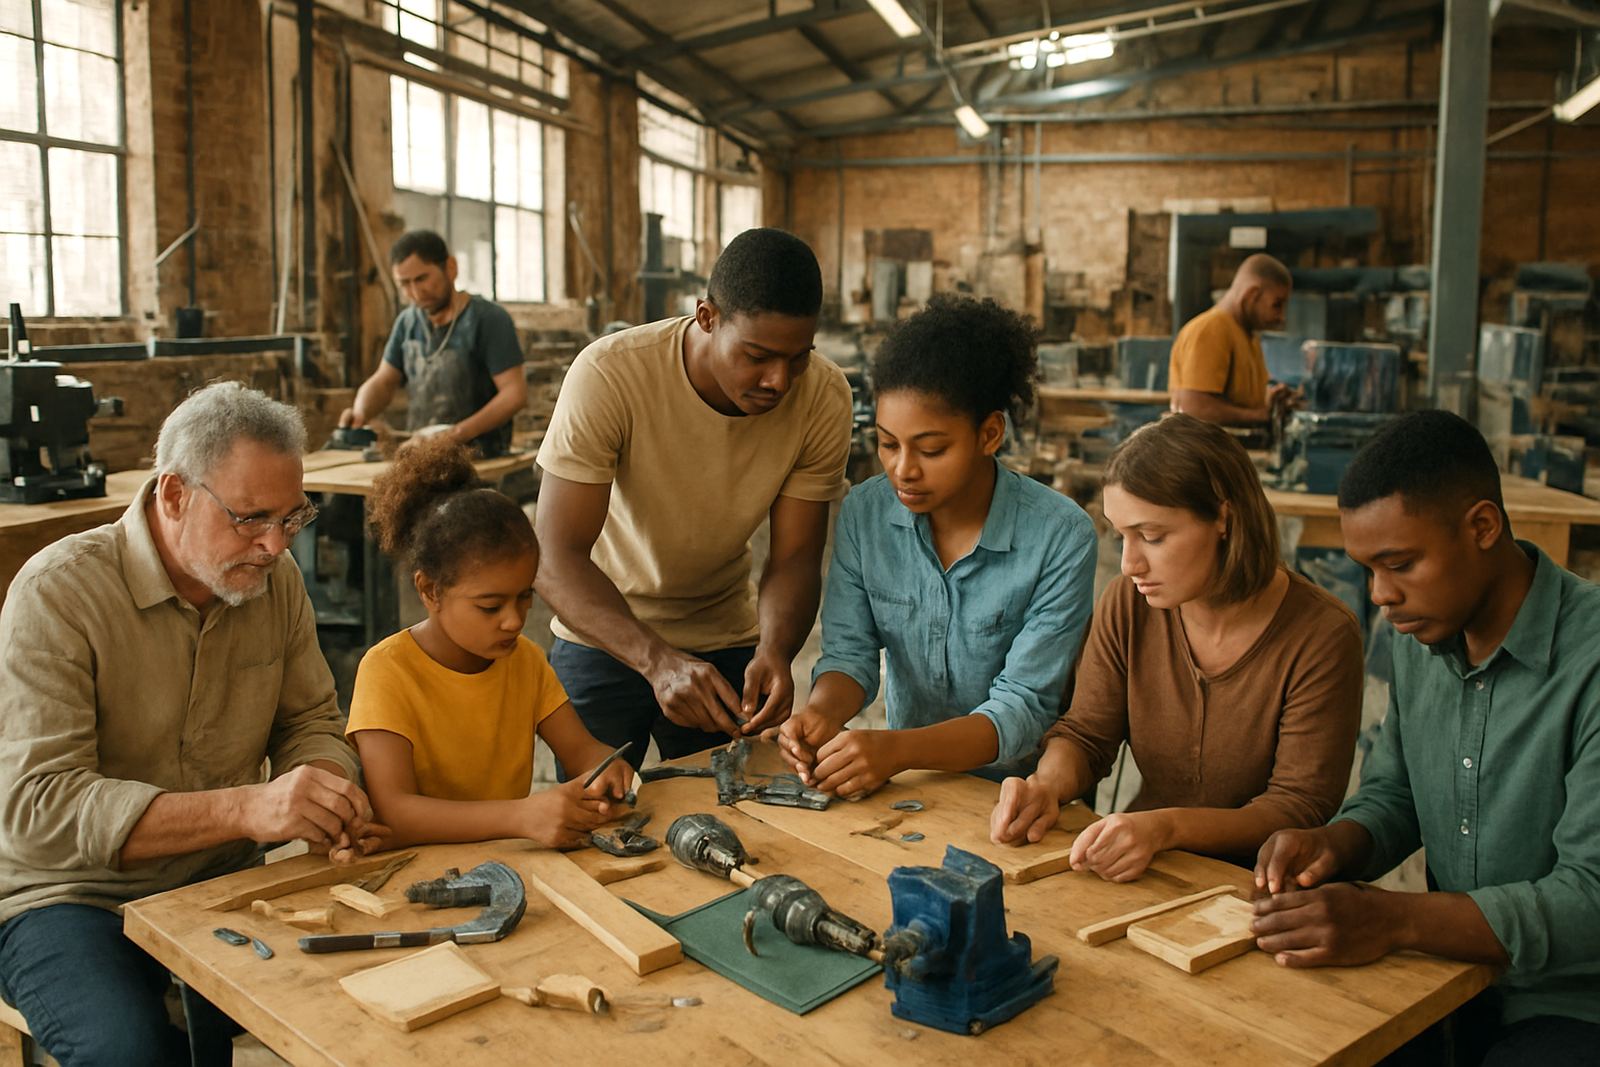
Good welding starts with preparation. Clean metal, solid clamps, and a stable work surface save more time than any quick trick. Paint, rust, oil and mill scale all make it harder to get a sound weld. If you are working in Braamfontein or Soweto in a shared maker environment, keep your prep area tidy so others can move around you safely and your parts do not get mixed up.
Also think about your setup in local conditions. Coastal humidity in Durban or Gqeberha can cause tools and steel offcuts to rust faster, so store consumables off the floor and keep rods, wire and clamps dry. In hotter places like Pretoria East, gloves and leads left in direct sun can become awkward to handle. Small habits like these make a real difference.
- Wipe down metal before welding.
- Clamp work firmly so parts do not shift.
- Keep leads, earth clamps and consumables in good condition.
- Store materials where they will not pick up moisture or dust.
Practise hand control before chasing a perfect finish
A beginner should not expect every bead to look polished. The real goal is steady hand movement, a consistent travel speed and a repeatable arc length. Once those basics are under control, the appearance improves naturally. If your hand is jumping about, no amount of post-grinding will fix the joint properly.
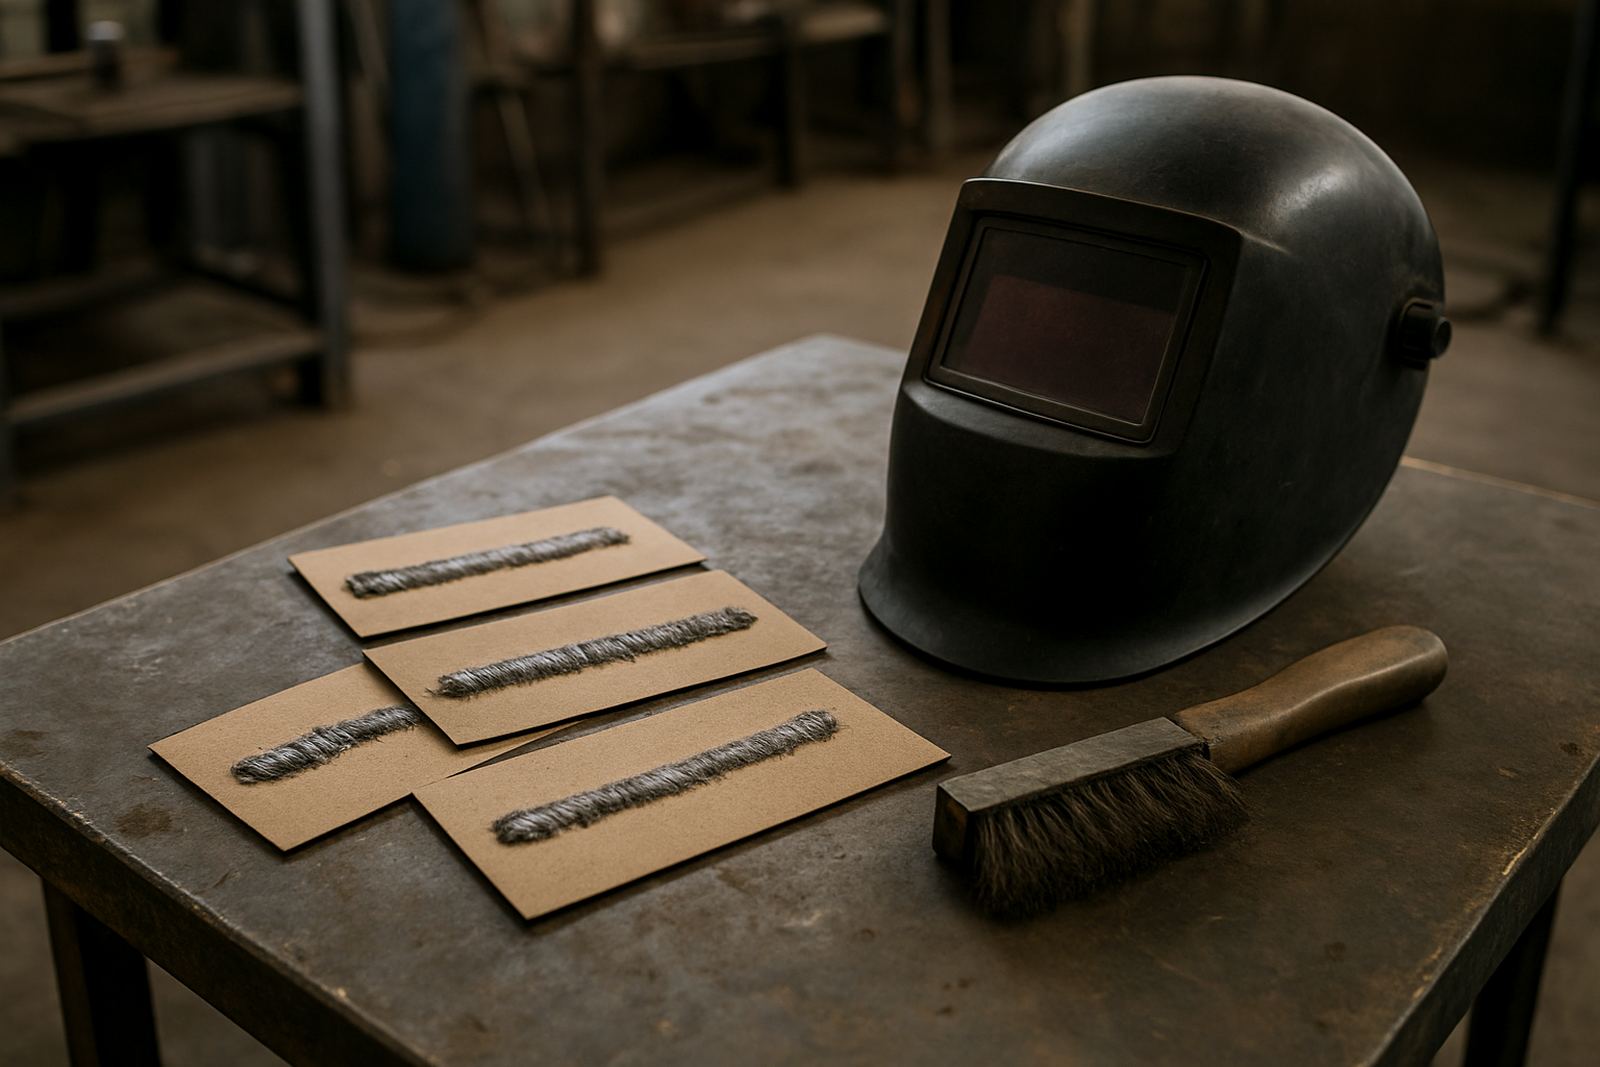
Use scrap offcuts and practise short runs. Do not try to make a long bead on your first go. Short sections let you see what the puddle is doing and help you correct small mistakes. This is where many new welders in Midrand or Sandton make progress quickly, because they get more value from ten careful minutes than from one rushed hour.
- Keep the torch or holder angle consistent.
- Move at a steady pace without pausing too long.
- Watch the melt pool, not just the bright light.
- Practise on scrap before touching the final piece.
Respect heat, distortion and cleanup time
Beginners often assume heat only matters while the arc is on. In reality, heat changes the shape of the job after you stop welding too. Thin sheet can pull, twist or buckle if too much heat goes in at one point. A small frame can end up out of square even though the beads look fine. That is why tacking, spacing and cooling time matter just as much as the weld itself.
Leave room in the schedule for grinding, checking and reworking. If you are making items for a school lab refresh or event maker stations, this is especially important because the final piece must be usable, not just tidy. Let the work cool between passes and check measurements often. A tape measure and square are as important as gloves.
- Tack first, then confirm alignment.
- Spread heat across the joint instead of piling it in one spot.
- Allow parts to cool before measuring or clamping again.
- Grind only what is needed, then inspect the joint again.
Use safety habits that hold up under pressure
Welding safety is not a box to tick once. It is a routine that protects your eyes, lungs, hands and everyone around you. In a busy training venue or makerspace, someone else may be cutting, drilling or moving stock nearby, so you need to think beyond your own bench. Good habits are what keep beginners returning safely the next day.
Make sure your helmet, gloves, clothing and footwear suit the work. Keep flammables away from sparks and check that your cable routing does not create a trip hazard. If the lights go off during load-shedding, stop and wait for a proper restart instead of improvising in poor light. That is not being slow, it is being careful.
- Cover exposed skin and wear suitable eye protection.
- Keep a clear area around the workpiece.
- Do not weld near loose paper, solvents or oily rags.
- Pause if lighting is poor or the workspace feels unsafe.
Learn from each joint, not from the result alone
The best beginner mindset is one of small lessons. After each weld, ask what changed the outcome. Was the metal clean enough? Did the settings suit the thickness? Did the joint pull out of shape? Did you rush the start or stop? When you review your own work like this, the next weld improves faster than if you only judge by appearance.
At SA Makers, this is the kind of approach that works well in training sessions and starter kit projects. Someone in Braamfontein may be building a small storage frame, while a team in Pretoria East is refreshing a school lab bench. The task changes, but the learning path is the same: set up properly, stay safe, work in short controlled steps and keep notes on what worked.
That mindset will serve you whether you are joining mild steel, repairing a stand or learning the first principles of fabrication. A neat finish can come later. First build the habit of making joints that are sound, straight and repeatable. Once you have that, the polish is much easier to earn.