Why steady practice beats rushed confidence
In a workshop, the quickest way to waste material is to skip the basics and hope experience will catch up later. A neat cut, a straight drill hole, or a clean solder joint comes from doing the same action many times, not from one busy weekend.
That is why new makers in Johannesburg often get more value from a regular two hour session than from a once-off burst of effort. You learn how timber behaves in dry winter air, how metal tools feel after a power cut, and how to pack up safely when time runs short. Progress is slower than most people expect, but it lasts longer.
Start with one skill and build from there
Many beginners try to learn cutting, assembly, wiring, finishing and storage all at once. The result is usually frustration. A better approach is to choose one core skill for a month and practice it in small, repeatable steps.
- Month 1: measuring accurately and marking out clean lines
- Month 2: safe cutting and basic shaping
- Month 3: fastening parts firmly and checking alignment
- Month 4: finishing, cleaning and storing tools properly
When you layer skills in this order, each new task becomes easier because the earlier habits are already in place. It also helps you spot where the real problem is, instead of blaming the whole project.
A Braamfontein example from first cut to finished kit
A small community team in Braamfontein came to us wanting to run after-school build sessions for teenagers. At first they wanted a full workshop fit-out with every tool under the sun, but their real need was simpler: a safe starting point, clear storage and enough structure to keep learners focused.
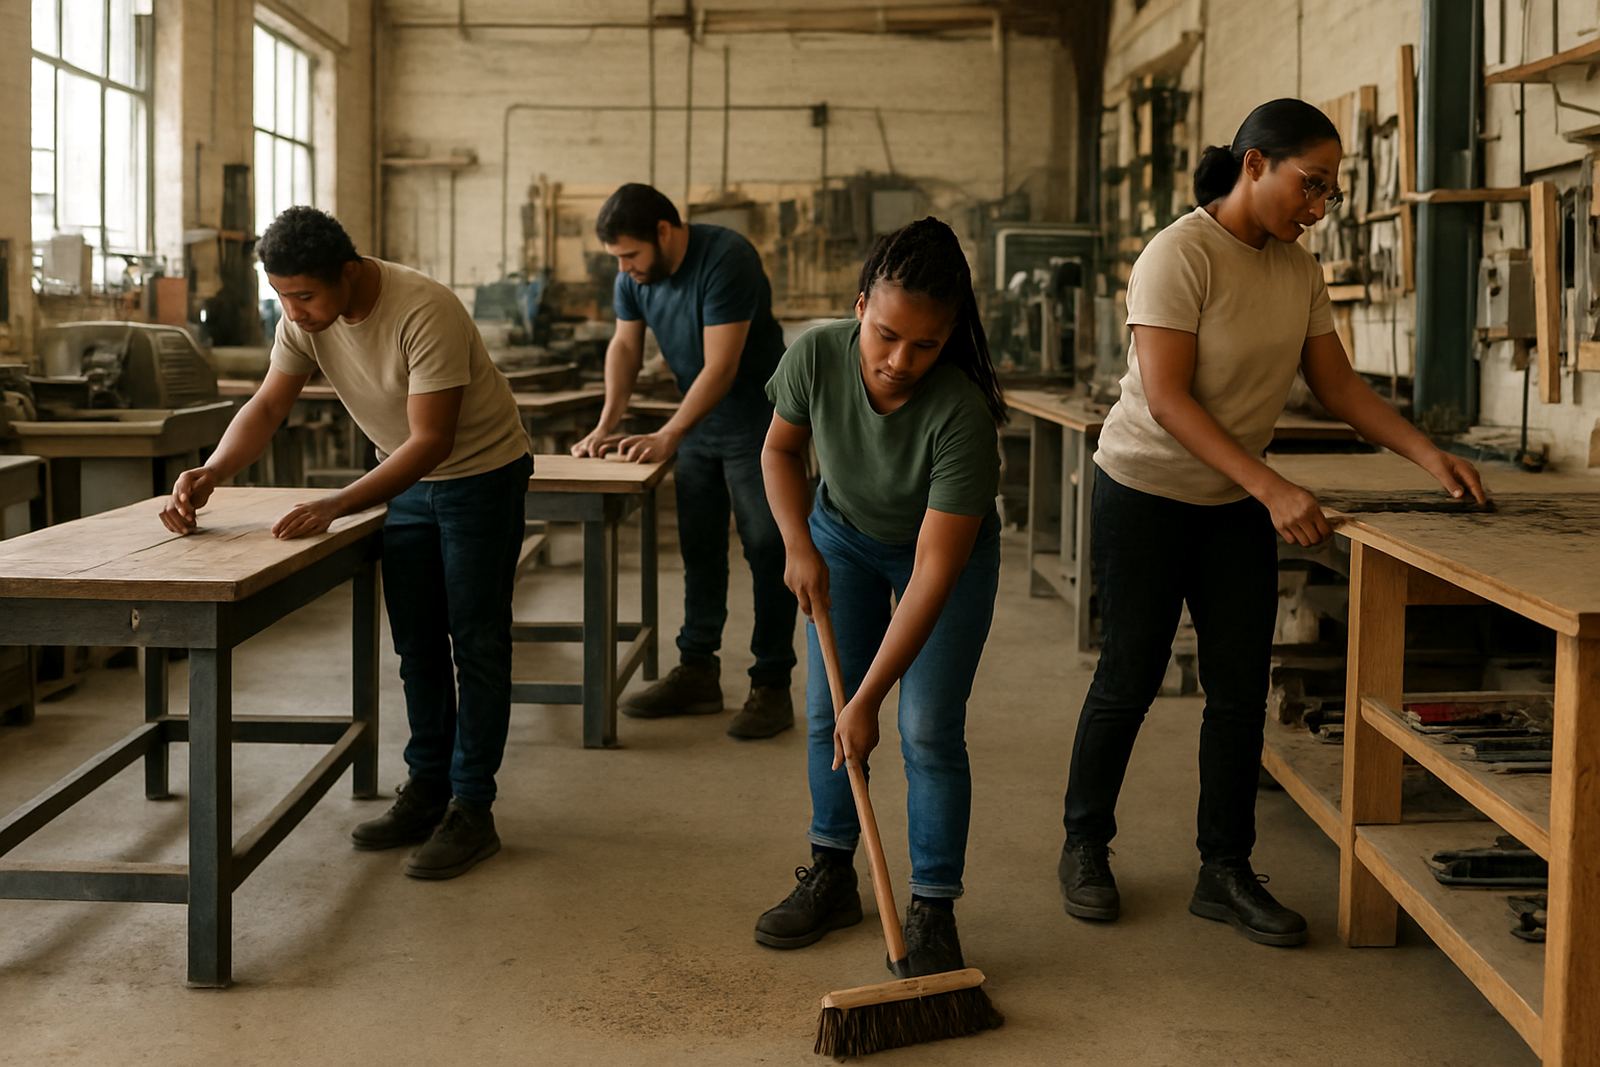
We worked through the space one zone at a time. The cutting area was separated from the assembly tables, consumables were counted and labelled, and the safety notices were placed where people would actually read them. Because the team had limited time after work, we also kept the setup easy to reset on a weekly basis, which mattered more than fancy fittings.
After a few months, the sessions changed. Learners started asking better questions, the facilitator needed less supervision and the group wasted less material. The point was not speed. It was that the space gave them room to improve without feeling rushed.
What to do when progress feels slow
Slow progress can feel discouraging, especially when you see polished work online and compare it with your own early attempts. The trouble is that finished pieces hide the practice behind them. What looks easy usually took plenty of corrections, sanding and rework.
If you feel stuck, go back to the basics and measure the gap honestly. Ask yourself what is going wrong: is it the tool choice, the setup, the sequence of steps, or the storage of materials? Once the problem is named, it becomes easier to fix.
- Keep a simple notebook for mistakes, measurements and tool settings
- Repeat one small task until it feels natural
- Ask a facilitator or experienced maker to watch one step only
- Use offcuts for practice before working on your final material
- Leave time for checking, not just building
Training helps, but practice is where skill settles
Good training should not overwhelm people with theory. It should show them how to work safely, how to set up a space that suits the task and how to keep going when the first attempt is rough. The real learning then happens in the hours after the lesson, when hands repeat what the mind has only just understood.
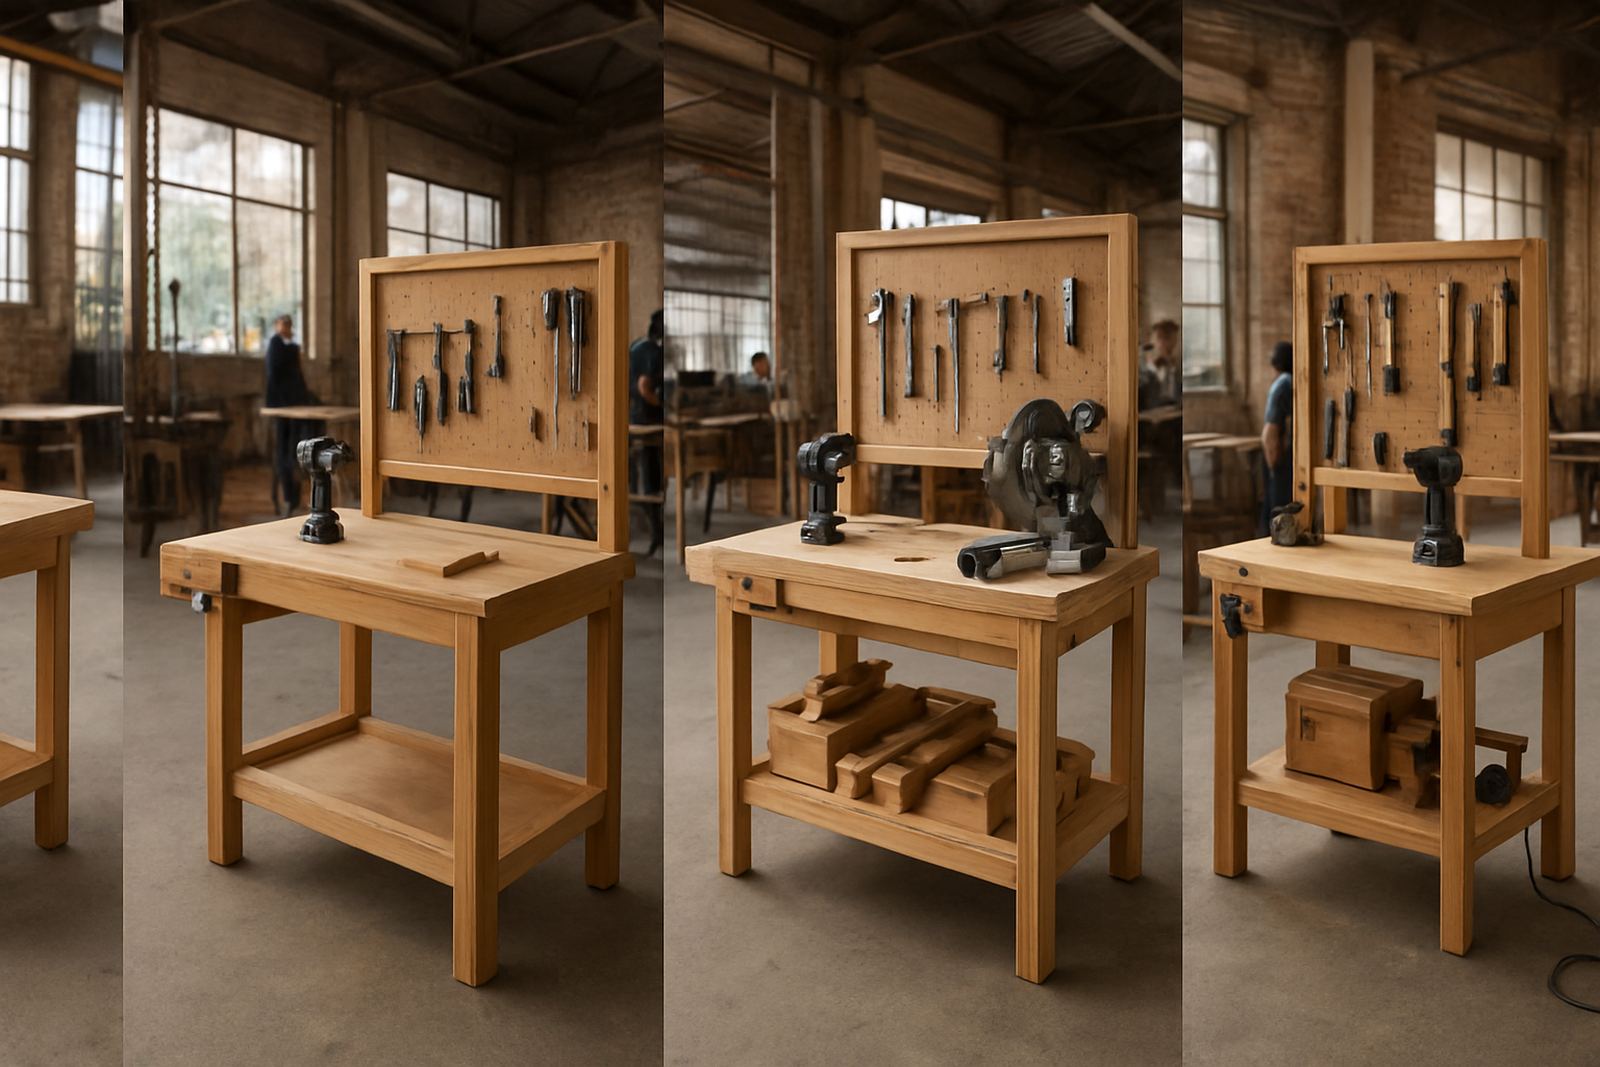
That is why starter kits and short training sessions work best when they are matched to the learner’s level. A beginner needs tools that are easy to store, easy to clean and simple to replace. If the setup is too complicated, people spend their energy managing the kit instead of building confidence. With the right tools, the practice becomes the habit, not the admin.
Keeping momentum in South African conditions
Local conditions can shape how quickly a maker grows. In Durban, moisture can rust metal tools if they are not wiped down and stored properly. In Pretoria East, the dry air and dusty garages mean seals and drawers need more frequent cleaning. In Soweto or Midrand, load-shedding can interrupt a session, so it helps to plan tasks that can pause safely and resume later.
That is part of the discipline. Journeys take time because the environment changes the work. A wise maker plans for it instead of fighting it.
- Schedule tasks around daylight when possible
- Protect sharp tools from damp, dust and knocks
- Keep a small backup kit for essential hand work
- Label every storage box so the reset is faster
When the space is organised for local conditions, people spend less time recovering from interruptions and more time building the habit of practice.