Why a maker portfolio matters in South Africa
A maker portfolio is more than a neat file of photos. It is proof that you can plan, measure, build, test, fix problems and finish work properly. In South Africa, that matters whether you are applying for a training programme in Braamfontein, quoting for a school lab refresh in Pretoria East, or showing a client in Sandton that you can handle a small production run.
Many people have skills but lose opportunities because they cannot show evidence. A good portfolio helps with applications, bursaries, freelance jobs, exhibitions and maker space access. It also helps you explain your level honestly, which is useful when you are still building confidence and do not want to oversell your experience.
- Use it to show completed projects, not just ideas.
- Include skills that can be checked, such as woodworking, basic electronics, 3D printing or metalwork.
- Keep it short enough that a busy person can scan it in a few minutes.
Choose projects that prove real skill
Start with 3 to 6 projects that show different strengths. Pick work that has a clear result and a practical purpose. A good mix might include a repaired item, a made-from-scratch product, a school or community project, and one piece that shows problem solving under pressure.
If you are in Johannesburg and you built a small storage system for a shared workshop in Braamfontein, say how you measured the space, what material you used, and what changed after the installation. If a coastal job in Durban needed better corrosion resistance, mention that choice too. These details matter because they show that you understand real conditions, not just neat theory.
- Before and after photos
- Materials list with sizes or quantities
- Tools used, especially if they were hand tools or shared workshop equipment
- What went wrong and how you fixed it
- What you would improve next time
Write each project like a short job report
Each project should tell a simple story. Use a title, a one line summary, and then a few practical notes. Avoid long personal stories unless they help explain the work. A client or facilitator wants to know what you made, how long it took, what skills were involved, and whether the result met the brief.
A useful format is: brief, process, result. For example, if you made a starter kit for a school club in Midrand, explain the brief, the parts included, the assembly steps, and how the kit handled repeated use during after-school sessions. If load-shedding affected your testing schedule, say how you planned around it. That kind of note shows real working conditions in South Africa and adds trust.
- Title of project
- Date and location
- Short brief or problem
- Process and materials
- Result and current status
Show skills, not just finished objects
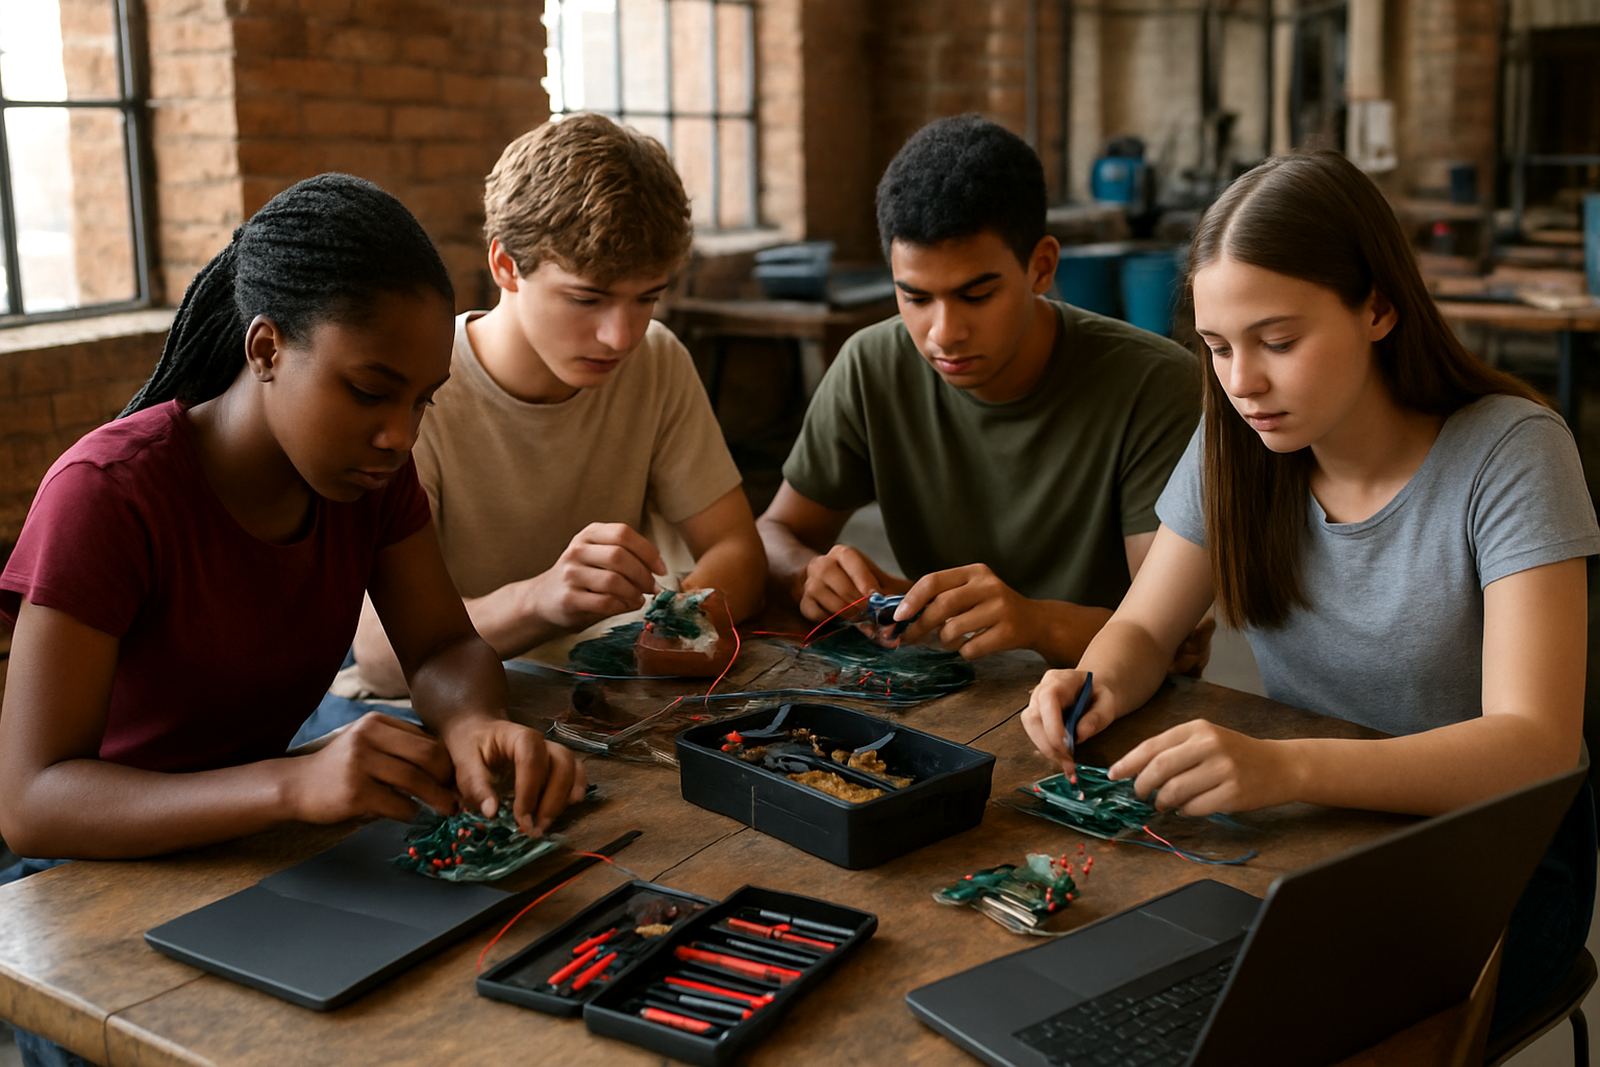
People often assume a portfolio is only about polished photos. In maker work, skill evidence is just as important. A rough prototype that solved a real problem can be more valuable than a shiny item with no explanation. Show how you use measuring tools, follow safety rules, keep records and work in a team when needed.
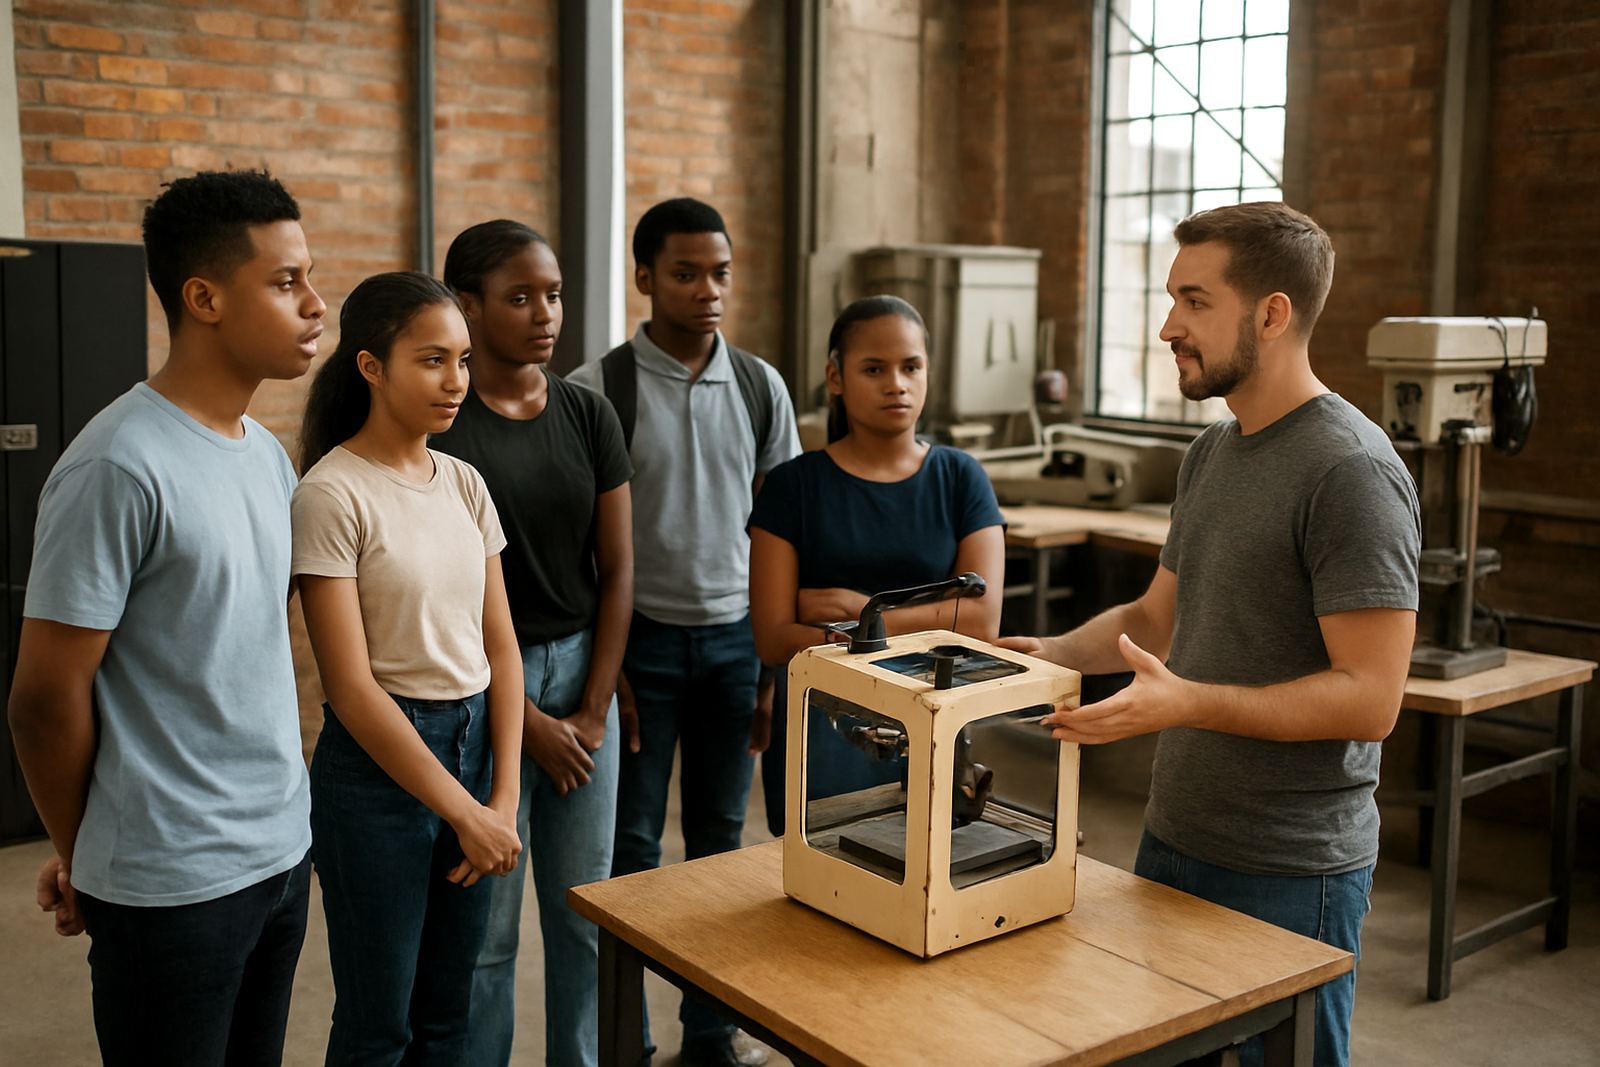
If you are applying to a makerspace network or a training venue, make it easy for them to see where you fit. List the tools you can use safely, the materials you know, and the type of support you need. This helps coordinators place you in the right space and avoids problems on the floor.
- Skills list: measuring, marking out, cutting, soldering, sewing, assembly, finishing
- Safety habits: PPE, machine checks, tidy cable runs, clear storage
- Working style: solo, group, classroom, event station, client brief
Use photos and labels properly
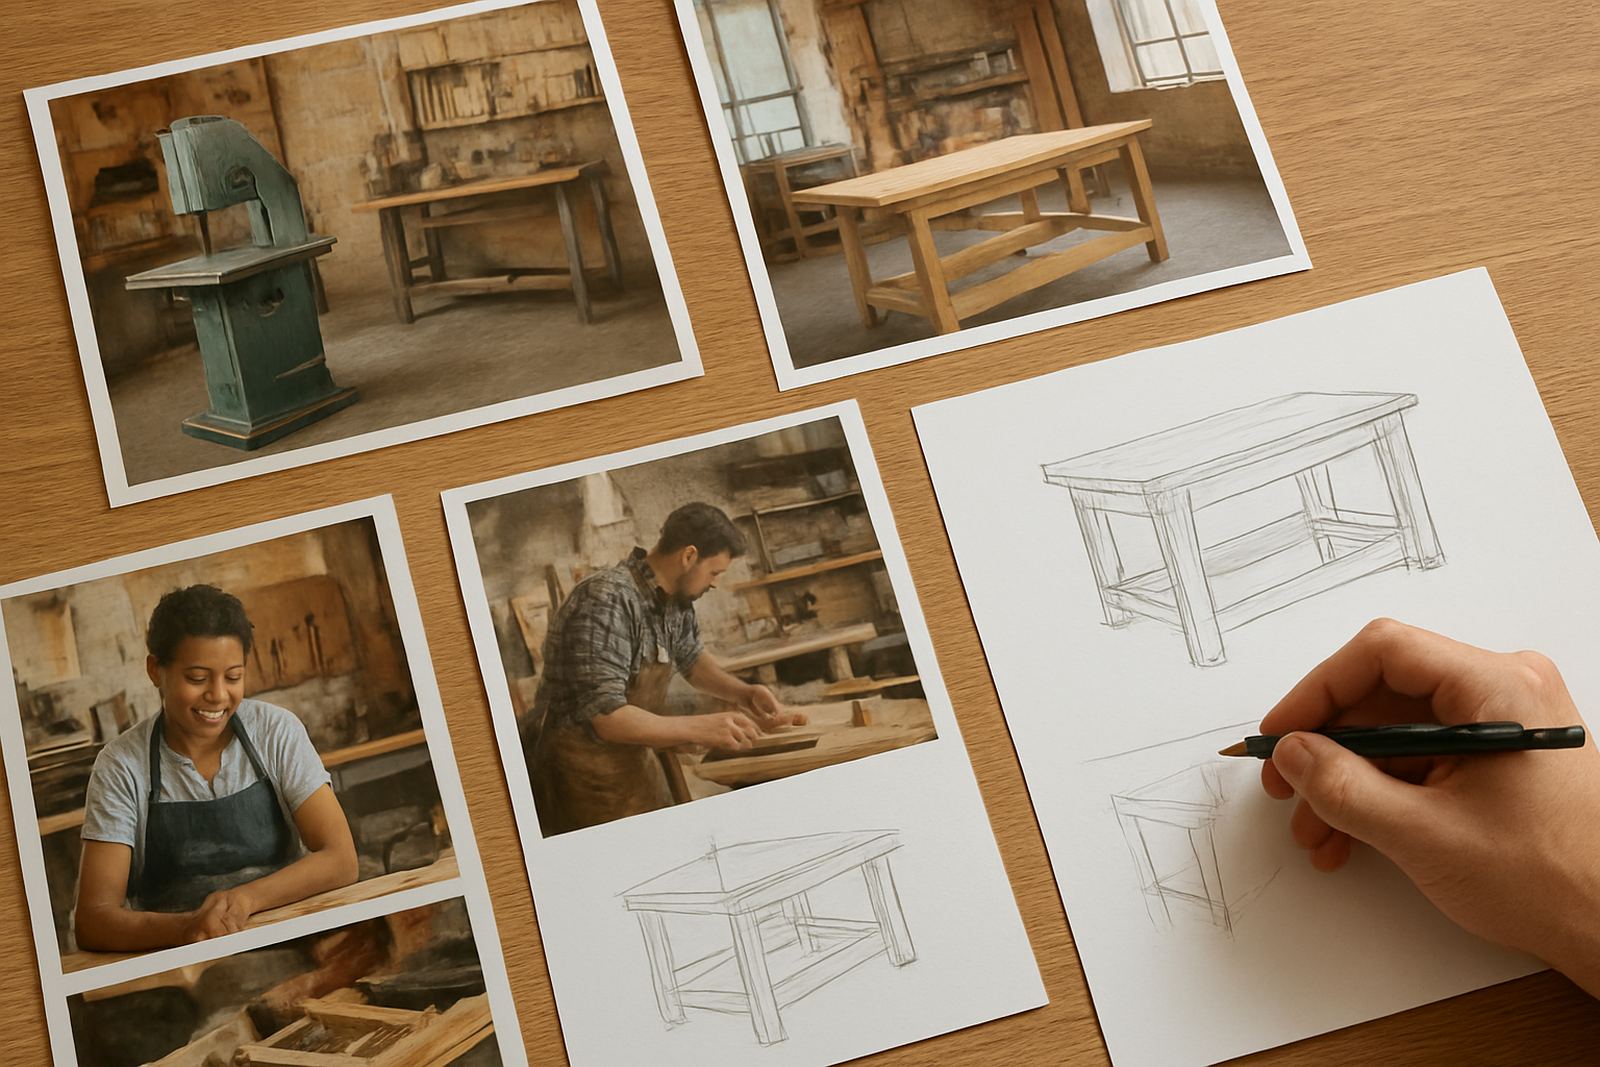
Good photos do a lot of the work. Take clear pictures in daylight where possible, with the project in focus and the background kept simple. If you are photographing in a workshop after hours, make sure the lighting is strong enough to show detail. One good close-up of joints, fixings or wiring can be worth more than five distant shots.
Label every image. Say what the viewer is seeing and why it matters. A photo of a shelf unit should not just say shelf. Say cut list, assembled frame, load test, or final installation. If the project was done in a shared venue, mention that too. It helps people understand the conditions and the level of teamwork involved.
- Use the same file naming style for every project
- Keep image sizes manageable for sharing on a phone
- Add captions with measurements or outcomes where relevant
- Remove blurry or duplicate shots
Tailor the portfolio for the opportunity
A portfolio for a school lab refresh is not the same as one for a maker market application. For a client, show reliability and finish quality. For a training programme, show learning attitude and basic competence. For a community project, show collaboration, communication and practical results.
This is where many people get stuck. They send one version to everyone and hope it fits. It usually does not. Keep one master portfolio, then create smaller versions for different uses. If you are meeting someone in Soweto or Cape Town, you can bring a short printed version as well as a digital copy on your phone. That way you are ready even if the signal is weak or the laptop battery runs down.
- Client version: finished work, timelines, reliability
- Training version: skills, tools, learning progress
- Community version: teamwork, mentoring, impact
A local example from Braamfontein to the client table
One practical example is a young maker in Braamfontein who built a modular display stand for a weekend market. The portfolio entry started with the brief, then showed measurements, material choices, and why the stand was made in sections for transport. Photos showed the first trial fit, a corrected joint, and the final setup in use.
That entry worked because it answered the questions that matter to a buyer: can the maker work to size, solve a problem, and deliver something that survives use? It also helped when the maker later asked for support from a partner space in Pretoria East. The team could see the work and understand the skill level straight away.
That is the goal of a good portfolio. It should help someone trust your next step, whether that step is a workshop session, a paid job, or a place in a training group.