Start with the work you want to repeat
Before buying anything, list the jobs you expect to do more than once. If a tool only helps with a single project, it may be cheaper to hire it, borrow it or use a shared makerspace. If it saves time on every build, that is where your budget should go first.
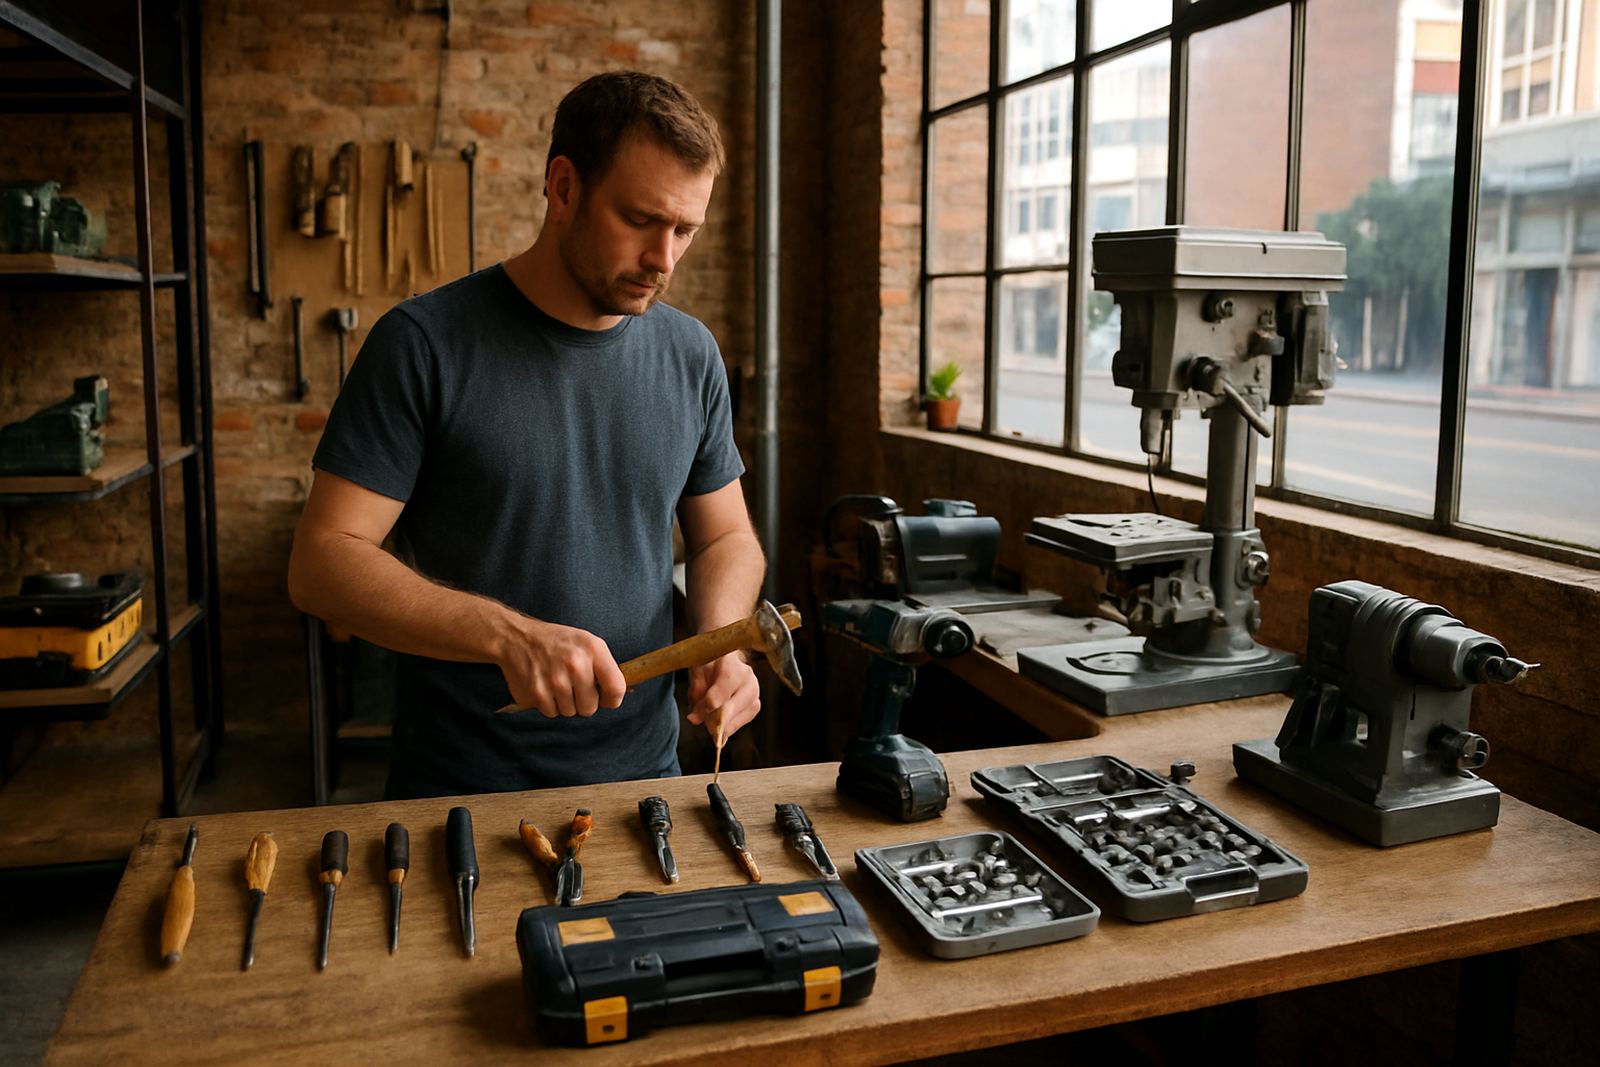
For most small workshops the first useful purchase is not a fancy machine, it is a dependable core set: measuring tools, clamps, marking tools, a decent drill, cutting tools and a safe place to store everything. Once those basics are sorted, you can add capacity in a way that makes sense for your pace and your floor space.
- Choose tools that match your most common materials, not your rarest project.
- Buy for the next 12 months, not the next 5 years.
- Leave room on shelves and walls for more stock, jigs and safety gear.
Look for tools that can take a beating
In a shared workshop or a busy school lab, tools get handled by different people with different habits. That means you need equipment with simple controls, clear markings and parts that can be replaced. A tool with a weak switch or flimsy base may work fine for a month and then become a repair problem.
Think about local conditions too. In coastal towns like Durban and Gqeberha, humidity can affect exposed steel and stored consumables, so sealed containers and rust control matter. In places where dust is a constant issue, especially in busy urban settings, cleaning access and filter changes should form part of the purchase decision.
- Prefer metal housings where tools are moved often.
- Check whether blades, bits, belts and cords are easy to replace.
- Ask how the tool behaves during voltage drops and after a power cut.
Make power use part of the buying decision
Load-shedding changes how a workshop runs, and tool choice should reflect that reality. Some tools are easy to restart after an outage, while others lose settings or require a long reset. If you work in Braamfontein or Soweto, where power interruptions can arrive during peak hours, that difference matters.
It also helps to think about which tools need clean power and which can run on alternative supply or battery support. A workshop that relies on one high-draw machine may stall when the lights go off, but a mix of hand tools, battery systems and lower-draw equipment can keep small jobs moving. A little planning here saves a lot of frustration later.
- Map each tool’s power draw before you buy.
- Keep a backup method for critical steps in every workflow.
- Use surge protection and proper cable management from day one.
Buy modular instead of buying twice
Tools scale best when they fit into a system. A bench that accepts add-ons, a storage unit with adjustable shelves, or a machine that can take different fixtures gives you more room to grow without starting over. This is especially useful for startups in Sandton or Midrand where floor space is expensive and every square metre counts.
Modular thinking also makes it easier to train new team members. If a tool zone has the same layout every time, people learn faster and make fewer mistakes. That matters in school lab refresh projects too, because teachers and learners need clear routines, not a maze of mismatched equipment.
- Choose storage that can be reconfigured as stock changes.
- Use standard sizes for trays, boxes and labels where possible.
- Keep frequently used tools within arm’s reach of the main work zone.
Safety gear is part of the toolset
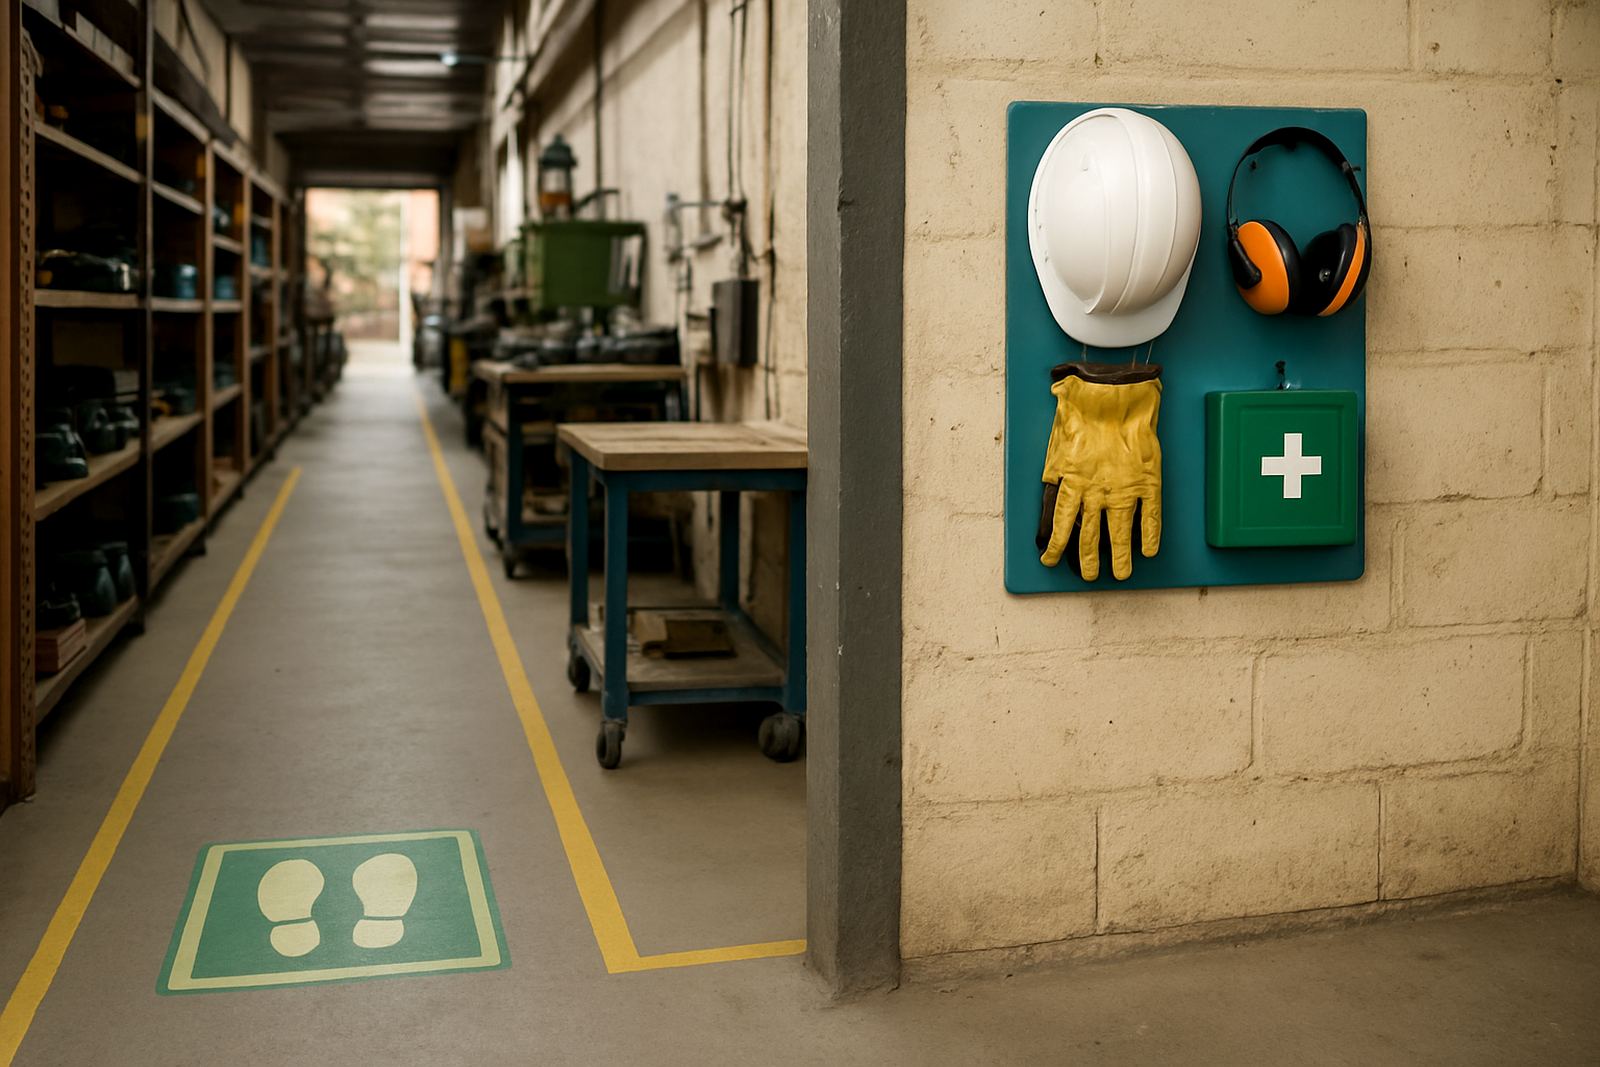
Safety is not something you add later when the budget improves. It should be built into the tool purchase itself. Guards, signage, extraction, ear protection, eye protection and clear walkways all help a workshop handle more people and more tasks without confusion.
In a maker venue that hosts workshops, school groups or public events, safety signage and onboarding become just as important as the machines. A shared space in Pretoria East may need different traffic flow from one in central Johannesburg, but the basics stay the same: clear rules, visible storage, and enough space around every active station.
- Place safety signs where people actually enter and work, not only near the door.
- Keep first aid, fire response and waste handling visible and simple.
- Review noise, dust and heat exposure before adding another machine.
Plan for repairs, spares and downtime
A growing workshop is not just about buying more kit, it is about keeping what you already own in service. A tool that sits idle for a week because a small part is missing can throw off a whole programme. That is why maintenance checks, consumables planning and storage solutions should sit beside the purchase list.
If you run training sessions or makerspace events, write down what fails most often and keep those items close. Blunt cutters, tired batteries, worn fasteners and missing adapters are common reasons for delay. A good buying plan includes spares, cleaning supplies and a simple record of when each item was last checked, even if the workshop is still small.
- Set a monthly check for cords, guards, fasteners and moving parts.
- Keep spare consumables in labelled containers by tool type.
- Track which tools are always booked out and which barely move.
A Braamfontein example that scales well
A small team in Braamfontein may start with a single training room, a few starter kits and a shared bench, then grow into regular sessions for schools, hobbyists and new businesses. The first mistake is often buying for the biggest idea instead of the next practical step. A better route is to begin with a reliable base, then add tools only when the workflow proves it needs them.
That might mean one solid cutting station, one assembly area and a separate storage wall before any specialised machine arrives. It might also mean a makerspace network approach, where high-cost equipment is used at a partner venue while the home base handles prep, storage and training. For a growing operation, that balance keeps spending under control and keeps the workshop active instead of overcrowded.
When tools are chosen with growth in mind, they keep working as the business gets busier. That is the real test: not whether a tool looks impressive on day one, but whether it still fits the work when the orders, classes and team size increase.