Why early feedback beats a perfect first build
Most workshop projects do not fail because the idea is weak. They fail because people wait too long before showing the first version to anyone else. In maker spaces, that delay can cost timber, wire, board, fasteners and hours of labour. A prototype feedback loop shortens that gap. You build something simple, let people use it, then note what breaks, what confuses them, and what works better than expected.
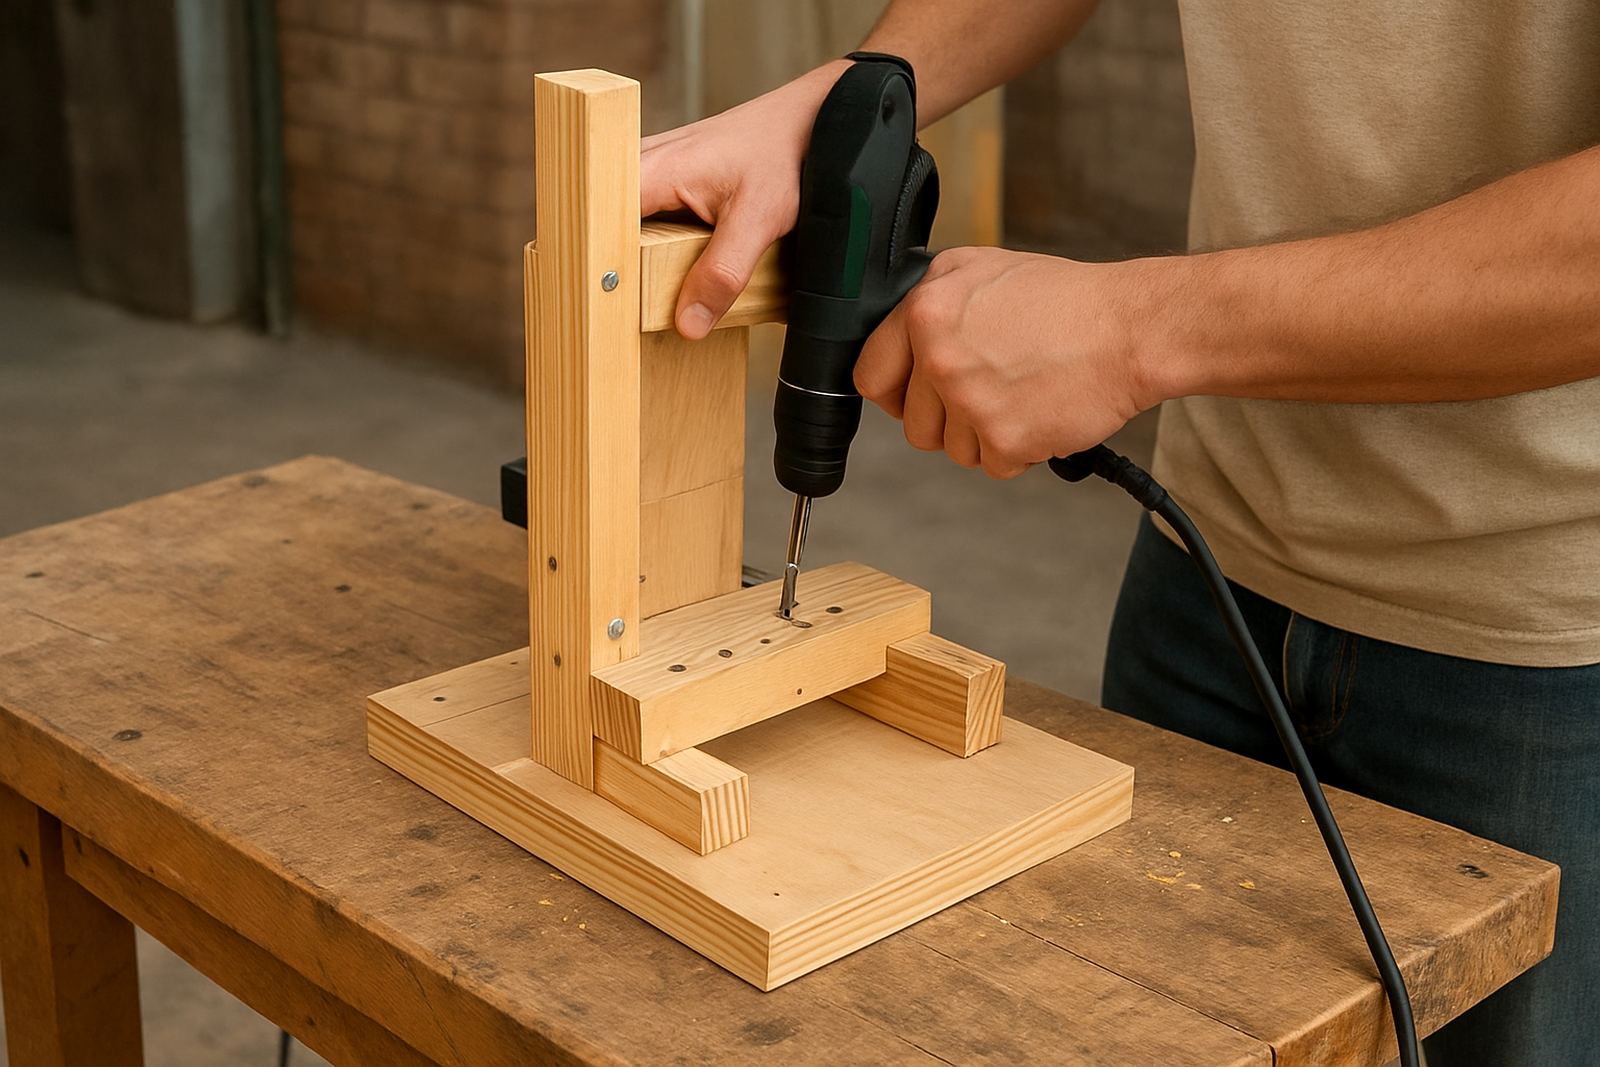
In practical terms, this is about learning fast. A rough frame, a scaled mock-up, or a single working module can tell you far more than a polished concept drawing. The point is not to impress people, it is to get useful comments while changes are still cheap. That matters even more in South Africa where materials can be pricey, transport adds cost, and load shedding can cut a workshop session short.
Set one clear question before the first test
Good feedback starts with a clear question. If you ask too much at once, people give vague opinions and you leave with notes that are hard to use. Before the test, decide what you need to know. Is the prototype easy to carry? Does the safety guard block access? Can a first-time user follow the steps without help?
- Choose one main goal for the test session.
- Keep the first build simple enough to explain in under two minutes.
- Prepare a short list of points to watch, not a long checklist.
- Ask users to show you where they pause, confuse, or make mistakes.
At a Braamfontein makerspace, for example, a team building a portable display stand might test for stability first, not paint finish. If the stand wobbles on an uneven floor, the finish does not matter yet. That order saves time and stops small flaws from becoming expensive rebuilds later.
Use real users, not only the people who built it
Teams often fall in love with their own idea. That is normal, but it can blind them to practical problems. The person who assembled the prototype knows every step already, so they may miss a confusing latch, a tight joint or a label that is too small. Honest input from someone outside the build team is usually more useful than praise from inside it.
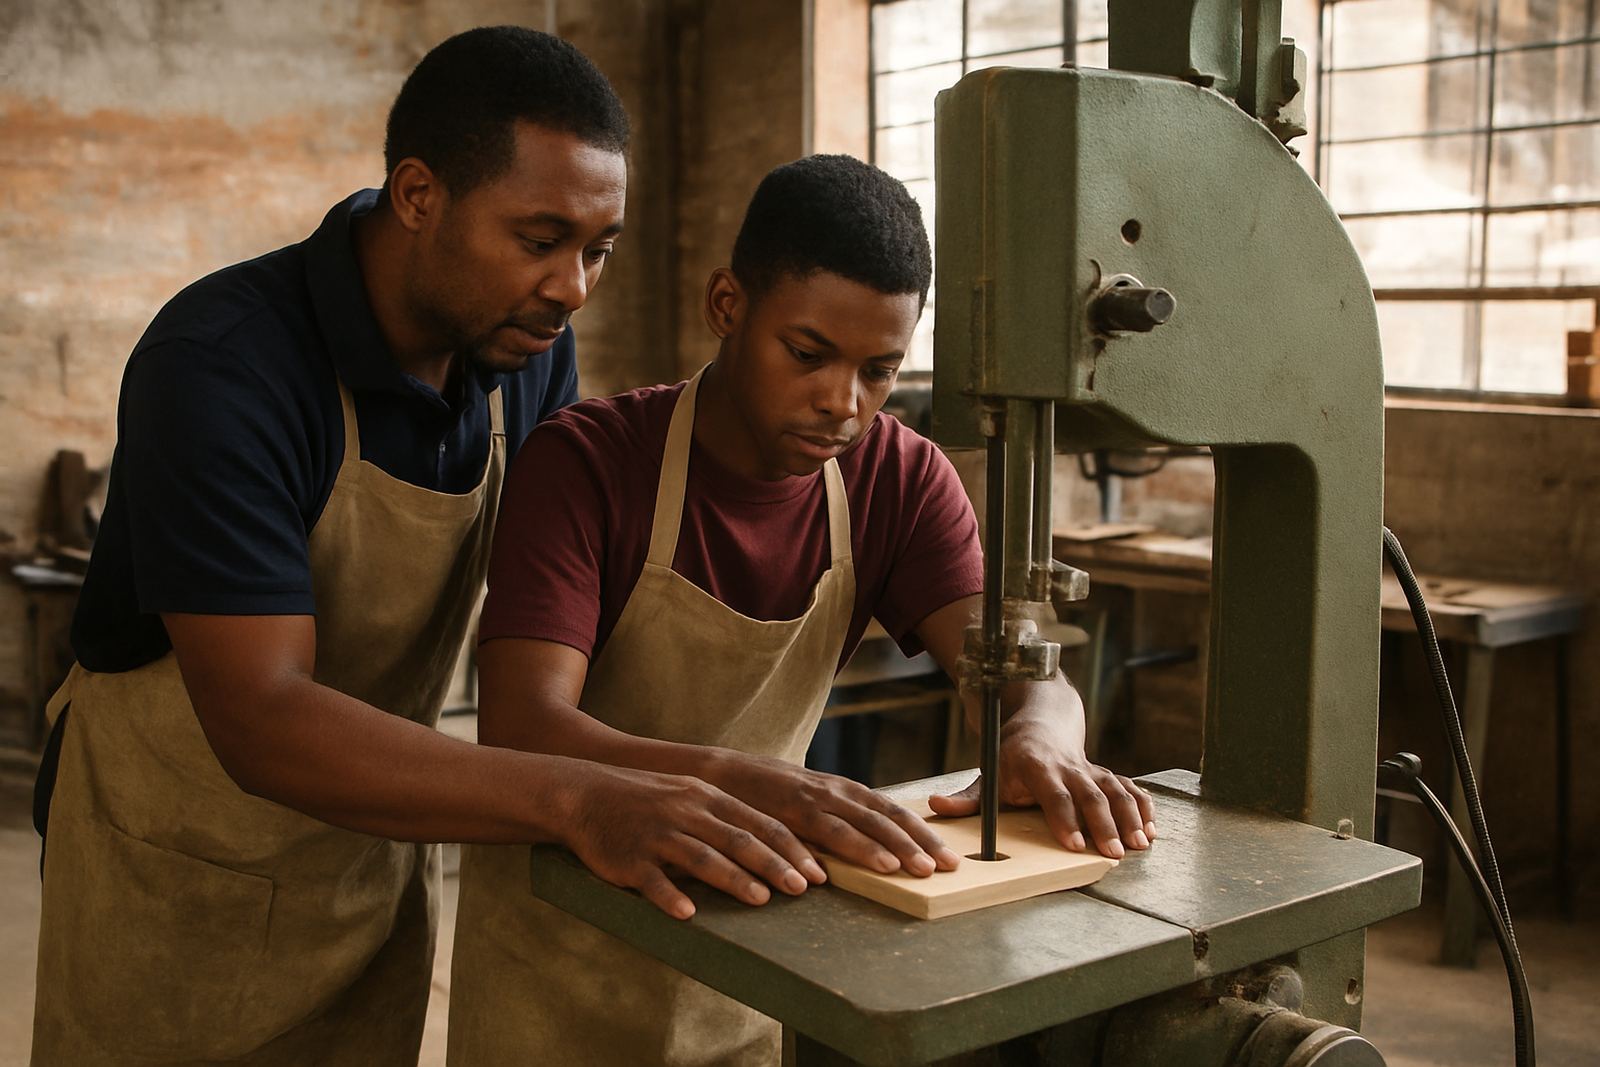
For training groups, this can mean asking a new learner, a facilitator, or a nearby partner makerspace member to try the prototype. Their questions are valuable because they are fresh. They may point out that a switch is placed too low, the storage clip is awkward, or the safety notice is easy to miss.
- Use at least one tester who was not part of the build.
- Watch quietly before you explain anything.
- Note where hands, eyes and feet go first.
- Ask what they would change if they had to use it every week.
That kind of response is often more useful than a general “looks good”.
Turn comments into small, ordered changes
Feedback only helps if it leads to action. After each test, separate the comments into three groups: urgent fixes, useful improvements, and ideas for later. Urgent fixes are the things that affect safety, function or basic use. Useful improvements are the changes that make the prototype easier to handle. Ideas for later are the nice extras that can wait until the next round.
This keeps the team from trying to solve everything at once. It also helps when the workshop has limited time or shared tools. If your group is working between Sandton and Midrand, for example, you may only have one evening to make changes before the next session. A clear list keeps the work moving. It also helps with consumables planning, because you only buy what is needed for the next version, not every possible option.
Write down the changes in plain language. “Hinge too stiff” is better than “mechanism not ideal”. “Cable route blocks hand movement” is better than “layout issue”. Specific notes make the next build faster and more accurate.
Build for local conditions, not only the neat workshop table
Feedback loops are especially useful when the prototype must work in South African conditions. A design that looks fine in a calm room may struggle in a school lab, a community hall or an outdoor event space. Heat, dust, coastal humidity and uneven power supply can all affect the result. A shelf bracket that works in Pretoria East may need different fixing in Durban. A portable maker station may need locking wheels for a tiled venue in Cape Town, but stronger dust protection for a Soweto school store room.
Good testers look beyond appearance and ask how the item will cope in real use. Will it survive being moved across paving? Can it be assembled after load shedding with a torch and limited time? Is the storage solution clear enough that members can return tools properly after a busy session?
- Test the prototype where it will actually be used.
- Check for heat, moisture, dust and power interruptions.
- Include storage, transport and clean-up in the test.
- Make sure safety signage is visible from the normal approach route.
Keep the loop short enough to stay useful
The best feedback loop is short, regular and practical. You do not need a long report after every test. You need a repeatable process that fits the rhythm of the space. Build version one, test it, record the comments, change the parts that matter, then test again. When this cycle is tight, the project improves without dragging on for weeks.
That is why maker groups, schools and small teams benefit from support with maker audits, facilitator support, and maintenance checks. When the workshop setup is organised, the team spends less time hunting for parts and more time learning from the prototype. It also helps with member onboarding, because new participants can see how decisions are made, not just what has been built.
Quick testing does not mean careless testing. It means honest testing, with enough structure to be useful and enough speed to keep momentum. In a city like Johannesburg, where teams often juggle venue time, transport and budgets, that pace matters. The faster you learn, the sooner the idea becomes something people can actually use.