Start With the Job, Not the Shopping List
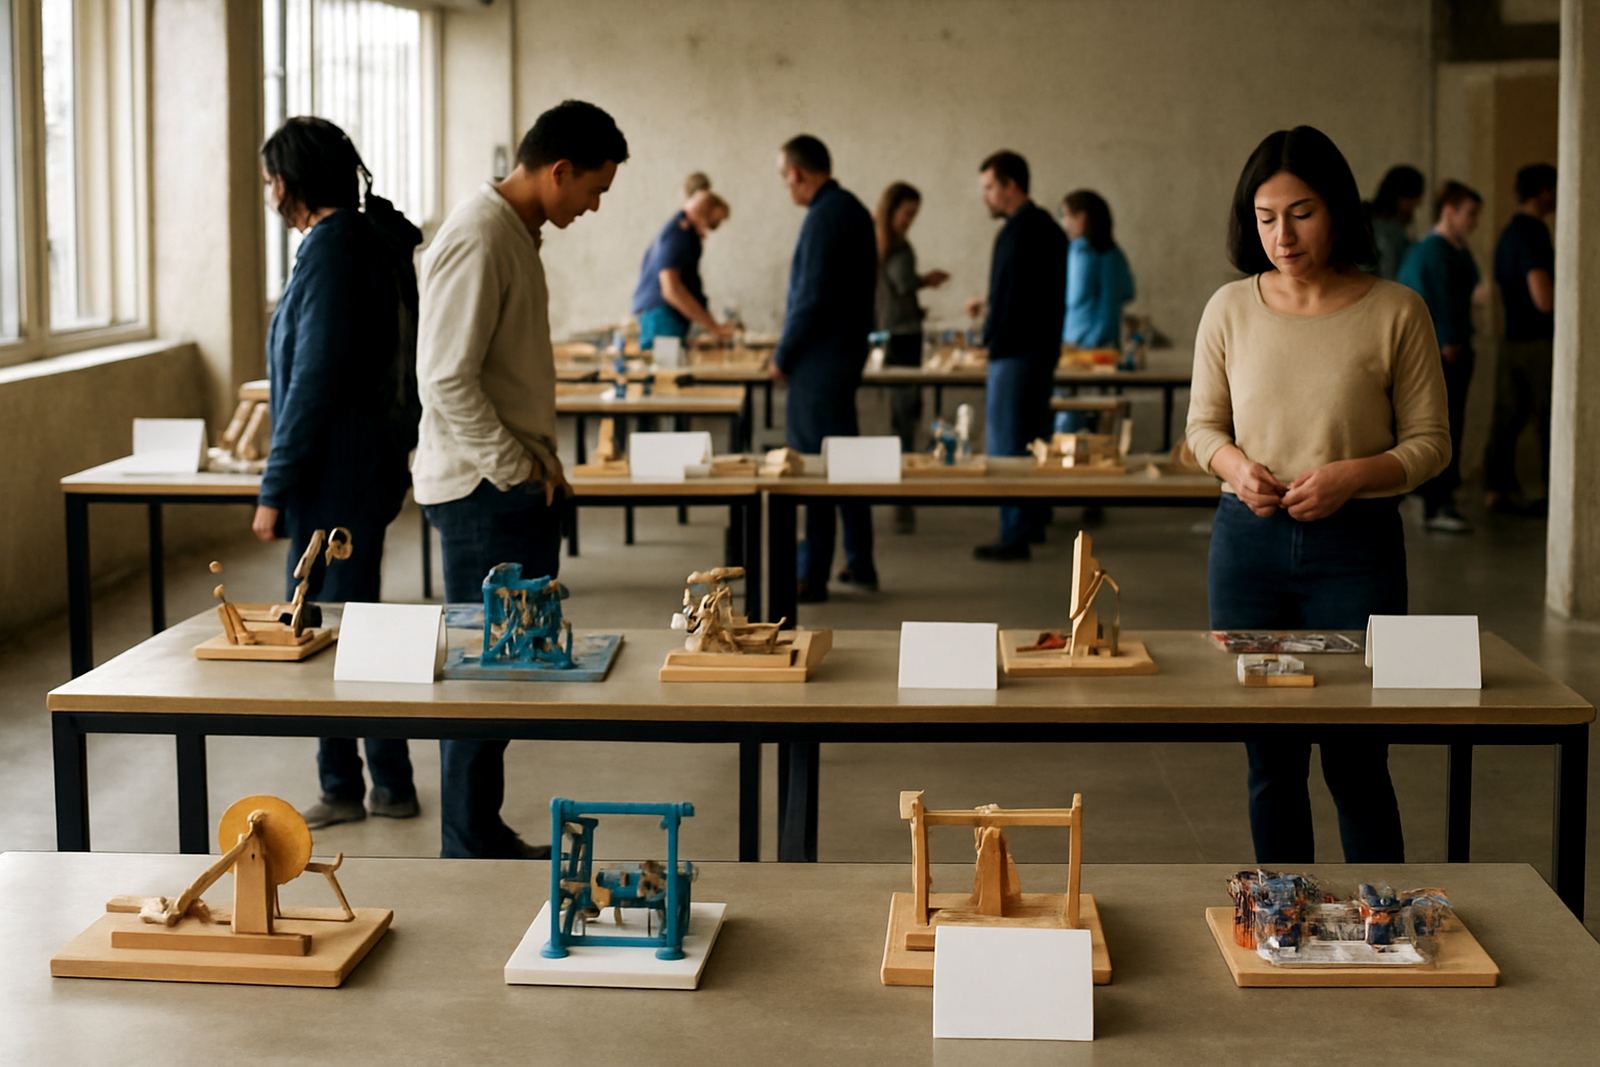
Most new makers spend too much on gear before they know what they want to build. A better approach is to choose one small project and work backwards from there. If you want to make shelves, repair furniture, assemble a school display or cut simple timber parts, the tools you need are quite different from someone doing electronics or soft furnishings.
In Johannesburg, where many beginners are balancing rent, transport and load-shedding backups, it makes sense to buy only what you will use in the first month or two. A starter kit should support a clear purpose, not sit in a box while you wait for the right time. That is usually how money disappears with very little to show for it.
Ask three questions before you buy anything: What am I making, where will I make it, and how often will I use this tool? If you cannot answer all three, keep the item on hold.
Begin With Hand Tools That Teach Good Habits
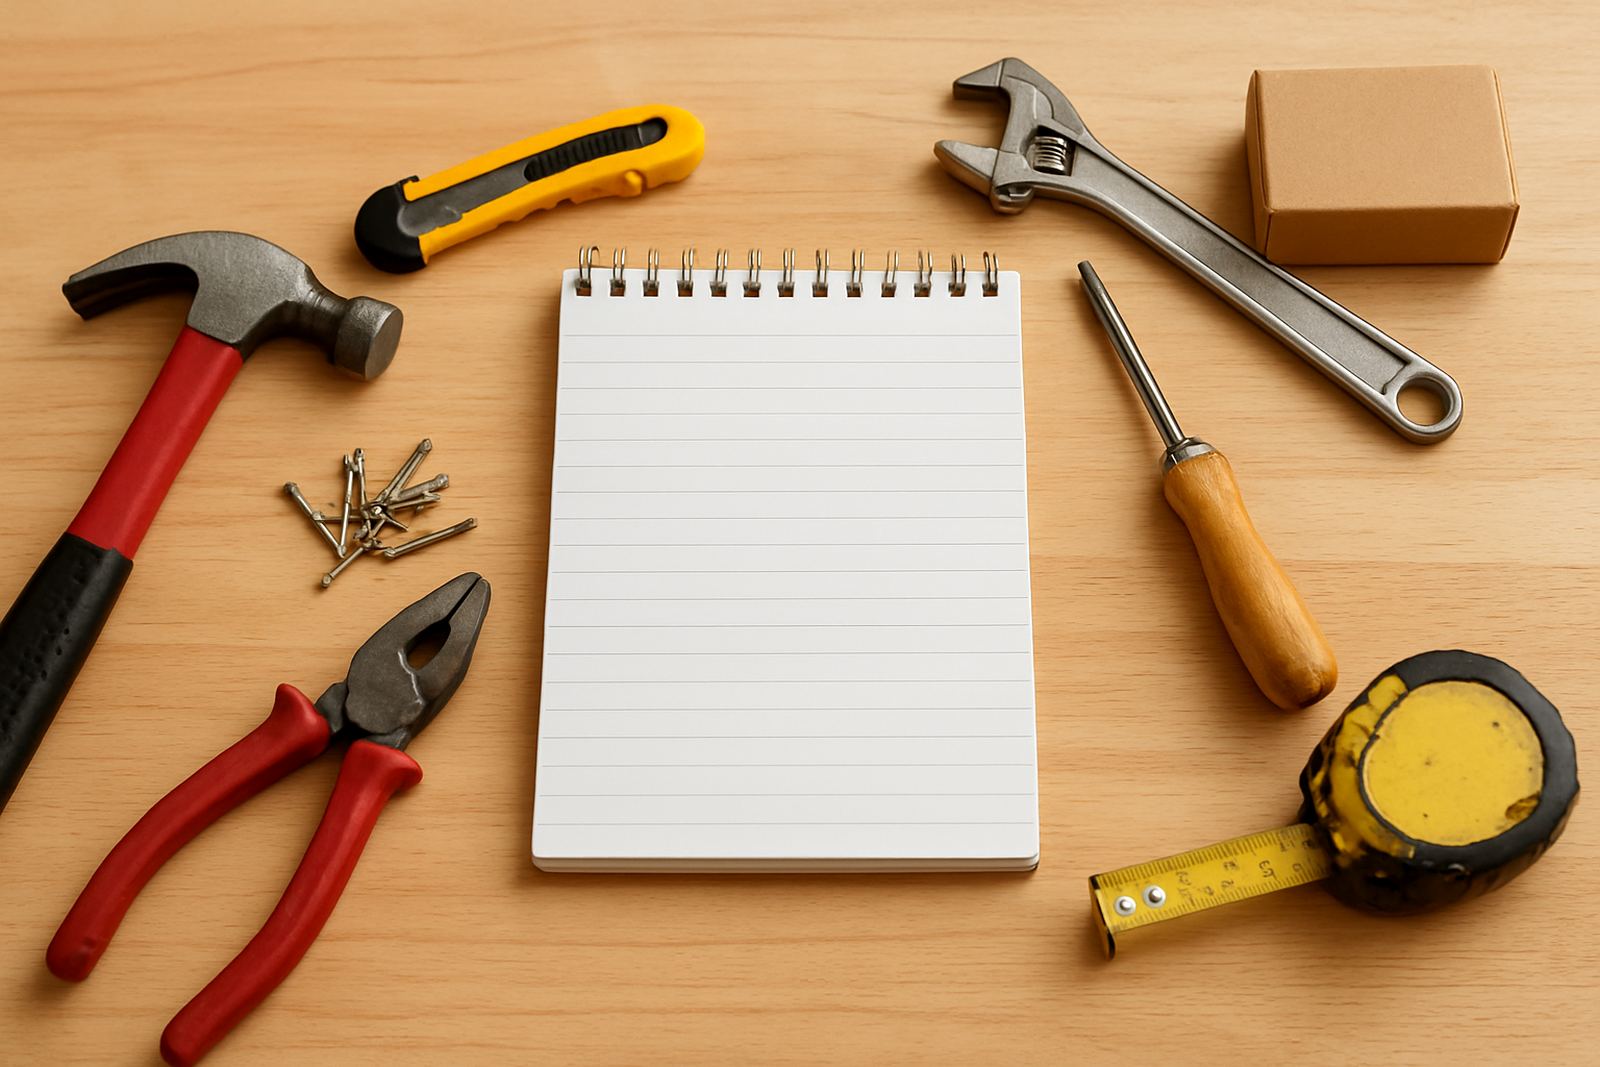
Hand tools are often the smartest place to start because they teach accuracy, patience and safe working habits. A tape measure, marking pencil, try square, hand saw, hammer, screwdrivers, clamps and a basic set of pliers can handle a surprising amount of work. With those in place, you can learn how materials behave before you move to powered kit.
For many beginners, a small work surface matters just as much as the tools themselves. A sturdy table, good lighting and a safe place to store blades, bits and fasteners make the difference between regular use and frustration. In a flat in Braamfontein or a backyard in Soweto, space is usually tight, so compact tools win.
- Choose tools with clear markings and comfortable grips.
- Buy clamps earlier than you think you need them.
- Store sharp items separately from loose fasteners and cords.
- Keep one container for measuring tools so they do not go missing.
There is no need to buy every size in one go. One good tape and one sharp saw are more useful than three cheap versions that flex or jam.
Use a Makerspace Before You Build Your Own
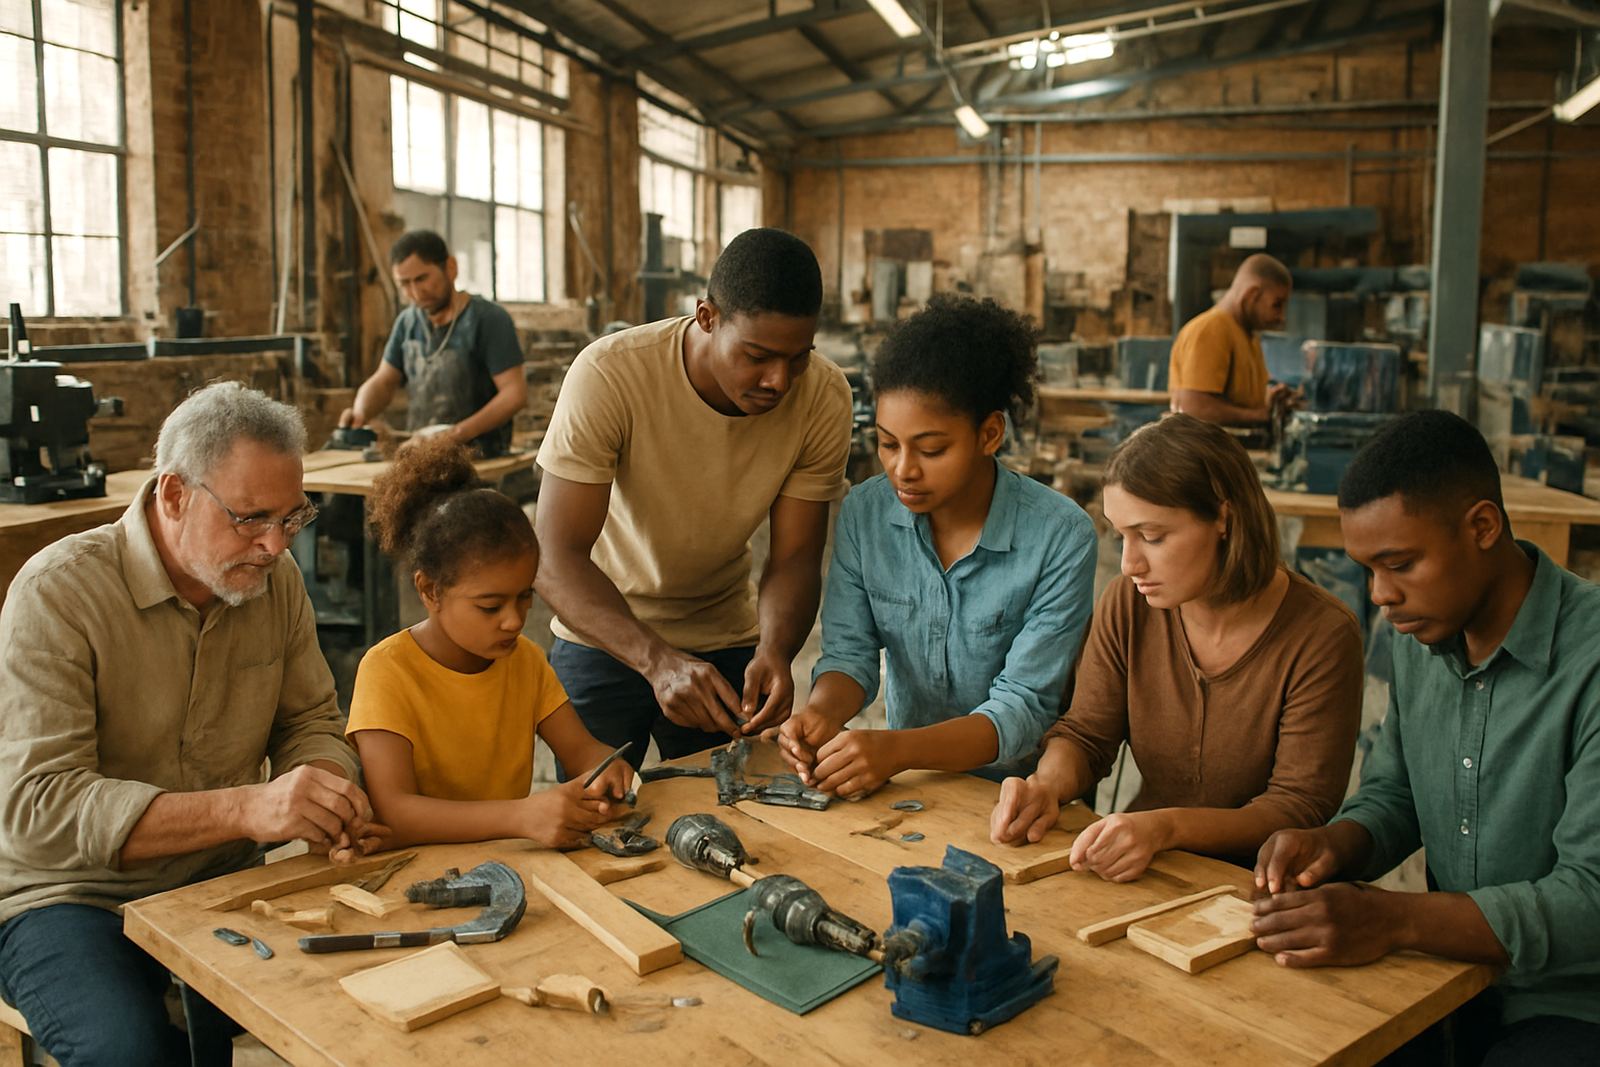
If you are still figuring out your direction, a makerspace can save you a lot of money. You get access to shared tools, trained support and other people who can show you better ways to approach a task. That is especially useful if you are not sure whether you need a drill press, a soldering station or a sewing machine.
For people in Pretoria East, Midrand, Durban, Cape Town or Gqeberha, working through a nearby makerspace can also cut transport costs. It is easier to test a project idea for a few hours than to fill a room with equipment you may not use again. SA Makers works with partner makerspaces and training venues nationwide, so beginners can find practical places to learn before they commit to bigger purchases.
- Use shared space for test cuts, trial assemblies and short runs.
- Learn the safety rules before handling powered tools.
- Check opening hours, booking rules and storage options.
- Find out whether the space supports your material, like timber, fabric or light metalwork.
This step often saves more than it costs, because you avoid buying the wrong machine for the job.
Build a Starter Kit Around One Skill Set
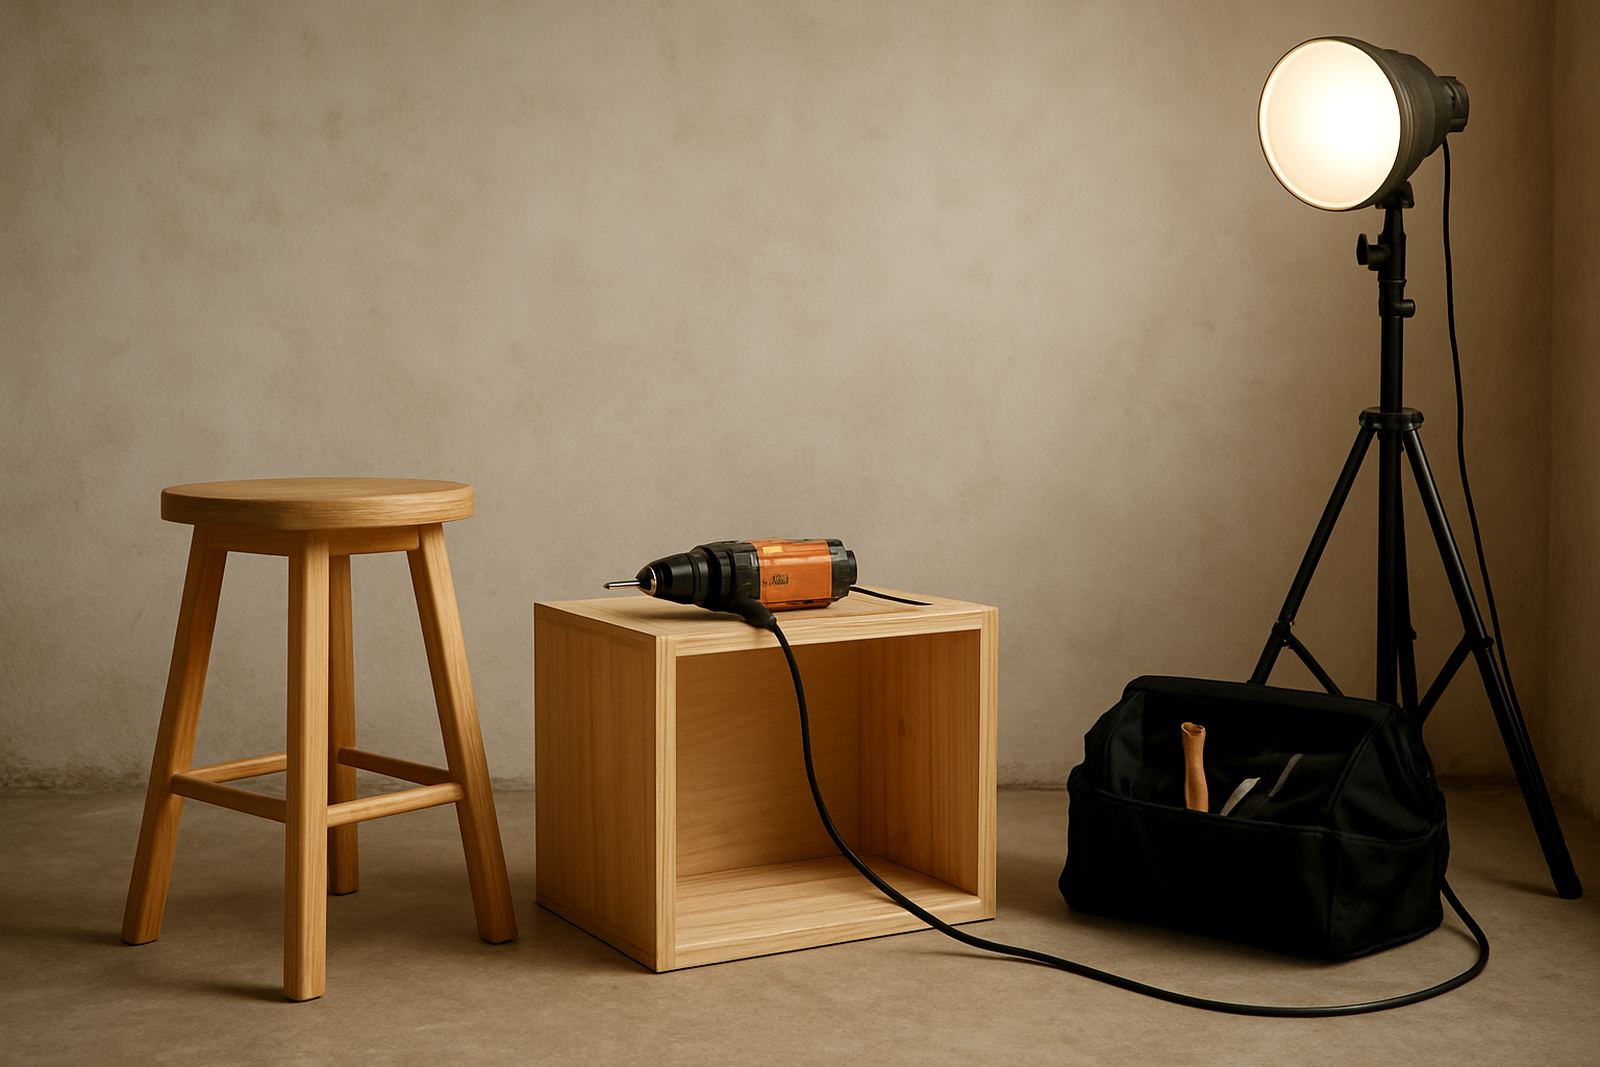
A good starter kit is not a random collection of items. It should match a single skill set and allow you to complete a basic project from start to finish. For example, a simple wood kit may include measuring tools, hand saws, sanding blocks, wood glue, clamps and a few screws. An electronics kit might focus on cutters, wire strippers, a soldering iron, a small multimeter and basic connectors.
In South Africa, the right starter kit also needs to fit real conditions. If you are working in a room that gets hot in summer, choose tools that are comfortable to hold for longer periods. If your area has frequent power cuts, prioritise hand tools and battery options over mains-dependent equipment. Near the coast, especially around Durban or Cape Town, moisture can rust metal tools quickly, so storage matters.
Look for kits that are easy to replenish. Consumables such as screws, glue, sandpaper, tape, wire and blades should be simple to track. If a kit depends on hard-to-find parts, it will stall your work later on.
Spend on Safety and Storage Before Fancy Extras
Safety is not an add-on. It is one of the first things that should go into a beginner setup. Safety glasses, ear protection, a dust mask, a first aid kit and clear signage are part of a proper working area, whether you are setting up in a school room, a garage or a shared community venue. Too many people buy the tool and forget the basics that keep them working.
Storage is just as practical. A cheap shelf, labelled boxes and a lockable cabinet can protect your kit from dust, theft and damage. This is especially important in shared buildings or venues with regular foot traffic. Good storage also makes it easier to keep track of stock, which helps when you are buying consumables on a budget.
- Keep sharp tools in a closed container.
- Separate electrical items from liquids and adhesives.
- Label consumables by size and use.
- Set a monthly check for missing, worn or damaged items.
Small spaces get messy fast, and once tools are mixed together they are harder to use safely. A little order saves time every week.
When to Expand and What to Leave for Later
The biggest mistake is expanding too soon. If your first tool set is still learning to pay for itself, do not rush into bigger machines. Let your work tell you what is missing. If you are repeating the same task often, or turning away jobs because you lack one item, then it may be time to add that piece.
A workshop in Braamfontein or Sandton may grow differently from one in Soweto or Midrand, because client needs and space limits are not the same. A school lab refresh in Pretoria East may need storage and safety signage first, while a community build station in Durban may need weather protection and better tool control. Expansion should follow use, not excitement.
Useful signs that you are ready to grow:
- You are borrowing the same tool every week.
- Your current setup slows down more than one project.
- People ask for the same service often enough to justify the equipment.
- Your storage and power setup can already handle the next tool.
If those signs are not there, wait. Making is cheaper when it grows in steps.